This Splinter Cell: Pandora Tomorrow walkthrough is divided into 8 total pages.
You can jump to nearby pages of the game using the links above.
Paris, France

Use your pistol to shoot the lantern.
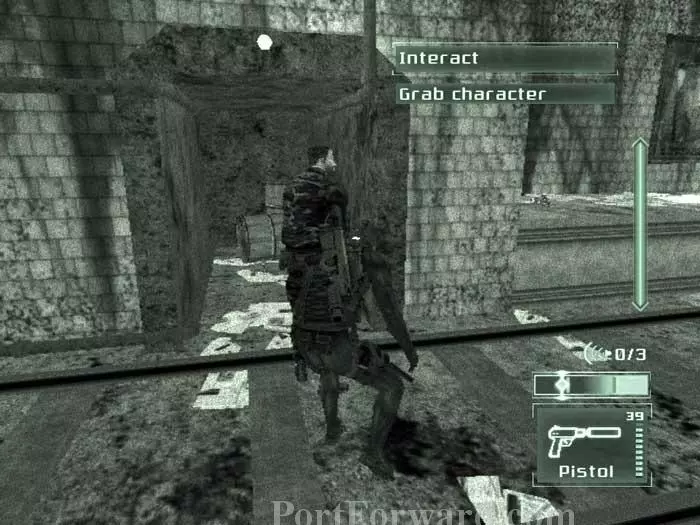
Advance to the tracks and a train whizzes by on the neighboring tracks. Retreat and wait for this patrol to pass by. Pistol whip him and deposit his body in this alcove.
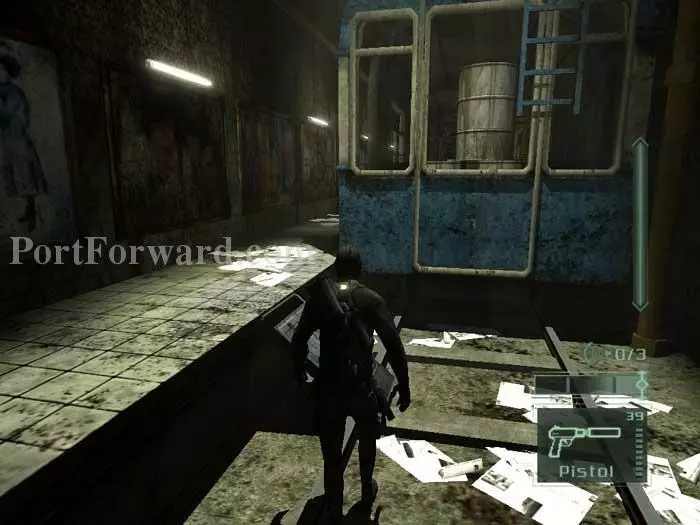
Enter the train then hop over some barrels in the aisle.
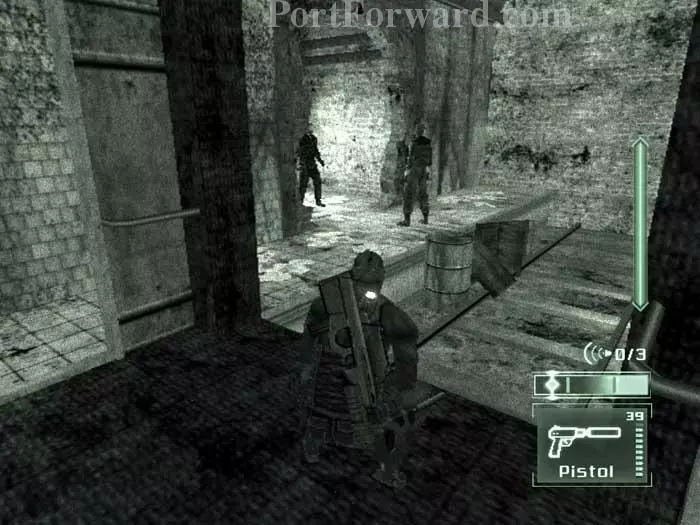
Wait here for the patrols to finish their conversation. They'll move on once they're done talking, allowing you to advance through the hole in the wall.
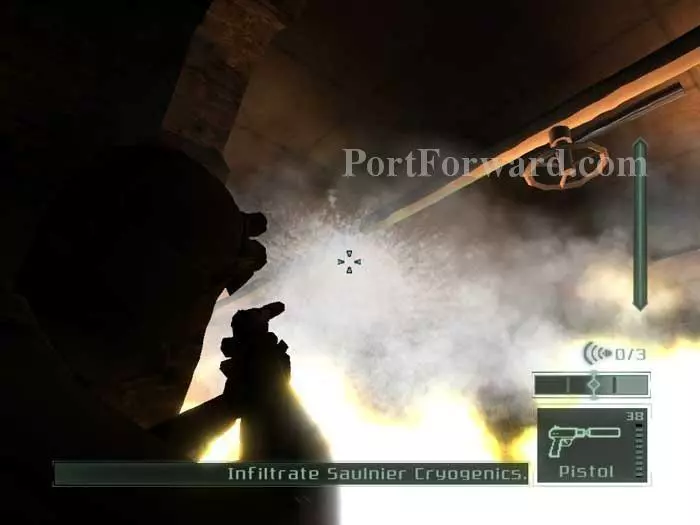
Extinguish the flames by shooting one of the water valves.
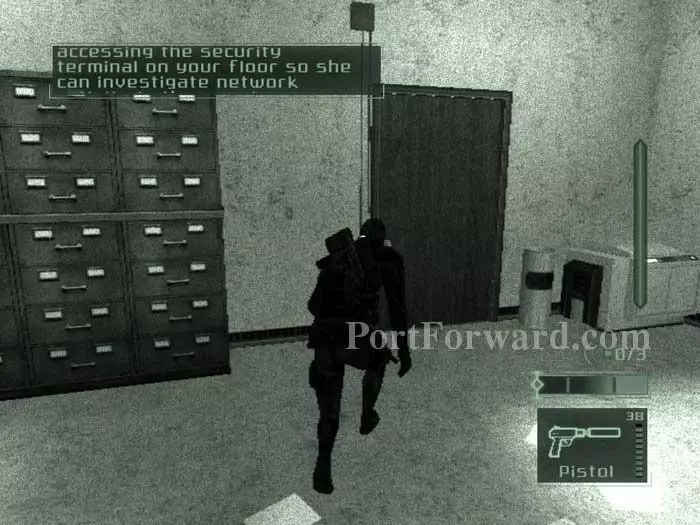
Use your optic cable before opening this door -- a patrol is on the other side.
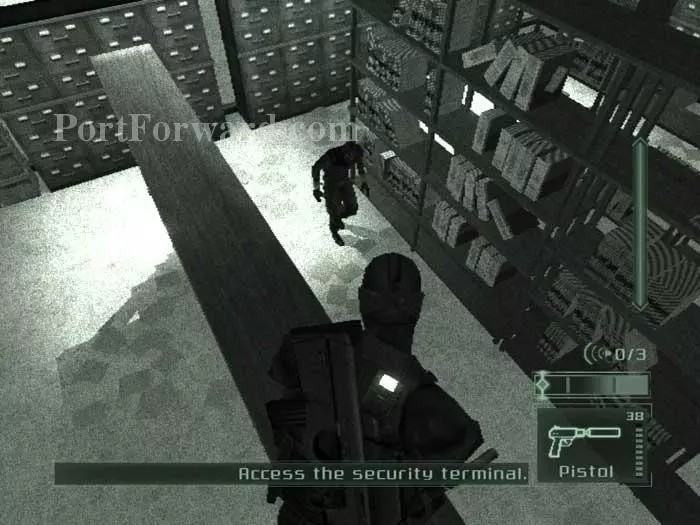
Climb the bookshelf then perform a jump to land on the guard. You'll knock him out and he'll never knew what hit him.
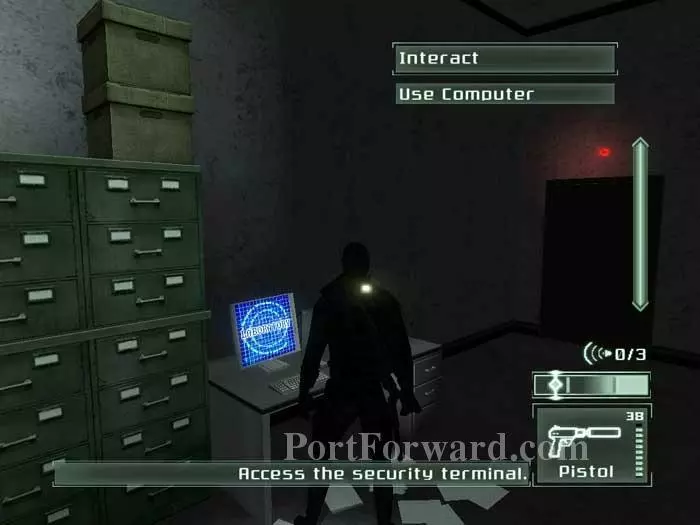
This isn't the computer terminal you need. Advance through the door under the red light.
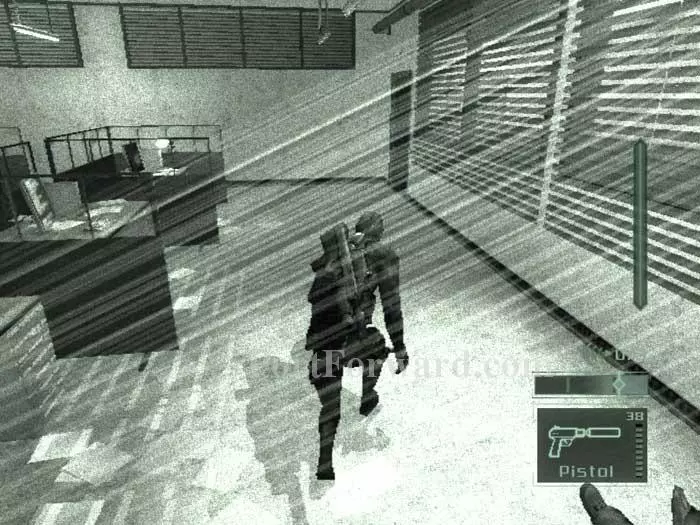
Two guards are in this room. Be patient and wait for them to move away from the door. Stay crouched but increase your speed through lighted areas like this and you shouldn't have any trouble making it to the door undetected.
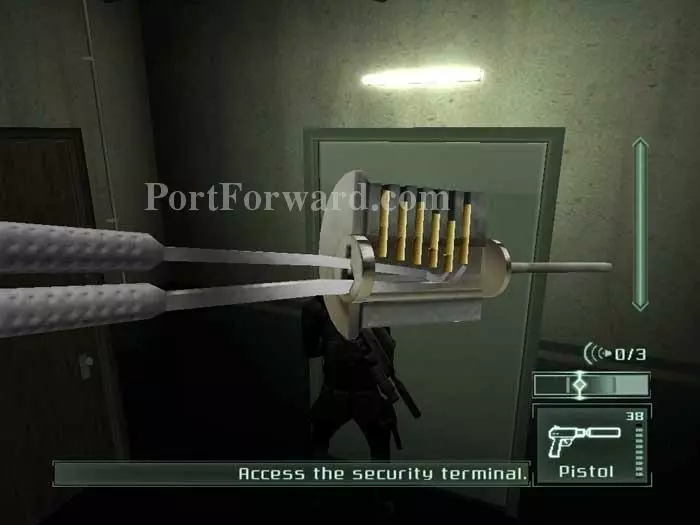
Pick the lock on this door, careful to avoid the window to your left.
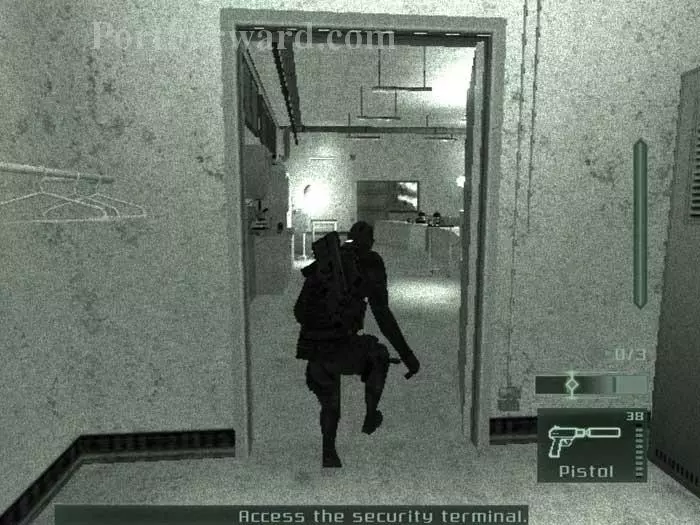
Quietly enter the auditorium through this door. Three guards patrol inside.
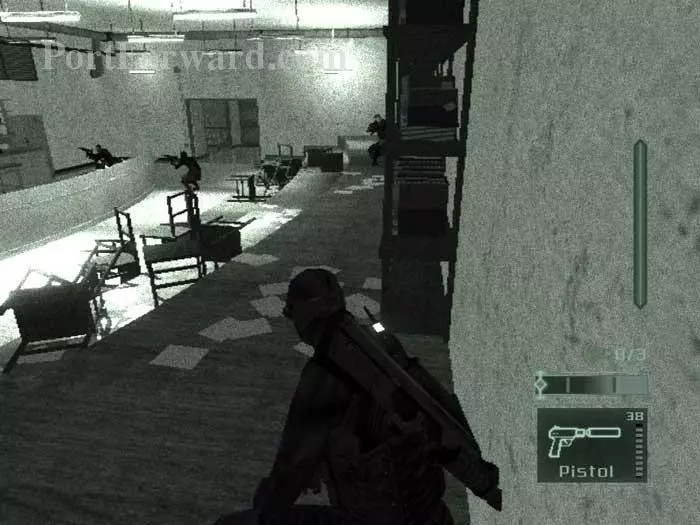
Wait here for their conversation to end. One of the guards will leave the other two behind.
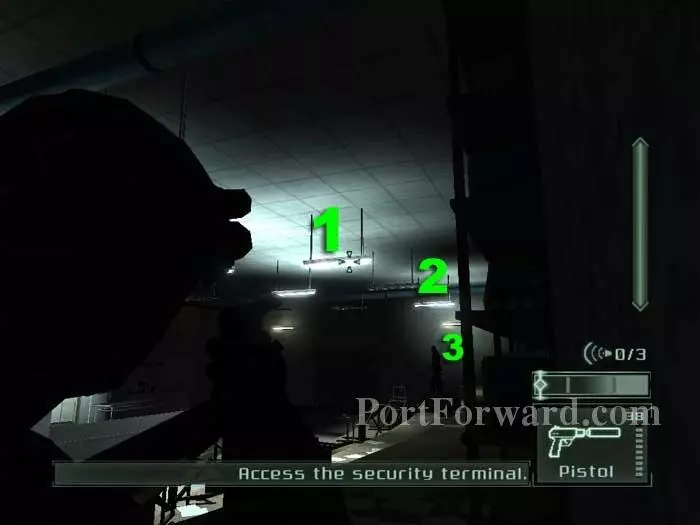
Shoot out these three lights.
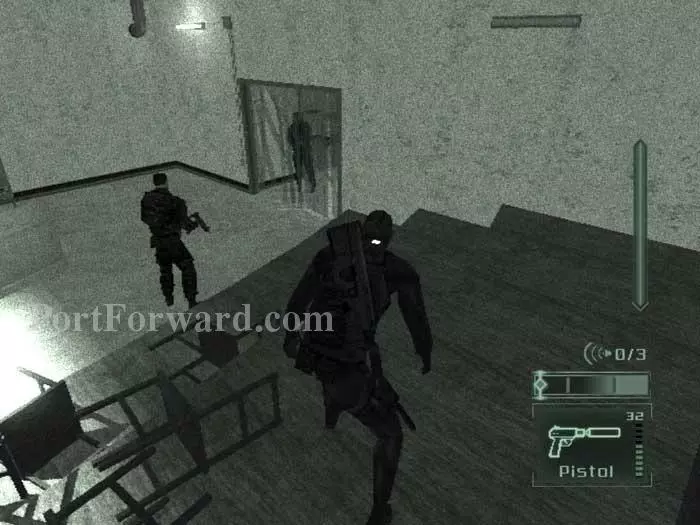
Wait for the guards to move away from the door before slipping out. If you prefer to take them out, you'll find a boring data stick on one and some ammo on the other.
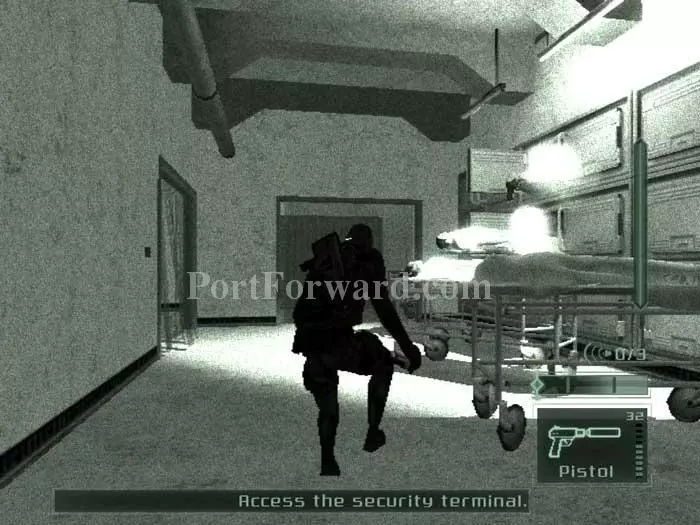
You're now in the morgue. I found it helpful to shoot out the light upper-right before proceeding through the doorway ahead.
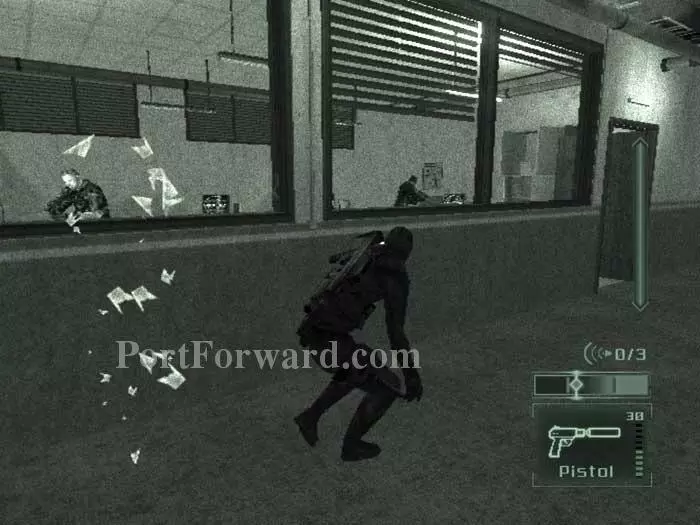
Stay low and approach the doorway on the left.
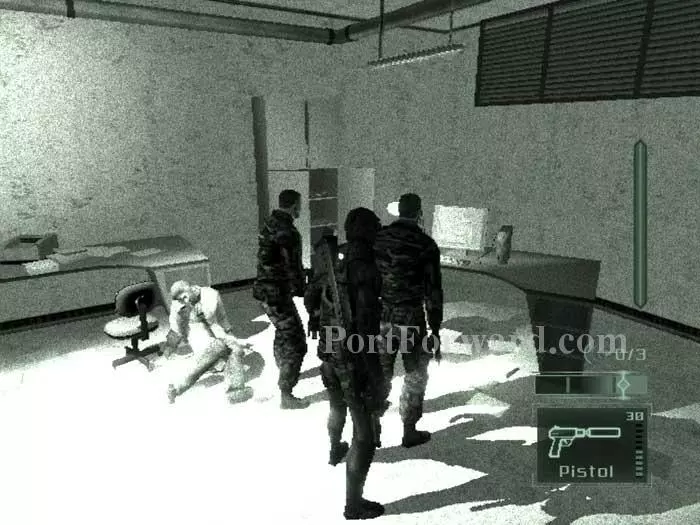
This is easy if you go in guns blazing, but is a bit tricky to do non-lethally. Wait for the guards to gather around the security terminal as seen here. You can then safely approach them from behind. You'll have a brief window of time to grab each before they destroy the terminal and end the mission in failure. Grab ammo from both bodies before accessing the computer.
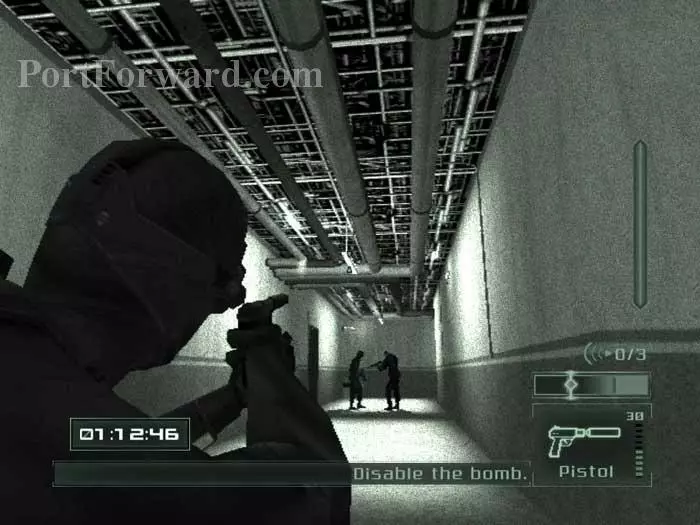
Step into the hallway. Shoot out the two ceiling lights once the guards have moved away. Pick the lock on the door on the left and enter when nobody is near.
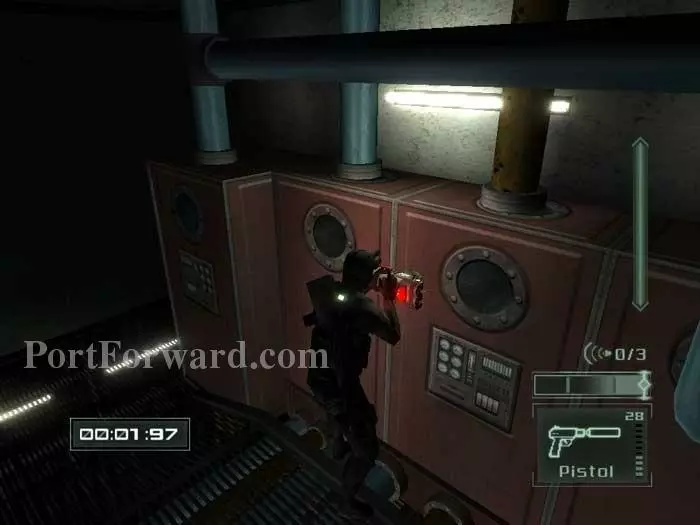
Disable the bomb before the timer runs down.
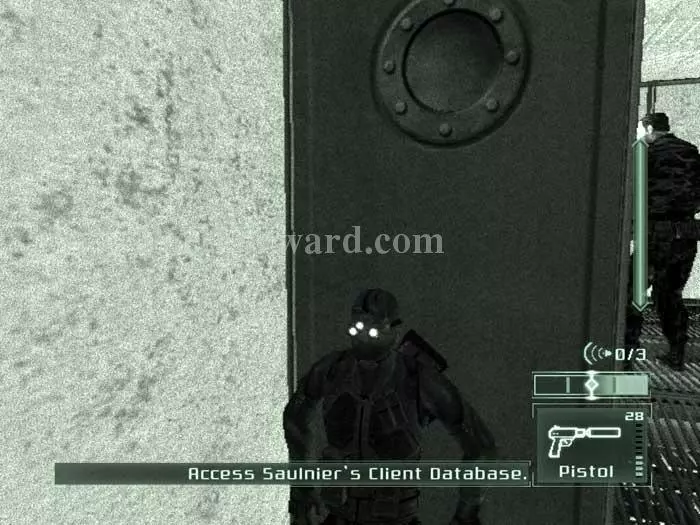
If an alarm is triggered you might remain safe by hiding in this corner -- it worked form me one time in two.
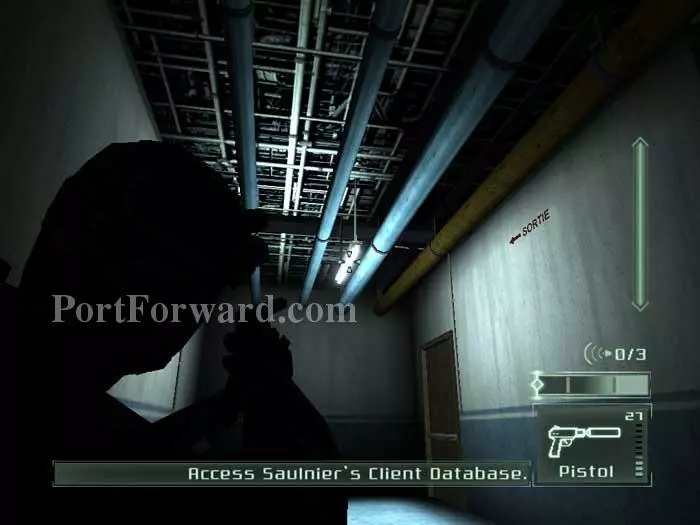
Depending on where the patrols are, you don't have to shoot out this light. Enter the doorway ahead to load the next zone.
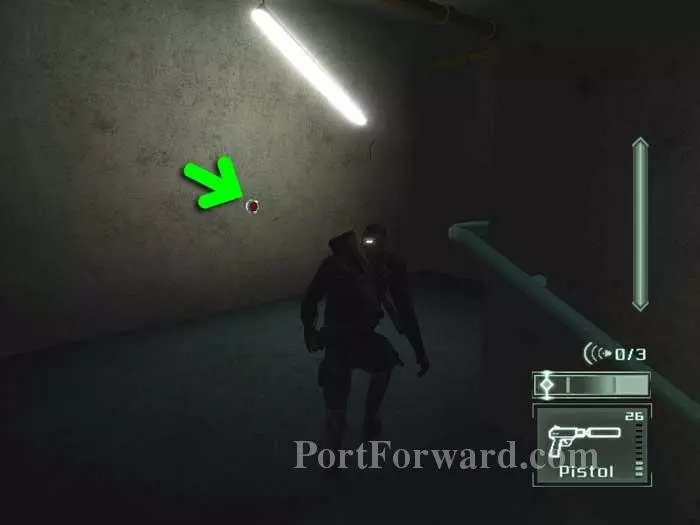
Move slowly past the indicated motion sensor and you'll be fine. Continue through the door at the top of the stairs.
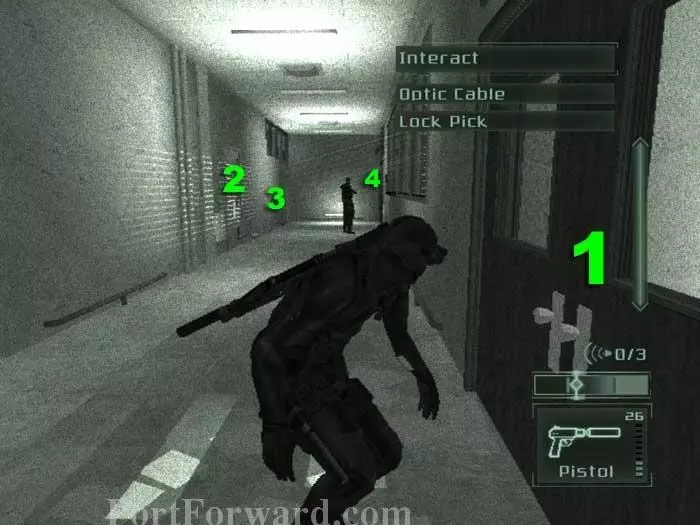
Other than shooting the guard outright, the easiest thing to do here is to shoot out the ceiling lights then grab the guard from behind. If you prefer a ghostlier challenge, wait till the guard begins his patrol away from you then immediately pick the lock at (1). The room at (2) holds ammo and first aid, plus you'll need to be aware of the motion sensor at (3) if you intend to take the alternate route past the guard station through (4). If you do take out the guard you'll be rewarded with a disposable pick.
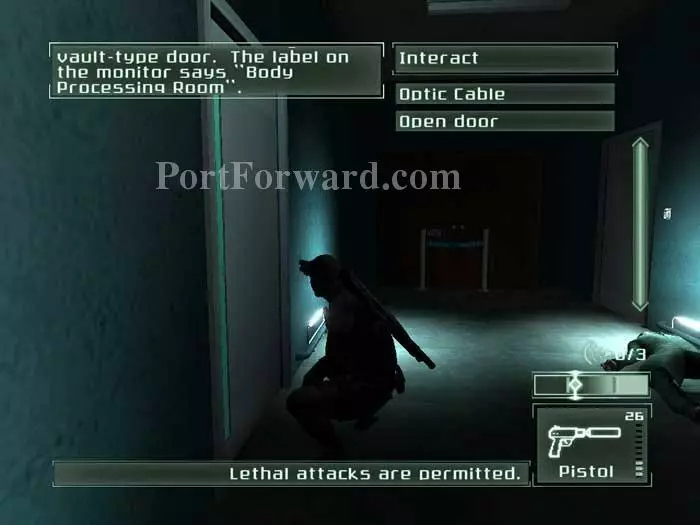
Overhear some guard station chatter just before entering this door on the left. Enter cautiously.
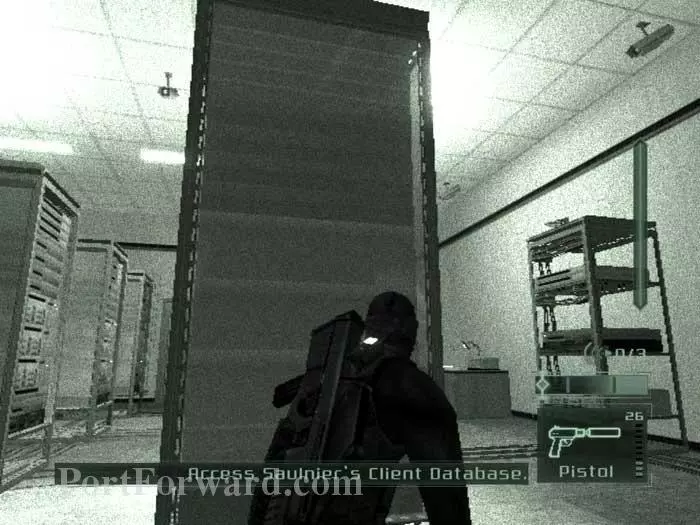
Their are multiple ceiling-mounted cameras in this room. If you entered through this door as I did you are in a darkened area near your objective and the cameras shouldn't pose a problem. The alternate route past the guard station places you on the well-lit opposite side of the room.
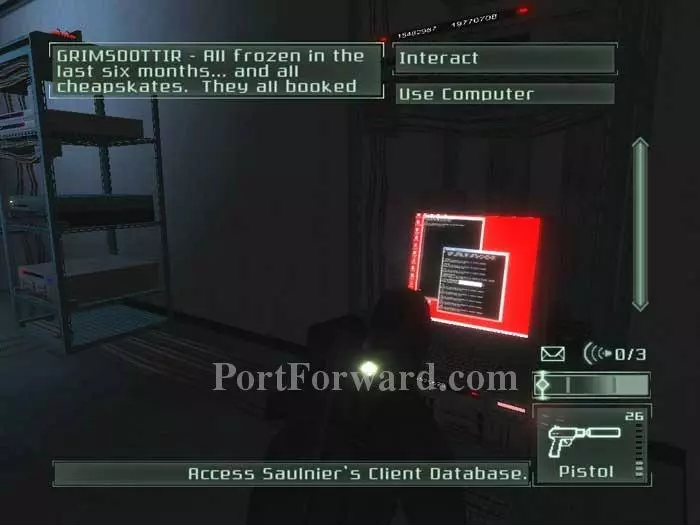
Use this computer on the right to update your goals.
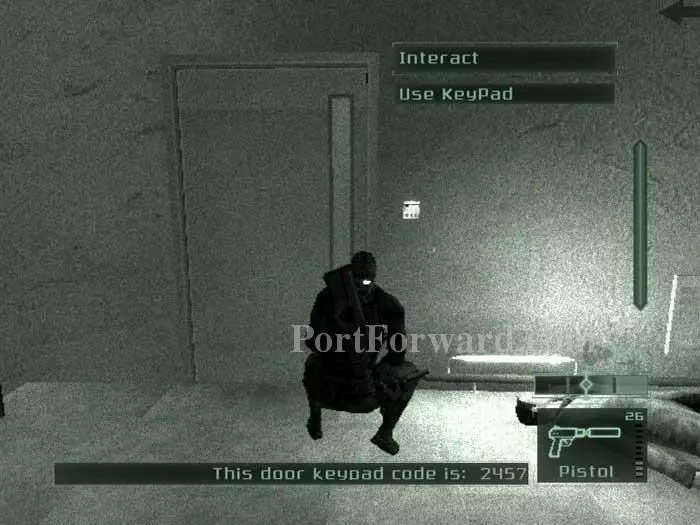
Exit the way you came then use this keypad directly across the hall. The keypad code 2457 has been uploaded to your OpSat.
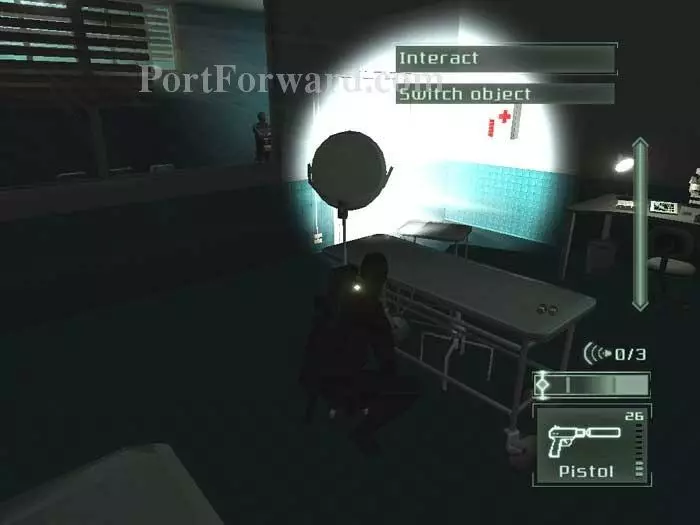
Grab the two airfoil rounds from the table then switch off the spotlight. Immediately swing around to the door and knock out the guard as he comes through. Read the data stick he drops for some background.
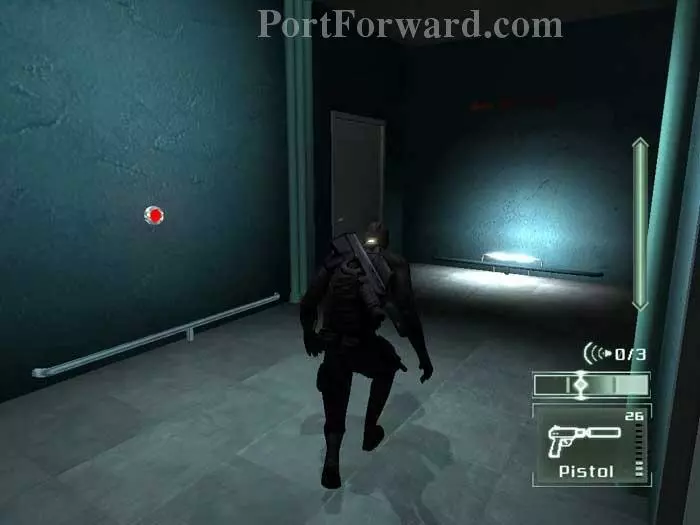
Sneak past the motion sensor on the left and through the door ahead.
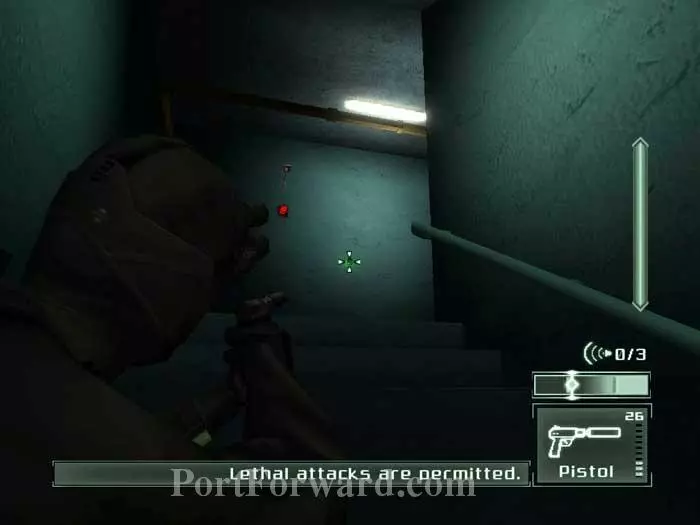
Shoot the wall mine to take it out as well as the nearby security camera and motion sensor.
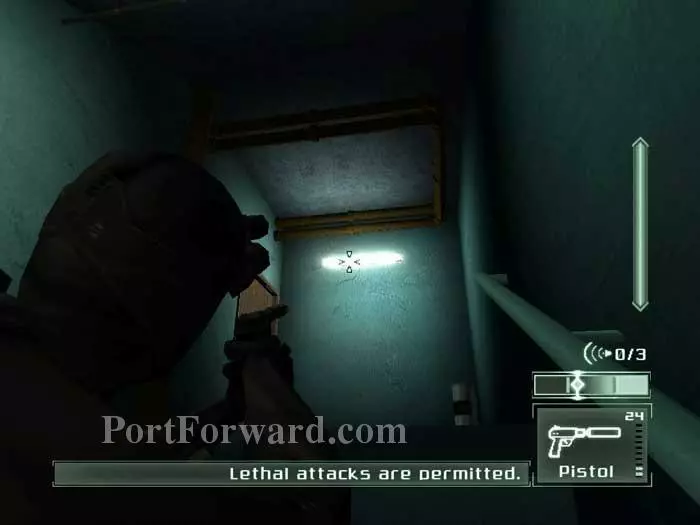
Shoot out this light at the top of the stairs to provide darkness when you open the door on the left.
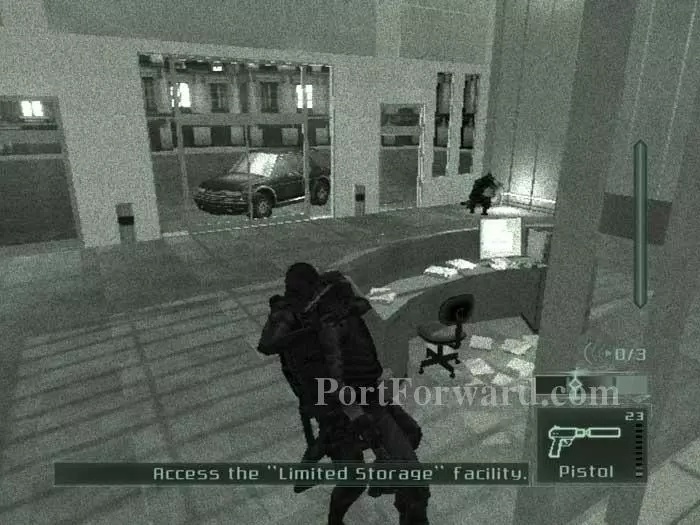
Two guards are in here and taking out at least one makes this much easier. I found it best to quickly sneak up on this guard rather than move slowly. You can either repeat on the other guard or just patiently avoid him. Use the computer directly ahead.
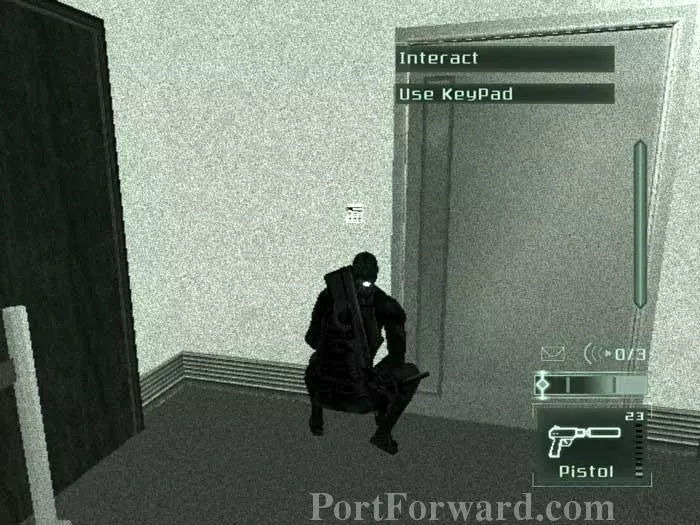
The computer reveals the code for this keypad - 7562.
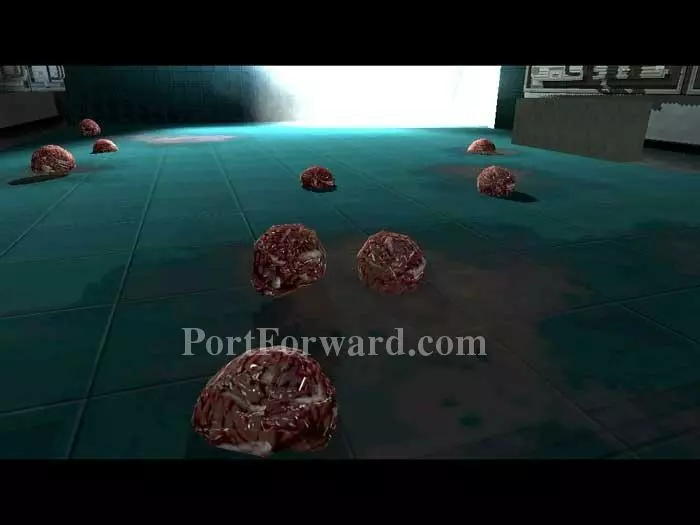
Enter to find that the frozen brains have been destroyed.
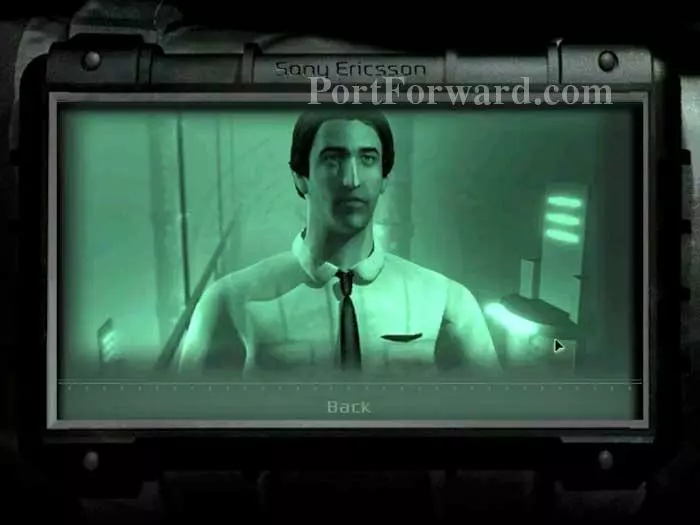
Your objectives are updated -- meet Francois Coldeboeuf. Check your OpSat for this picture.
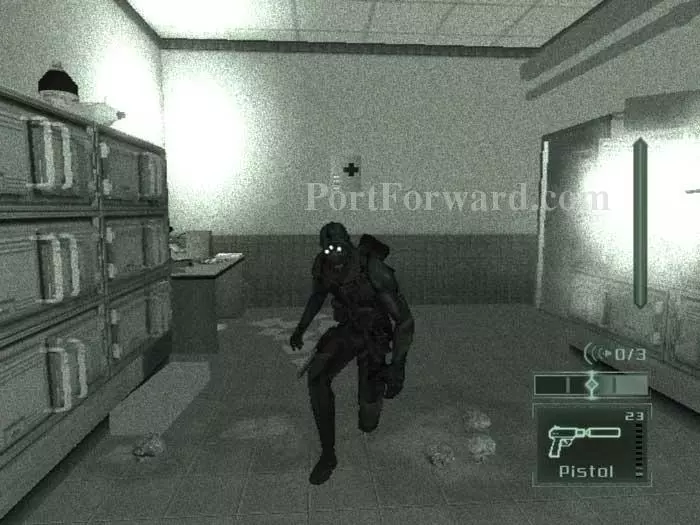
Note the first aid kit on the wall before continuing to the next room.
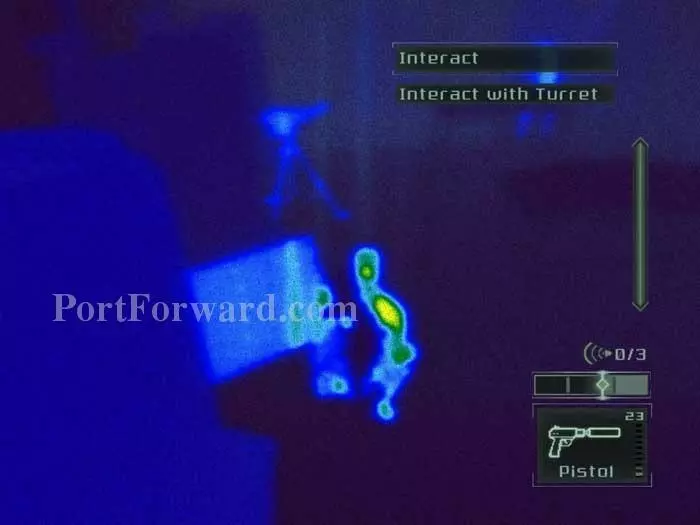
The area is shrouded in a cold fog. Activate your thermal vision to spy this turret. Approach the control box seen on the left to disable the turret.
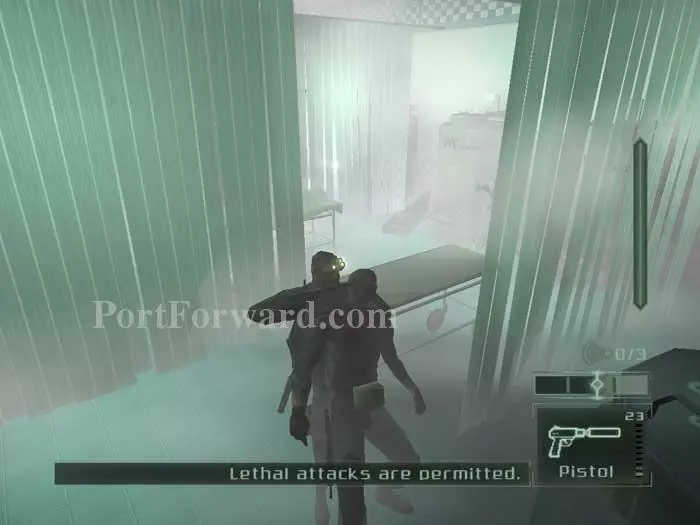
Sneak up on the nearby guard and knock him out. Grab the sticky shocker he drops then backtrack to place his body in the previous hallway which is much darker.
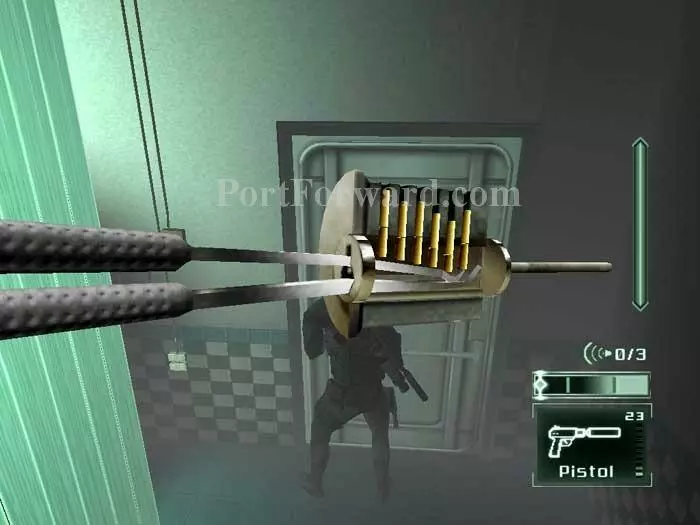
Pick the lock on this door then continue through.
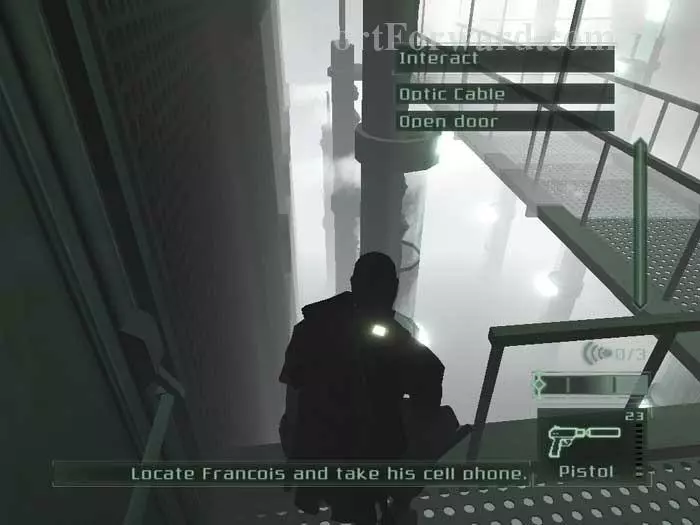
Guards patrol in the fog ahead. Rather than continue along the catwalk, turn to your immediate left and drop through this gap in the railing.
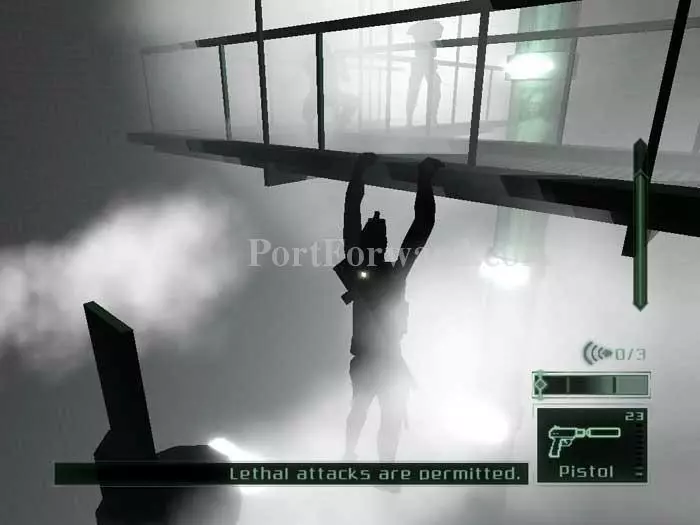
Shimmy along the catwalk, timing your advance to avoid the blasts of icy-cold vapor.
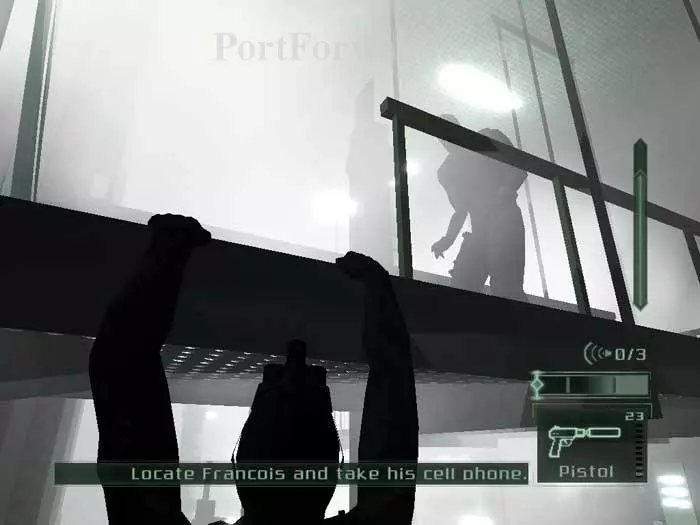
Patiently wait for a clear moment to pull yourself back up to the catwalk where the railing ends. Continue through the door on the left.
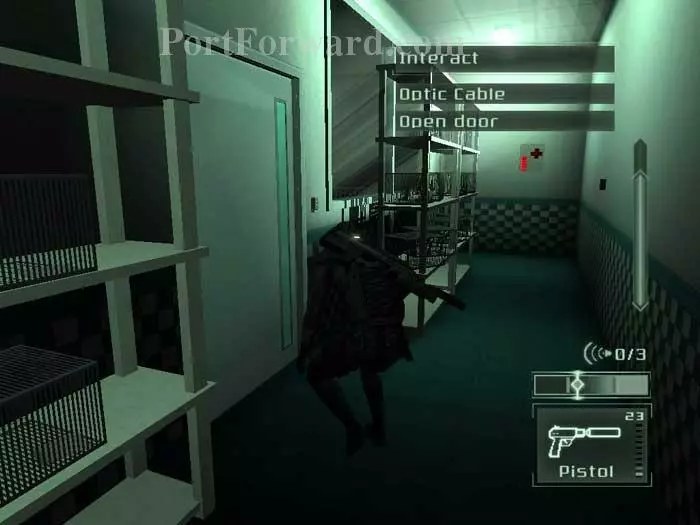
Note the first aid kit ahead and the wall mine on the right. Continue through this door on the left.
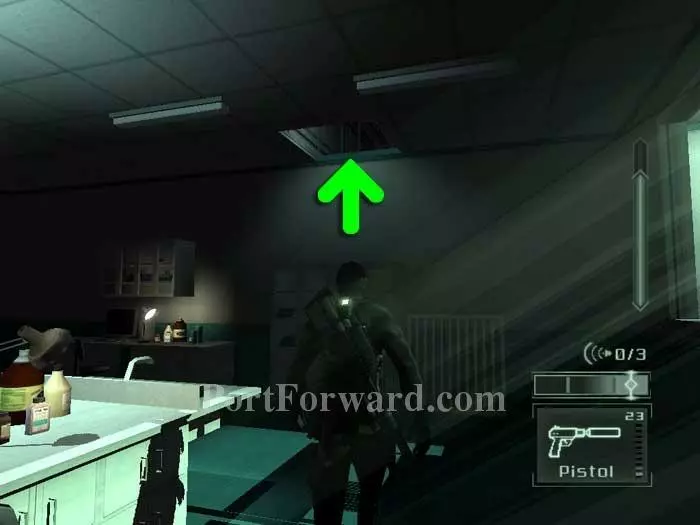
Hop onto the cabinet ahead then crawl through the indicated opening in the ceiling.
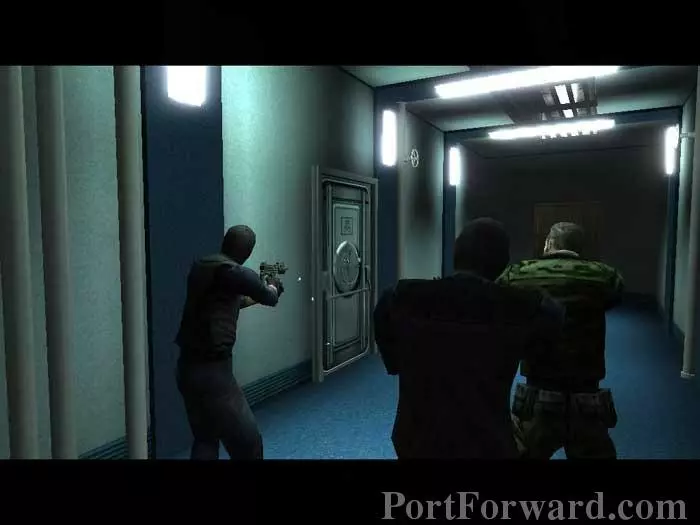
This brief cutscene plays. The vault holds fast against gunfire.
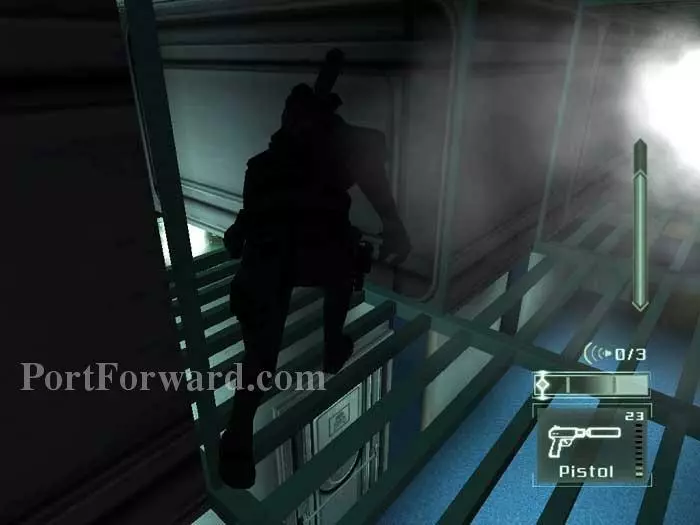
Turn left at the juncture.
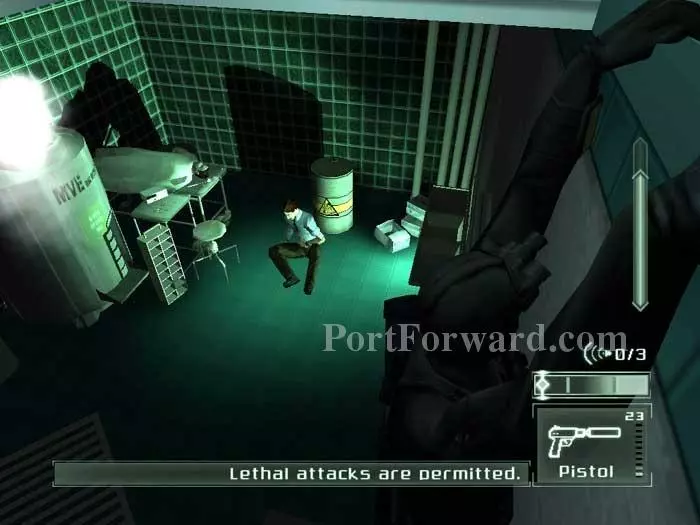
Drop below to find ammo - and Francois.
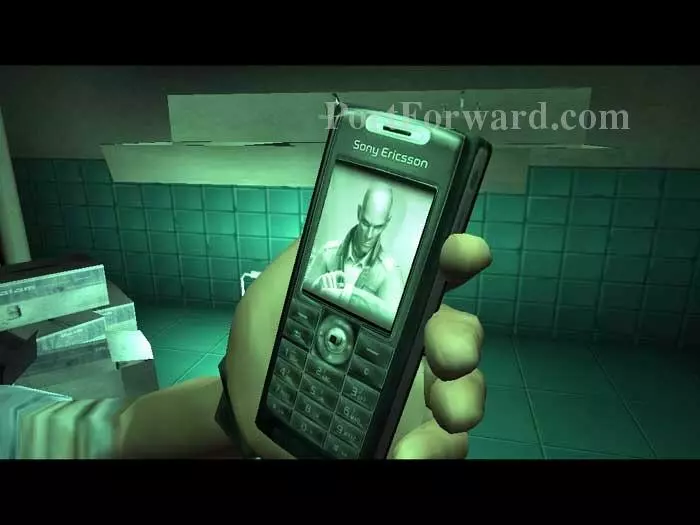
Talk to Francois and he gives you his cell phone - with a picture of Mortified Penguin.
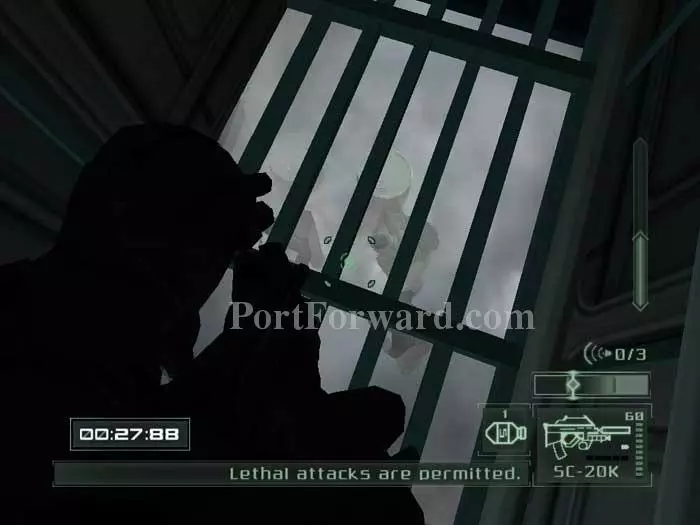
A timer counts down as the guards prepare explosives to blast through the vault door. Return above and use use a smoke grenade, sticky shockers or airfoil rings to knock out the three guards. Once all three guards are unconscious, the timer stops.
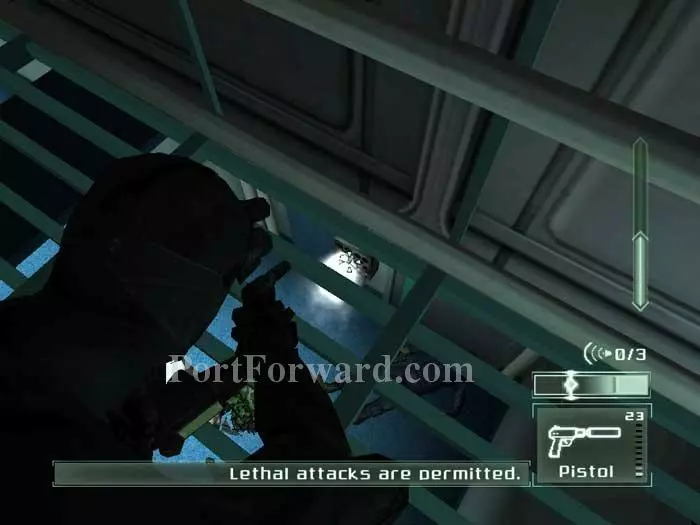
The path ahead is blocked by icy vapor- until you shoot out this valve.
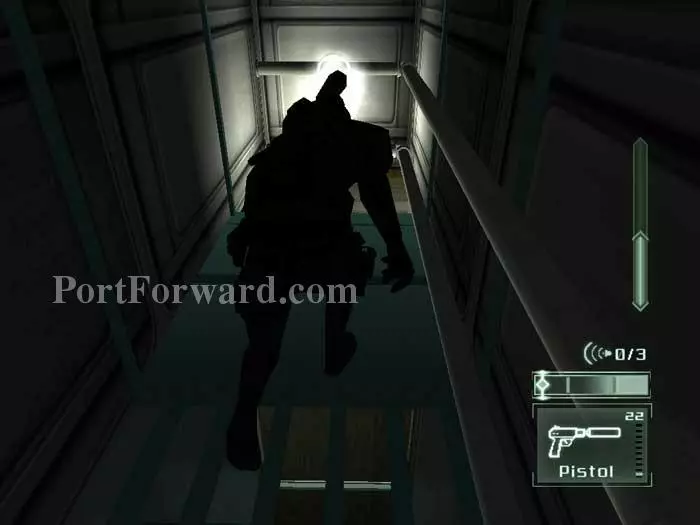
Proceed through the vent then drop below. An alternate method would have been to shoot the explosive barrels, killing everyone and clearing the vent. So crude.
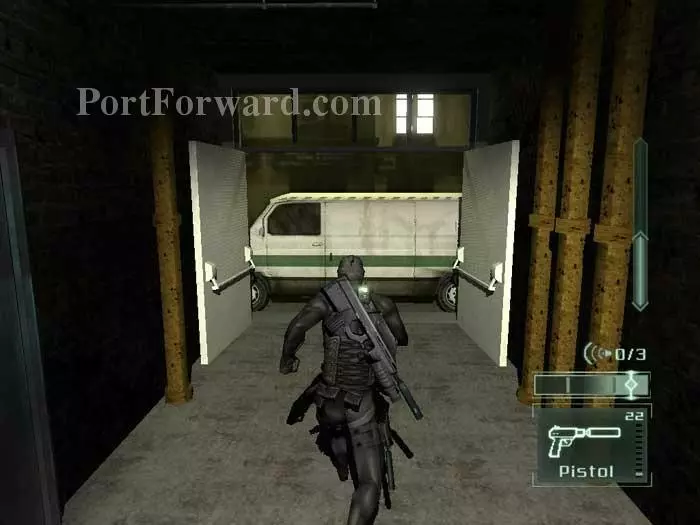
Approach the van to end the level.
More Splinter Cell: Pandora Tomorrow Walkthroughs
This Splinter Cell: Pandora Tomorrow walkthrough is divided into 8 total pages.


