Splinter Cell: Pandora Tomorrow Walkthrough Jakarta, Indonesia

September 12, 2016 (Last Updated: ) | Reading Time: 11 minutes

This Splinter Cell: Pandora Tomorrow walkthrough is divided into 8 total pages.

You can jump to nearby pages of the game using the links above.

Jakarta, Indonesia

Splinter Cell: Pandora Tomorrow Walkthrough - Splinter Cell-Pandora-Tomorrow 282

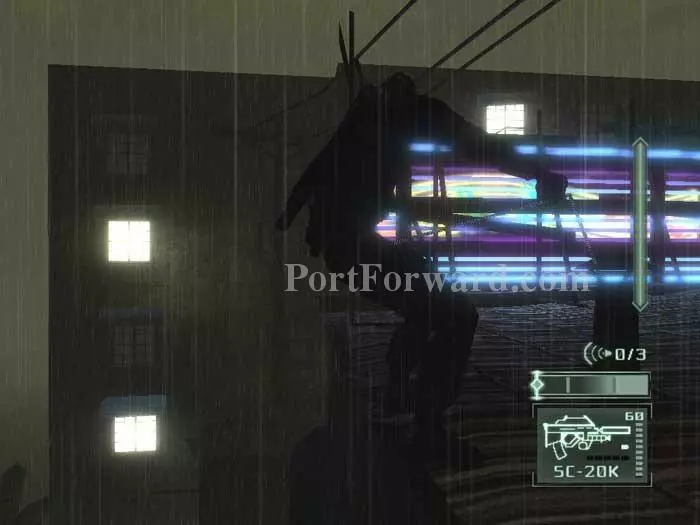
Once again, the mission begins with Coen. After your chat, drop to the roof on the left. It's important to note that if you are going for the no-kills approach that you should hold onto your flash bang and smoke grenades until instructed to use them. Rappel down the building from this position.

Splinter Cell: Pandora Tomorrow Walkthrough - Splinter Cell-Pandora-Tomorrow 283

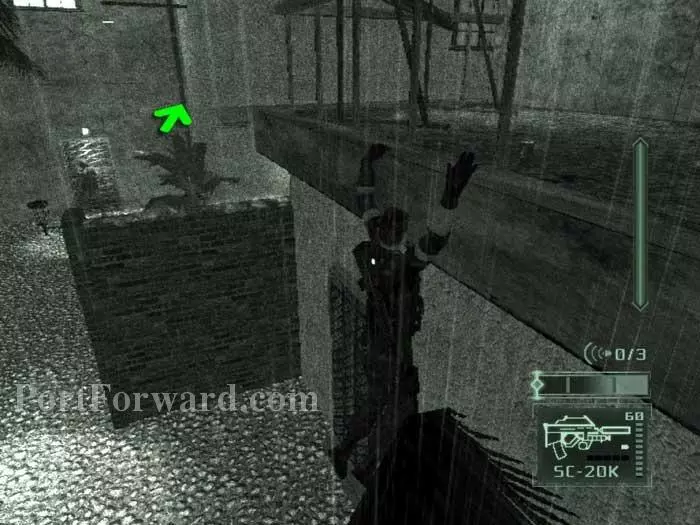
Shimmy along this ledge, drop to the street, then mantle over the brick wall to avoid the light on the left. Climb the indicated pipe.

Splinter Cell: Pandora Tomorrow Walkthrough - Splinter Cell-Pandora-Tomorrow 284

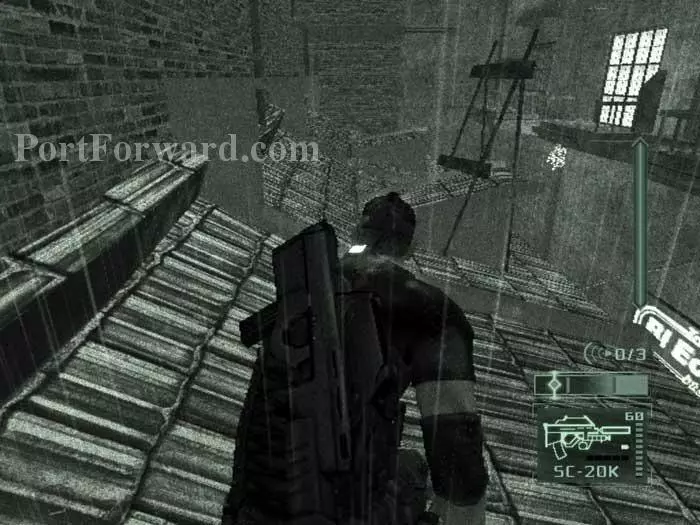
Follow the roof to the far left corner where you'll find another pipe.

Splinter Cell: Pandora Tomorrow Walkthrough - Splinter Cell-Pandora-Tomorrow 285

Descend the pipe, patiently waiting for the guards below to all have their backs to you. Proceed right.

Splinter Cell: Pandora Tomorrow Walkthrough - Splinter Cell-Pandora-Tomorrow 286

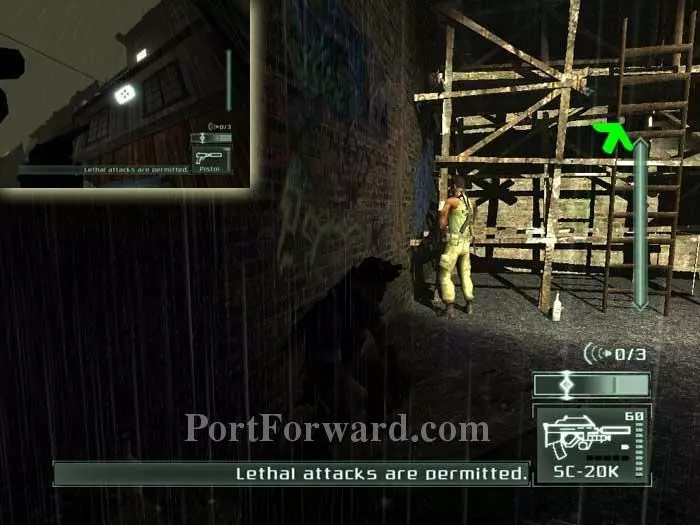
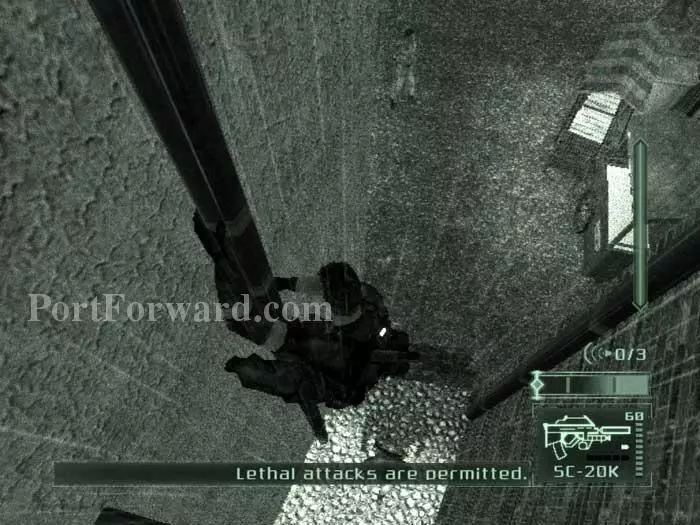
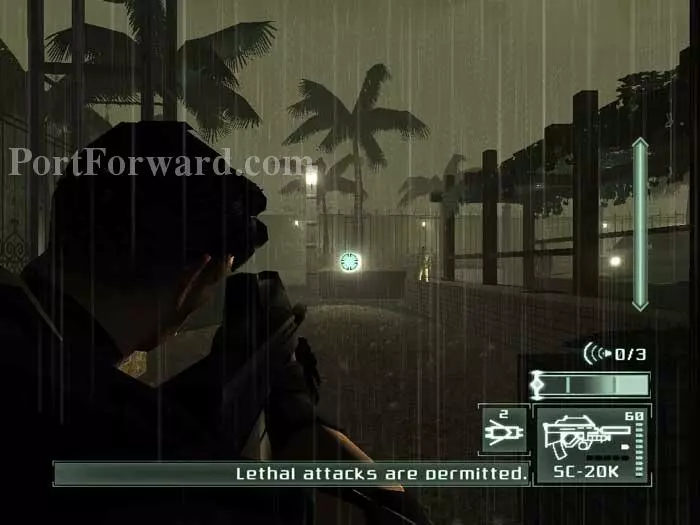
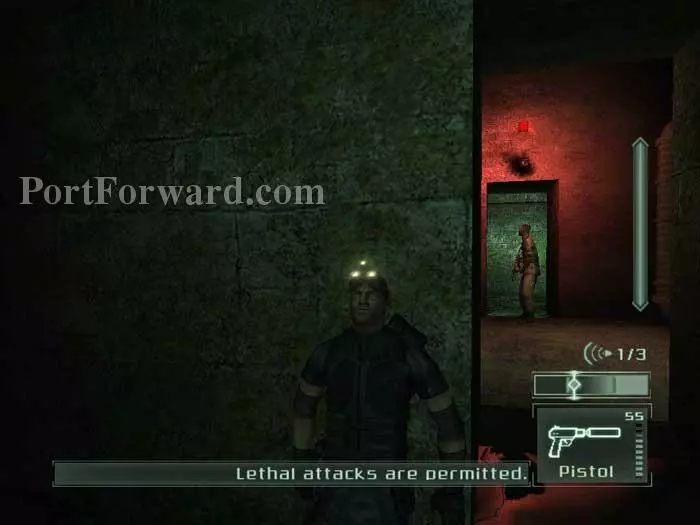
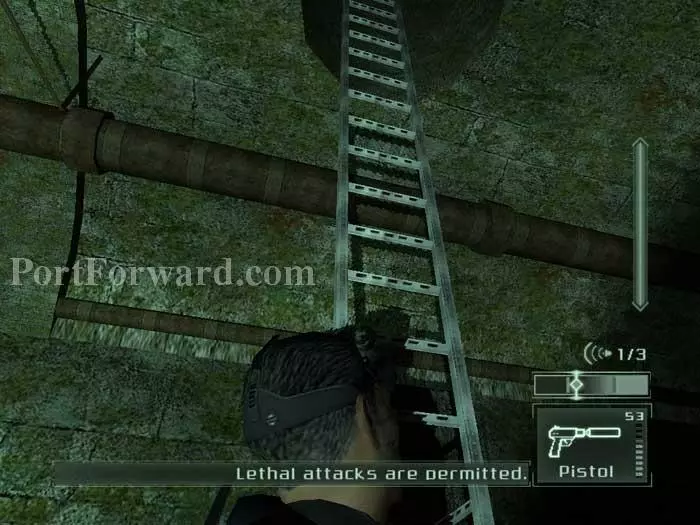
Pause here while the guard relieves himself, then shoot out the spotlight when the guards have moved on (inset). Climb the indicated ladder, now dark.

Splinter Cell: Pandora Tomorrow Walkthrough - Splinter Cell-Pandora-Tomorrow 287

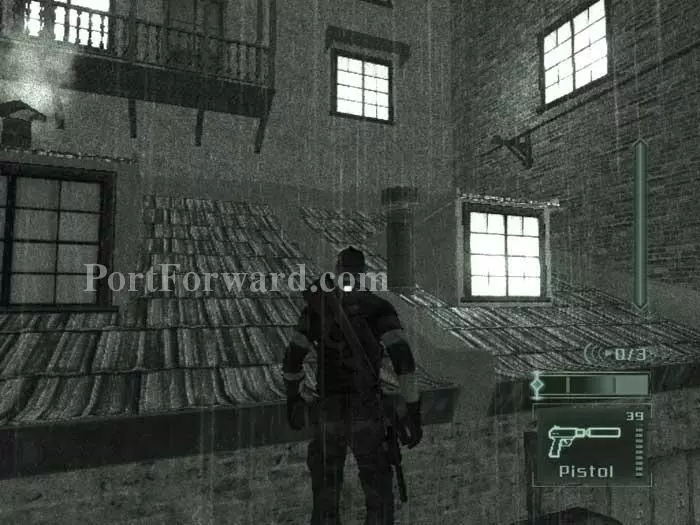
Climb a second ladder to this position. Reach the far-right corner of the rooftop, staying behind the dormer to avoid light from the window.

Splinter Cell: Pandora Tomorrow Walkthrough - Splinter Cell-Pandora-Tomorrow 288

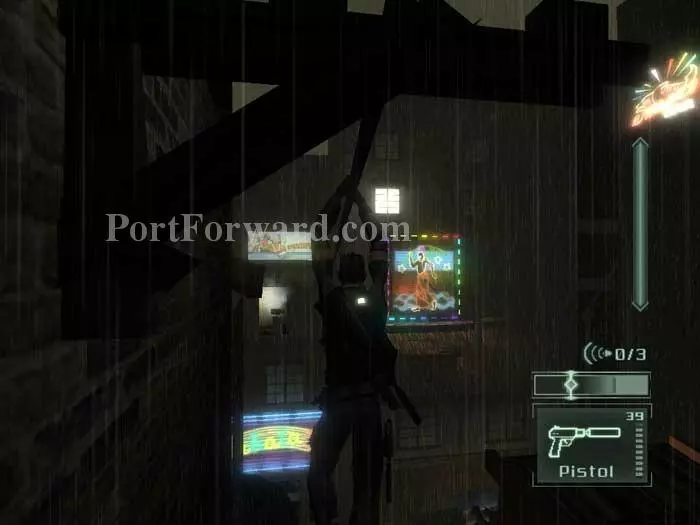
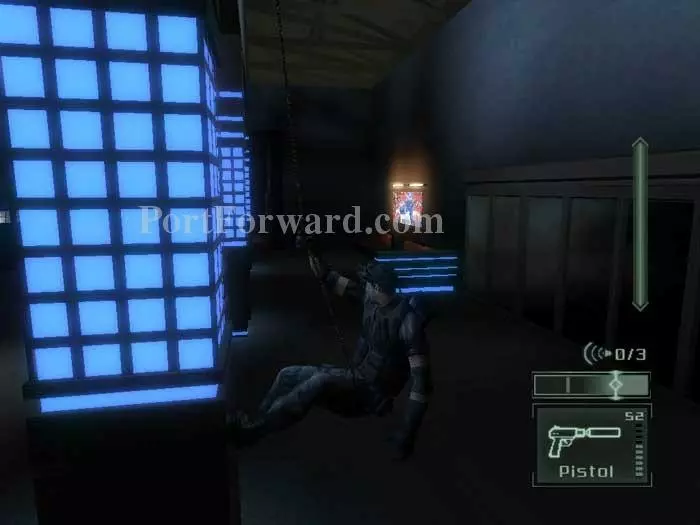
Jump up to grab this zip line. Ride it to the rooftop across the street.

Splinter Cell: Pandora Tomorrow Walkthrough - Splinter Cell-Pandora-Tomorrow 289

Shoot out this light before entering the doorway.

Splinter Cell: Pandora Tomorrow Walkthrough - Splinter Cell-Pandora-Tomorrow 290

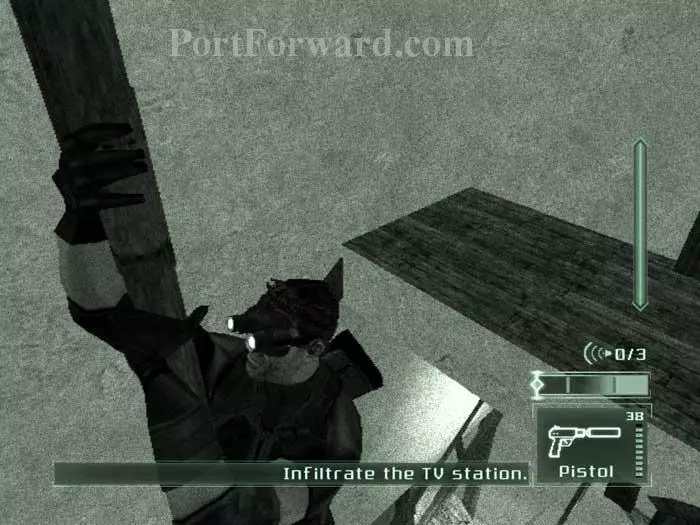
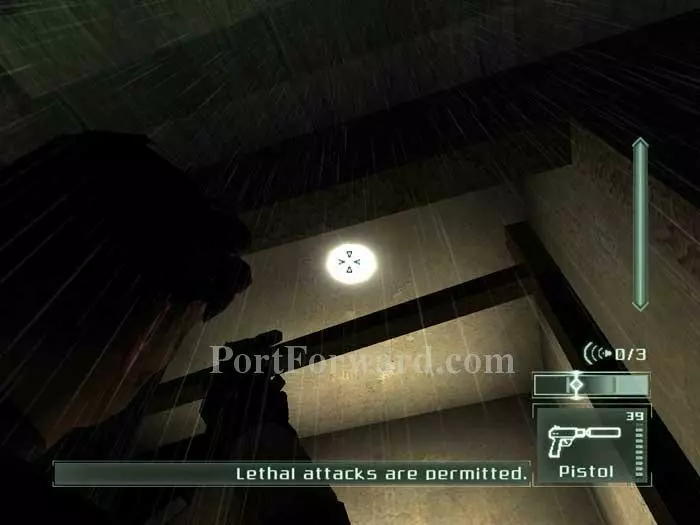
A bit of a running start will help you grab this pole. Descend to the floor below.

Splinter Cell: Pandora Tomorrow Walkthrough - Splinter Cell-Pandora-Tomorrow 291

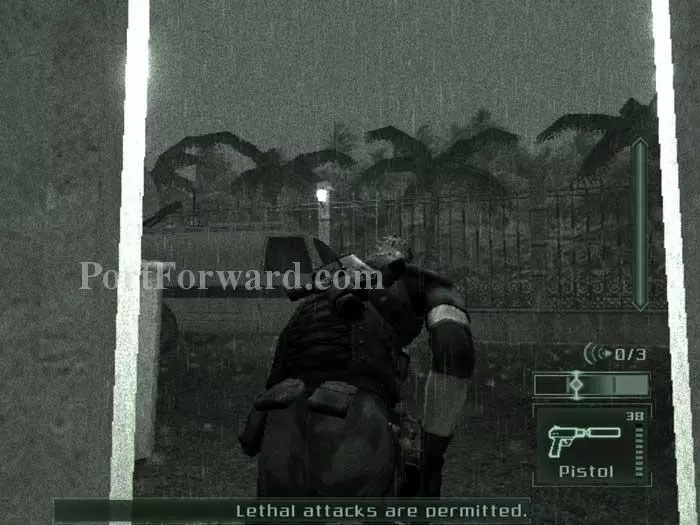
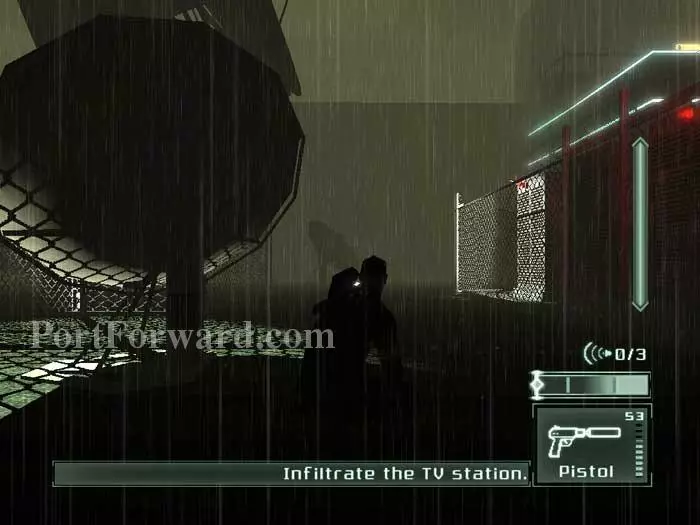
Slip out the back door and overhear the guards warn of lightning. You will be briefly visible when lightning flashes, and blinded if using night vision. (Note that a first aid kit is available out the front exit.)

Splinter Cell: Pandora Tomorrow Walkthrough - Splinter Cell-Pandora-Tomorrow 292

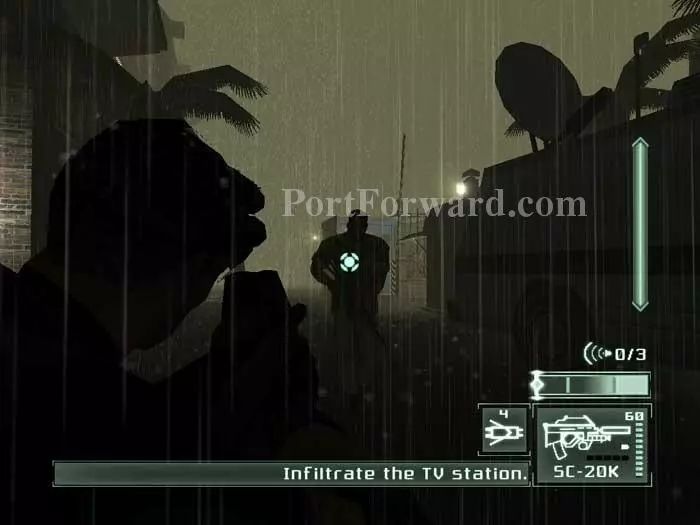
Speed is essential, as you are sure to be spotted during a lightning flash the longer you remain in the open. Hide behind the satellite van and use sticky shockers against the two guards on patrol. Hide their bodies indoors, away from the lightning.

Splinter Cell: Pandora Tomorrow Walkthrough - Splinter Cell-Pandora-Tomorrow 293

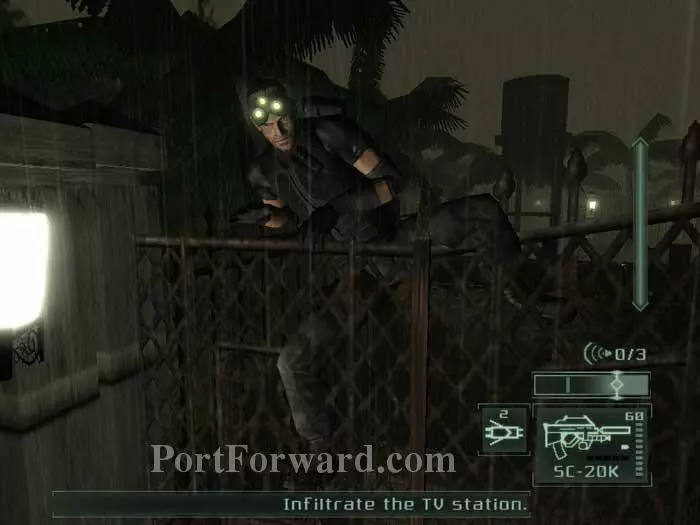
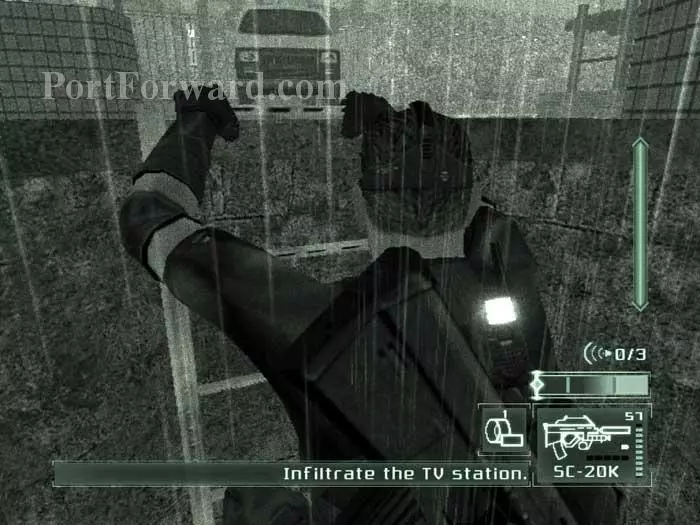
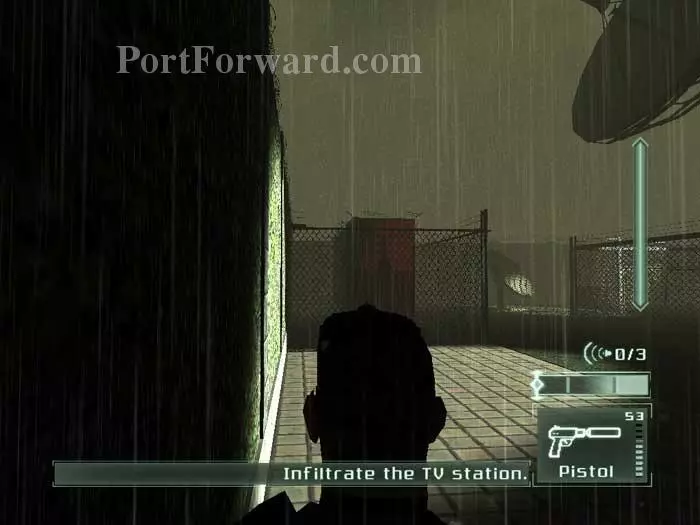
Avoid the road on the right, as it is guarded by a turret. Instead, follow the road straight then climb the fence here where the top is smooth.

Splinter Cell: Pandora Tomorrow Walkthrough - Splinter Cell-Pandora-Tomorrow 294

Three guards patrol the area. Shoot out this light as well as the light upper-left. Sticky shocker the guard seen right.

Splinter Cell: Pandora Tomorrow Walkthrough - Splinter Cell-Pandora-Tomorrow 295

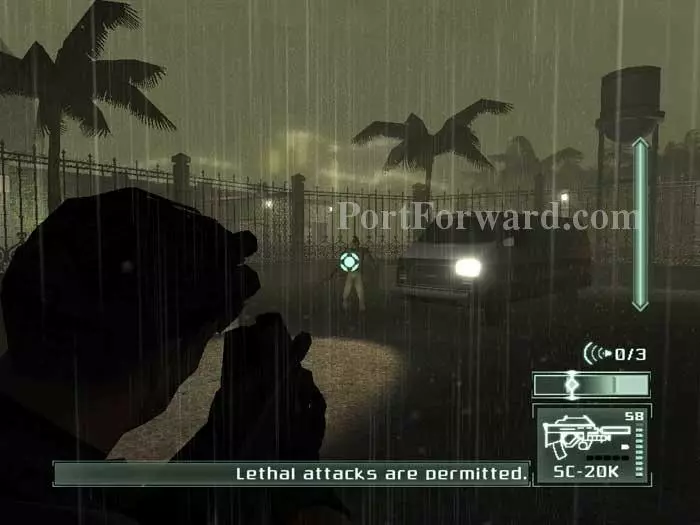
Your objective is a ladder leading down to the sewers, illuminated by this van's headlight. Here I sticky shocker the second guard before shooting out the van's headlight, but I actually found it better to shoot out the headlight first.

Splinter Cell: Pandora Tomorrow Walkthrough - Splinter Cell-Pandora-Tomorrow 296

Out of sticky shockers, I then used a ring airfoil/elbow combo on the third and final guard before hiding the bodies near the van and descending into the sewers. If you can make it to this ladder without knocking out all three guards -- congratulations, you're a better player than I.

Splinter Cell: Pandora Tomorrow Walkthrough - Splinter Cell-Pandora-Tomorrow 297

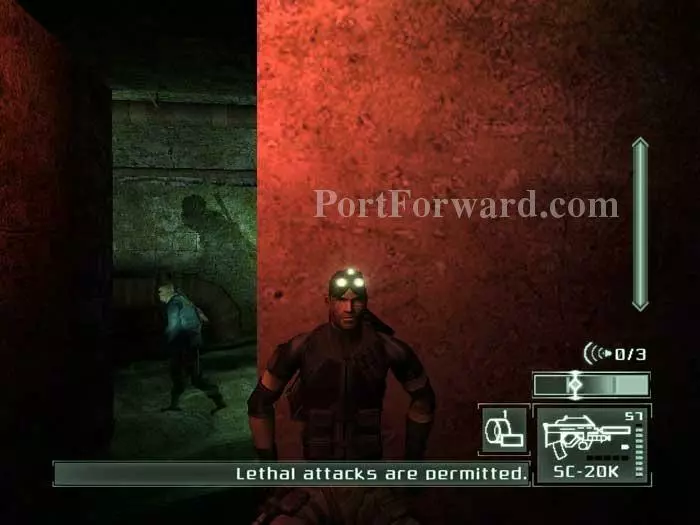
Head right then wait here for the guard to approach, turn around then head back before proceeding. This next step is much easier if you can knock him out -- I rushed him then elbowed him twice.

Splinter Cell: Pandora Tomorrow Walkthrough - Splinter Cell-Pandora-Tomorrow 298

Farther along is this next doorway under surveillance. Shoot out the camera and the only other guard investigates. This is a good spot to wait in ambush.

Splinter Cell: Pandora Tomorrow Walkthrough - Splinter Cell-Pandora-Tomorrow 299

Make sure both bodies are hidden in darkness. Pass under the camera then head right to climb this ladder.

Splinter Cell: Pandora Tomorrow Walkthrough - Splinter Cell-Pandora-Tomorrow 300

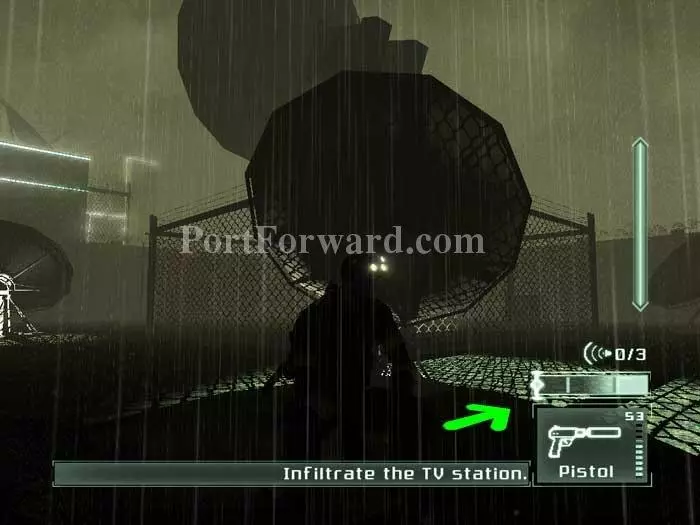
A sniper is stationed on a guard tower in the center of the courtyard, and search lights scan the area. Note how the satellite dish casts a convenient shadow for you to hide in. Turn in the direction of the arrow and activate your thermal vision.

Splinter Cell: Pandora Tomorrow Walkthrough - Splinter Cell-Pandora-Tomorrow 301

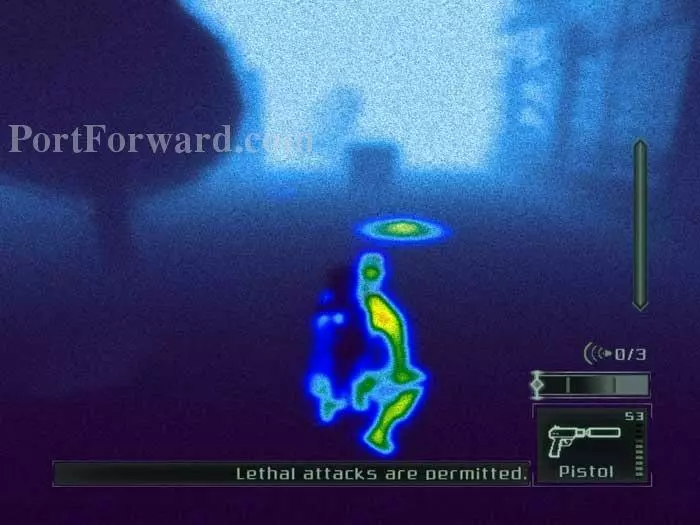
You're also in a mine field. (Clearly, this isn't your typical television station.) Turn off your thermal vision and wait for the search lights to leave the area, then switch thermal vision back on and navigate around the mines to reach the shadow of the next satellite dish ahead.

Splinter Cell: Pandora Tomorrow Walkthrough - Splinter Cell-Pandora-Tomorrow 302

Repeat to get to the shadow of this third dish. Once here, your next objective isn't the fourth dish ahead, but rather the dark corner extreme far-right. It's difficult to time so you might want to save your game first, but if you stand up and make a running sprint (while avoiding the mines of course) you can make it undetected.

Splinter Cell: Pandora Tomorrow Walkthrough - Splinter Cell-Pandora-Tomorrow 303

Now in this dark corner, you are once again safe as you were in the shadow of the three previous dishes. You've traveled in a counter-clockwise direction around the center guard tower. The distance would have been shorter to go clockwise, but the mine pattern is easier to navigate this way. Notice the gap in the barbed wire at the top of the fence ahead.

Splinter Cell: Pandora Tomorrow Walkthrough - Splinter Cell-Pandora-Tomorrow 304

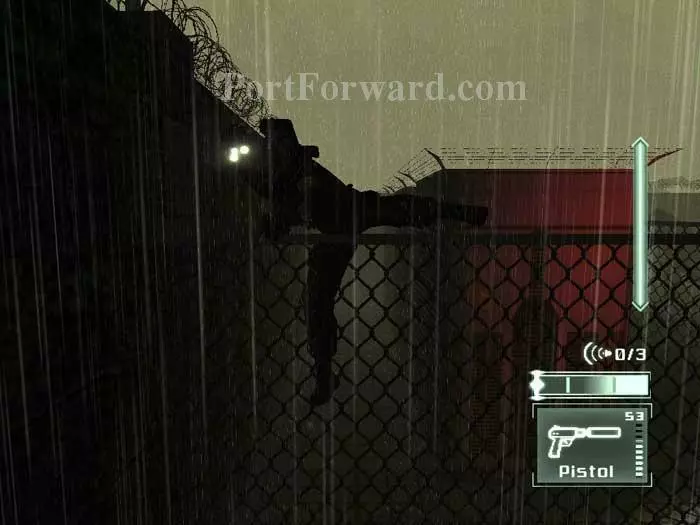
When the spot light moves away, climb over the fence where the wire is missing. Immediately take cover from the approaching spot lights.

Splinter Cell: Pandora Tomorrow Walkthrough - Splinter Cell-Pandora-Tomorrow 305

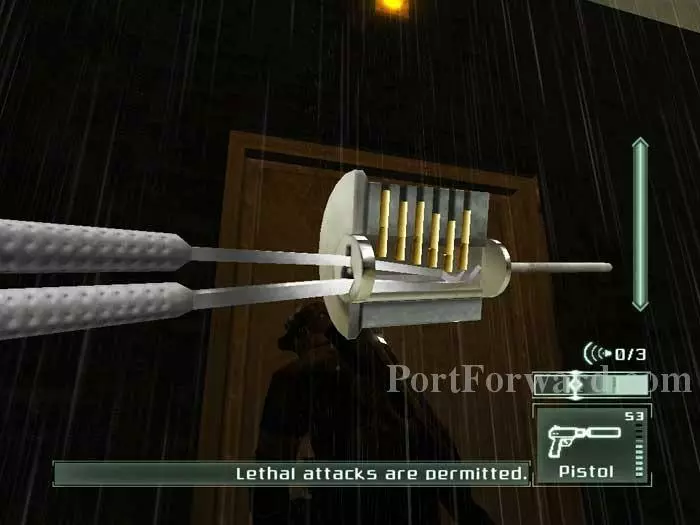
Once the lights have moved away again pick the lock on this door. Use your optic cable before opening the door as a guard patrols the other side.

Splinter Cell: Pandora Tomorrow Walkthrough - Splinter Cell-Pandora-Tomorrow 306

Knock out the guard and hide his body in the corner by the door. Whistle in the doorway seen here to lure a second guard into the room. Position yourself to grab him from behind as he approaches the light switch. Repeat on a third and final guard. First aid is on the left and two ring airfoil rounds are on the counter to the right. Proceed outside.

Splinter Cell: Pandora Tomorrow Walkthrough - Splinter Cell-Pandora-Tomorrow 307

Grab the ledge ahead and pull yourself up to the roof. Head right.

Splinter Cell: Pandora Tomorrow Walkthrough - Splinter Cell-Pandora-Tomorrow 308

Enter this nook then double-jump up, shift your weight left, then jump to this ledge on the right. Pull yourself onto the roof.

Splinter Cell: Pandora Tomorrow Walkthrough - Splinter Cell-Pandora-Tomorrow 309

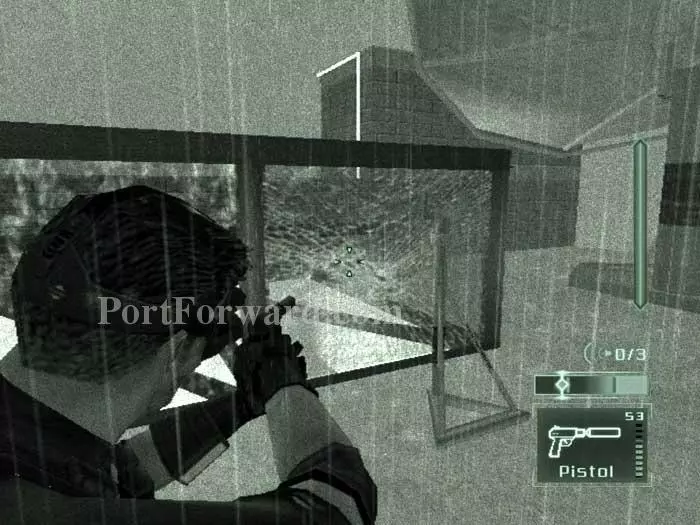
Shoot out this cracked glass, apparently damaged from the adjacent broken satellite dish.

Splinter Cell: Pandora Tomorrow Walkthrough - Splinter Cell-Pandora-Tomorrow 310

Rappel off the base of the broken dish into the building.

Splinter Cell: Pandora Tomorrow Walkthrough - Splinter Cell-Pandora-Tomorrow 311

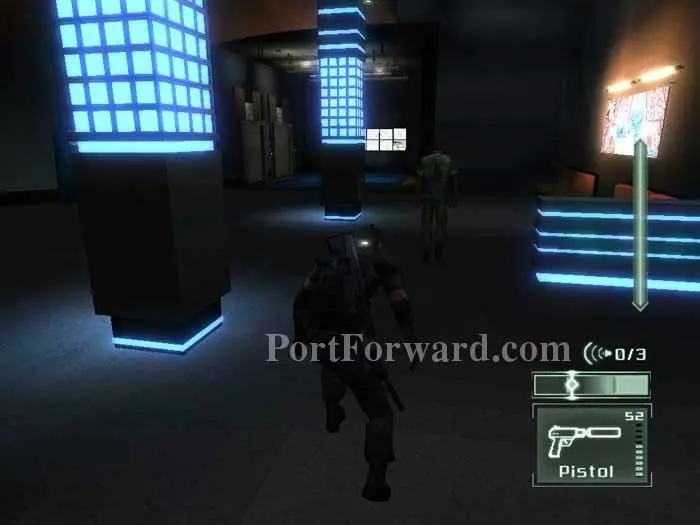
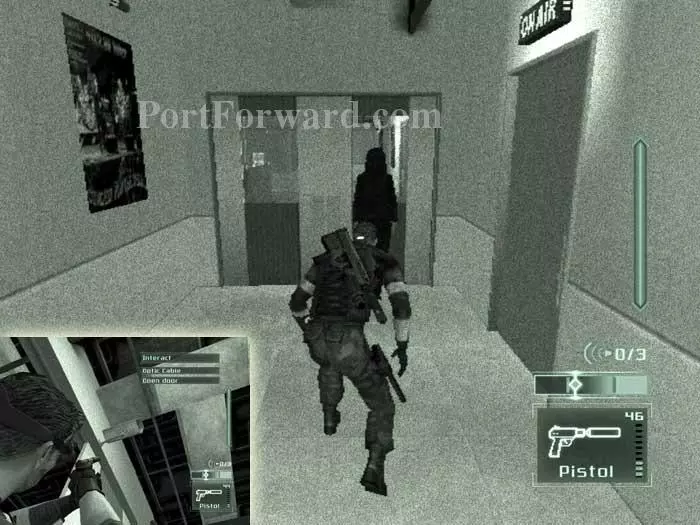
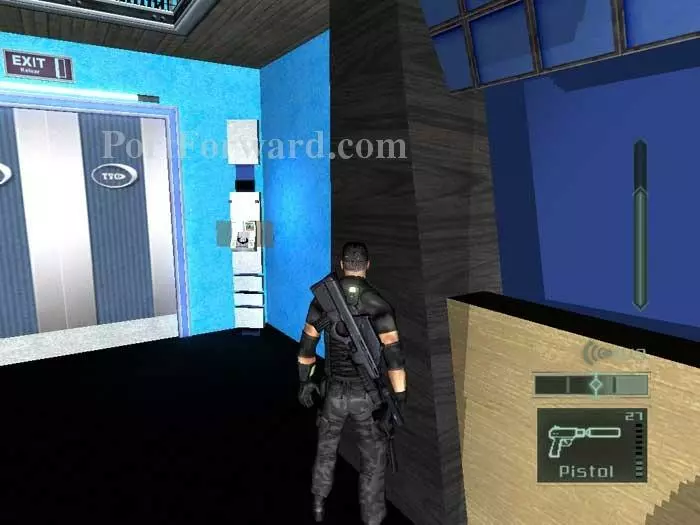
A solitary guard patrols the lobby. Take him out or just shadow him to slip into one of the elevators ahead. Ride the lift up to load the next zone.

Splinter Cell: Pandora Tomorrow Walkthrough - Splinter Cell-Pandora-Tomorrow 312

Head left off the elevator. Those double doors ahead are your immediate destination, but shoot out the neighboring lights first (after waiting for the guards to walk away).

Splinter Cell: Pandora Tomorrow Walkthrough - Splinter Cell-Pandora-Tomorrow 313

You can proceed straight ahead to the upcoming auditorium, or take this more discreet path seen here. Double-jump between these columns, shift right, then jump onto the left column. Pull yourself up then crawl into the vent ahead.

Splinter Cell: Pandora Tomorrow Walkthrough - Splinter Cell-Pandora-Tomorrow 314

You'll emerge here on the upper level of the auditorium rather than on the lower level where the guards are. Note the gap on the immediate right.

Splinter Cell: Pandora Tomorrow Walkthrough - Splinter Cell-Pandora-Tomorrow 315

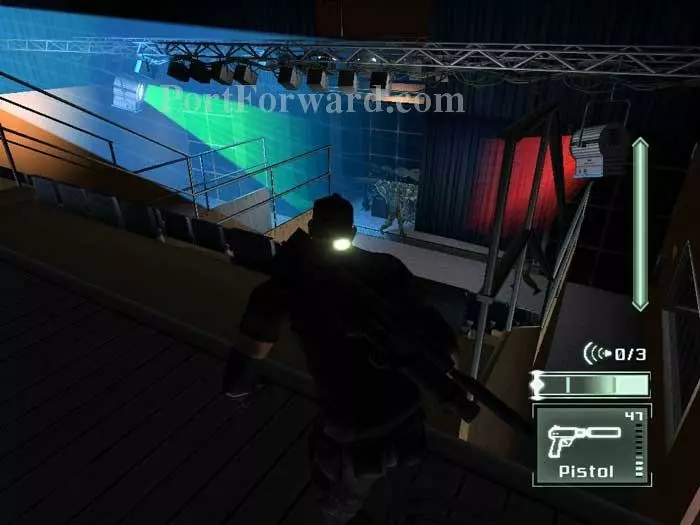
Drop through the gap, crouching before you drop to silent your footfall. Shoot out the light immediately ahead.

Splinter Cell: Pandora Tomorrow Walkthrough - Splinter Cell-Pandora-Tomorrow 316

Sneak along the right wall then grab one of the patrols as he pauses in this position. Put his body under the light you just shot out. Continue through the curtain ahead, wary of the remaining two guards.

Splinter Cell: Pandora Tomorrow Walkthrough - Splinter Cell-Pandora-Tomorrow 317

Slip backstage then exit through the door on the right.

Splinter Cell: Pandora Tomorrow Walkthrough - Splinter Cell-Pandora-Tomorrow 318

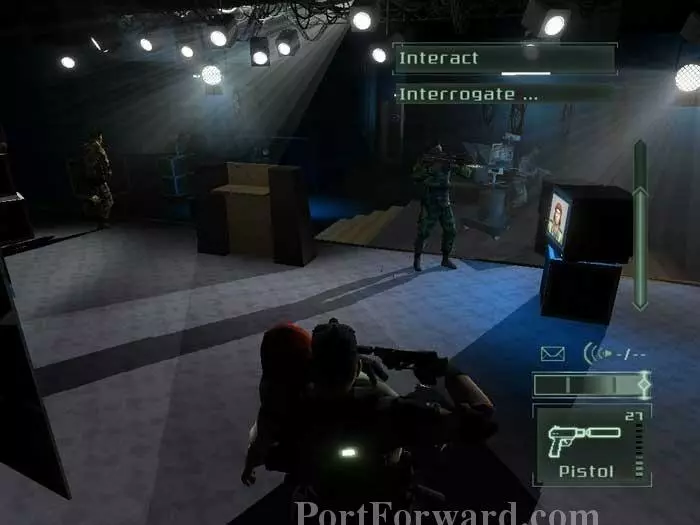
Ingrid is in the rightmost room. Perform a back press and wait for the bad voice acting to end. The guard will walk right past you as he leaves. Do not enter the room, yet.

Splinter Cell: Pandora Tomorrow Walkthrough - Splinter Cell-Pandora-Tomorrow 319

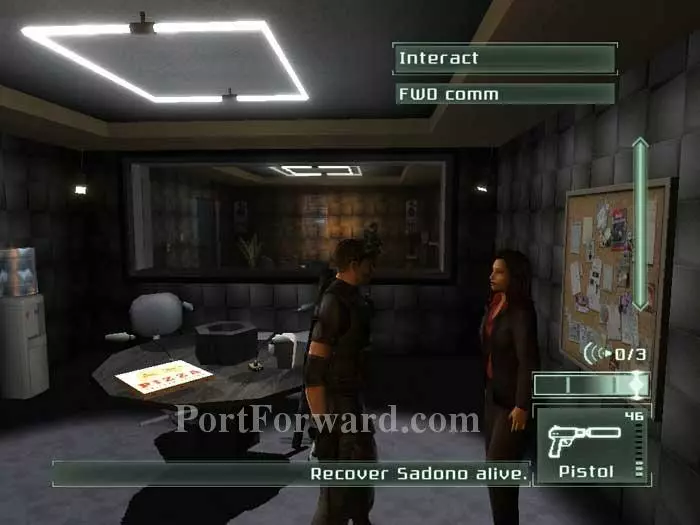
If you do, the guard behind that mirror would spot you. Enter that room first and easily grab the seated guard from behind. Hide his body in a dark corner then return and speak with Ingrid.

Splinter Cell: Pandora Tomorrow Walkthrough - Splinter Cell-Pandora-Tomorrow 320

You now need to follow Ingrid as she leads you to Sadono. Shoot out the security camera on the other side of this door before proceeding (inset).

Splinter Cell: Pandora Tomorrow Walkthrough - Splinter Cell-Pandora-Tomorrow 321

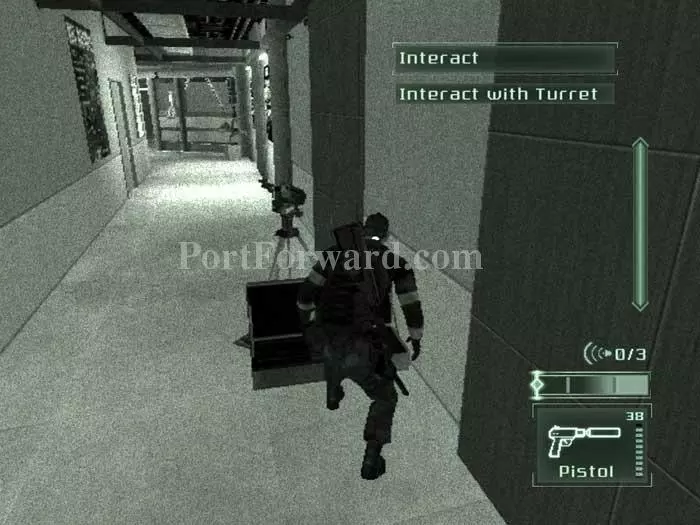
Don't worry about keeping pace -- Ingrid is waiting behind the glass partition ahead. Hang back and shoot out lights as guards move clear. Deactivate this turret before continuing down the hallway.

Splinter Cell: Pandora Tomorrow Walkthrough - Splinter Cell-Pandora-Tomorrow 322

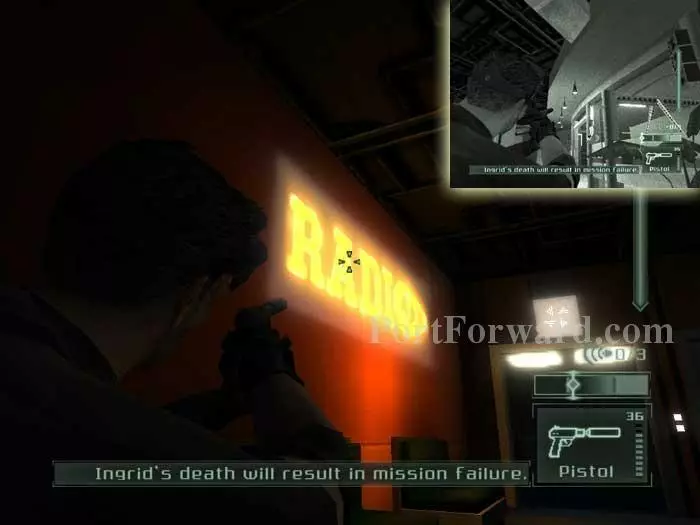
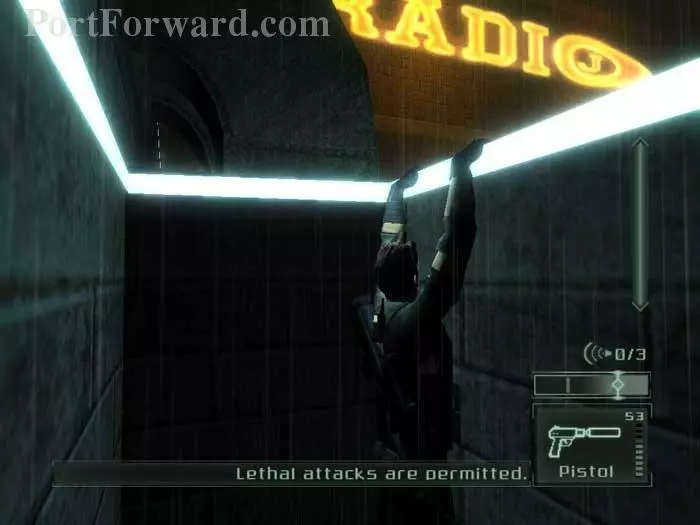
Shoot out this neon sign to your left to provide cover from the guard ahead. Shoot out the lights over the doorway leading to Ingrid (inset). If the guard investigates, knock him out and hide his body under the now-dark sign.

Splinter Cell: Pandora Tomorrow Walkthrough - Splinter Cell-Pandora-Tomorrow 323

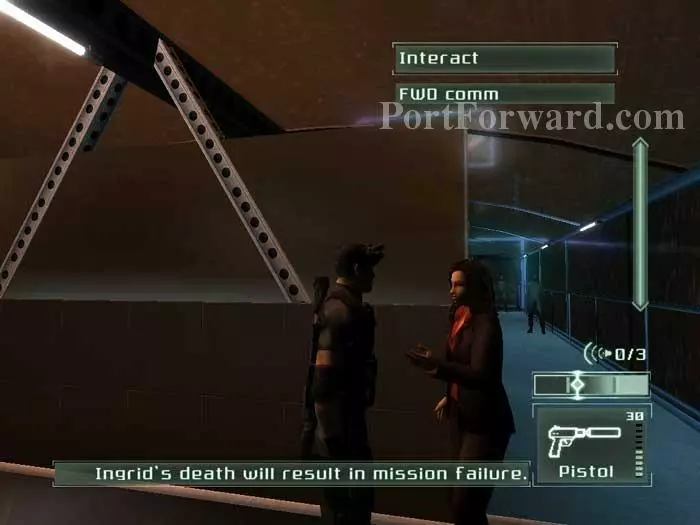
Speak with Ingrid. She tells you to take the tunnel on the left while she takes the one on the right.

Splinter Cell: Pandora Tomorrow Walkthrough - Splinter Cell-Pandora-Tomorrow 324

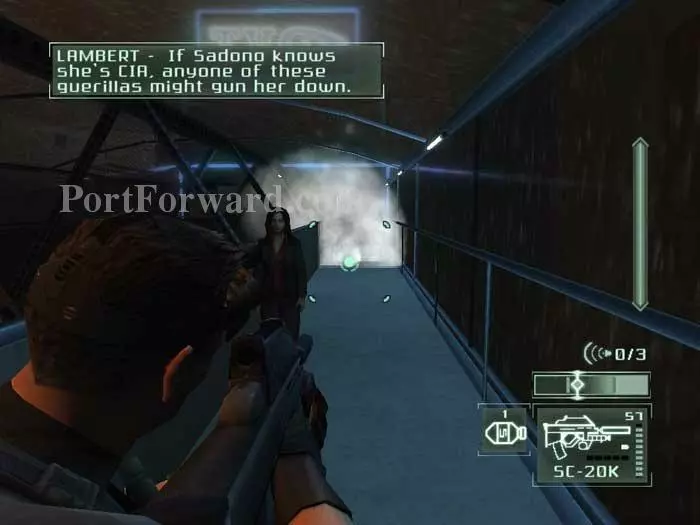
Don't take the advice. Ingrid's cover has been broken and the guards receive a phone call instructing them to kill her. If you've been following the walkthrough you should have two smoke grenades. Fire one at the two guards in the right tunnel.

Splinter Cell: Pandora Tomorrow Walkthrough - Splinter Cell-Pandora-Tomorrow 325

Three more guards approach from the end of the hallway. Fire your second smoke grenade at them, then equip ring airfoil rounds to use in combination with elbow strikes on any guards left standing.

Splinter Cell: Pandora Tomorrow Walkthrough - Splinter Cell-Pandora-Tomorrow 326

Hide the bodies in the dark tunnel then return to Ingrid, who opens the doors with the retinal scanner.

Splinter Cell: Pandora Tomorrow Walkthrough - Splinter Cell-Pandora-Tomorrow 327

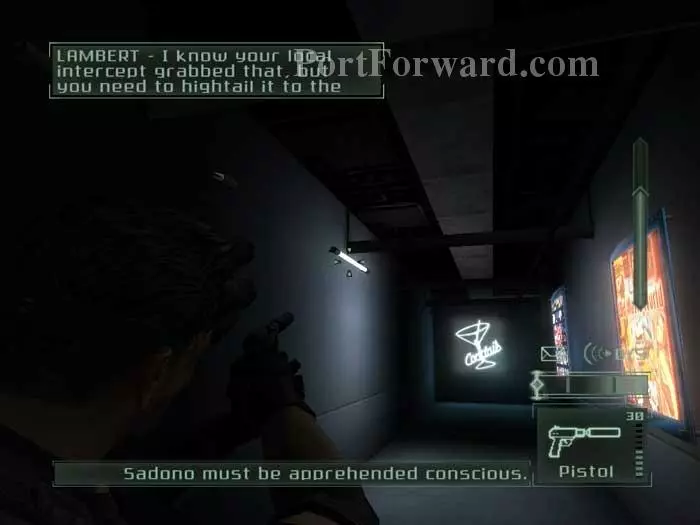
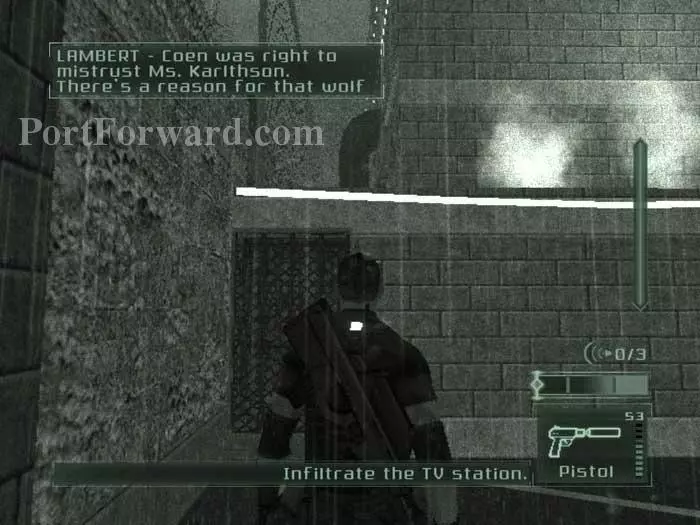
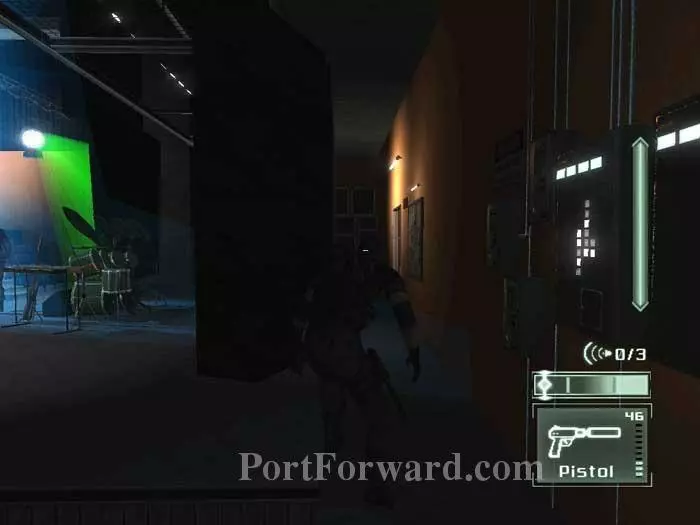
Talk to Ingrid again and she tells you to follow her, although in actuality she won't move past the elevators. Continue down this hall, shooting out this light and the "Cocktails" sign at the back, providing adequate cover to conceal you from the indestructible camera straight ahead.

Splinter Cell: Pandora Tomorrow Walkthrough - Splinter Cell-Pandora-Tomorrow 328

Shoot out this neon square, which should attract one of the two guards ahead.

Splinter Cell: Pandora Tomorrow Walkthrough - Splinter Cell-Pandora-Tomorrow 329

Wait in ambush for him here, grab him from behind, knock him out and place his body under the security camera.

Splinter Cell: Pandora Tomorrow Walkthrough - Splinter Cell-Pandora-Tomorrow 330

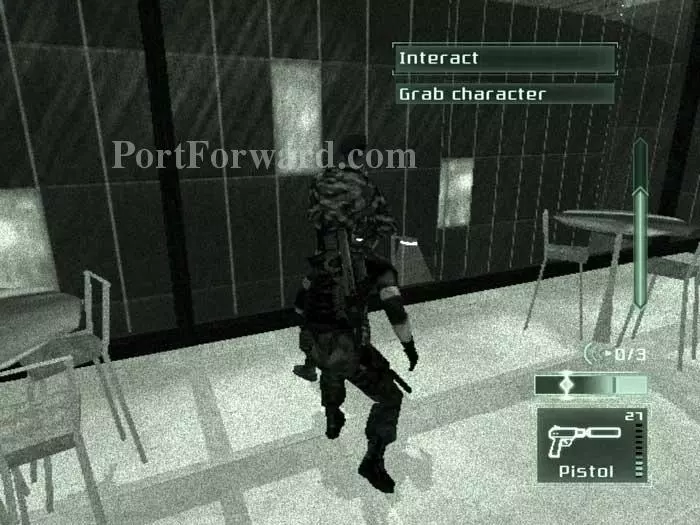
Grab the second guard while he's looking out the window.

Splinter Cell: Pandora Tomorrow Walkthrough - Splinter Cell-Pandora-Tomorrow 331

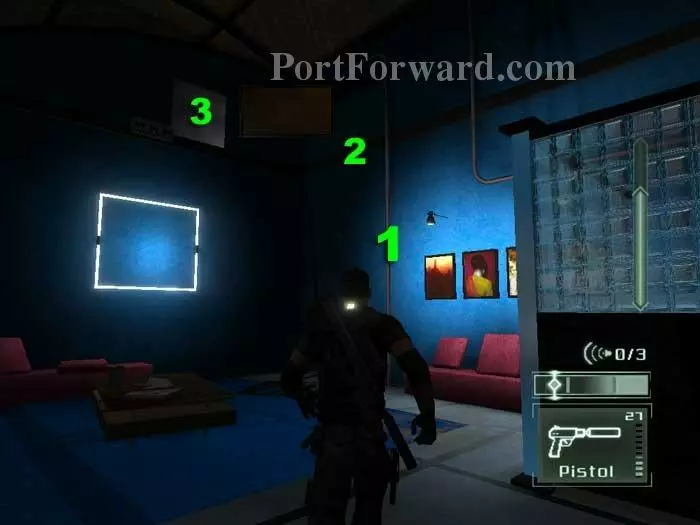
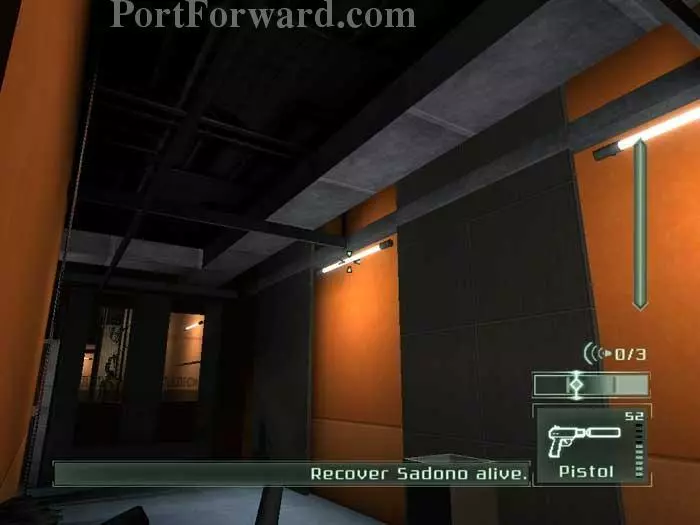
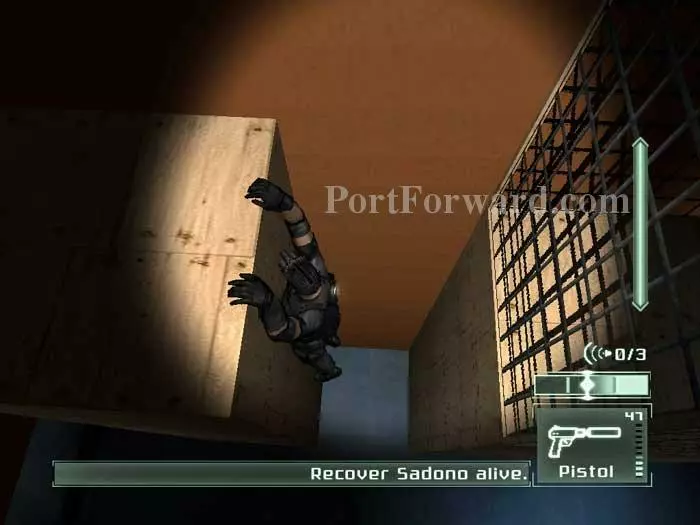
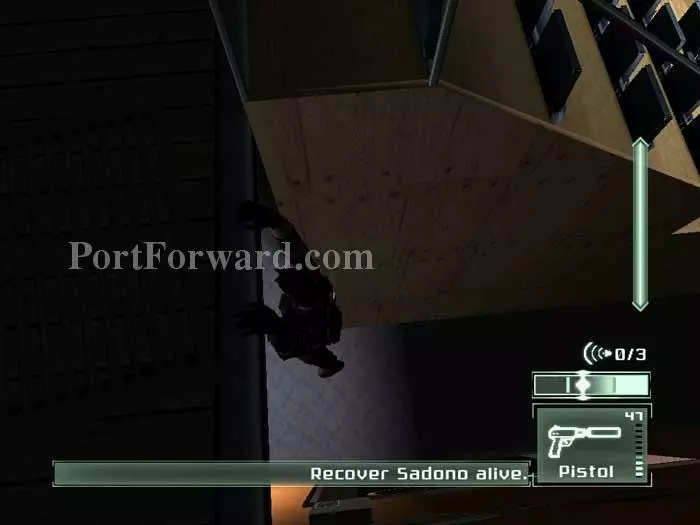
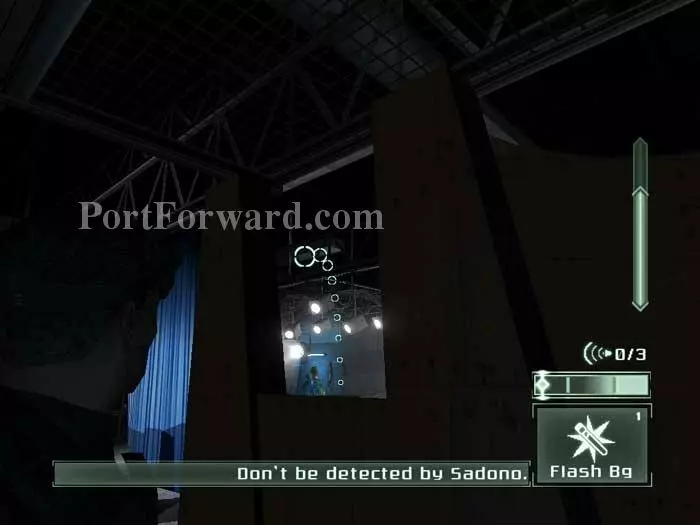
Climb the pipe at (1). Shimmy along the beam at (2). Enter the vent at (3).

Splinter Cell: Pandora Tomorrow Walkthrough - Splinter Cell-Pandora-Tomorrow 332

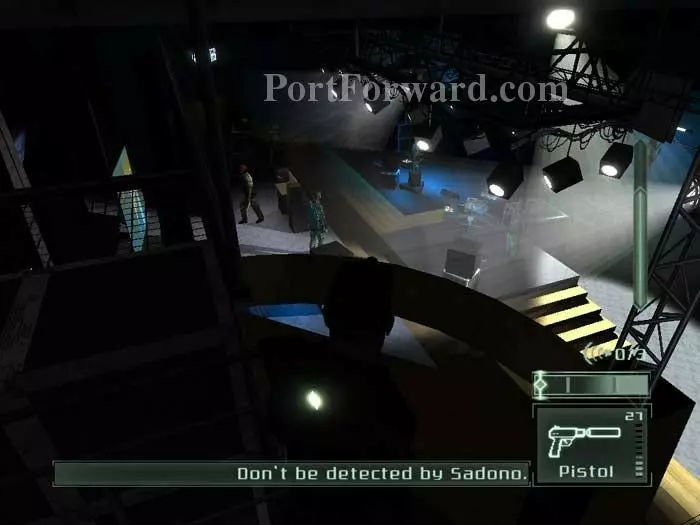
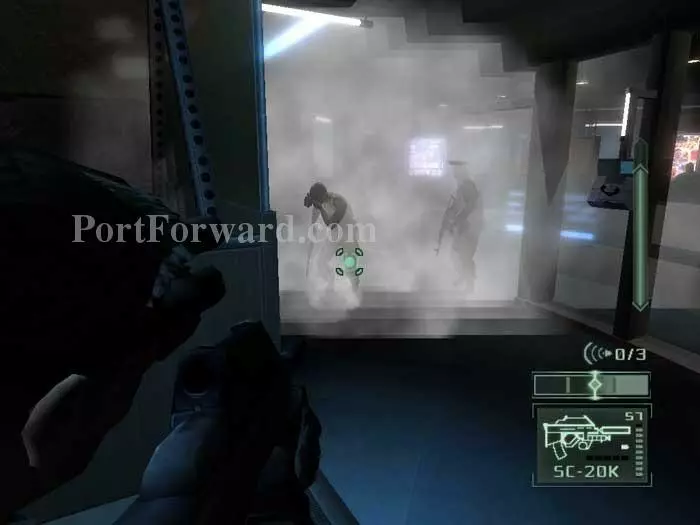
You'll emerge here -- that's Sadono in the rasberry beret. Drop to the floor below.

Splinter Cell: Pandora Tomorrow Walkthrough - Splinter Cell-Pandora-Tomorrow 333

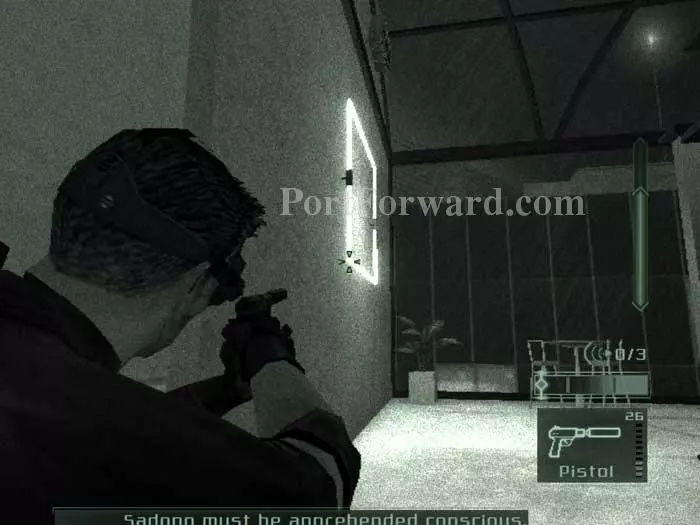
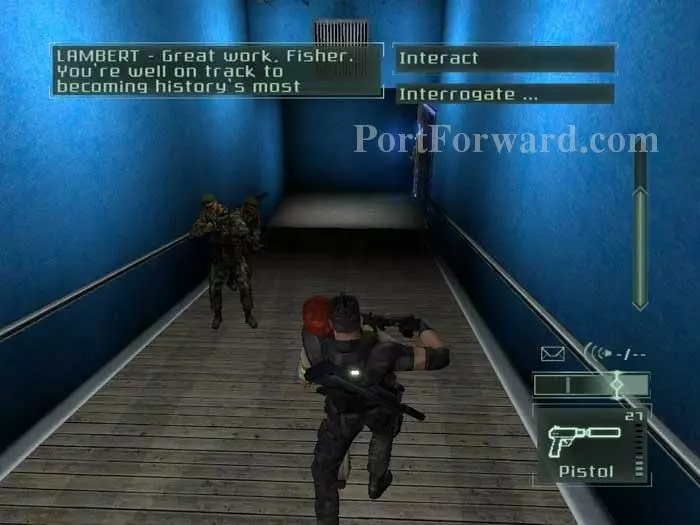
Equip the flash bang grenade you've been saving and toss it into the center of the room.

Splinter Cell: Pandora Tomorrow Walkthrough - Splinter Cell-Pandora-Tomorrow 334

Immediately turn around so you are not blinded when the flash goes off.

Splinter Cell: Pandora Tomorrow Walkthrough - Splinter Cell-Pandora-Tomorrow 335

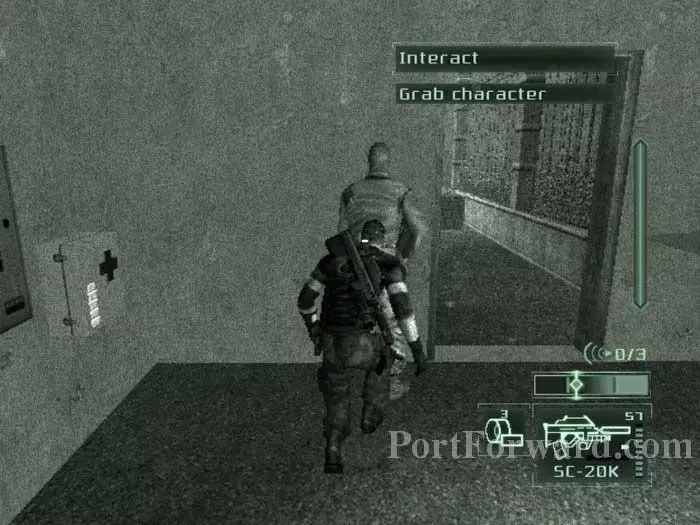
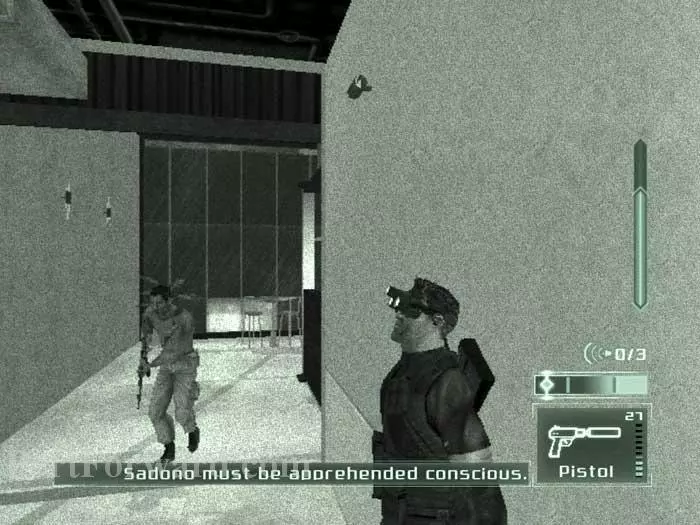
Turn back around and grab Sadono while everyone is still stunned. When they come around, keep Sadono's body between you and his men to discourage them from firing.

Splinter Cell: Pandora Tomorrow Walkthrough - Splinter Cell-Pandora-Tomorrow 336

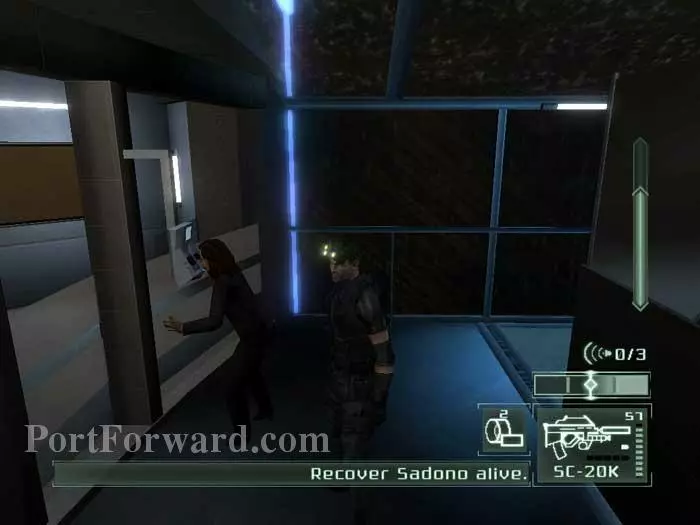
Take Sadono to the nearby retinal scanner on the right. Use it to open the doors to the scanner's left.

Splinter Cell: Pandora Tomorrow Walkthrough - Splinter Cell-Pandora-Tomorrow 337

With Sadono as your body shield, drag him up this ramp to another scanner.

Splinter Cell: Pandora Tomorrow Walkthrough - Splinter Cell-Pandora-Tomorrow 338

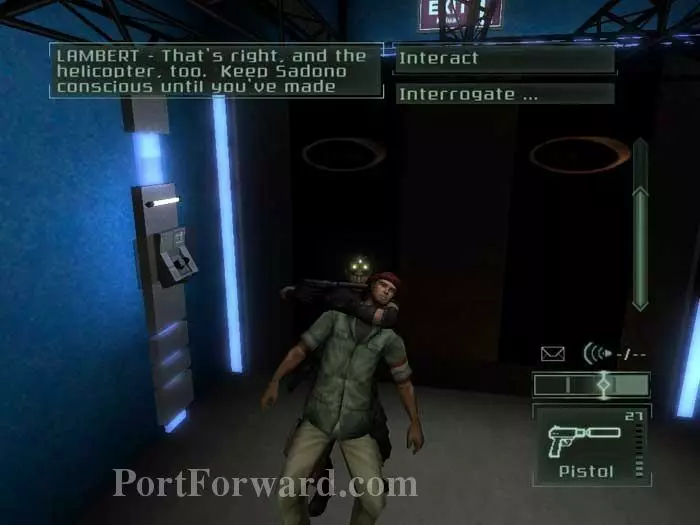
Use this second scanner while holding Sadono and the exit doors are unlocked.

Splinter Cell: Pandora Tomorrow Walkthrough - Splinter Cell-Pandora-Tomorrow 339

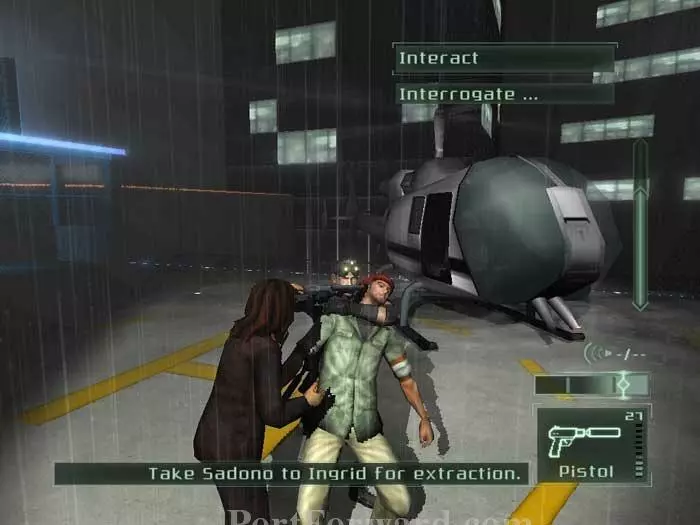
Take Sadono to Ingrid to end the level.

More Splinter Cell: Pandora Tomorrow Walkthroughs

This Splinter Cell: Pandora Tomorrow walkthrough is divided into 8 total pages.

More From Portforward