
This Splinter Cell: Pandora Tomorrow walkthrough is divided into 8 total pages.
You can jump to nearby pages of the game using the links above.
Los Angeles, California
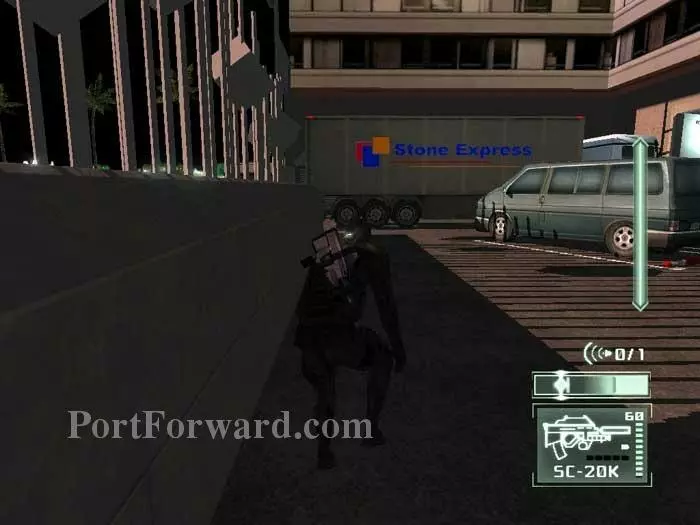
Begin by climbing over this fence. Approach the rear of that truck and climb in.
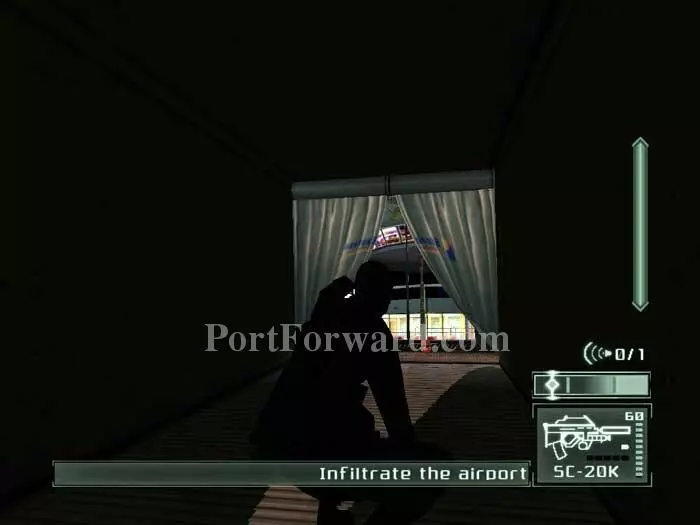
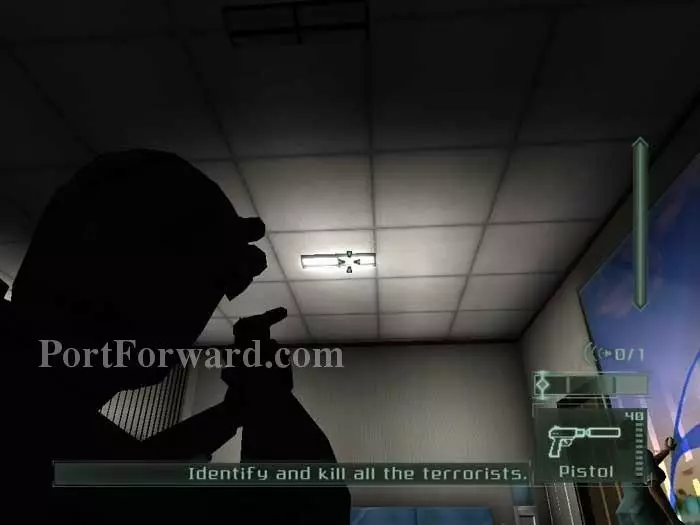
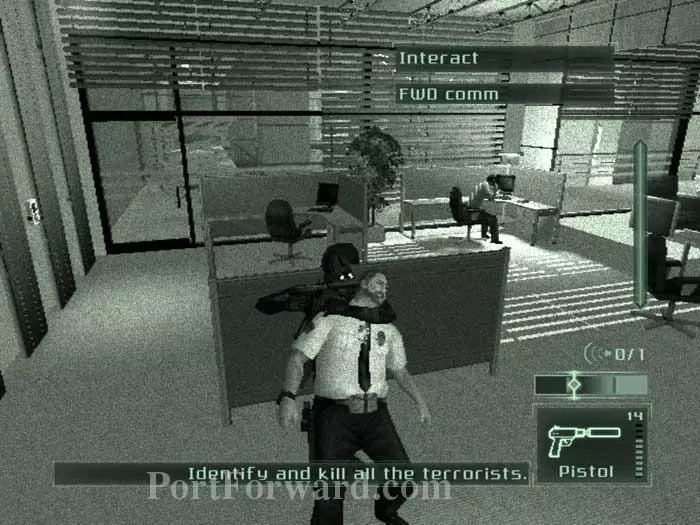
Here's the view inside the truck. Enjoy the ride as it takes you inside the airport. Lambert notifies you that you can ID Soth's recently-vaccinated terrorists by their higher body temperature.
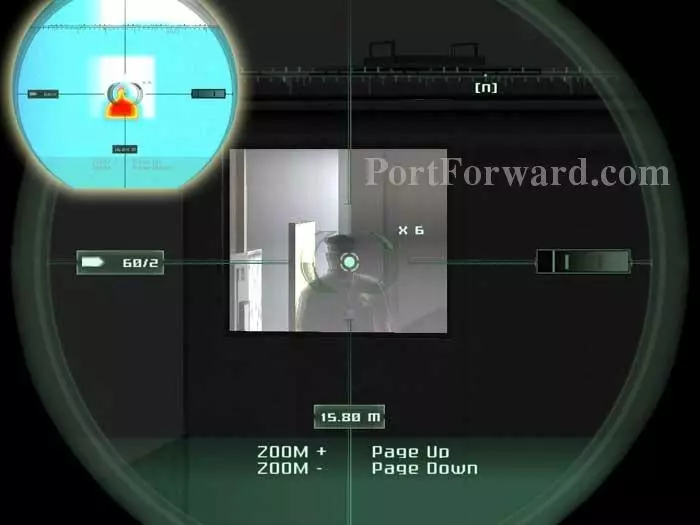
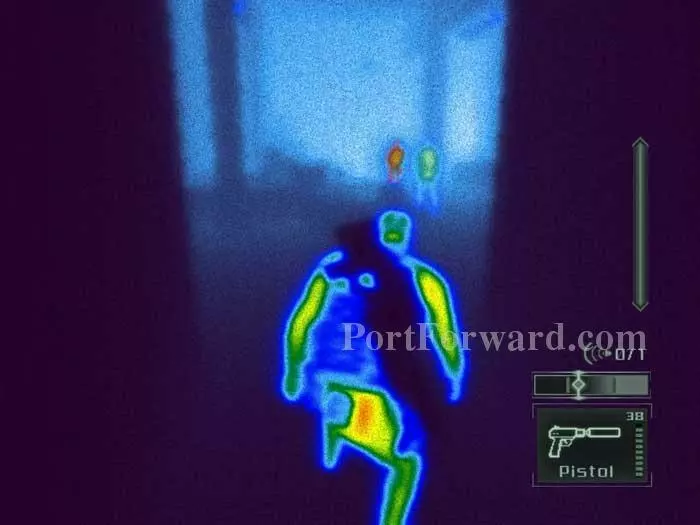
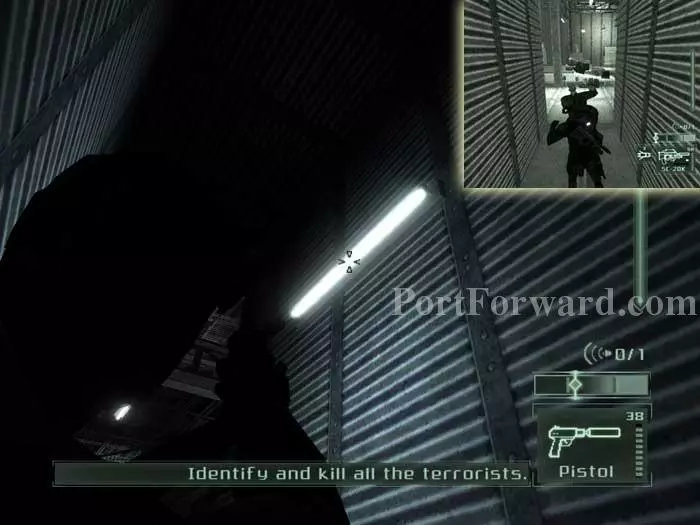
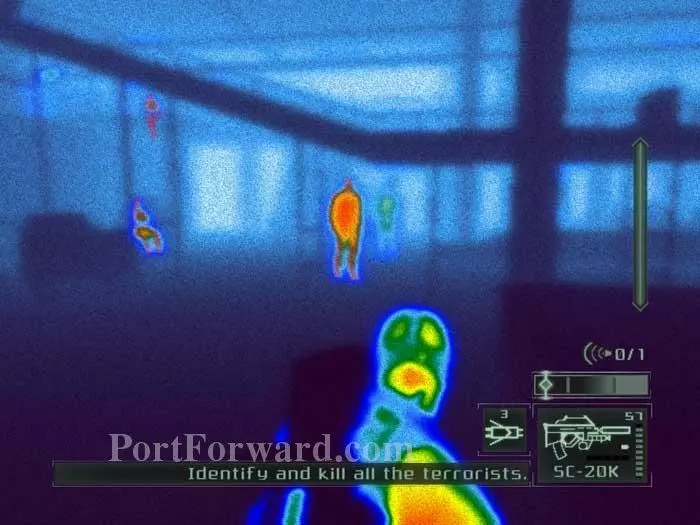
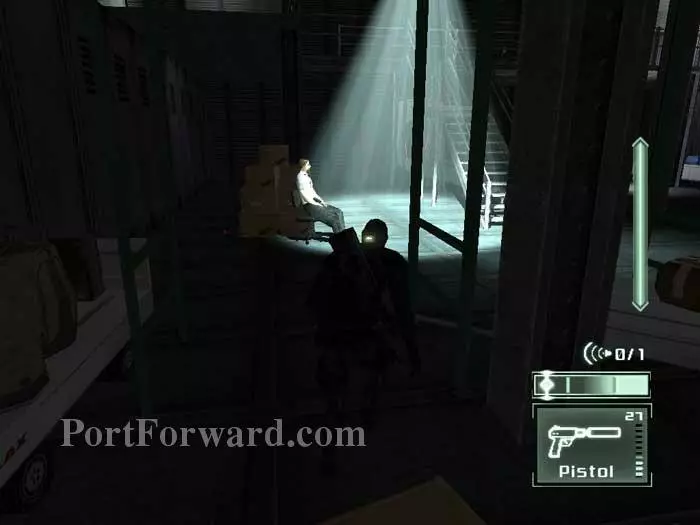
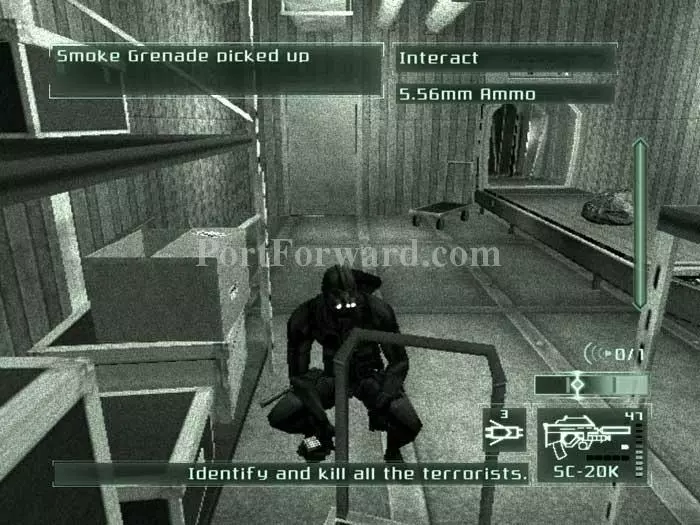
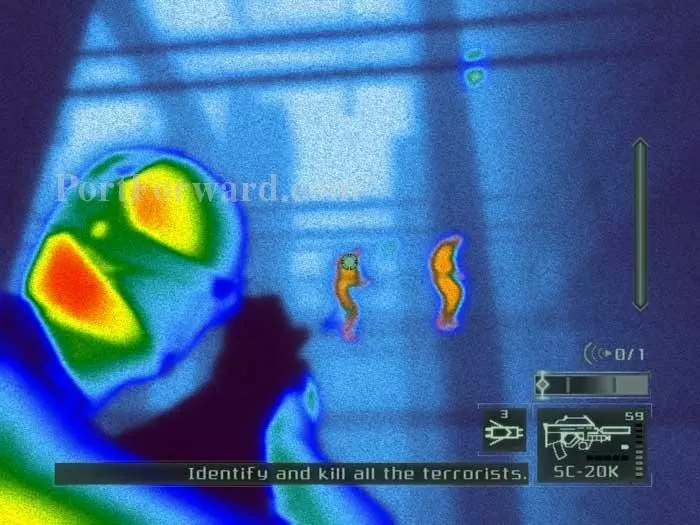
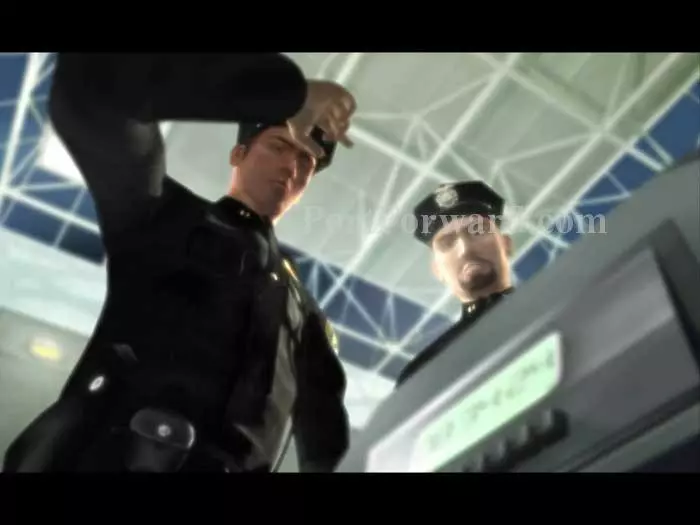
Don't leave the truck when it stops. A guard and a dog patrol the garage. Instead, equip your SC-20K and peer out the back. Aim at the guard in the station and equip your thermal vision. The red glow identifies him as one of Soth's men. You have to kill him -- knocking him out is insufficient.
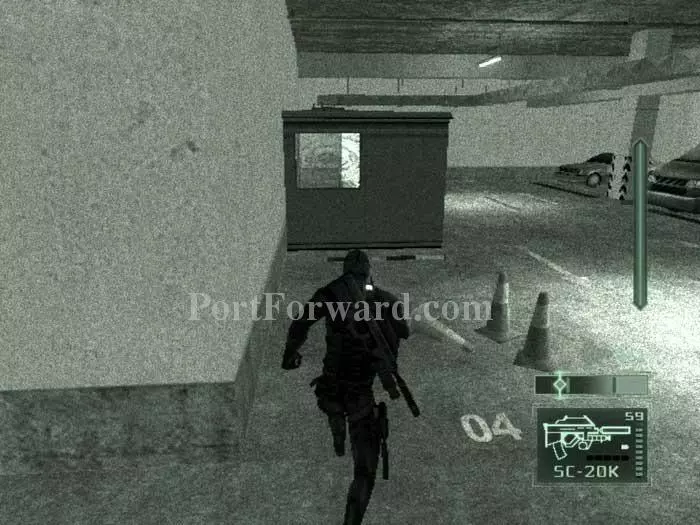
You are informed that you must kill a total of 10 terrorists, including Soth. You've just taken down your first, leaving you with nine to go. Wait for the guard and dog to move to the right then make for a door behind the security booth far-left.
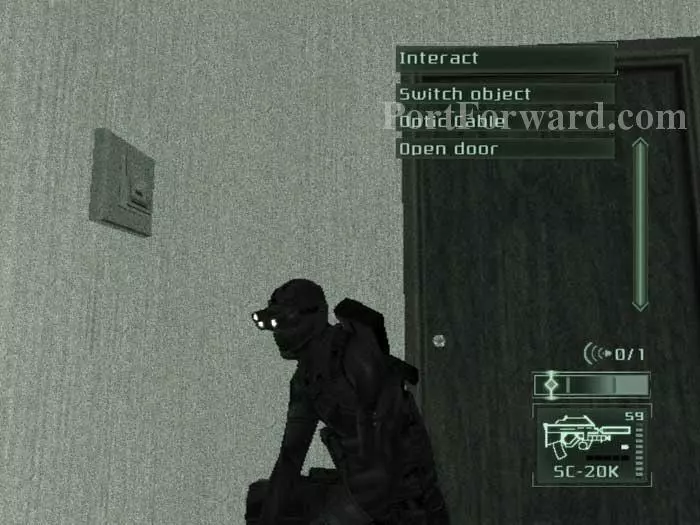
You'll enter this small room. Don't switch off the light before opening the door, as the cleaning lady on the other side will investigate.
Enter the break room and shoot out the two ceiling lights. The bathroom on the right has a first aid kit, and a vent above the sink leads to the next room.
An alternate approach is to go through the security office (my preference as it places you in an ideal spot to lure a civilian). A keypad blocks entry to the door, but if you wait the guard will come through, allowing entry. You'll hear a high-pitched whine just before the door opens. With the lights shot out, the maid can't turn them back on and you shouldn't have trouble walking around the civilians.
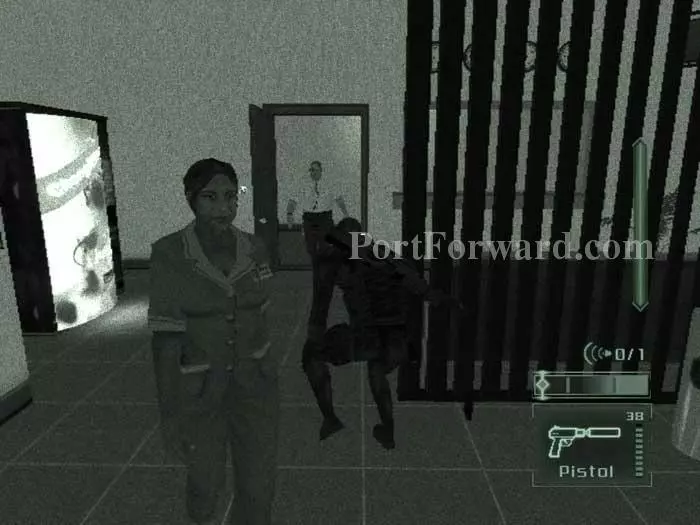
Sneak through another door and spot a second terrorist speaking with a civilian. Wait here for their conversation to end.
The civilian will likely spot you and approach to investigate. Shoot out this light before he arrives, affording you some darkness to elbow him upon arrival (inset). This dark area is now ideal for hiding bodies.

Snipe the terrorist with your SC-20K. Also hide his body by the door. Eight terrorists to go.
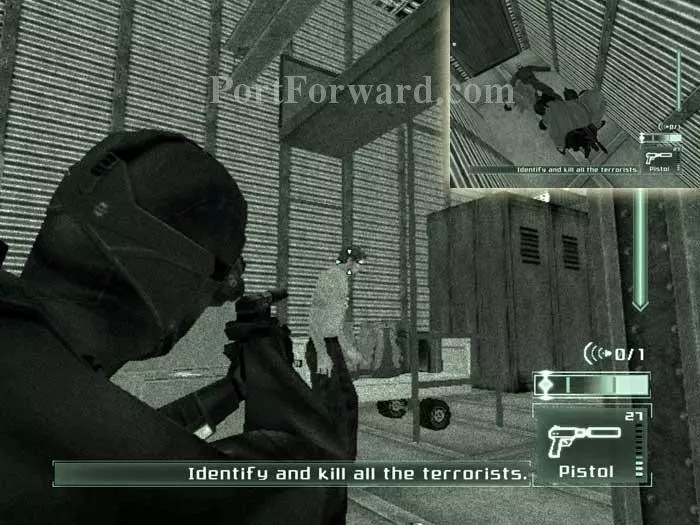
Turn left and spot three terrorists and two civilians. A diversion camera is in the near-left corner and a sticky shocker is in the near-right corner.
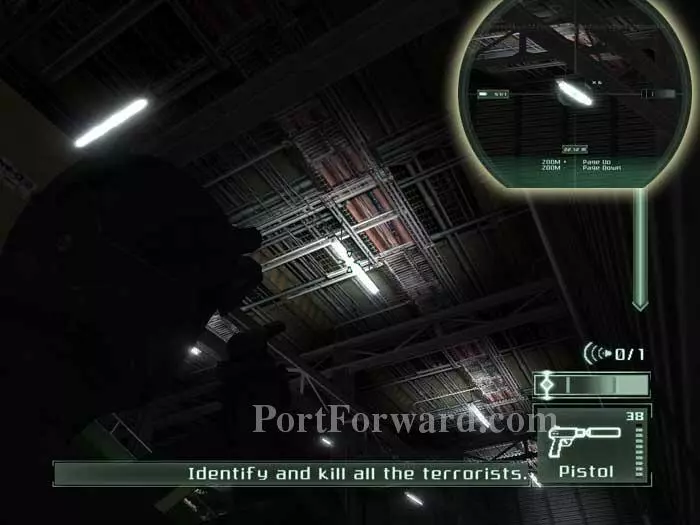
From the darkness, shoot out as many ceiling lights as you can. Snipe the lights that are far away (inset).
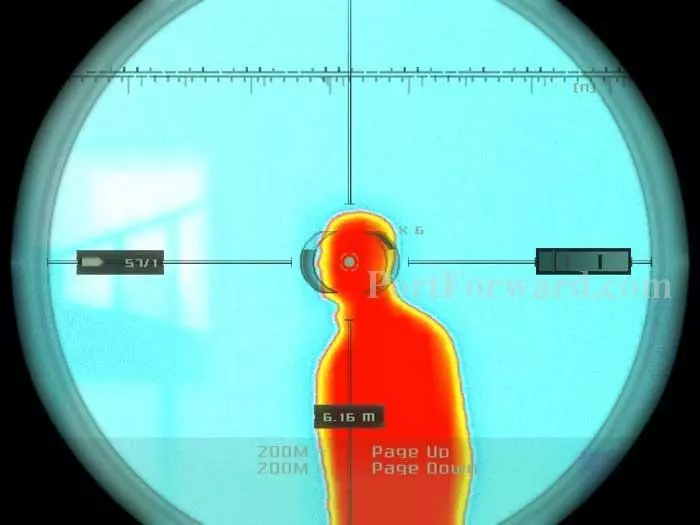
The terrorists investigate. This guard is fairly easy to snipe as he stands in a dark nook in front of you repeatedly. Three down, seven to go.
This seated guard must be lured away from the light. Whistle if he returns to his chair after investigating the shot-out lights.
Pop him once he's in darkness. Hide his body by the door with the rest (inset). Six left.
The third terrorist in this area is upstairs. Before ascending, take out this light and snipe the ceiling lights on the right.
That's the terrorist on the left, and a civilian on the right.
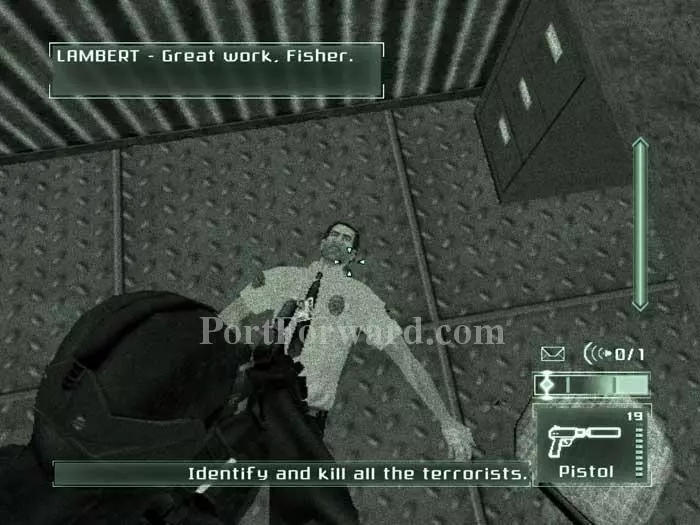
Grab the terrorist from behind then take him to a cubicle in the dark left corner. Knock him out -- then shoot him. You'll know he's traveled from unconscious to dead when you see your email icon appear. Grab the data stick he drops for some background. Five terrorists to go.

Continue through the door ahead. The body on the left is apparently an airport employee replaced by one of the terrorists you've just dispatched.
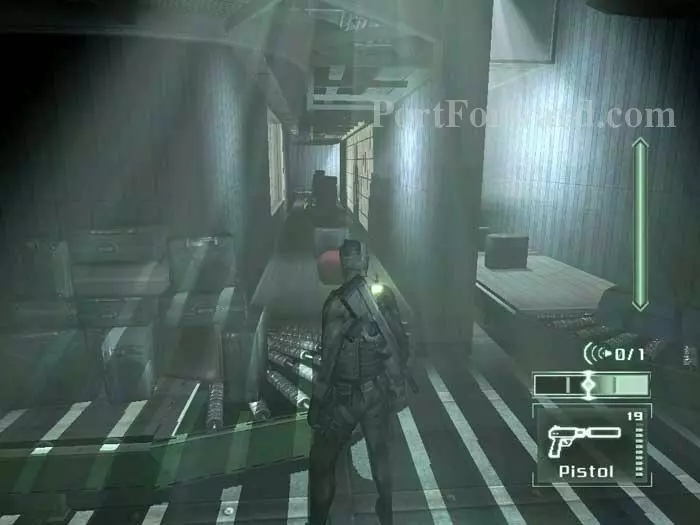
You'll come upon these two baggage belts, each with a guard peering through a window. Notice how the belt on the left has more luggage.
Hide behind a large pile of luggage, affording cover as you glide past the window. (Alternately, climb a pipe to get around the window on the right belt, but I found this method much easier.)
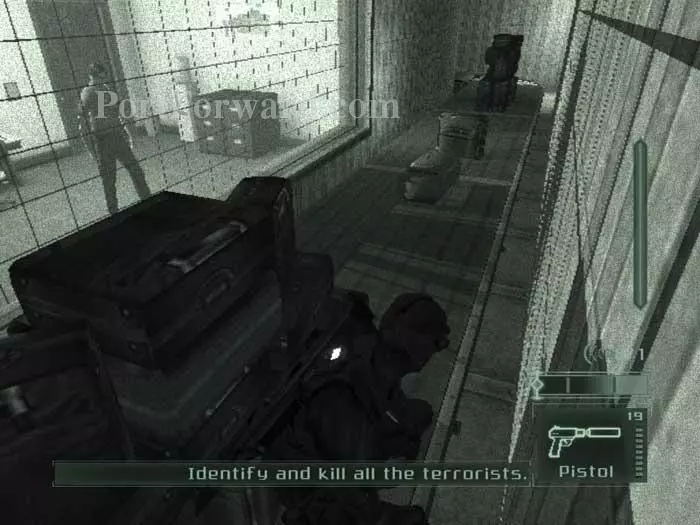
Switch to the opposite belt to avoid detection by the X-Ray machine. Use a sticky shocker on this next civilian, utilizing the ever-so-convenient open window.
Find supplies here. Go through the door ahead then ascend the stairs to load the next zone.
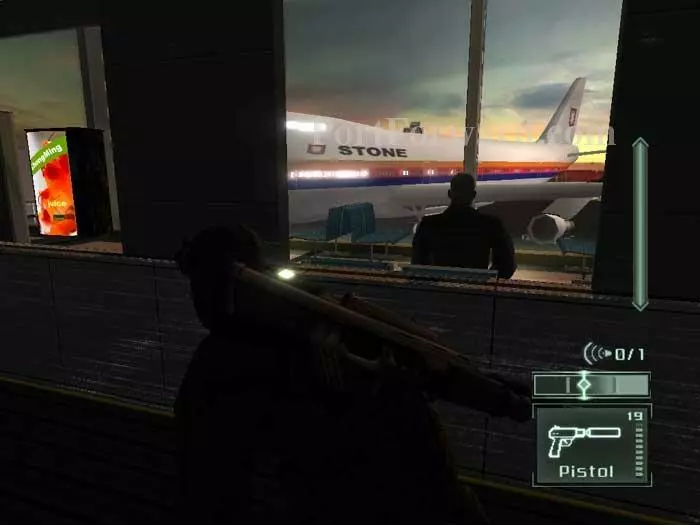
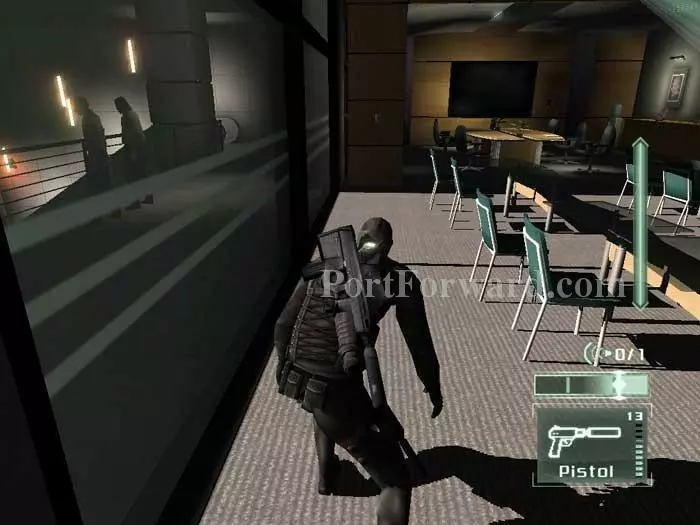
Turn left down the dark walkway then wait here for the civilian to take this seat. To those that don't like advertising in games -- I'd much rather see "United" on that plane than, "Stone."

Hold here by this second civilian until the terrorist leaves his post. You want to slip through the door he opens before it closes again. Otherwise, use the computer in the security booth on the right to learn the door keycode - 5325. The terrorists drop a data stick with the keycode as well.

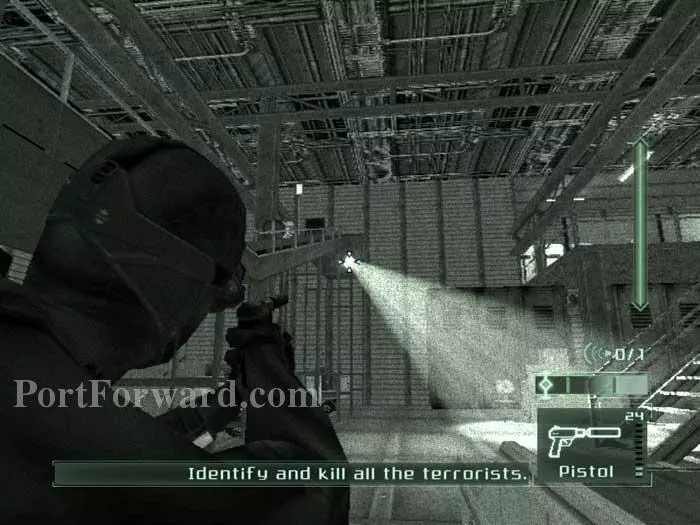
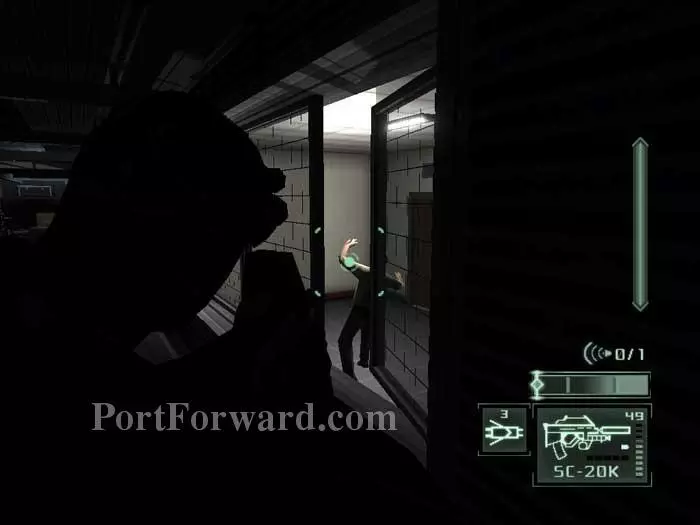
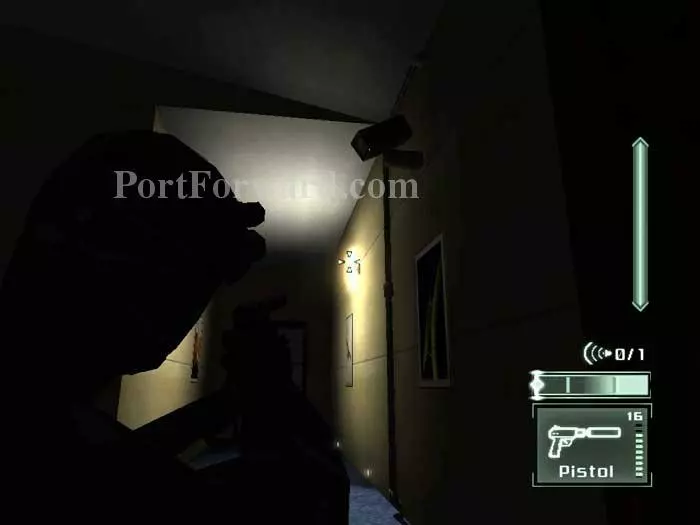
Pop the lights in this hallway with your pistol then take out this terrorist with a headshot when he comes to investigate. Note the security camera ahead. Four terrorists to go.
Stay in the shadows to the right of the camera. Take out this light to the camera's left, then proceed through the door ahead.
Grab and interrogate this terrorist without disturbing the seated civilian. Knock him out, take his body to the dark hallway you came from and shoot him. He drops a ring airfoil round. Lambert notifies you that there are three terrorists left -- Soth plus two guards.

You can continue out to the balcony using the indicated door, but my preference is to move to the office next door.
Hug the left wall and wait for the employees to take their break. When two employees have their backs to the window as seen left, scurry to the door far-left.

Descend the escalator, hugging the right wall to stay under the indicated security camera before reaching the dark balcony ahead.
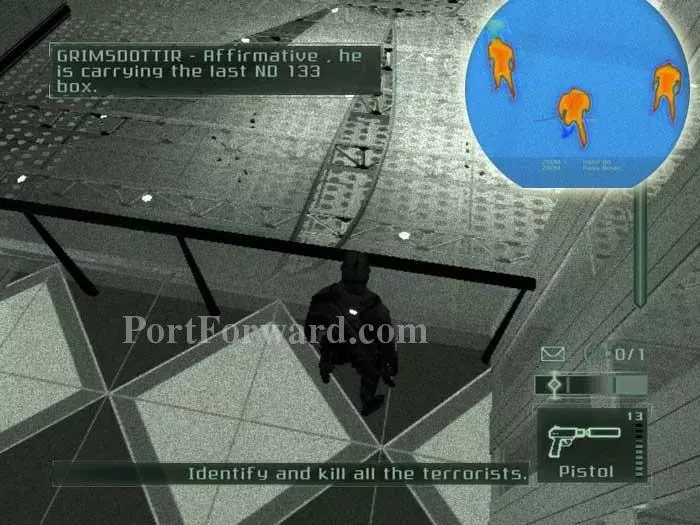
Peer over the balcony and activate thermal vision while your binoculars are equipped. Spot Soth's artificial leg heat signature (inset).
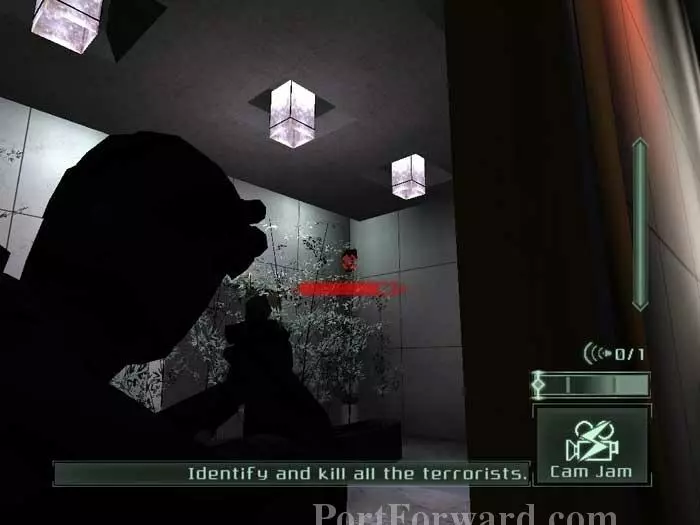
Turn around and jam this second camera, allowing you to enter the elevator ahead. Call the lift and ride it up.
The elevator stops when Soth cuts the power. Shoot out the ceiling and climb onto one of the two cables closest to the neighboring elevator.
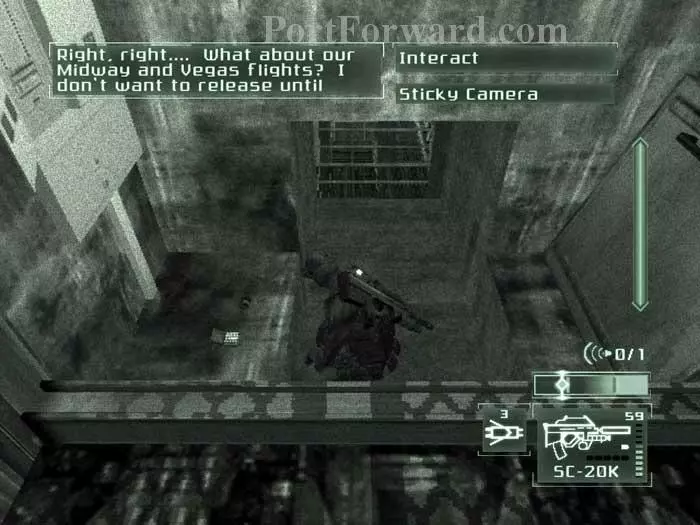
Step off the cable when you reach the neighboring elevator -- be quiet as a civilian is inside. Continue through this crawlspace after grabbing the ammo and sticky camera.
Drop to the catwalk below. Take out these two lights before climbing the ladder ahead/left.
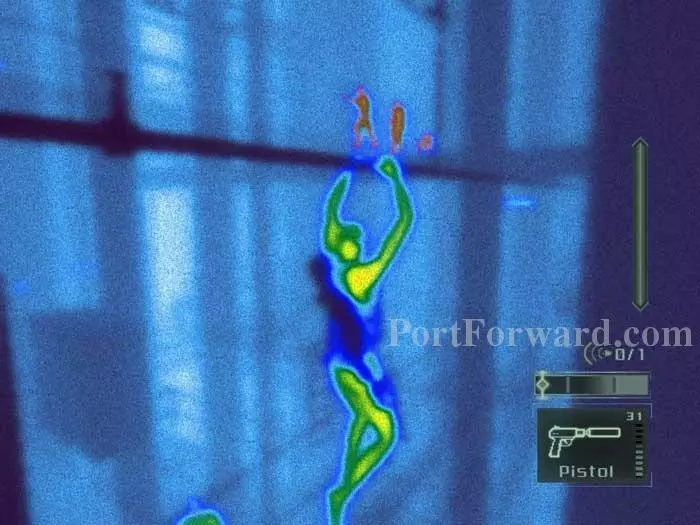
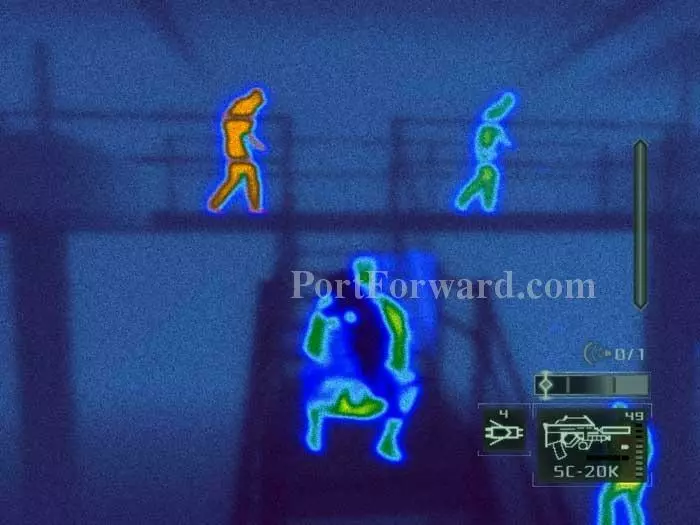
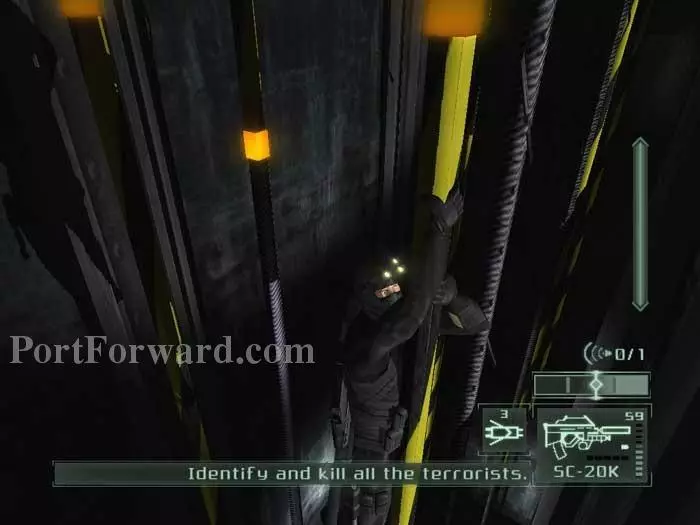
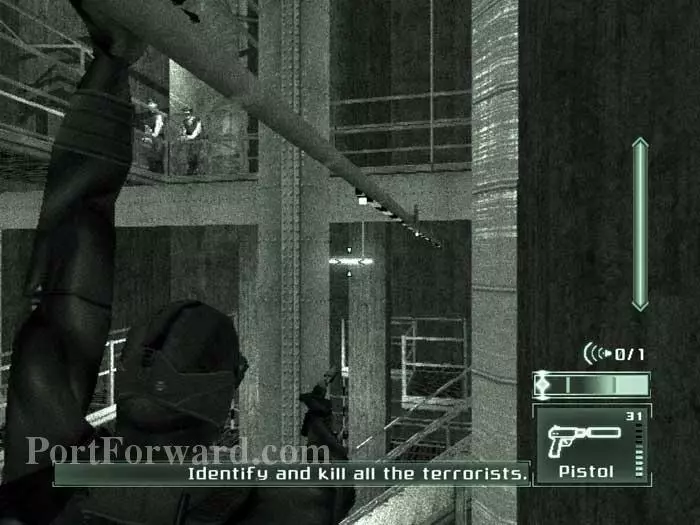
Jump to this pipe and shimmy along. Thermal vision reveals Soth and his two men above.
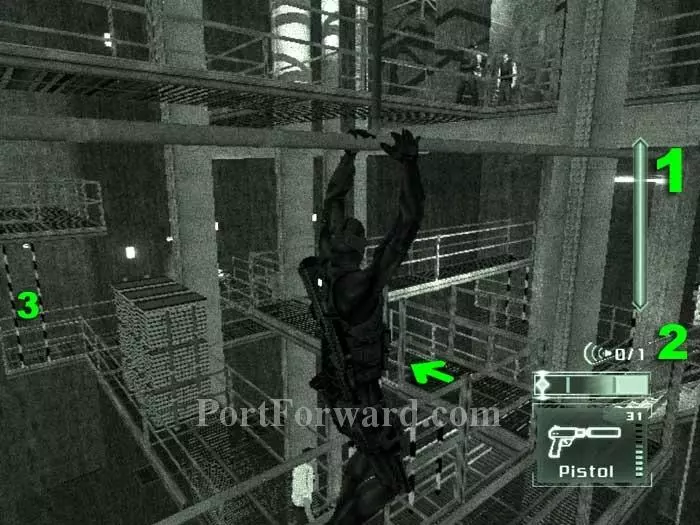
This area can feel a bit overwhelming so here's the same shot in night vision to illustrate what's coming up. We'll shoot the light (1) to provide darkness before dropping silently to the stairs (2). We'll then follow the arrow along the catwalk then hang a left to arrive at the ladder (3).
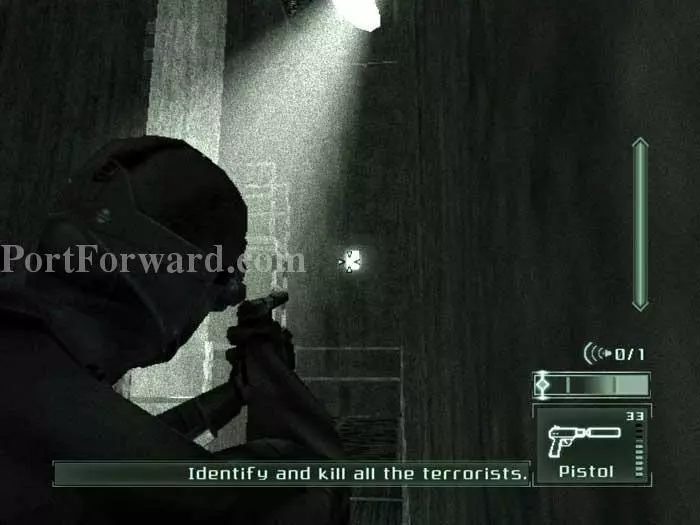
Easier said than done, right? Remember from the tutorial that you can equip your pistol while hanging from a pipe -- do that now to take out the light over the stairs.
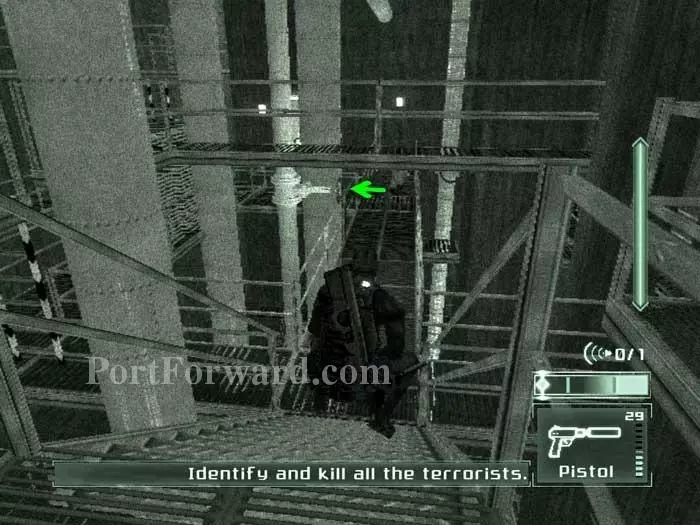
Pause here after falling silently to the stairs. Wait for the civilians to be as far away as possible. When clear, scurry as fast as you can (while still crouched to maintain silence) ahead then turn left at the arrow.
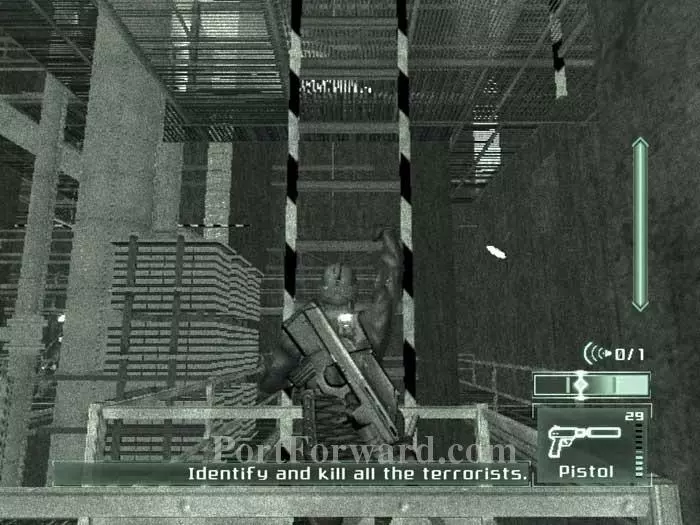
I found that no matter how many lights I shot out I was still pretty illuminated once I got to the ladder. Your best strategy is to just keep moving.
Don't climb this second ladder or else a timer starts counting down automatically.
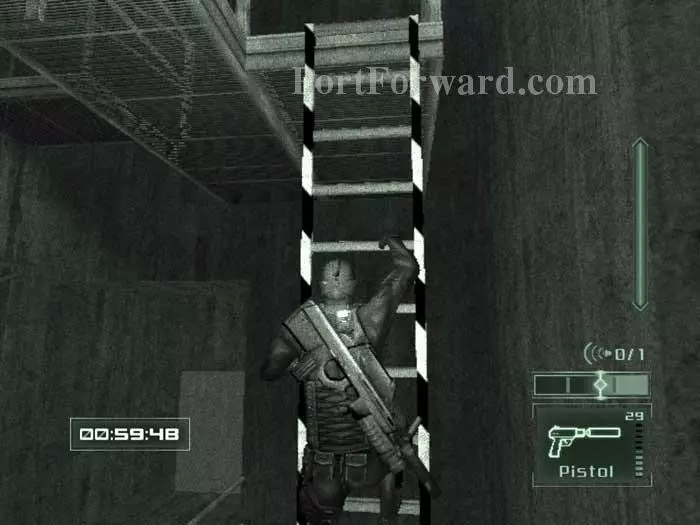
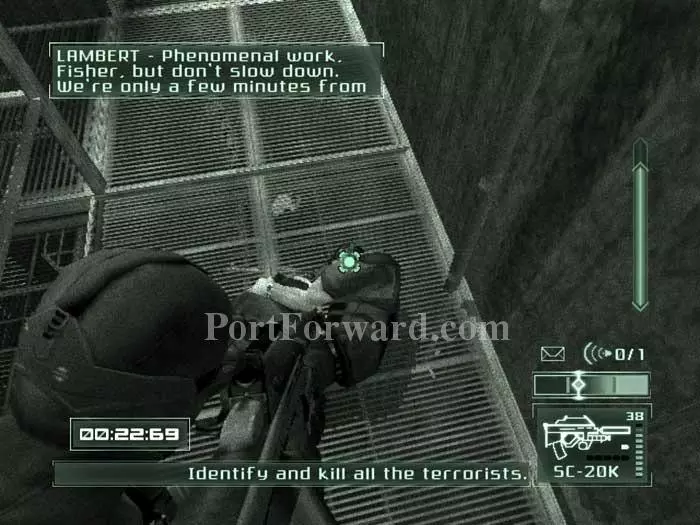
Better to start the timer by starting the fight - when you're ready. Soth and his two guards are on the catwalk above. I found it best to sticky shock these two first because they have less time to shoot back.

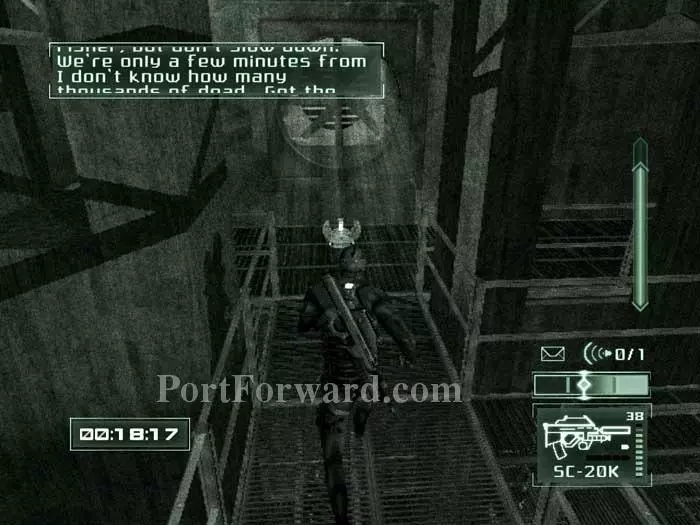
Now, climb the ladder. The timer is still counting down, but at least you've got a head start. Once at the top of the ladder, drop across to the catwalk where the bodies are.
Kill all three terrorists, including those who were incapacitated by your sticky shockers.
Lastly, approach the smallpox box at the end of the catwalk to initiate the ending sequence.
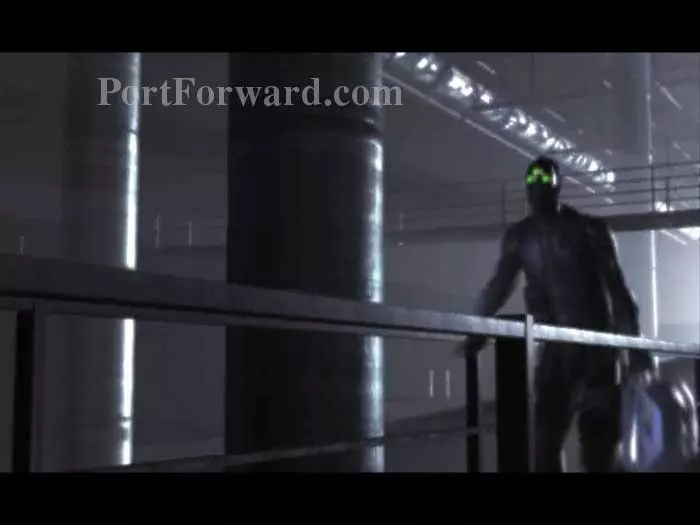
The ending sequence starts out kind of strong, with Sam saving the day.
But his plan is highly - unlikely.
To make matters worse, this CGI sequence is laughable.

Alas we end on a pretty shot -- or is it a Jeep Cherokee commercial? I hope you enjoyed this game and I hope that this walkthrough helped you. Game on!
More Splinter Cell: Pandora Tomorrow Walkthroughs
This Splinter Cell: Pandora Tomorrow walkthrough is divided into 8 total pages.


