This Splinter Cell: Pandora Tomorrow walkthrough is divided into 8 total pages.
You can jump to nearby pages of the game using the links above.
East Timor
Uncle Sam comes a knockin' -- time to saddle up and reprise your role as Sam Fisher.
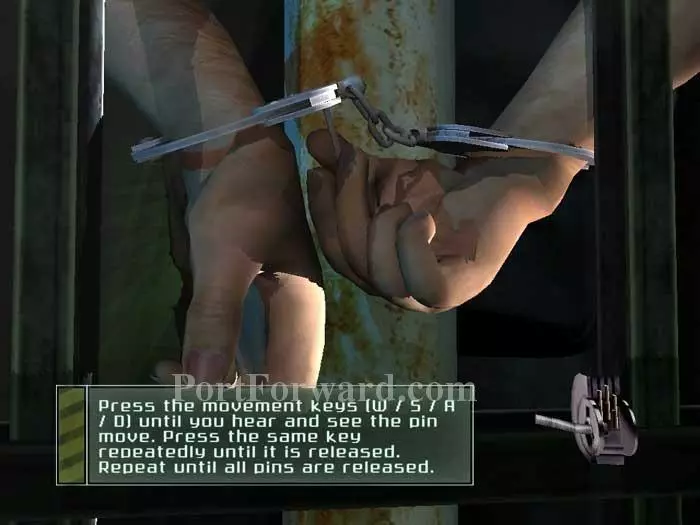
The introductory level also serves as the game's tutorial. This lockpicking sequence is the first of many instructional aids to help familiarize yourself with the game's mechanics. Unlock the cuffs to proceed.
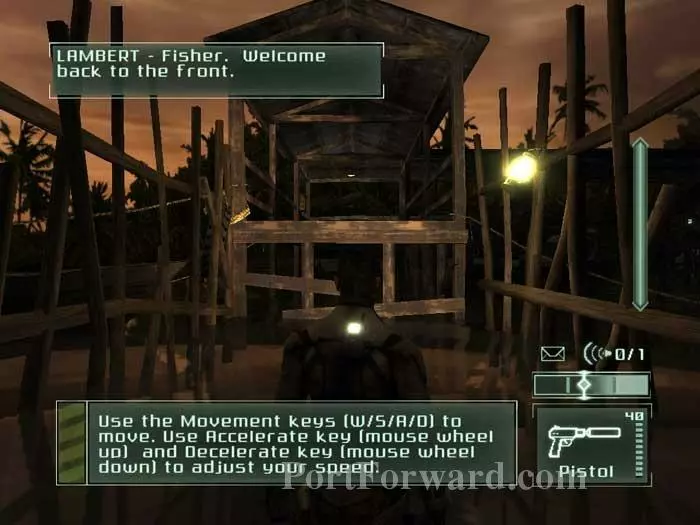
You begin here. Fans of traditional first-person shooters will likely feel a bit caged-in at the start, but Splinter Cell fans have learned to move in the third dimension.
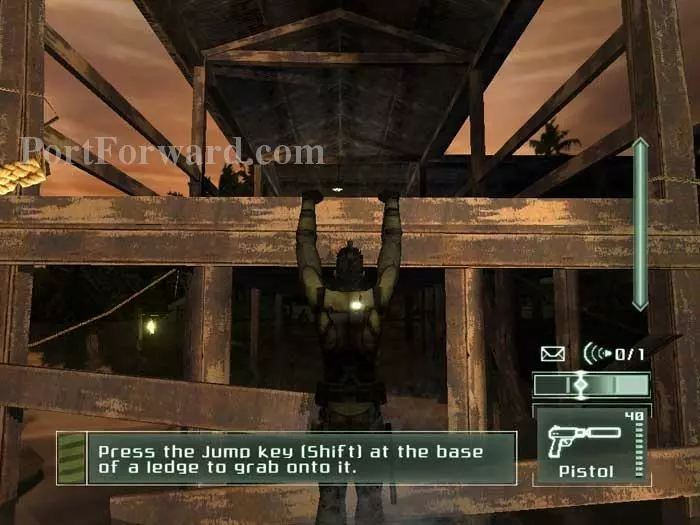
Approach the dock and jump up to grab ahold of the floor above. This is called mantling.
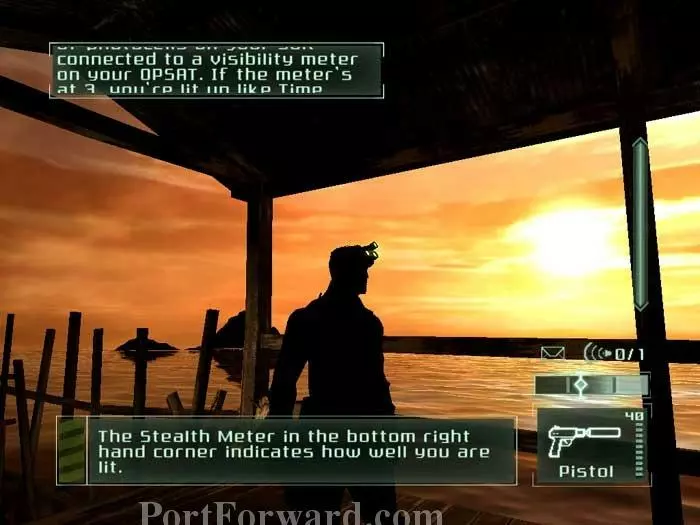
Pause for the explanation of your stealth meter. Keeping an eye on your stealth meter will help you avoid unnecessary conflict.
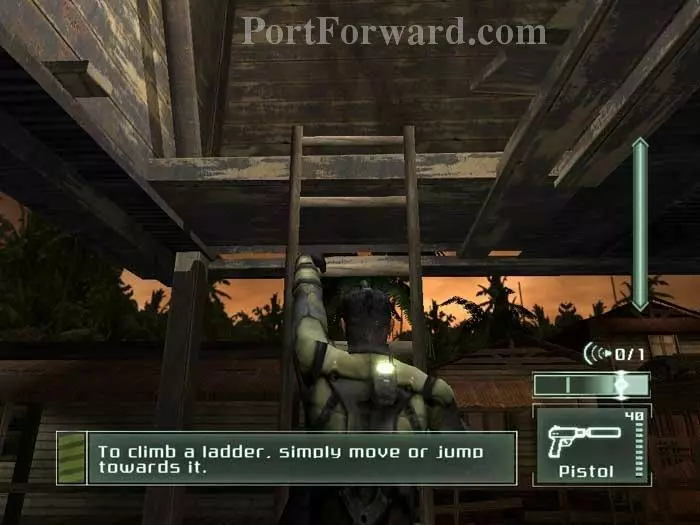
Next up: ladder training. Pretty basic.

Hop up to this zip line. Just follow the instructions.
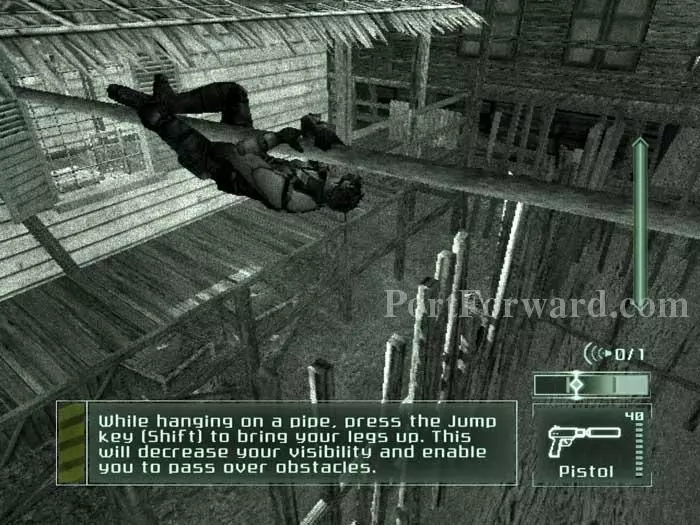
Climb onto this pipe then fold up your legs to clear the fence. Don't drop until you are over the boardwalk.
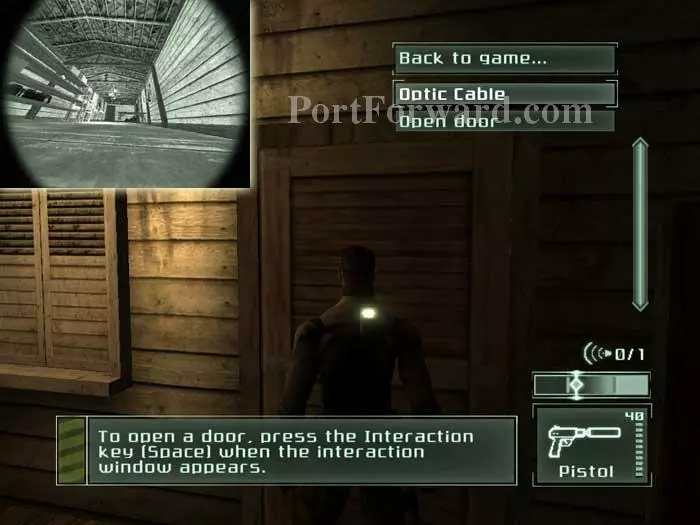
Try out your optic cable before opening this door. You'll find that the room is clear. Note that your night vision works with the cable (inset).
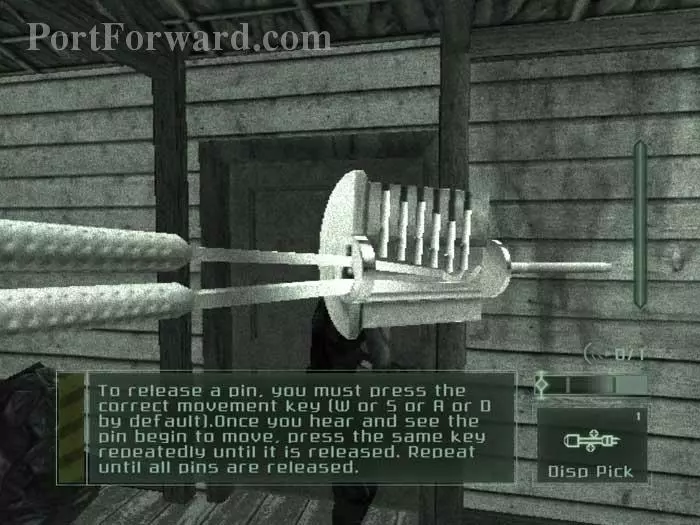
Approach this next door and pick the lock as instructed.
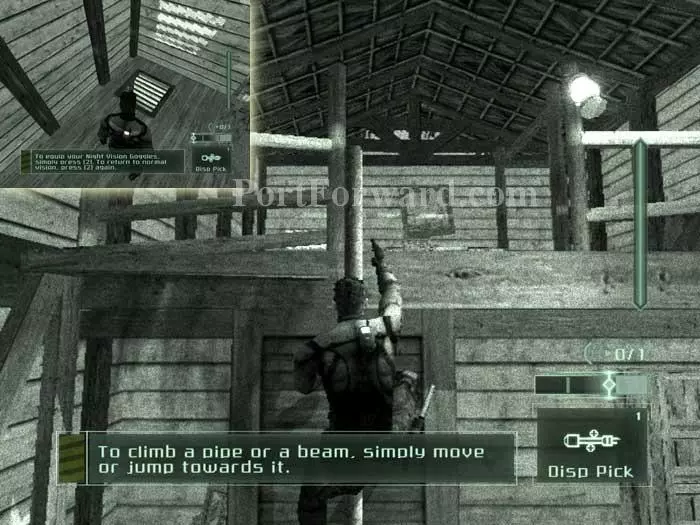
Climb this pipe then drop through the floor grate (inset). These sequences cover pretty much every movement option you'll have in the upcoming levels.
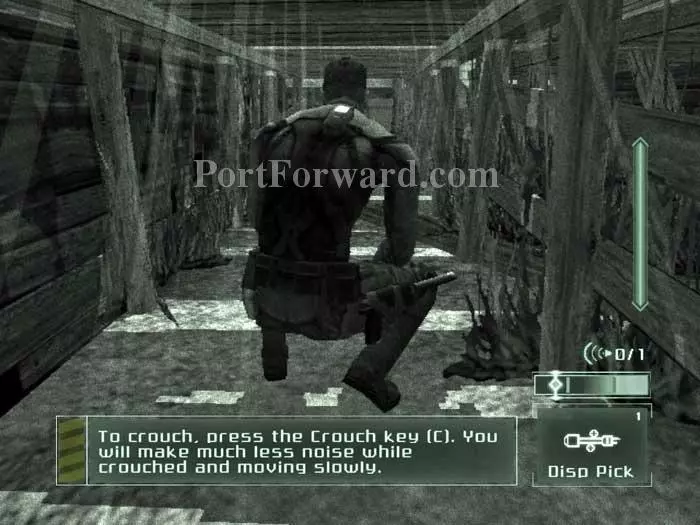
Head outside then crouch under this walkway.
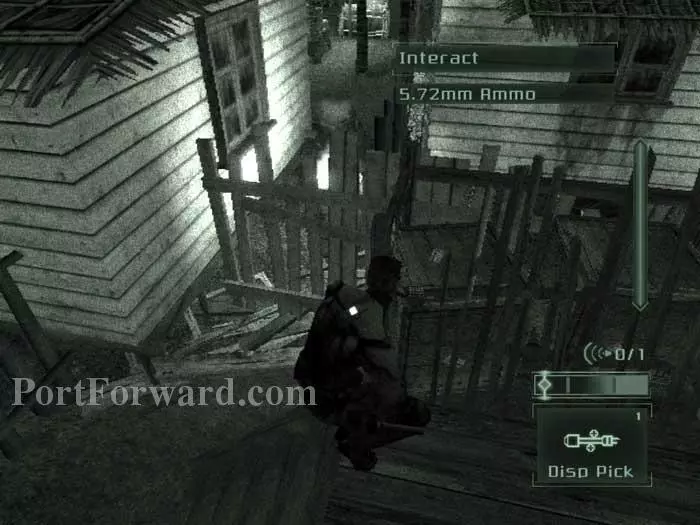
Ascend a short flight of stairs then find this ammo here. Descend the stairs to the left.
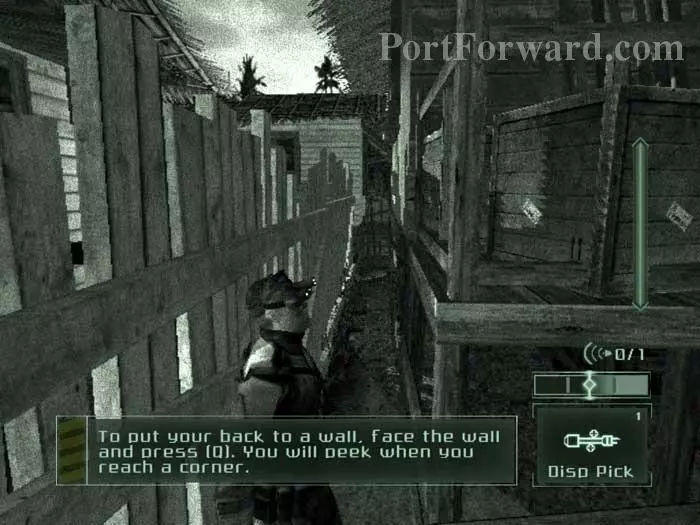
Squeeze between the fence and the walkway by performing a back-press.
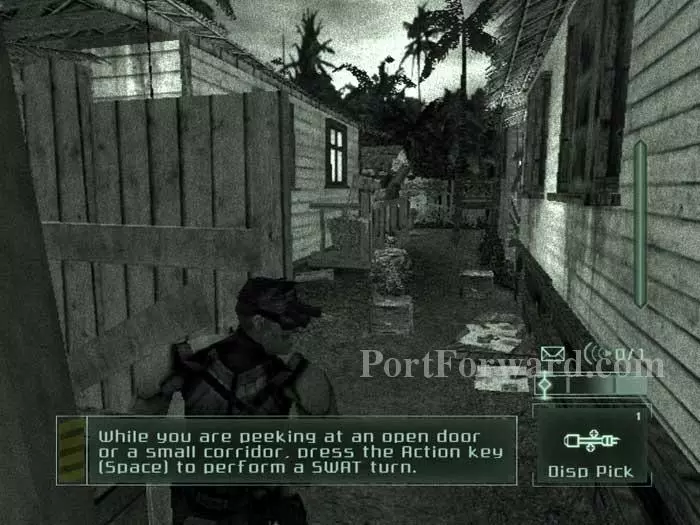
Beware the seated guard, and learn to perform the SWAT maneuver. Time for your first real challenge.
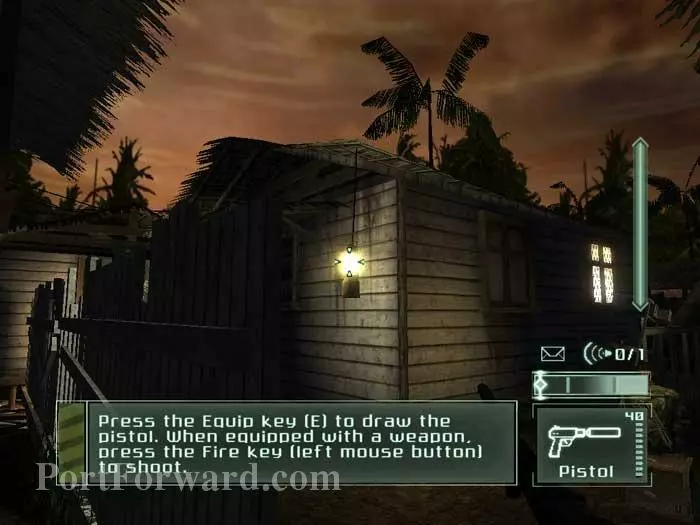
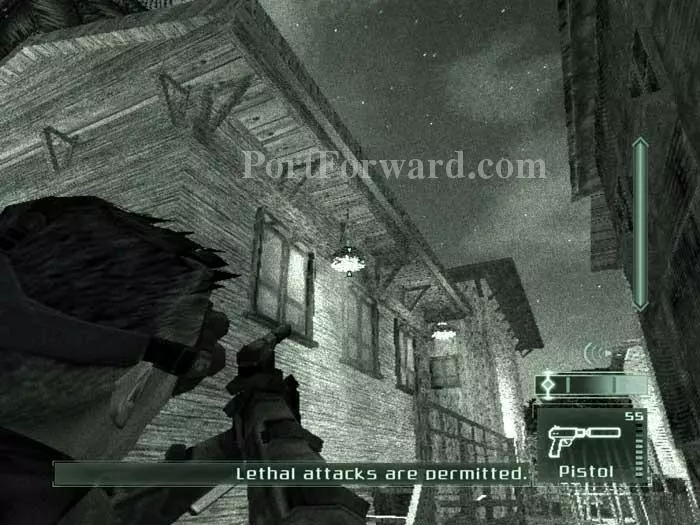
Shoot out this lantern to give yourself some dark cover.
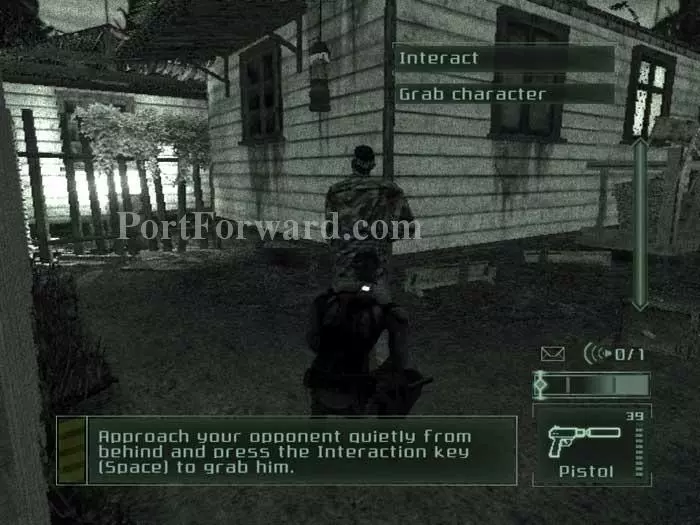
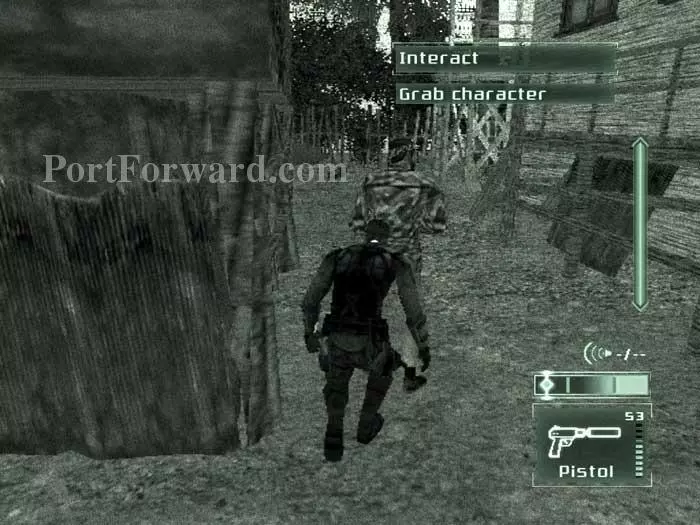
Grab the guard from behind while he investigates the shattered lantern. Pistol whip him to knock him unconscious.
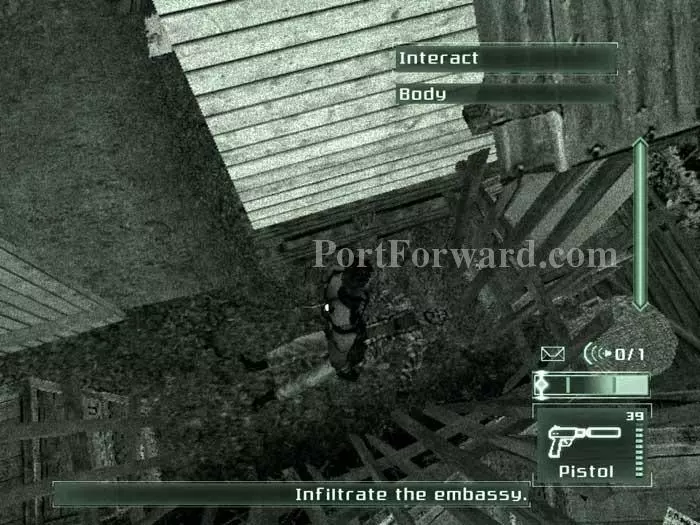
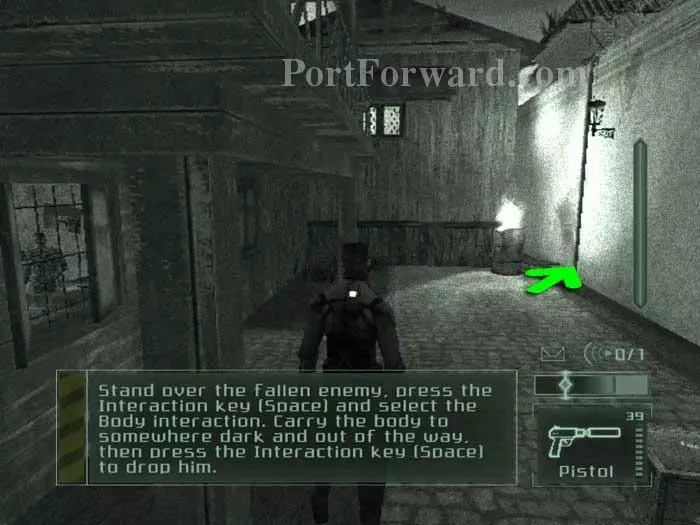
Hide the guard's body in a dark, secluded spot such as this. Just as in the original Splinter Cell, you must hide the trail of bodies that you leave behind. Failure to do so will trigger alarms at upcoming checkpoints, preventing your progress through the game.
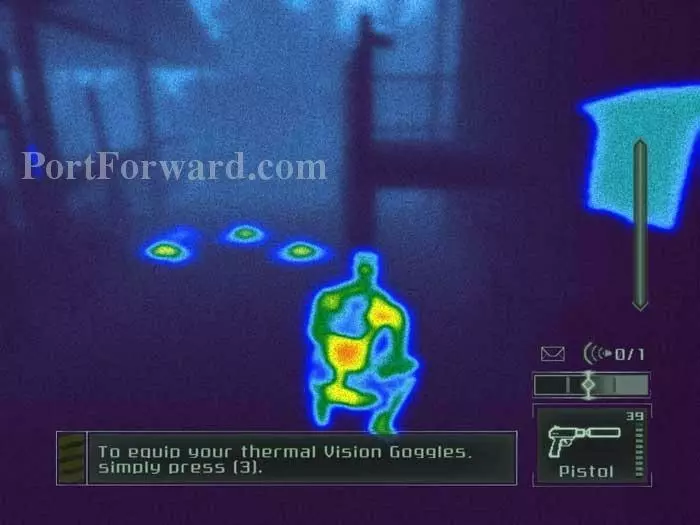
Before proceeding, activate your thermal goggles to spot this small minefield ahead. Stay to the right. Either crouch under the walkway or mantle onto it. A hint box is seen on the right.
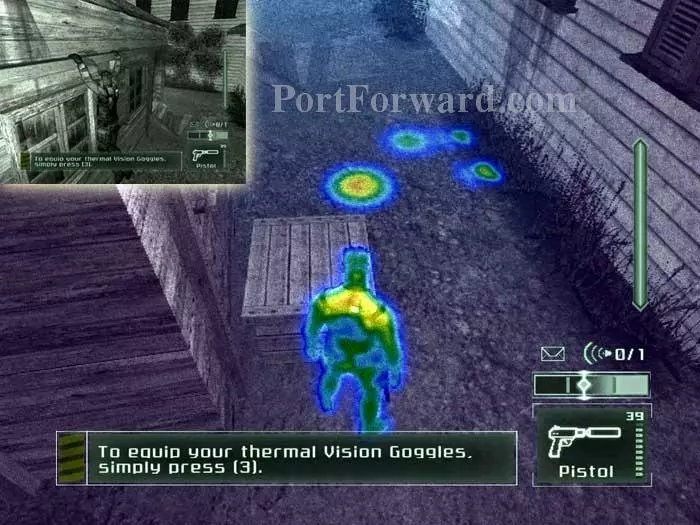
This second set of mines is ahead. I've combined night and thermal vision images in this shot. Climb onto the crate then jump over the mines to proceed. Alternately, jump from the crate onto the ledge on the left and shimmy along until you are past the mines (inset).
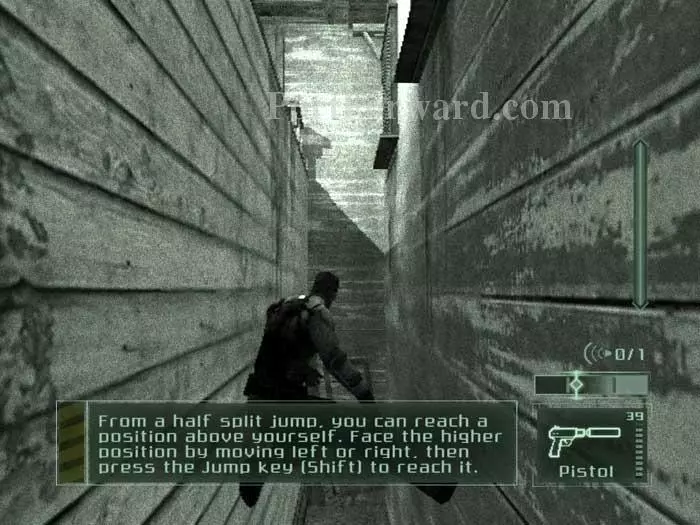
Enter this tight alleyway then perform a split jump. Mastering this action is easy, plus it's a sure way to impress onlookers.
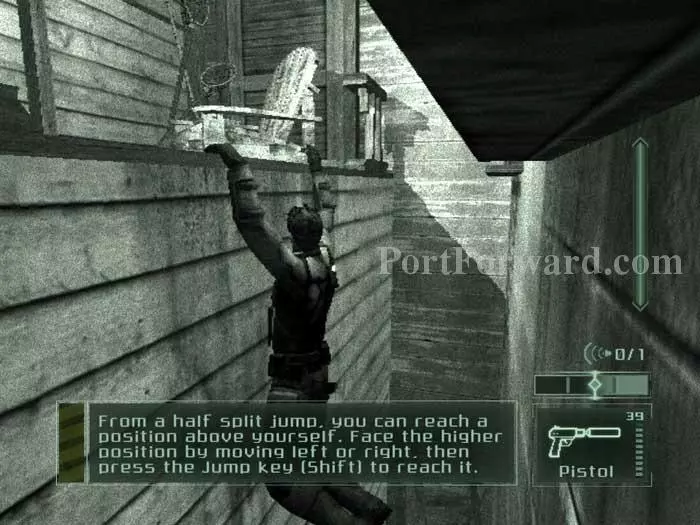
Jump up from your half-split to reach this ledge. Shimmy along then pull yourself up.
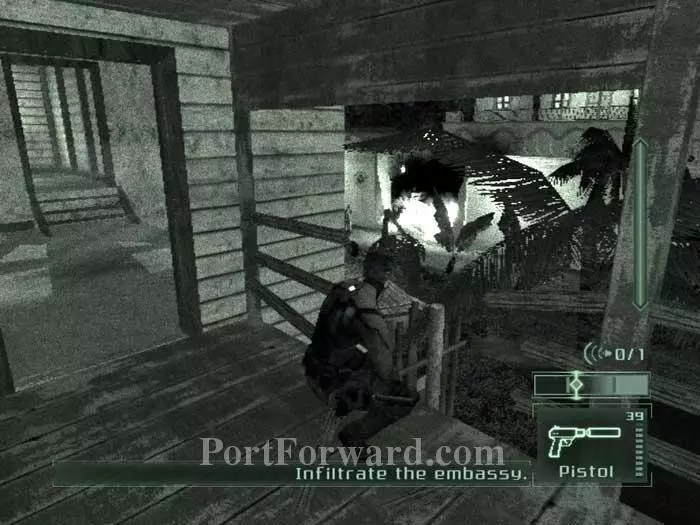
Advance through the building then climb down the pole seen here.
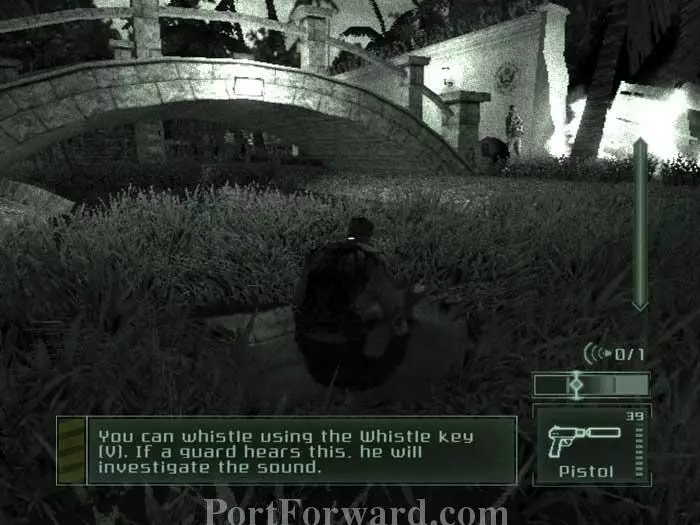
Quietly and slowly wade through the ornamental stream. If you move too quickly you will disturb a nearby flock of birds and alert the guards. You are advised that you can distract the guards by whistling, but I found it best to simply advance while the guard's back is to you. Continue under the bridge (or alternately, to its left) then follow a stone path on the right.
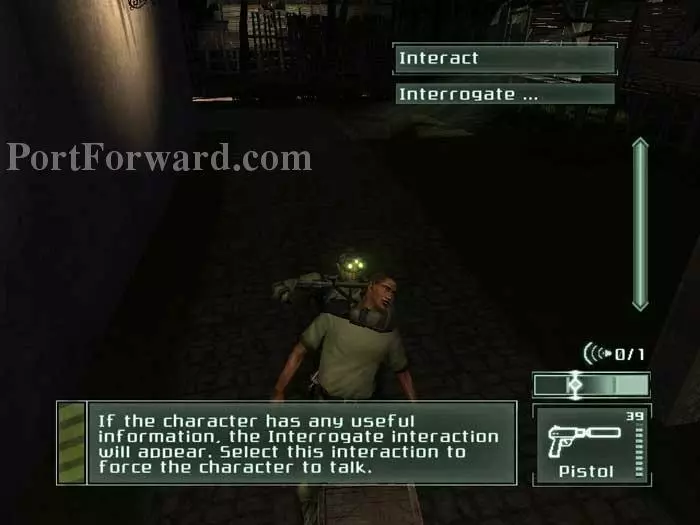
Interrogate Sadono's lieutenant before knocking him out.
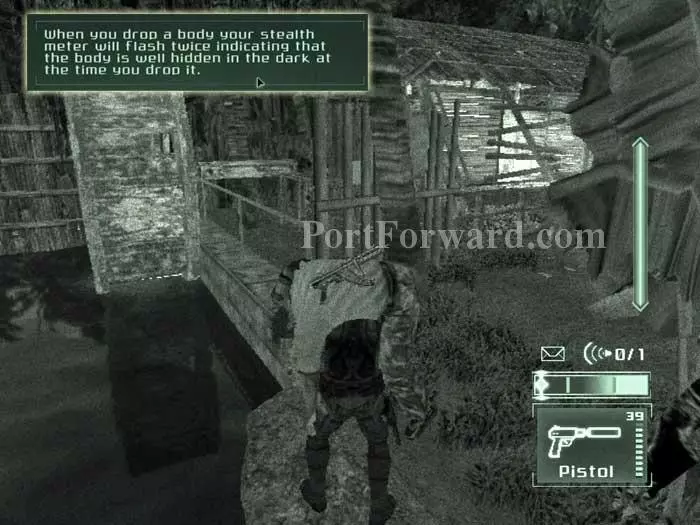
Hide the body back here by the water wheel. Your stealth meter will flash to indicate safe areas to deposit bodies. Your message states the meter will flash twice when you drop a body, but mine flashed steadily while I was in a safely dark area.
If you want, you can enter the room on the left and knock out the guard, but it isn't necessary. Climb the indicated pipe to load the next zone.
Climb the two ladders on the left.
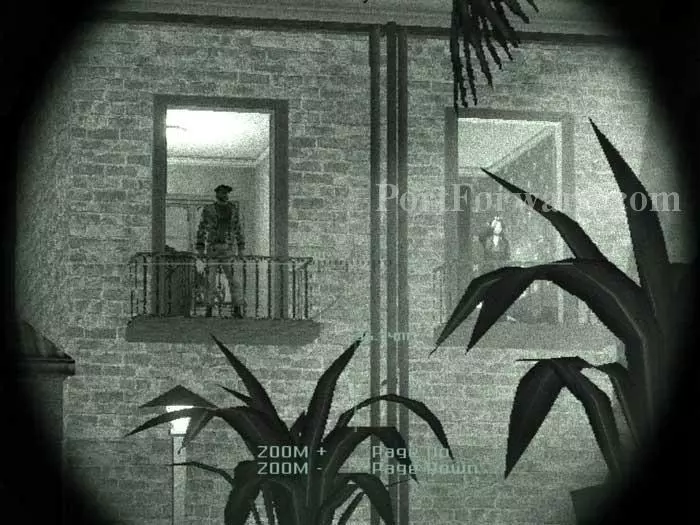
Crouch and press your back against the wall before sneaking under this guard in the window.
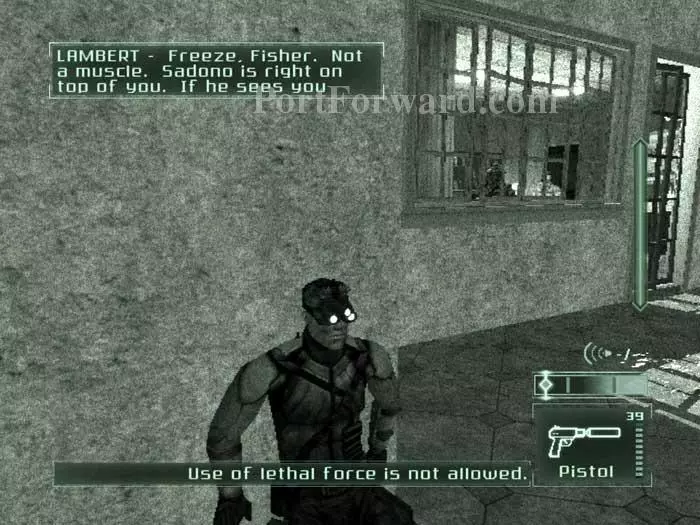
Pause here until the conversation is over, then repeat beneath the next window.
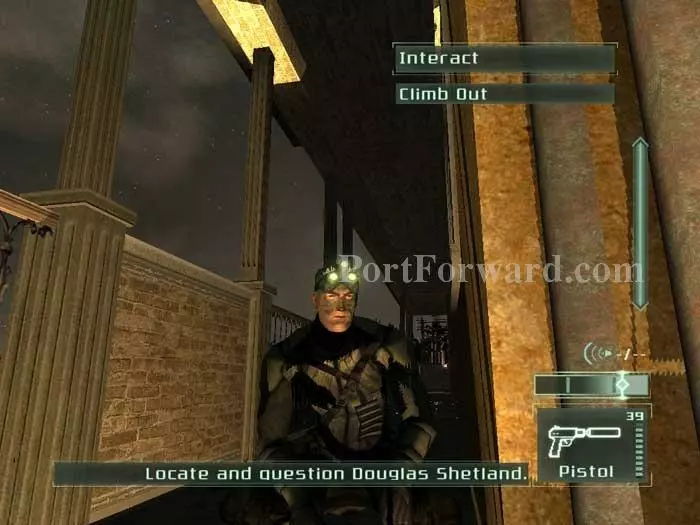
Choose, "Climb Out" to grab hold of the pipe. Climb it up to the roof.
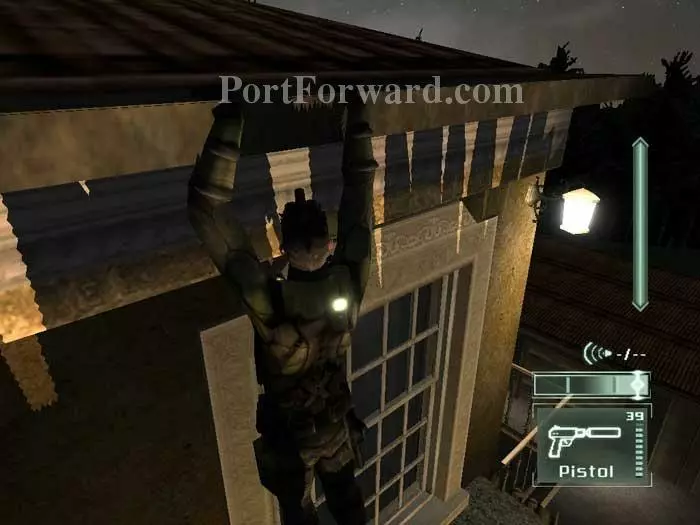
Shimmy along the roof then enter the window below.
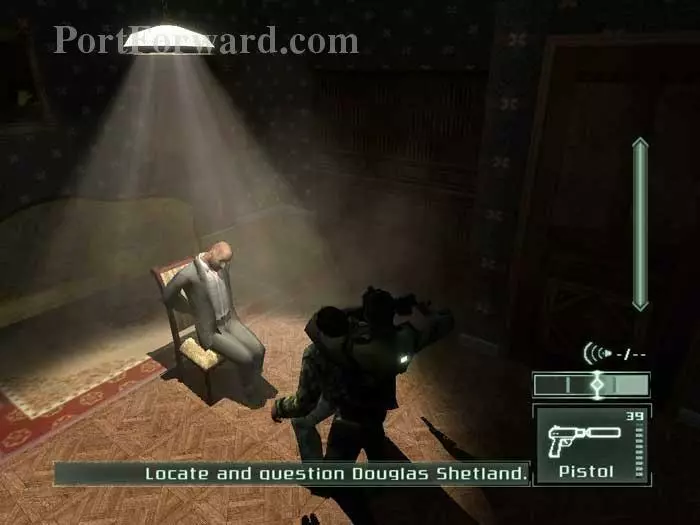
Knock out the guard and grab some ammo off his body before speaking with Douglas. A short cutscene follows.
Deposit the body in this dark corner. The flashing stealth meter tells you this is a concealed spot.
Two doors exit this room. One is an optional diversion that allows you to take out a previous guard. The other, here, must be exited quietly. Approach the guard on the balcony and knock him out.
You can pick the lock on this bathroom for first aid if needed.
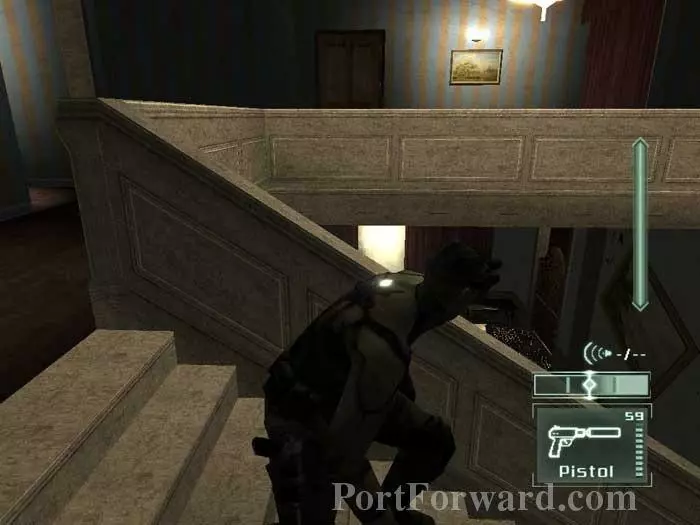
These stairs are your immediate destination. The door top/center also leads to the optional guard.
Several guards patrol this area and the door on your immediate left leads to first aid. Shoot out the lights on the left to maintain darkness. When the guards investigate, either be patient and advance when their backs are to you or try to take them out. A bottle on the bar to the right can be tossed to create a diversion as well. Your destination is a hallway at the far-left corner of the room.
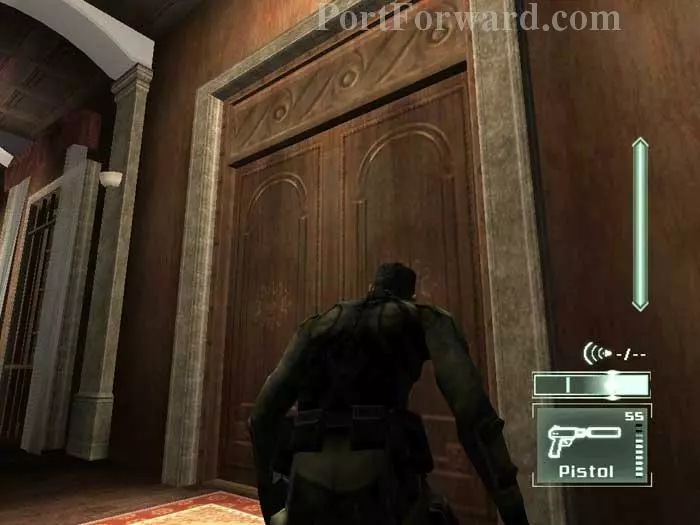
Exit out this door.
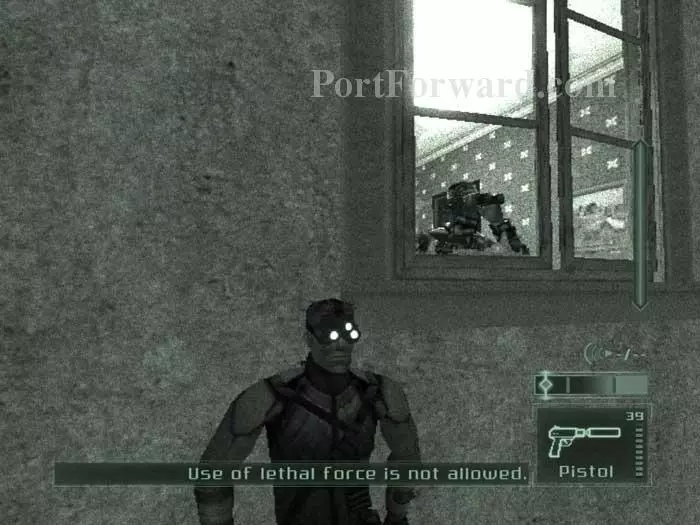
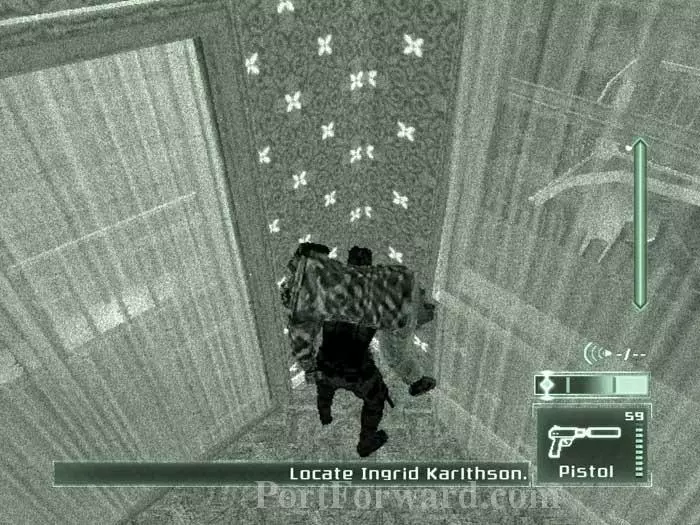
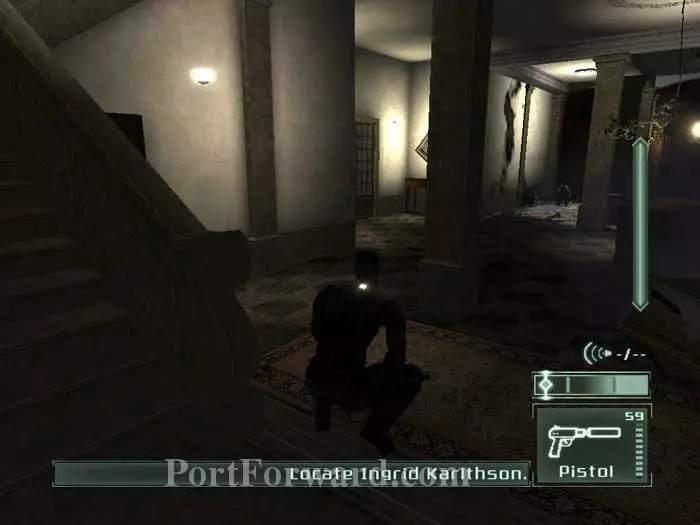
Your attention is called to a lone guard using night vision goggles. That's him on the left. Ingrid Karlthson is signaling to you on the right with her flashlight.
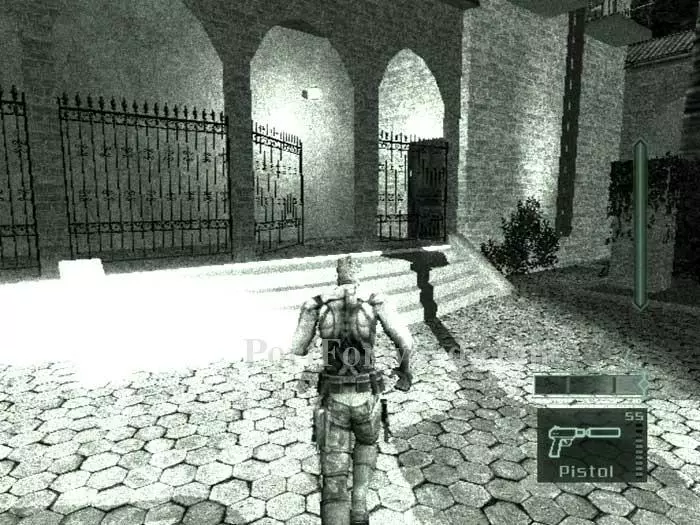
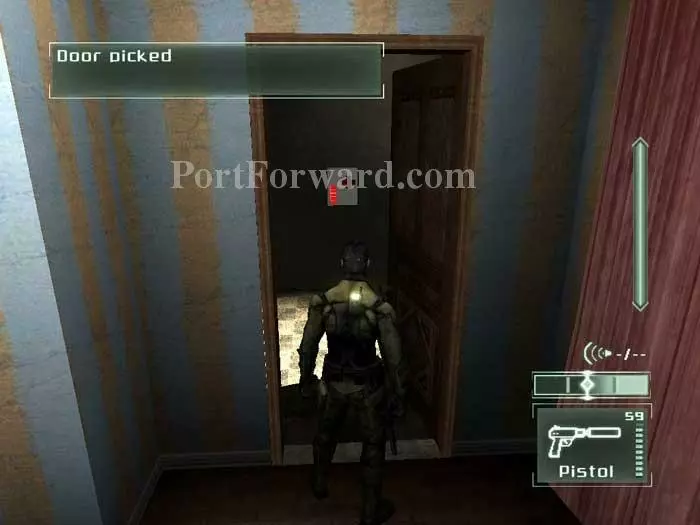
In an interesting twist of stealth, you need to stay in the searchlight's beam to avoid being seen by the night-goggle-wearing guard. Wait for the beam to come close, then follow it to these stairs. Enter the door on the right.
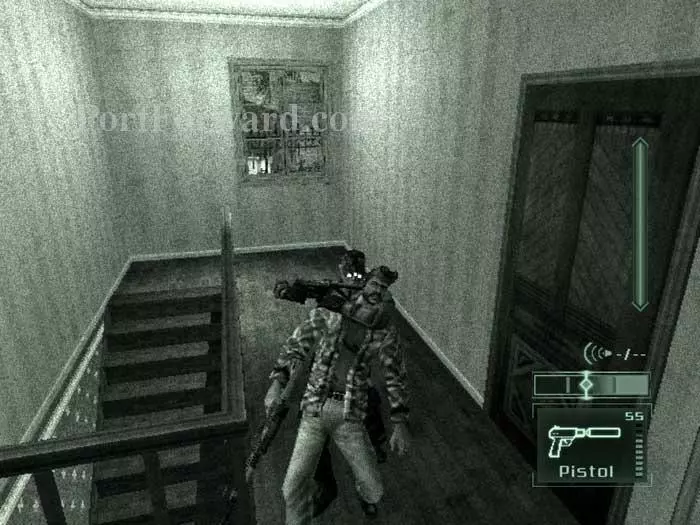
Ascend the stairs to the second floor where you'll find a first aid kit. Continue to the third floor where you'll find the goggle-wearing guard. Knock him out and deposit his body in the dark corner at the base of the staircase. Continue through the door seen on the right.
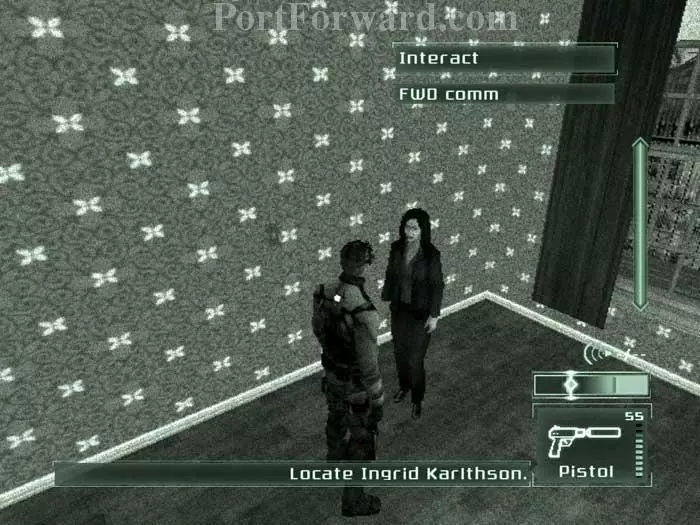
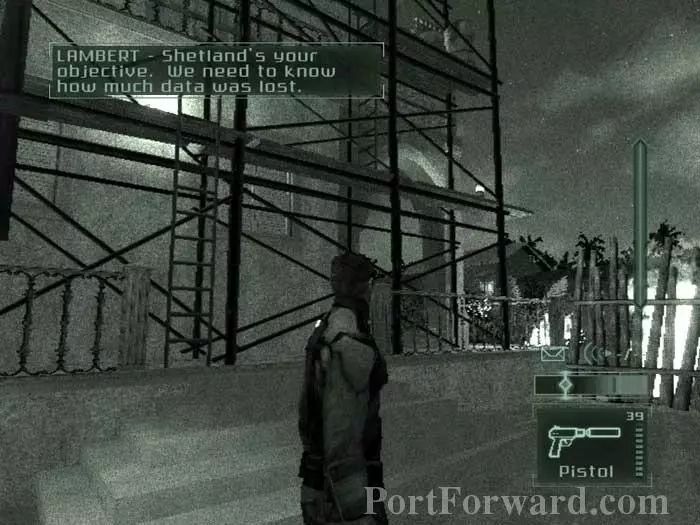
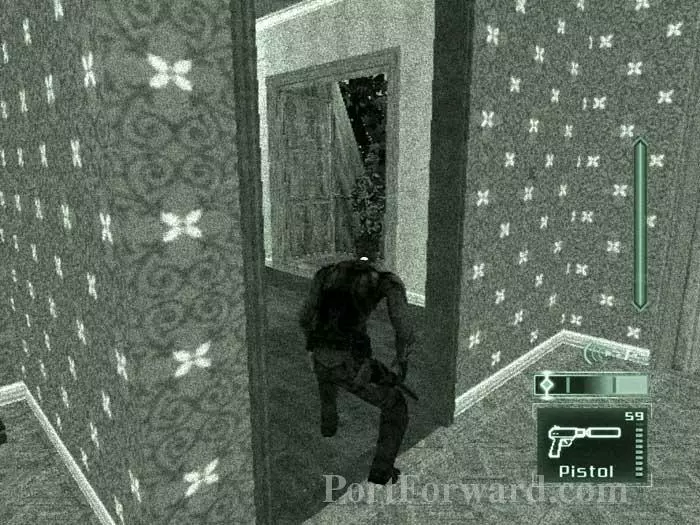
Speak with Ingrid Karlthson and your objectives are updated. Speak to her at length to learn how she knew you were coming before climbing through the window.
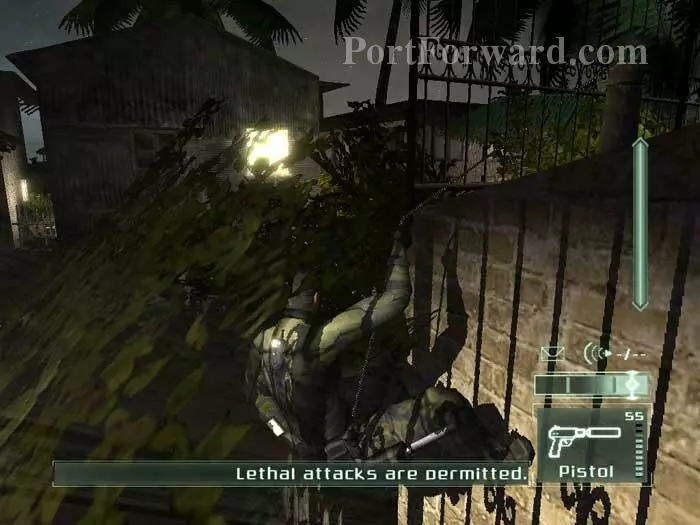
Watch the patrols then rappel down this wall when they're heading away from you.
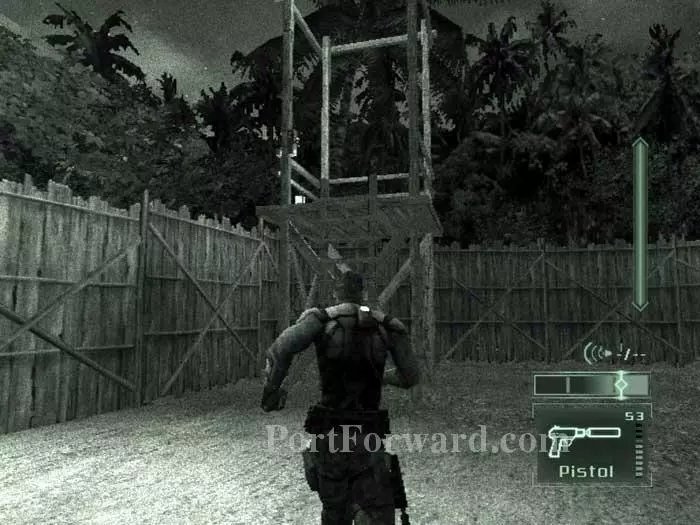
Whistle to distract the guard then grab him from behind. Alternately, shoot him as you are now allowed the use of lethal force -- but that's too easy. Climb the ladder and throw the switch to disable the first spotlight.
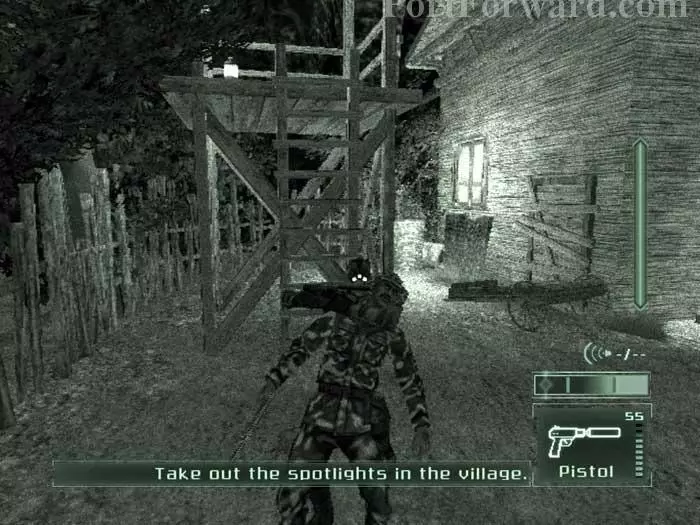
Shoot out these two lights. The second guard investigates.
Rush to this alcove then sneak behind him when he pauses.
You are now free to turn climb this ladder in peace. Disable the second spotlight.
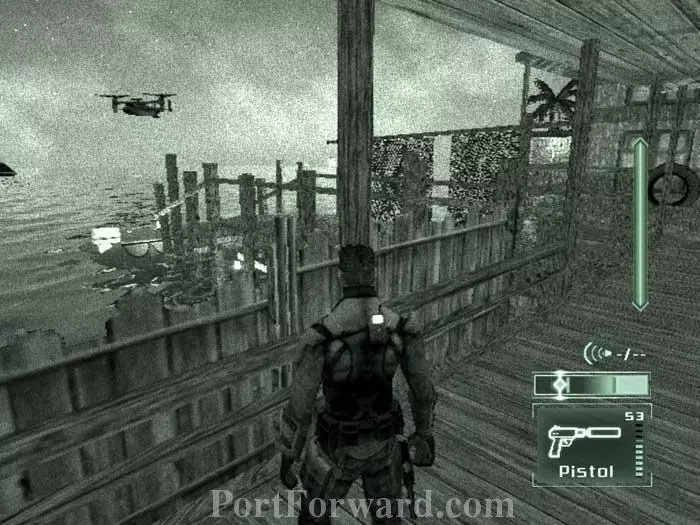
There's the Osprey ahead. Follow the boardwalk to a small boat. Climb in to end the level.
More Splinter Cell: Pandora Tomorrow Walkthroughs
This Splinter Cell: Pandora Tomorrow walkthrough is divided into 8 total pages.