This The Legend of Zelda: The Wind Waker walkthrough is divided into 47 total pages.
You can jump to nearby pages of the game using the links above.
10.5 Forsaken Fortress
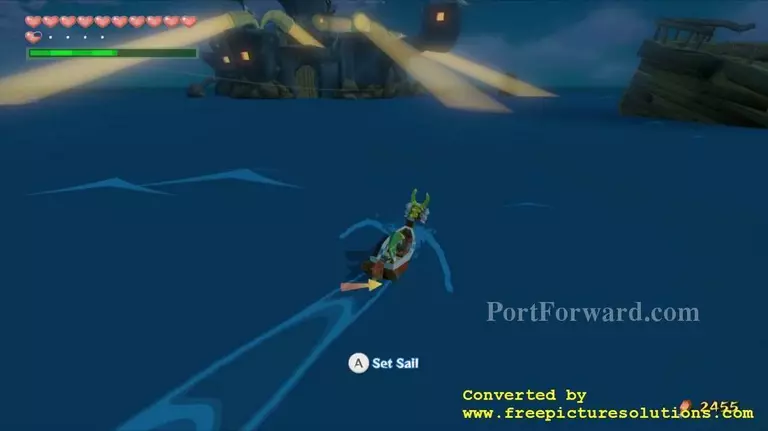
"It's now time to head to the Forsaken Fortress. Jump on your sail and make your way to this square quadrant. This is the first time we are allowed in this area since very early in the game, so if you'd like, you can finally get the sunken treasure from Treasure Chart #25.
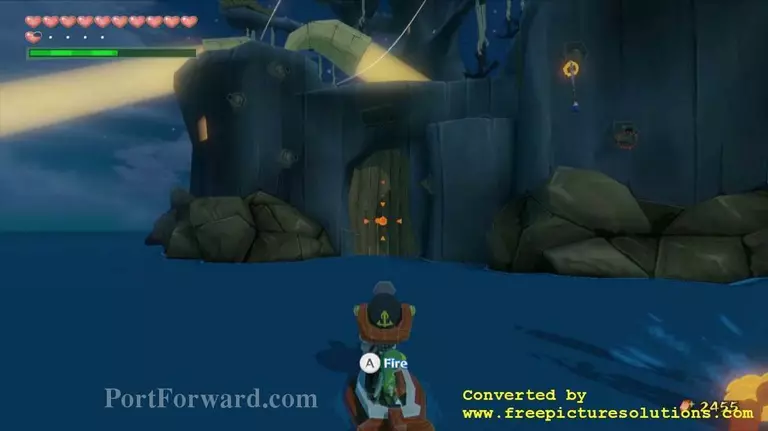
Ride on towards the Forsaken Fortress and you'll see a bunch of spotlights, as well as cannons that shoot at you. Ignore both of them and you'll come across a wooden door. Shoot it a few times with your cannon to break it down and then sail on in.
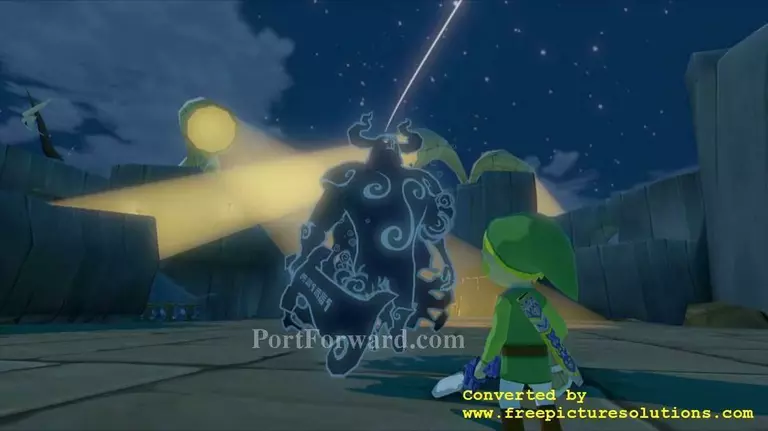
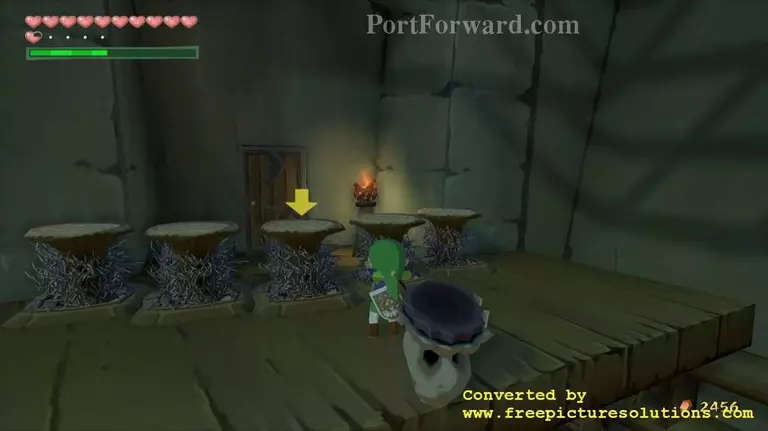
Walk up the stairs and break the skulls nearby for some extra hearts. Head towards the large door ahead and Phantom Ganon will appear, wanting to fight.

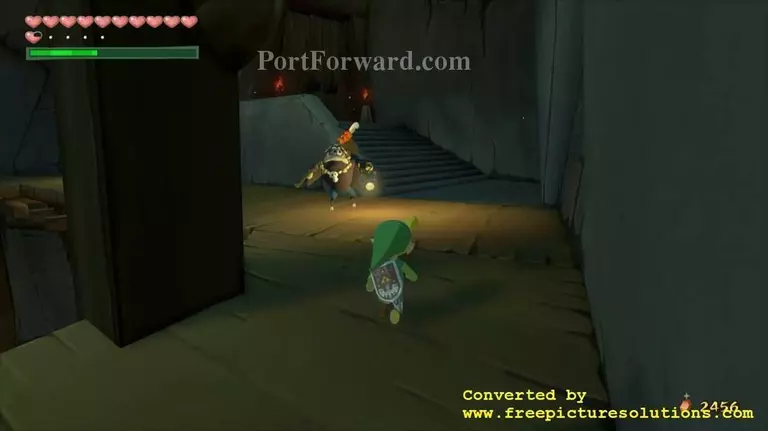
Like incarnations in past Zelda games Phantom Ganon will initiate a game of tennis where he will throw blue balls of light at you. Use the sword to hit them back and forth until Phantom Ganon misses and gets hit, knocking him down to the ground. Run over and attack him with the sword before he vanishes.
At this point Phantom Ganon will either appear in the air again and throw another ball of light at you, or he will appear directly behind you.
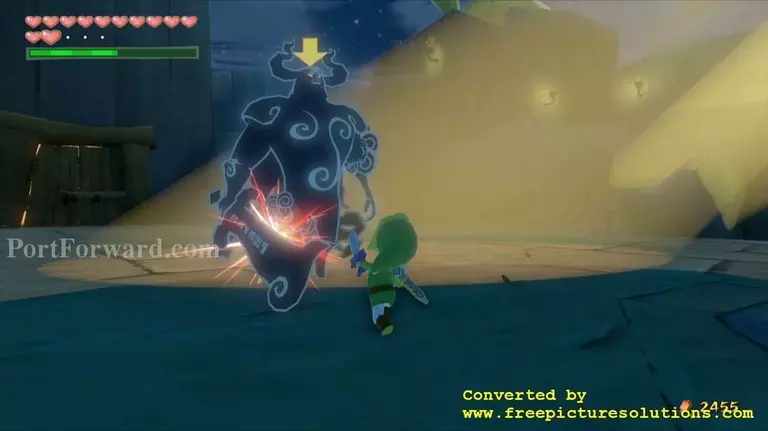
If he chooses the second method quickly turn around and attack him with the sword to damage him further. Continue doing this and hitting the balls of light back at him to defeat him.
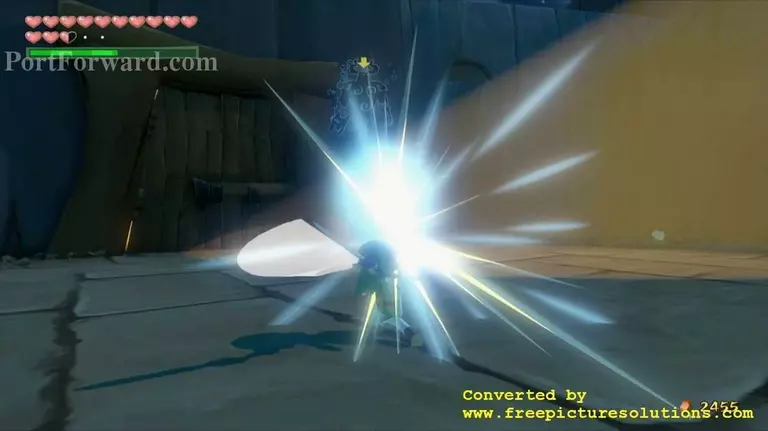
Once you defeat him the large door will open and a chest will appear. Open it for the Skull Hammer, an item that will allow us to pound various switches and spikes into the ground.
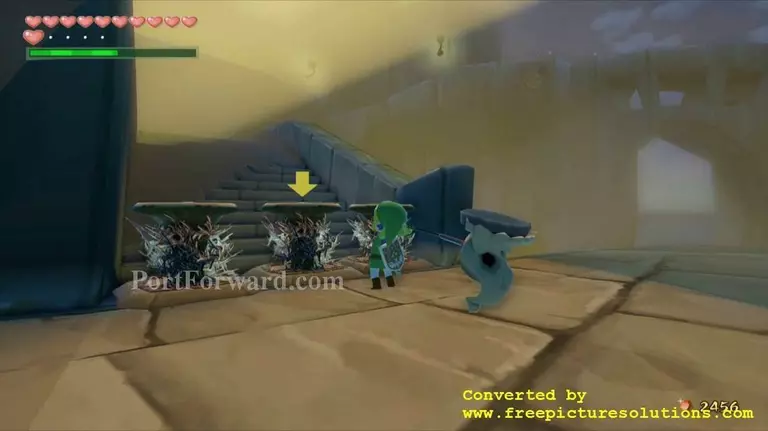
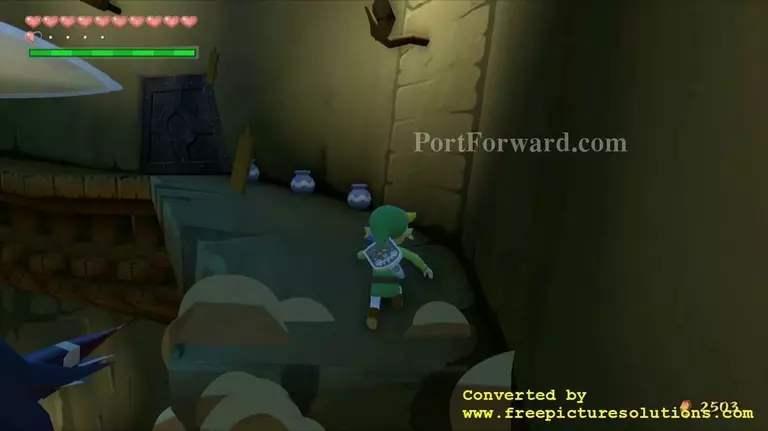
Pound the stakes blocking the stairs to the south and head up into the hallway. Turn left and head through the door here.
Defeat the Bokoblin here and use the Deku Leaf to float across the gap. Pound the stakes here with the Skull Hammer and walk through the door.
Walk through this hallway and head through the next door as well. Jump across the next gap with the Deku Leaf and head through the next door as well.
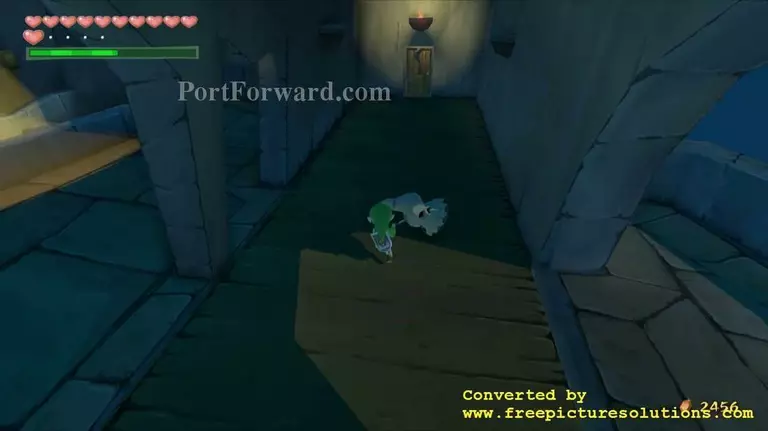
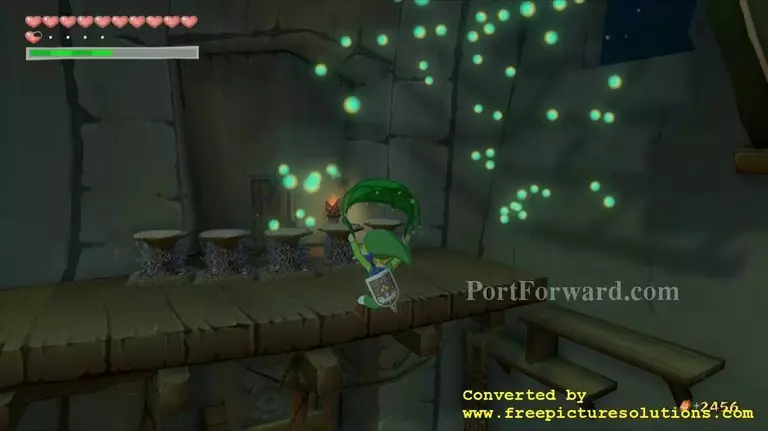
Follow the platform and defeat Moblin along the way. Walk through the double doors at the top of the room and head up the stairs in the next area. Continue up the path and pound the next set of stakes you find. When you reach the gap, you can either sidle across it like before or change the wind direction to the southeast to float across it.
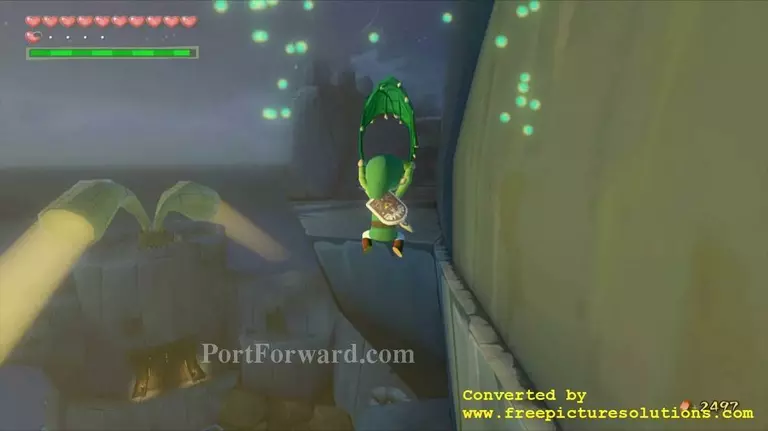
The canons will shot towards Link when he tries to sidle, so it is much safer to use the Deku Leaf. Cross the next gap as well and pound the last stake before the doors to open them.
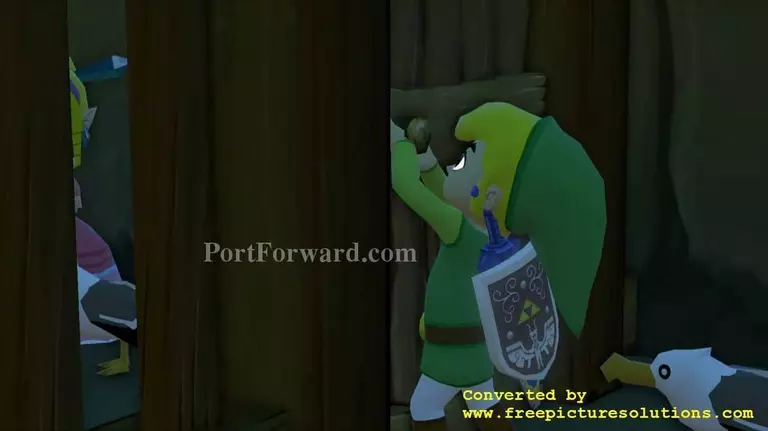
A cutscene will take place where Link looks cautiously for the Helmaroc King and heads over to Aryll. He will attempt to break into the cell when Tetra and pirate crew shows up and opens the cell for him. Tetra will notice that you have the Master Sword and will begin to ask where Link got it from.
The pirates will take the girls and Tetra tells Link there's something he still needs to take care of. She promises to deliver Aryll back home safely. Link will wave to his sister and Tetra promises to return.
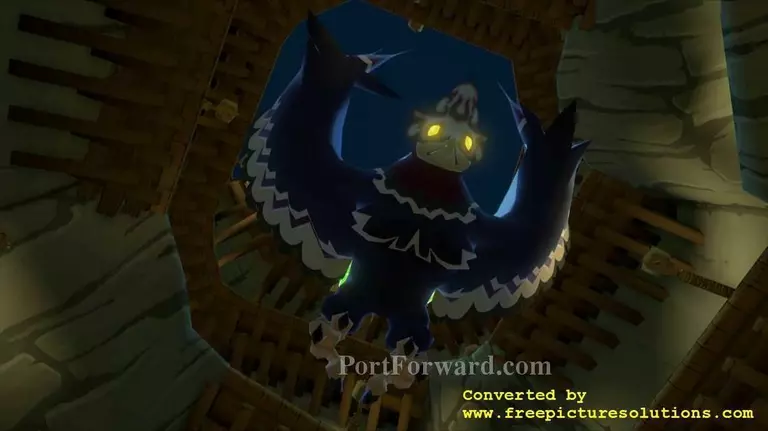
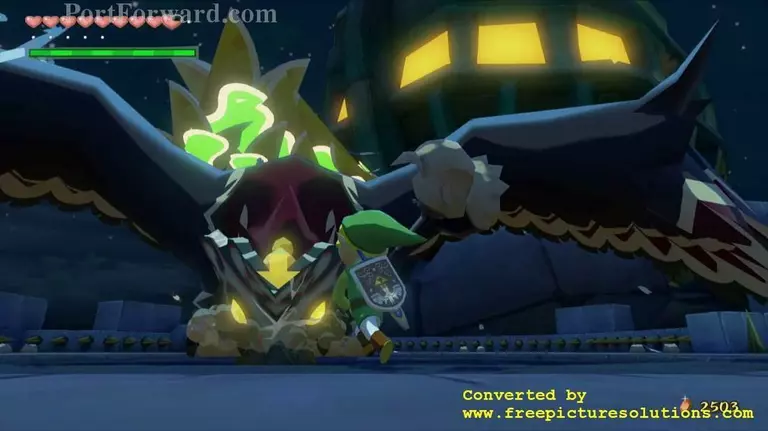
As she leaves the door will lock behind her and the room begins to fill with water. The Helmaroc King will drop in, ready to fight. Once you gain control of Link turn to the right and start running up the ramp. If you feel comfortable doing so you can roll all the way up the ramp to make this phase of the battle much easier. If you don't climb the ramp fast enough the Helmaroc King will fly into the platform you are on, destroying it and knocking you down. If this happens, you will have to wait for the water to raise and use the Grappling Hook to reach the platform you were at.
"Bokoblins will also appear at points along the pathway, but it's easier and essential to avoid them rather than defeat them. Once you reach the top of the room the Helmaroc King will try and block your path. Hit the mask on its head with the Skull Hammer to hurt him, making him fall down into the water below.
Climb up the next platform and the top of the previous room will start to close. Before it does the Helmaroc King will fly out and initiate the next phase of the battle.
At the beginning of the battle it will start to fly around the sky above you. The Helmaroc King can perform a couple of attacks at this point. If he flies directly at you, you can jump out of the way to avoid it. He can also come near and try to blow you into the spikes surrounding the wall. It can be difficult to avoid this attack, but you can try and push against the wind and land on a part of the wall without spikes if necessary.
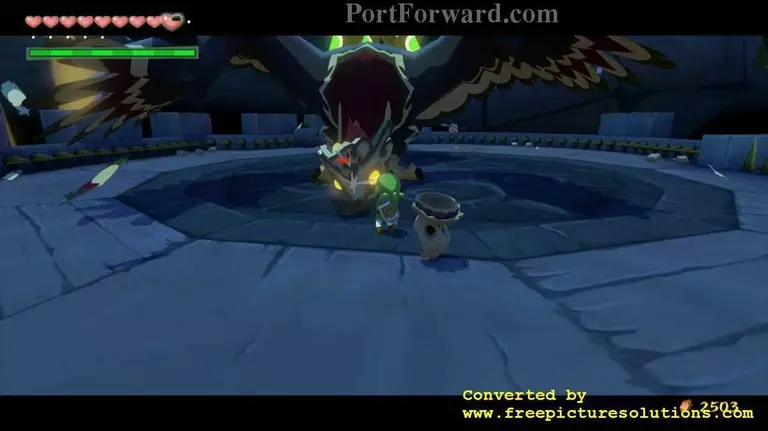
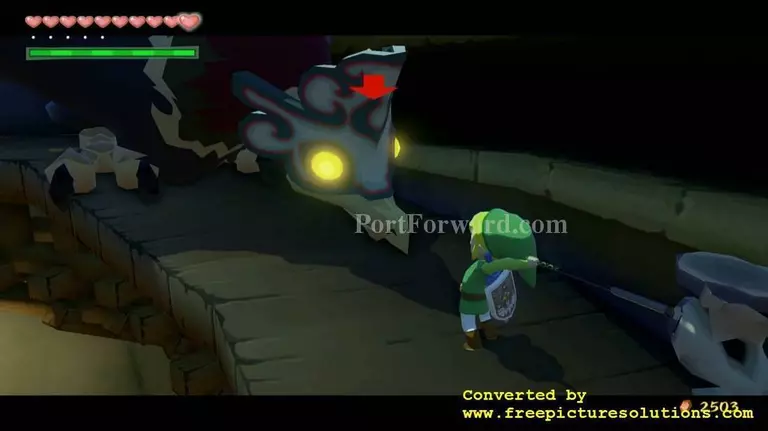
For the most important attack the bird will land on the platform and walk towards you. He will then try to peck at you. Dodge the attack and his face will get stuck in the ground momentarily.
Pound it with the Skull Hammer to hurt him. After hitting his mask five times it will fall off, leaving his face vulnerable.

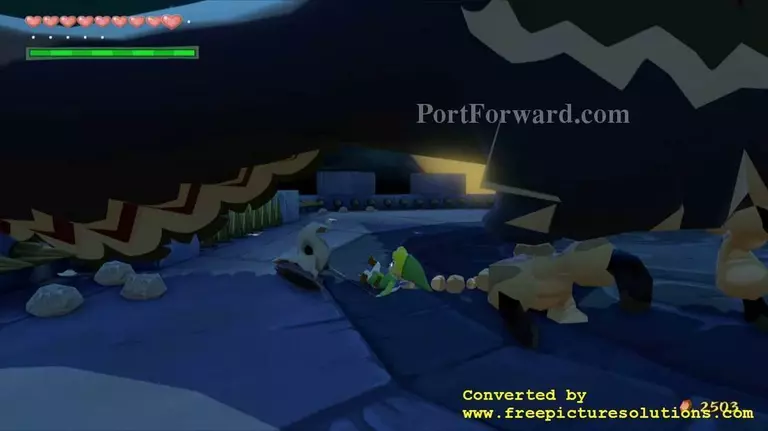
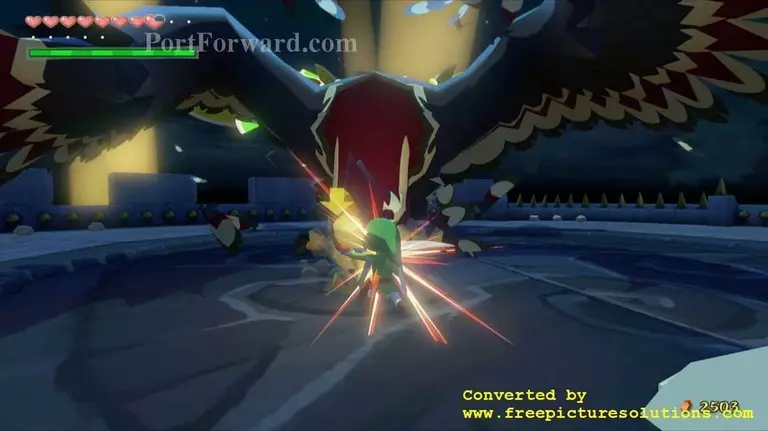
"Avoid his attacks whenever necessary and wait until he tries to peck at you again. Dodge out of the way again and attack his face with either the sword or the Skull Hammer. After a few attacks the bird will fly high into the air and explode, ending the battle.
"Link will then charge at Ganon and is stopped once again. Tetra will jump into the room and distract Ganon momentarily. Ganon then grabs Tetra and notices his Triforce of Power resonating, signifying to him that Tetra is Princess Zelda.
More The Legend of Zelda: The Wind Waker Walkthroughs
This The Legend of Zelda: The Wind Waker walkthrough is divided into 47 total pages.