Warhammer 40,000 Space Marine Walkthrough 10- House Of Secrets

September 12, 2016 (Last Updated: ) | Reading Time: 8 minutes

This Warhammer 40,000 Space Marine walkthrough is divided into 18 total pages.

You can jump to nearby pages of the game using the links above.

10- House Of Secrets

Warhammer 40,000 Space Marine Walkthrough - Warhammer 40000-Space-Marine 428

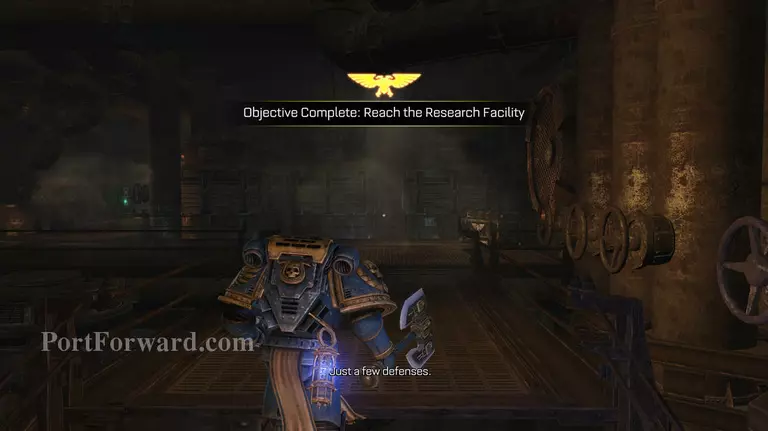
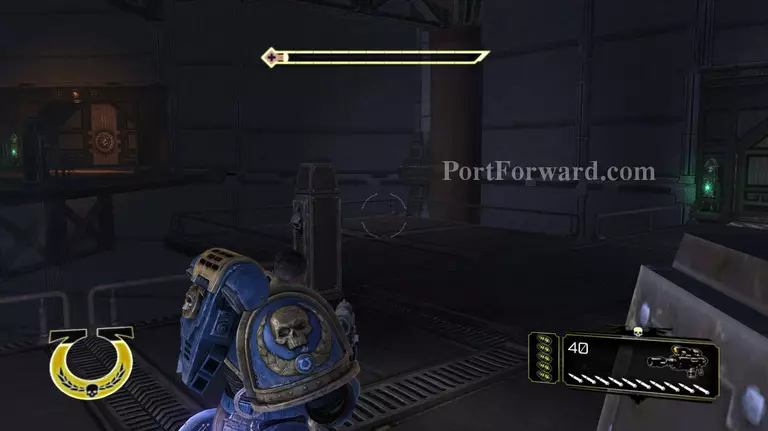
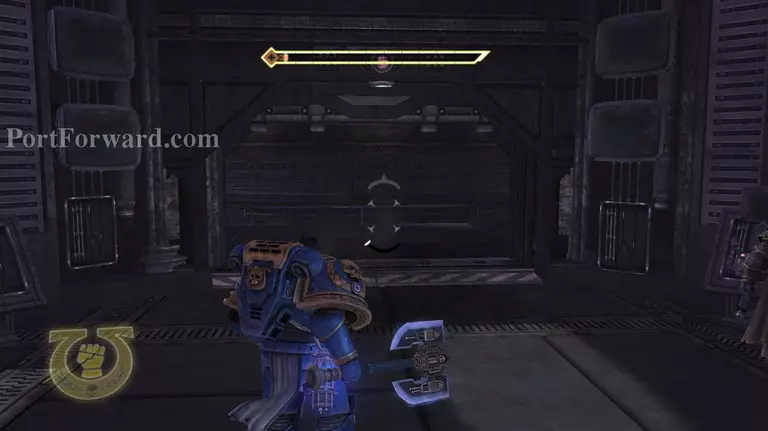
As you walkt up the stairs, you will get an objective marker, by listening into the chat between you and Drogan you will notice that he mentions a 'few' defences. you will not encouter any yet, continue to the end of the path and activate the door at the end of the room.

Warhammer 40,000 Space Marine Walkthrough - Warhammer 40000-Space-Marine 429

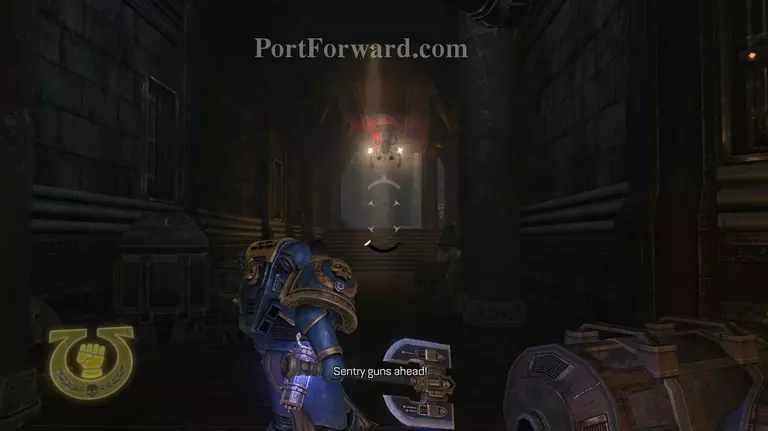
As you enter the room and head to the left you will encounter your first sero-turret. stick to the rught hand side and exploit the cover. try to shoot at him with the bolter pistol.

Warhammer 40,000 Space Marine Walkthrough - Warhammer 40000-Space-Marine 430

These turrets are very strong in comparison to Ork guns, they will take down your shield quick so make sure that it is up full before you continue to the next room.

Warhammer 40,000 Space Marine Walkthrough - Warhammer 40000-Space-Marine 431

refill your weapons if you have some spare space and make sure the power axe is equiped. then enter the door on the left.

Warhammer 40,000 Space Marine Walkthrough - Warhammer 40000-Space-Marine 432

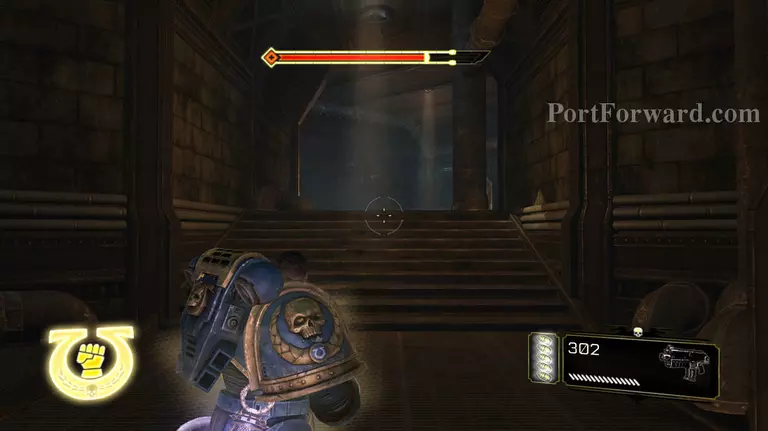
As you enter the room there are two more sero-turrets that activate, head to the boxes on the right hand side and use either the stalker bolter or the plasma pistol. to destroy them, i would recomend that you use the plasma pistol, although that sounds strange they are vey quick at taking out these turrets.

Warhammer 40,000 Space Marine Walkthrough - Warhammer 40000-Space-Marine 433

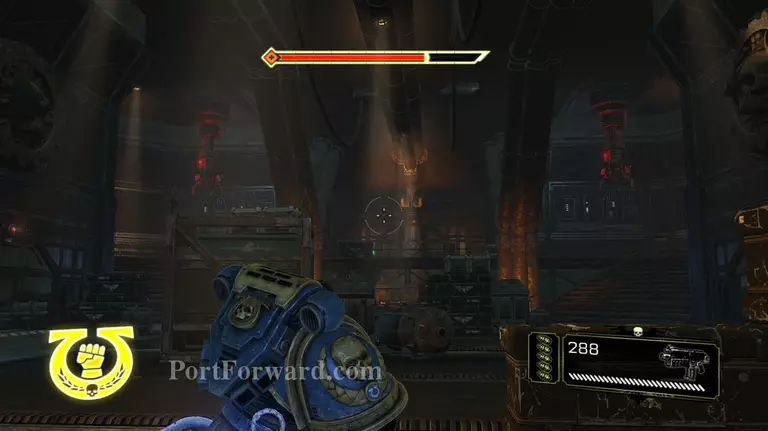
After you take out the two sero-turrents a missle turret will activate, head to the slightly closer cover on the right, try to shoot between the gaps in the missiles fire.

Warhammer 40,000 Space Marine Walkthrough - Warhammer 40000-Space-Marine 434

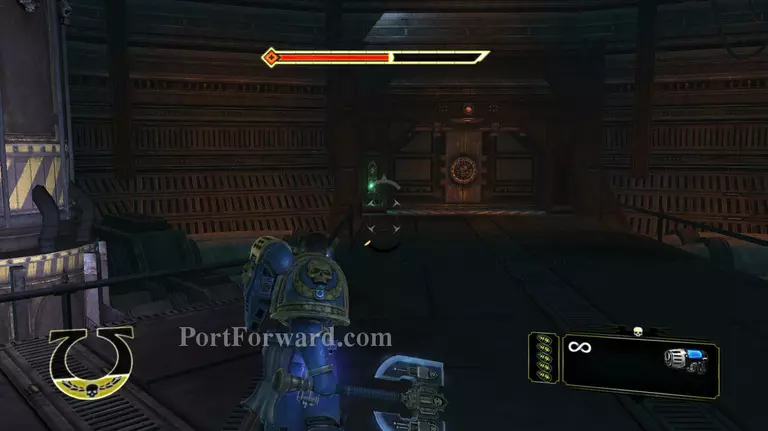
head up the stairs and avtivate the door, note the objective marker.

Warhammer 40,000 Space Marine Walkthrough - Warhammer 40000-Space-Marine 435

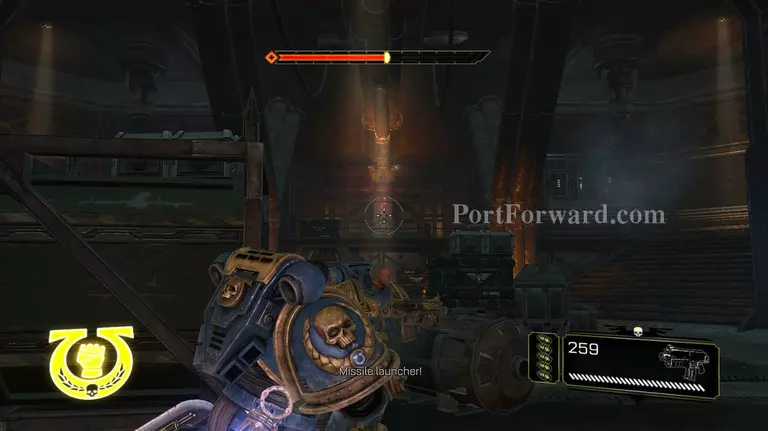
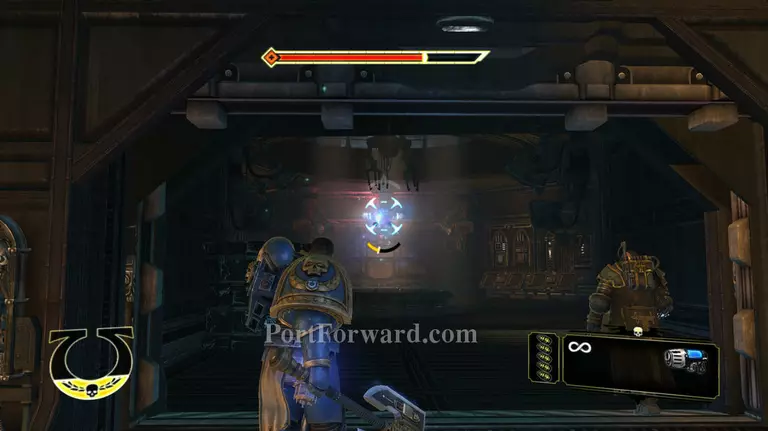
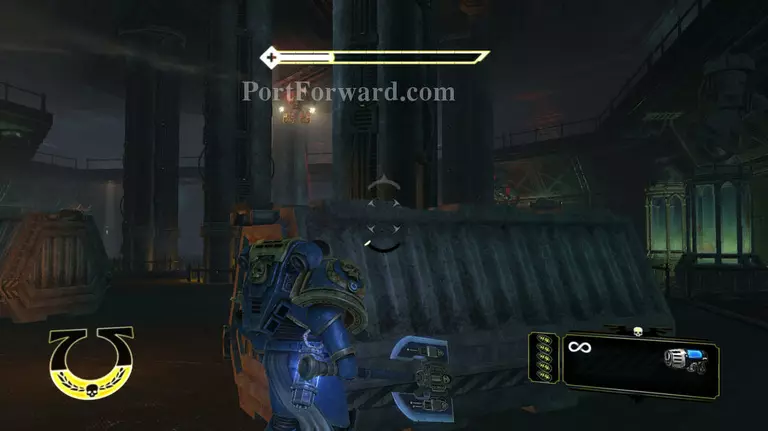
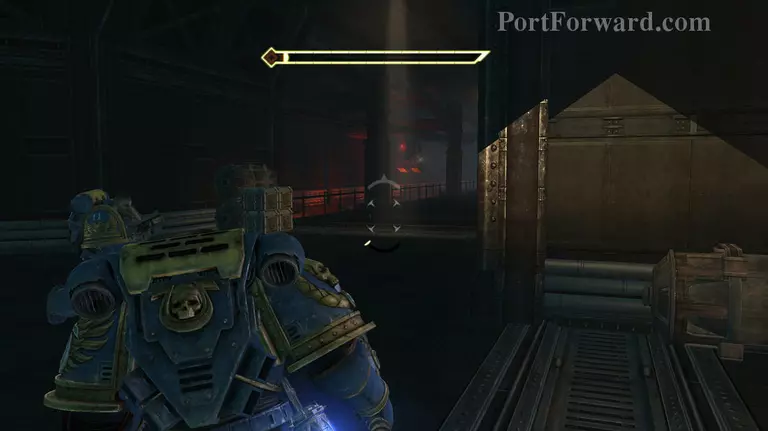
"As you enter the next room you won't see any enemys but look at the players model and if you see a red laser pointer move, if you do not you will get hit by a missle.

Warhammer 40,000 Space Marine Walkthrough - Warhammer 40000-Space-Marine 436

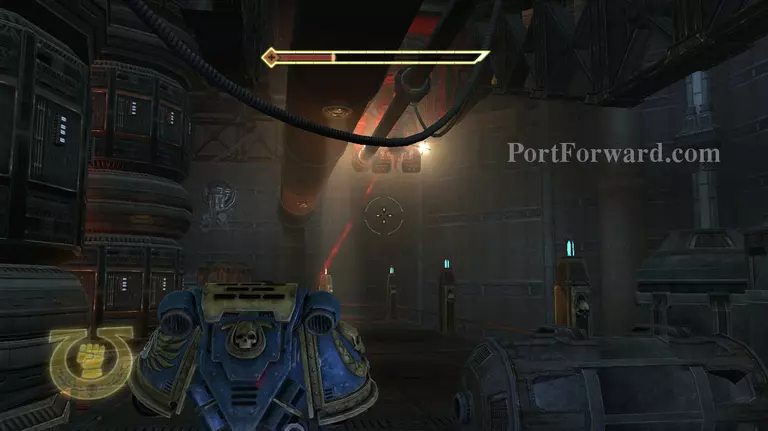
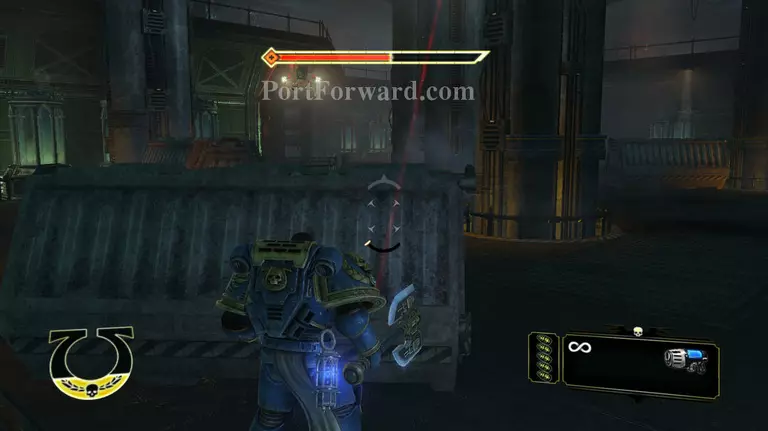
As you start to move around the side, more and more turrets will activate try to take them out from cover.

Warhammer 40,000 Space Marine Walkthrough - Warhammer 40000-Space-Marine 437

exploit their AI they cannot shoot at certain angles, take this one for example, try to find this angle and you can take them out with any weapon.

Warhammer 40,000 Space Marine Walkthrough - Warhammer 40000-Space-Marine 438

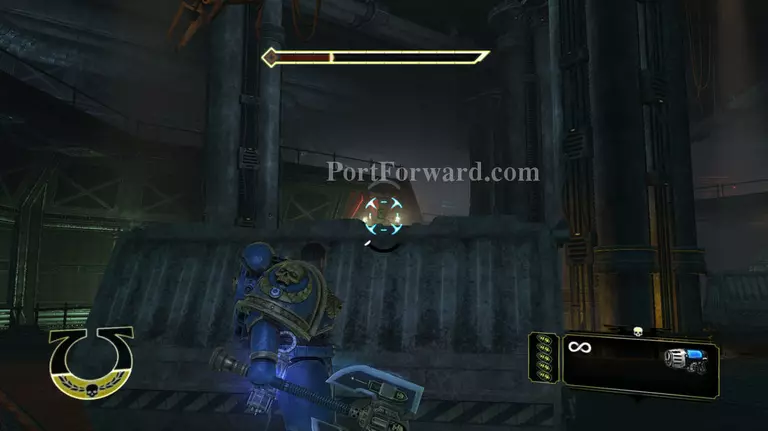
Once you have taken out the turrets head through this door at the other end of the room.

Warhammer 40,000 Space Marine Walkthrough - Warhammer 40000-Space-Marine 439

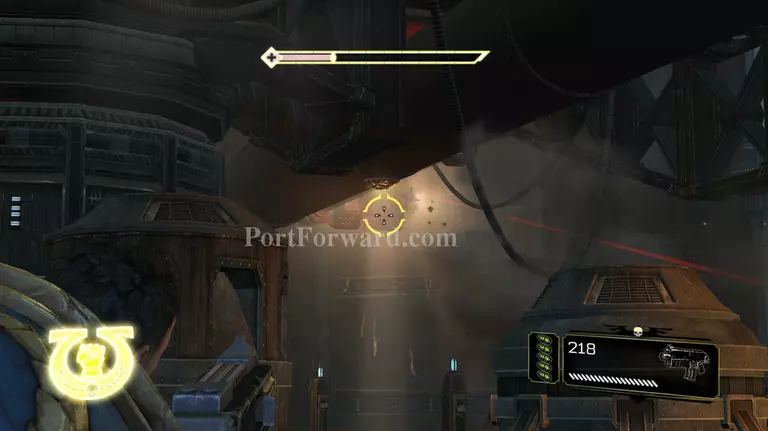
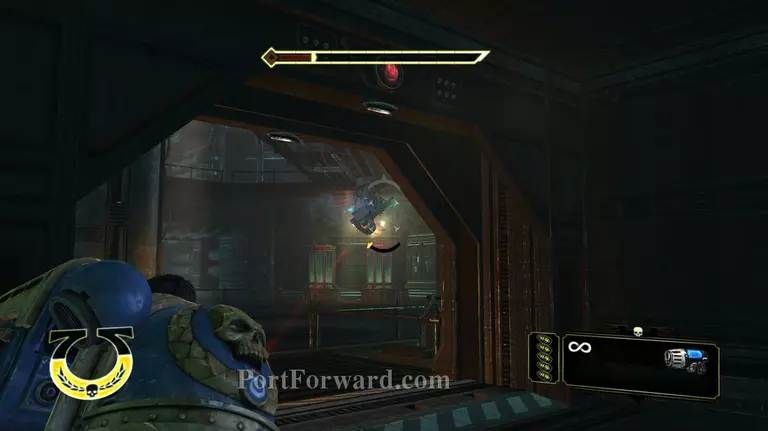
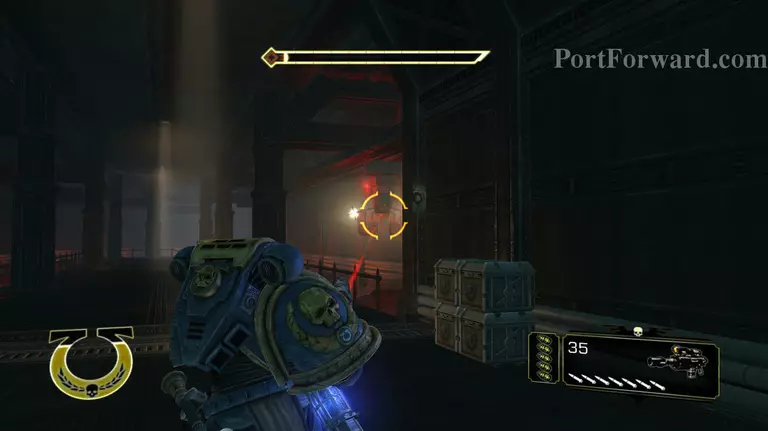
this part requires timing, two turrets will activate on sliding rails, shoot the barrels on the walls to blow them up as they pass by them.

Warhammer 40,000 Space Marine Walkthrough - Warhammer 40000-Space-Marine 440

try to shoot the turrets when they are pass the barrels.

Warhammer 40,000 Space Marine Walkthrough - Warhammer 40000-Space-Marine 441

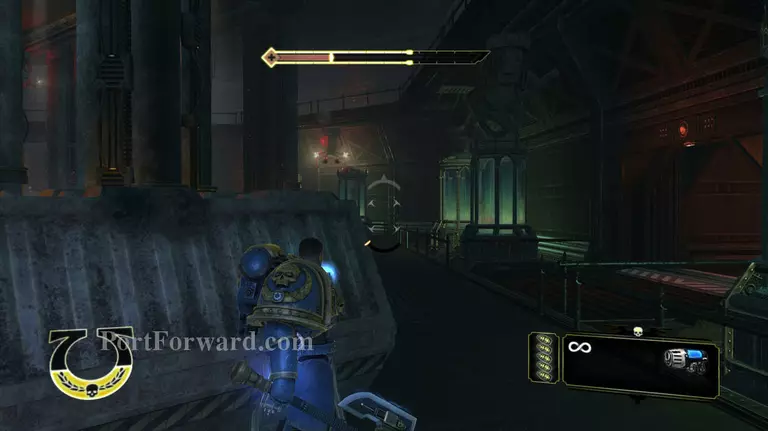
If your health gets really low, back off to here as long has you have taken out the turret on the left you have a safe position to recover shield.

Warhammer 40,000 Space Marine Walkthrough - Warhammer 40000-Space-Marine 442

After the turrets are dead head to the end of the corridor and turn left.

Warhammer 40,000 Space Marine Walkthrough - Warhammer 40000-Space-Marine 443

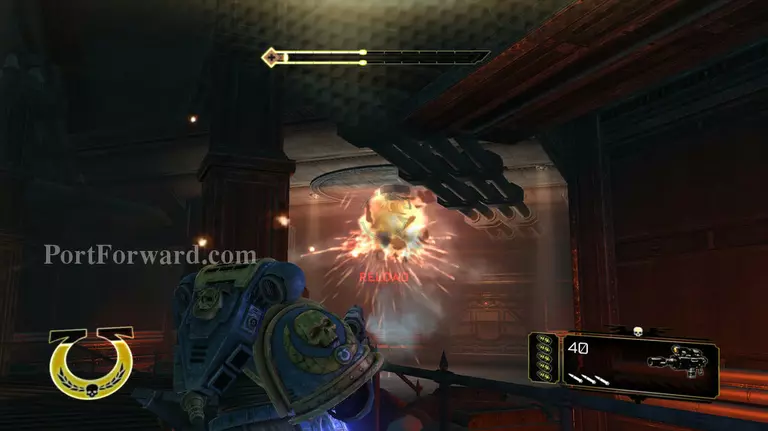
"As yuo enter this room move to the barrels that are on the right of this screen print there are loads of servo-turrets in this room.

Warhammer 40,000 Space Marine Walkthrough - Warhammer 40000-Space-Marine 444

Once the turrets are dead get out of cover and open this door.

Warhammer 40,000 Space Marine Walkthrough - Warhammer 40000-Space-Marine 445

There is one servo-turret in this room so be prepared when you open the door.

Warhammer 40,000 Space Marine Walkthrough - Warhammer 40000-Space-Marine 446

After Drogan says that he has disabled the turrets head back to the main room and open the door at the end that was previously locked.

Warhammer 40,000 Space Marine Walkthrough - Warhammer 40000-Space-Marine 447

walk through the room, there is no enemys here, open the door at the end.

Warhammer 40,000 Space Marine Walkthrough - Warhammer 40000-Space-Marine 448

In this next room, you will find a new weapon. This weapon is the Kraken bolter; this weapon replaces your current bolter and is much stronger. it can also peirce cover.

Warhammer 40,000 Space Marine Walkthrough - Warhammer 40000-Space-Marine 449

Drogan will open the shutter on the left and talk about the firing core, you will have to wait till he stops talking before you can procede.

Warhammer 40,000 Space Marine Walkthrough - Warhammer 40000-Space-Marine 450

Once he has stopped talking you can open the door at the end of the room after the blast doors retract.

Warhammer 40,000 Space Marine Walkthrough - Warhammer 40000-Space-Marine 451

there is no enemys in the next room, continue through the door.

Warhammer 40,000 Space Marine Walkthrough - Warhammer 40000-Space-Marine 452

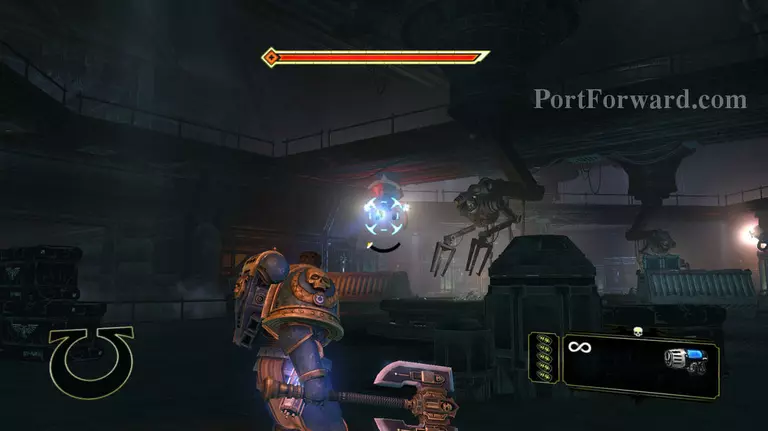
As you enter the next room there is one servo-turret that will activate and one missile turret. The cover that i am in, will stop fire from the shown turret but it will not stop missiles priorities this as your first to take out.

Warhammer 40,000 Space Marine Walkthrough - Warhammer 40000-Space-Marine 453

With the next target you have two choices, you may use the Kraken bolter to attack through the cover or you can try with the plasma pistol.

Warhammer 40,000 Space Marine Walkthrough - Warhammer 40000-Space-Marine 454

After this turret is dead another on your flank will activate, head to the left of your cover because this one moves.

Warhammer 40,000 Space Marine Walkthrough - Warhammer 40000-Space-Marine 455

But mind out for the misiles from the left, take out the missiles first before the turret.

Warhammer 40,000 Space Marine Walkthrough - Warhammer 40000-Space-Marine 456

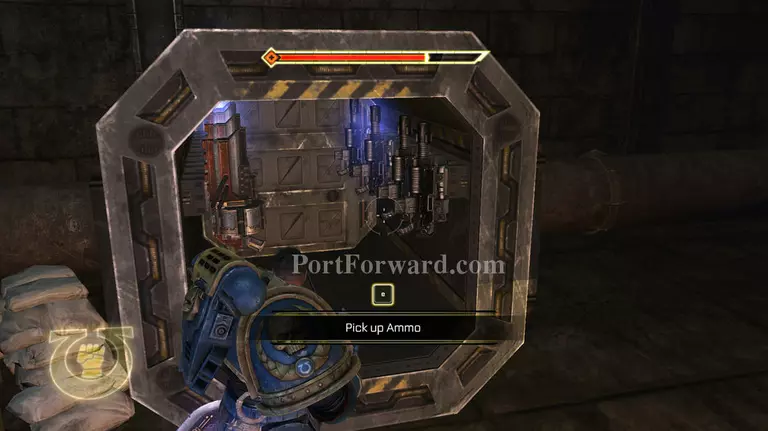
After they are taken out head to the left, there is a turret next to some ammo. get to the ammo.

Warhammer 40,000 Space Marine Walkthrough - Warhammer 40000-Space-Marine 457

As you might have guessed you have just side stepped some of the Turrets by going this way, but there still are some just outside the door on the right.

Warhammer 40,000 Space Marine Walkthrough - Warhammer 40000-Space-Marine 458

I recomend that you dive to this location take out the missiles on the left and the servo turret. it keeps you covered from the other turrets. At this time when ever your health is low, use fury to recover.

Warhammer 40,000 Space Marine Walkthrough - Warhammer 40000-Space-Marine 459

When they are all taken out head through this door.

Warhammer 40,000 Space Marine Walkthrough - Warhammer 40000-Space-Marine 460

As you enter the room there is a path to the right, ignore it for now and head toward the weapons ammo.

Warhammer 40,000 Space Marine Walkthrough - Warhammer 40000-Space-Marine 461

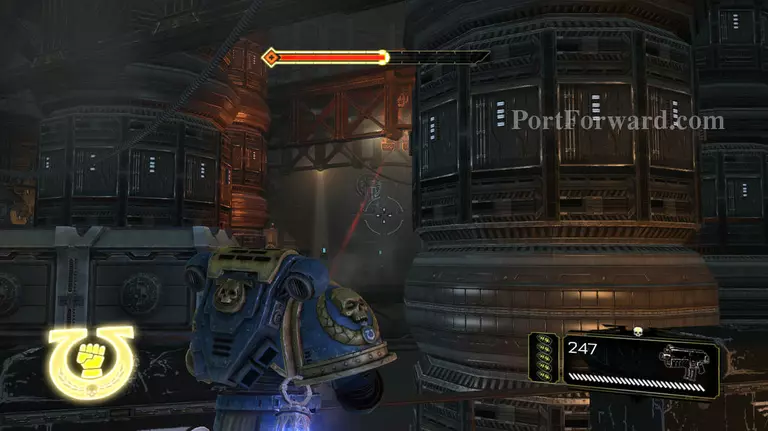
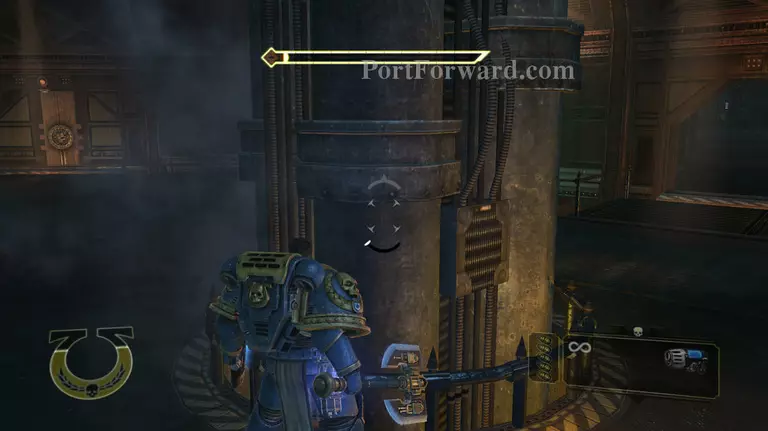
As there is loads of stalkter bolter ammo there is a chance to snipe the turrets, when ever they shoot combat roll away.

Warhammer 40,000 Space Marine Walkthrough - Warhammer 40000-Space-Marine 462

the other turret will most likly be in the corner, find a location where you can shoot at a part of the turret but so it can't shoot back, you will just be able to see its right missle battery round the corner; exploit it.

Warhammer 40,000 Space Marine Walkthrough - Warhammer 40000-Space-Marine 463

At the end of room there is one missile turret. kill it with the stalker bolter then go back and top up your ammo.

Warhammer 40,000 Space Marine Walkthrough - Warhammer 40000-Space-Marine 464

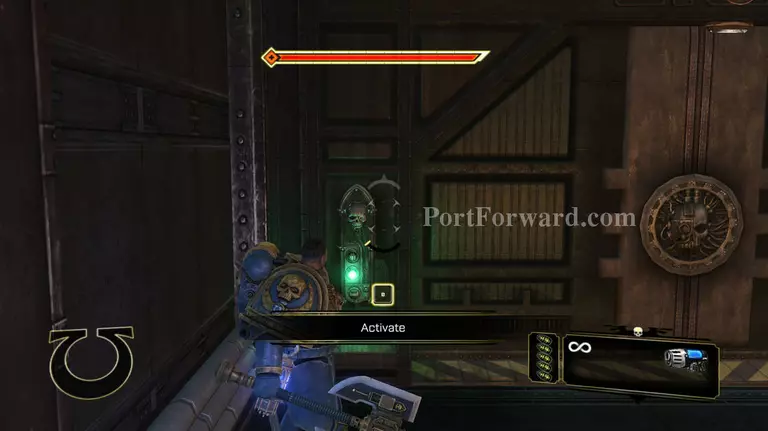
Then activate the door.

Warhammer 40,000 Space Marine Walkthrough - Warhammer 40000-Space-Marine 465

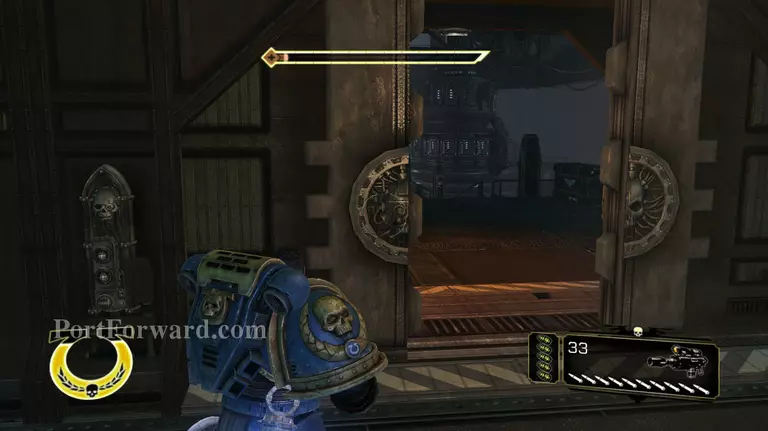
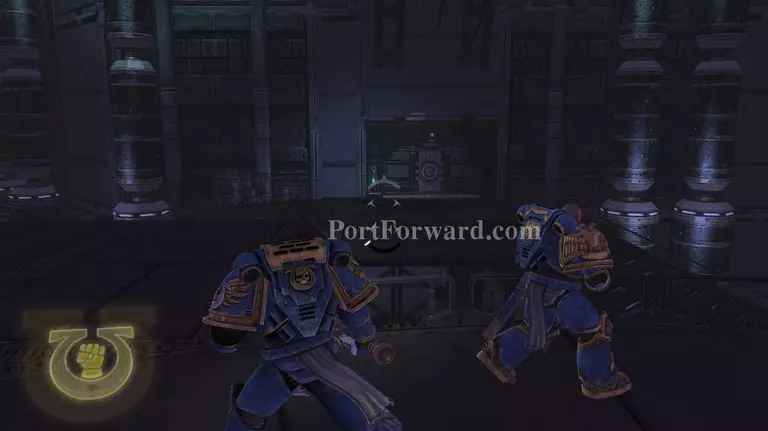
You enter the door shown on the left, go to the door on the right. there are no enemys here.

Warhammer 40,000 Space Marine Walkthrough - Warhammer 40000-Space-Marine 466

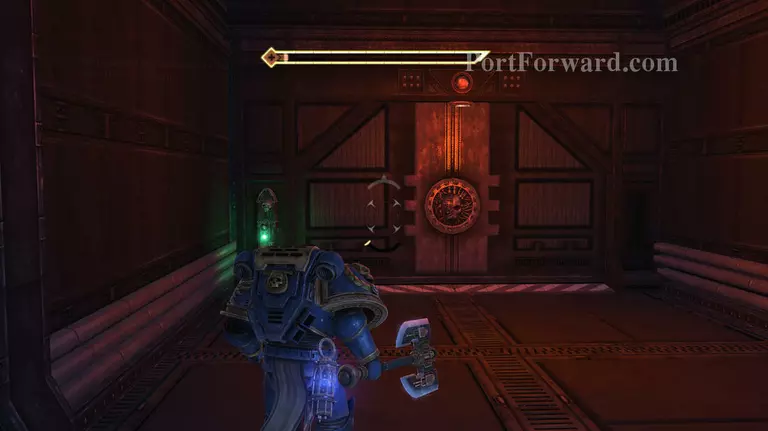
As you enter ther is just another door, enter through it.

Warhammer 40,000 Space Marine Walkthrough - Warhammer 40000-Space-Marine 467

There is a ton of turrets in this room, take the cover on the left and use the Kraken bolter or the stalker bolter to kill them

Warhammer 40,000 Space Marine Walkthrough - Warhammer 40000-Space-Marine 468

Now head to the door and enter it.

Warhammer 40,000 Space Marine Walkthrough - Warhammer 40000-Space-Marine 469

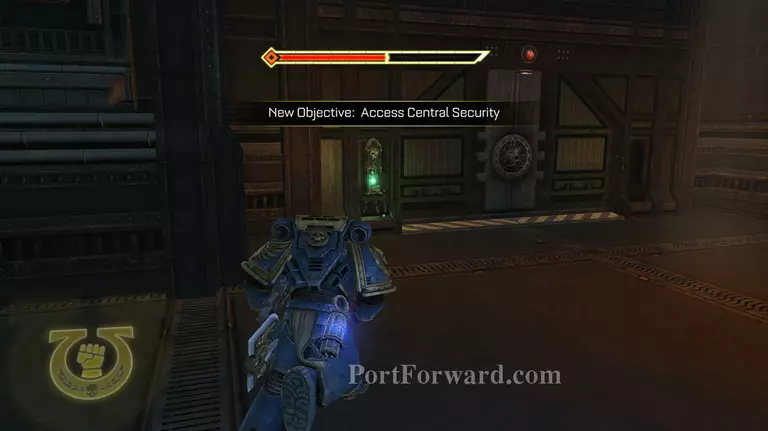
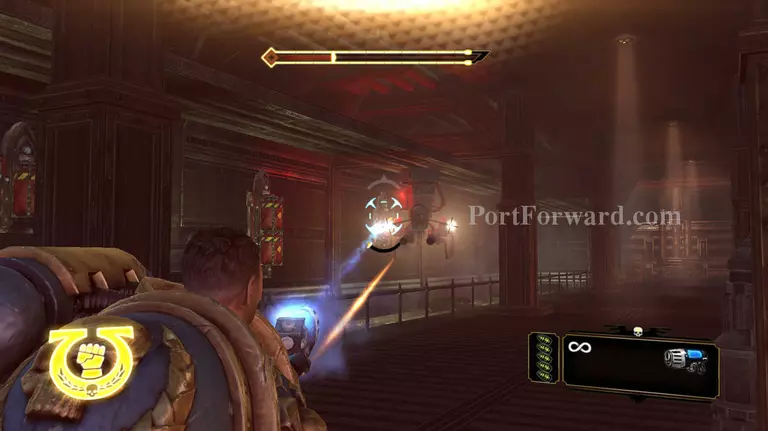
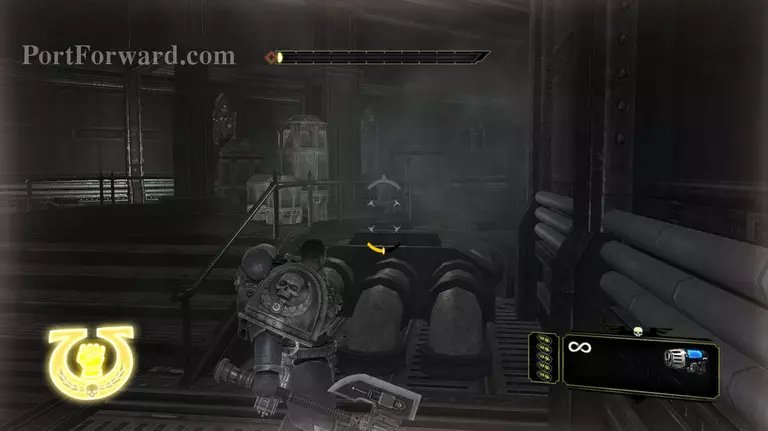
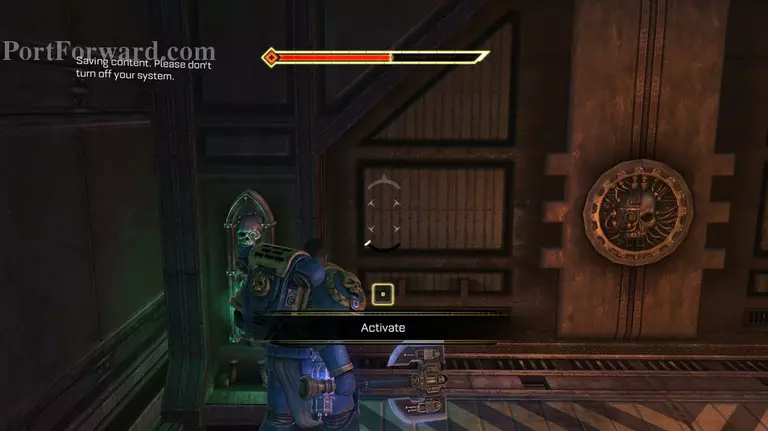
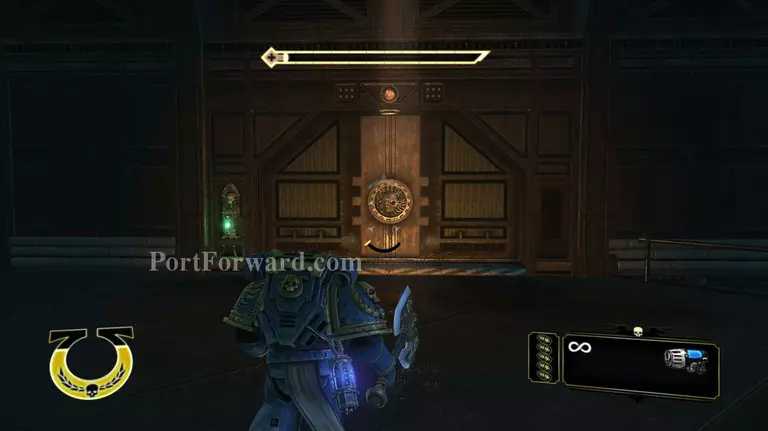
As you enter the door on the left there is the purity seal, this increases the speed in which the fury bar increases this means that you can use fury more often. Secondly note the objective marker.

Warhammer 40,000 Space Marine Walkthrough - Warhammer 40000-Space-Marine 470

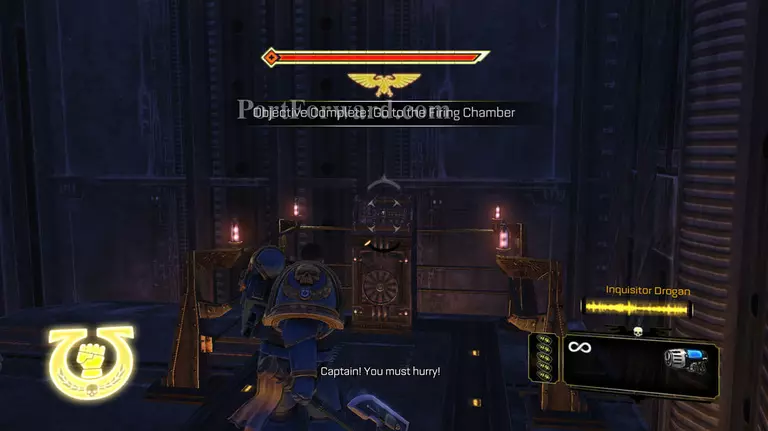
After you have got the purity seal, you will have to wait around for Drogan to stop talking again.

Warhammer 40,000 Space Marine Walkthrough - Warhammer 40000-Space-Marine 471

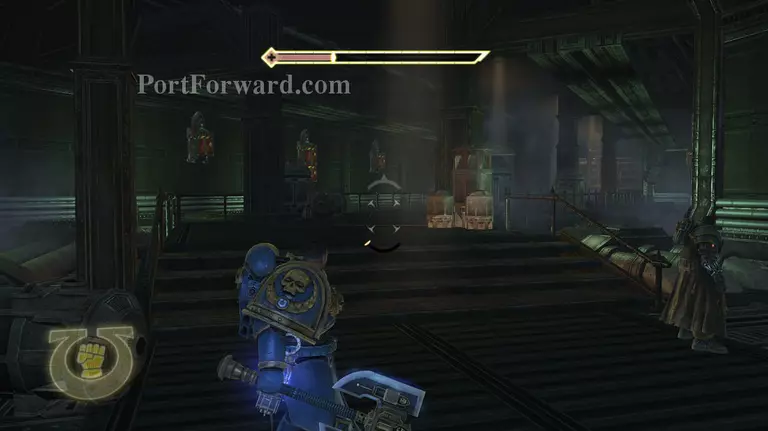
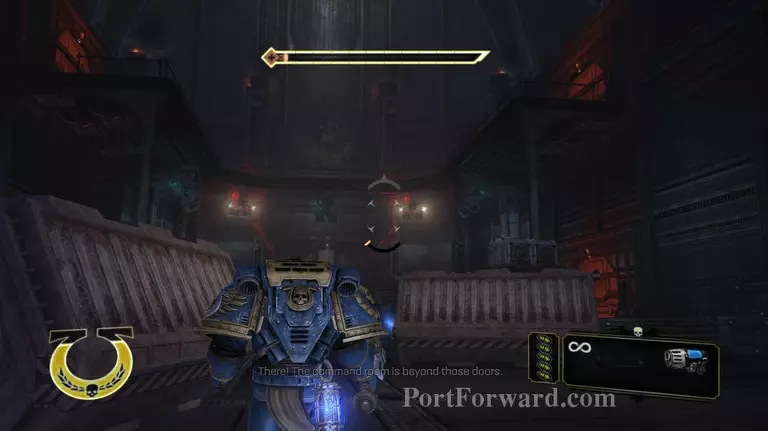
After the Drogan has stopped talking you you can enter into the room and take the stairs to the left.

Warhammer 40,000 Space Marine Walkthrough - Warhammer 40000-Space-Marine 472

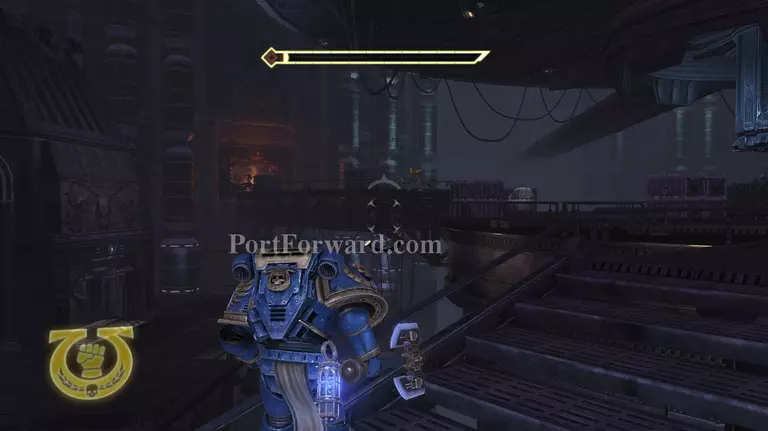
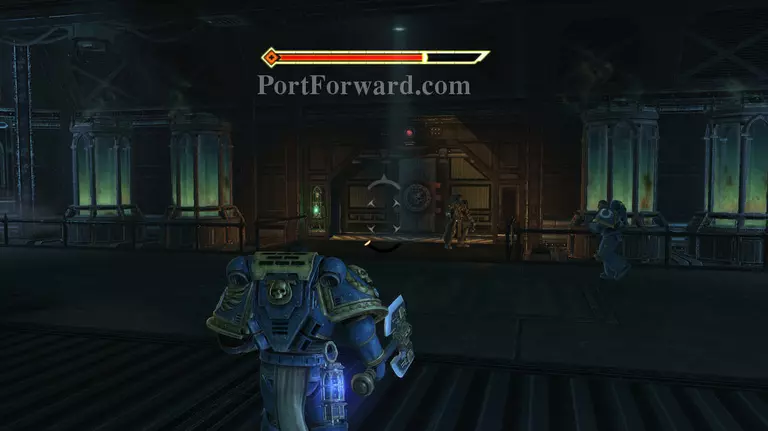
Finally the Orks have returned and are attcking from the left hand side. attack the ranged first. use any weapon of choice.

Warhammer 40,000 Space Marine Walkthrough - Warhammer 40000-Space-Marine 473

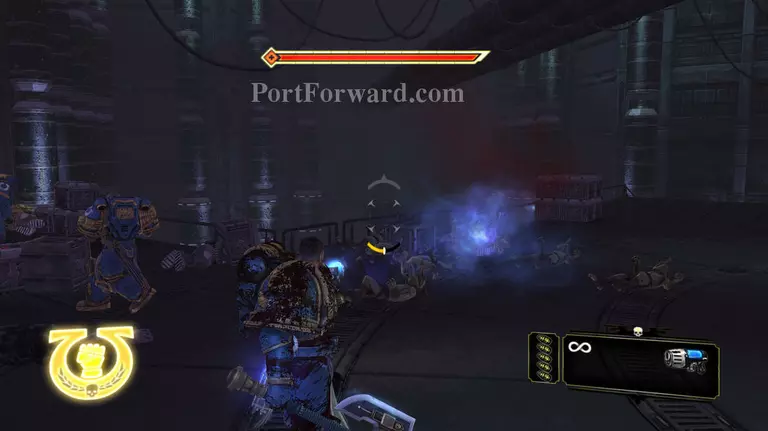
there is also a lot of Orks coming from the left with one squig.

Warhammer 40,000 Space Marine Walkthrough - Warhammer 40000-Space-Marine 474

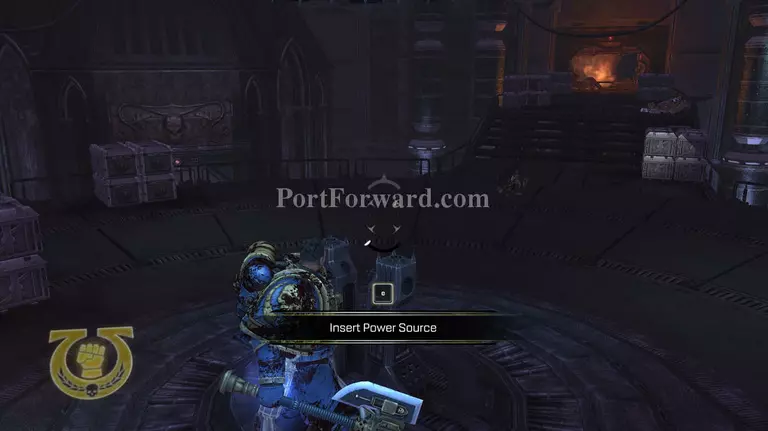
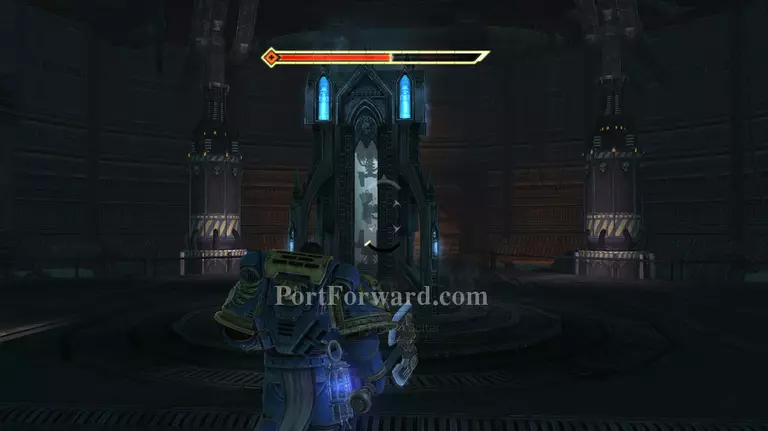
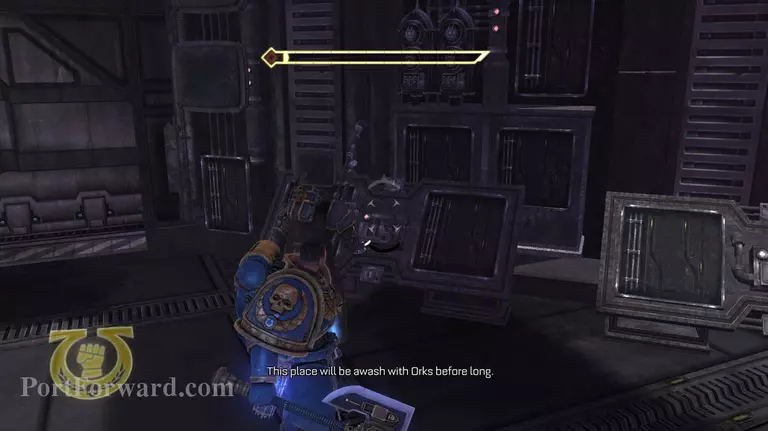
Now move towards the center platform and press your action button

Warhammer 40,000 Space Marine Walkthrough - Warhammer 40000-Space-Marine 475

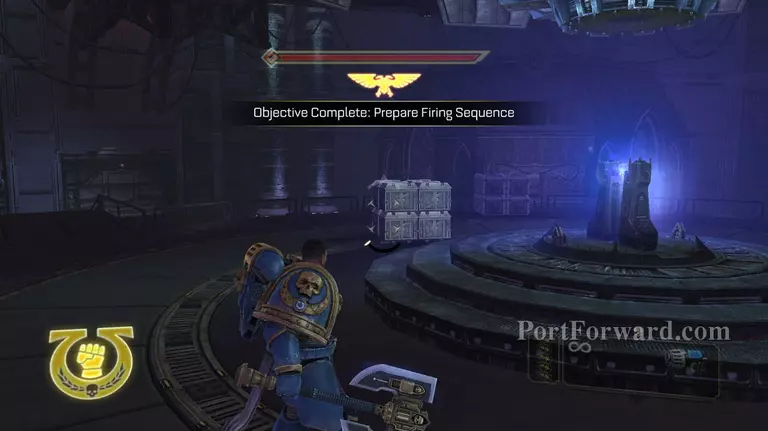
now you will have completed the objective.

Warhammer 40,000 Space Marine Walkthrough - Warhammer 40000-Space-Marine 476

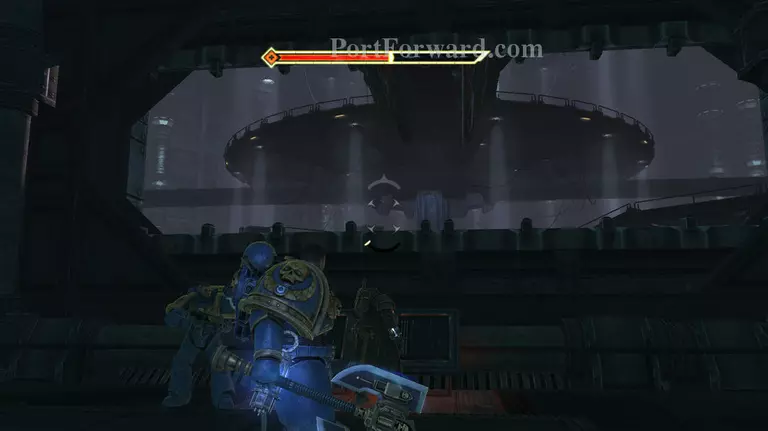
Now head down the stairs to the lift.

Warhammer 40,000 Space Marine Walkthrough - Warhammer 40000-Space-Marine 477

Once you are in the lift activate it and you will get the competed objective.

More Warhammer 40,000 Space Marine Walkthroughs

This Warhammer 40,000 Space Marine walkthrough is divided into 18 total pages.

More From Portforward