
This Warhammer 40,000 Space Marine walkthrough is divided into 18 total pages.
You can jump to nearby pages of the game using the links above.
12- Dying Of The Light
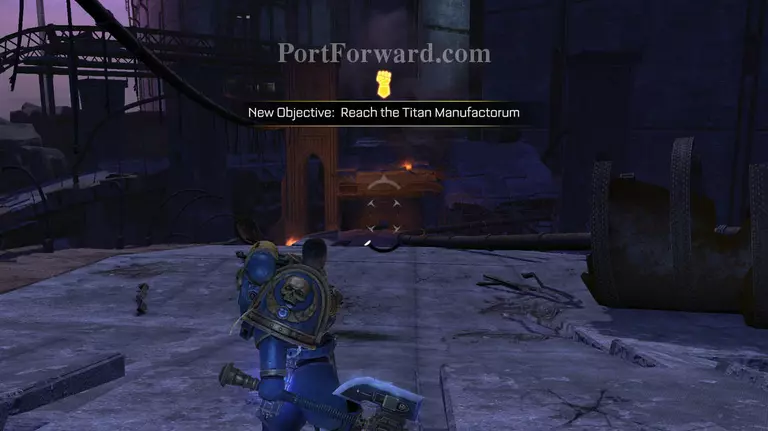
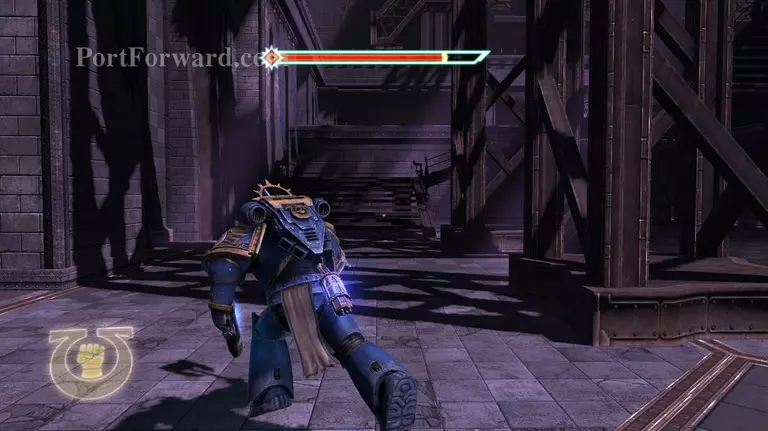
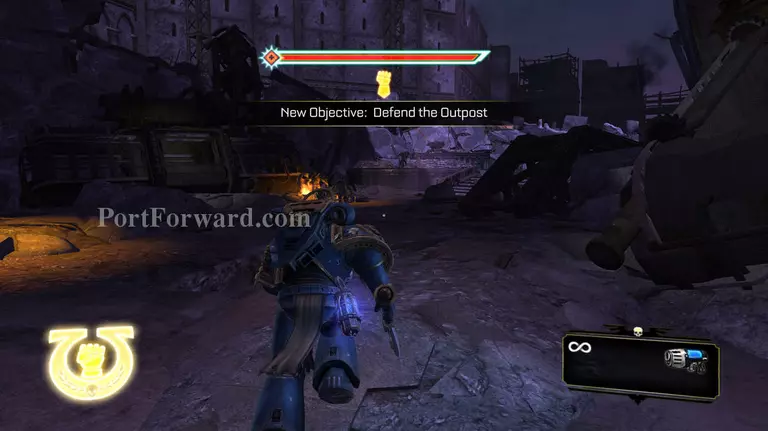
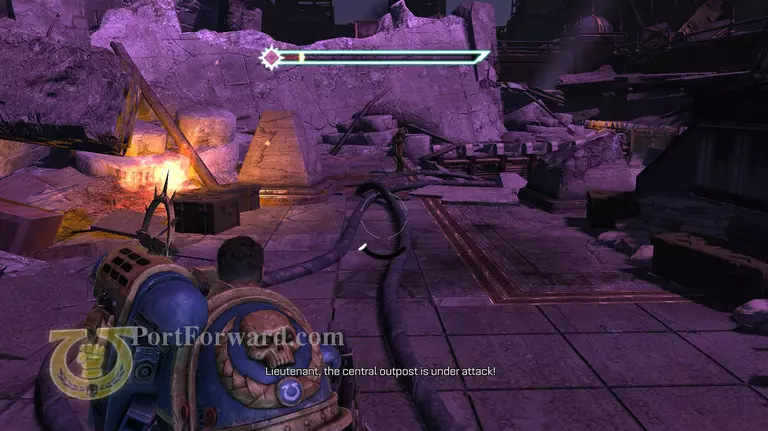
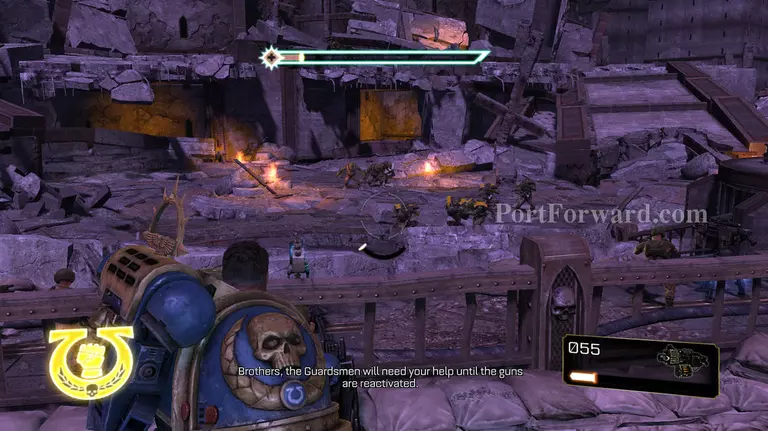
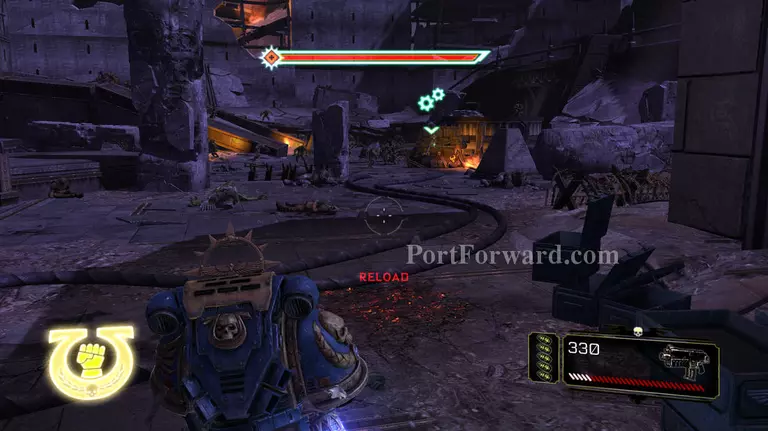
While they are talking walk forward, and follow the path, you will get an objective marker, you are heading back to the titans.
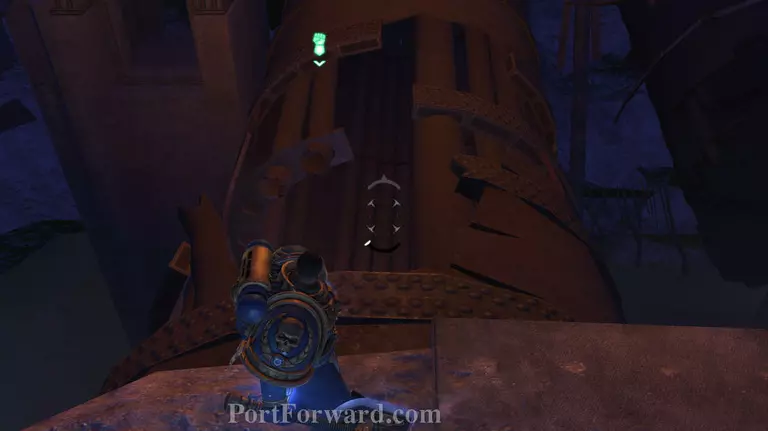
Once you get to what seems like the end of the road, jump down this pipe.
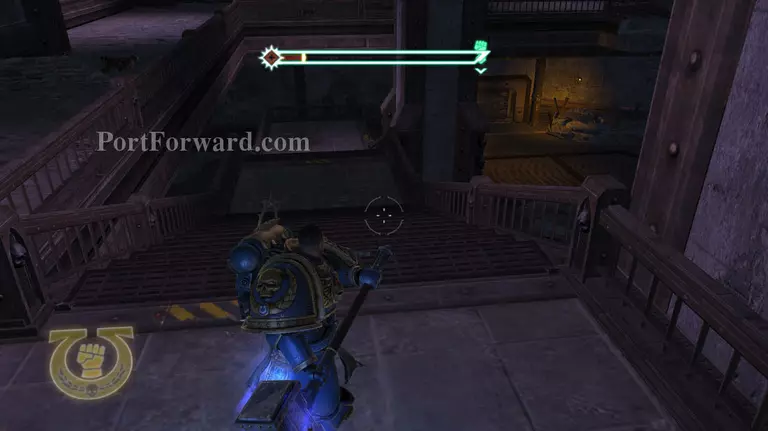
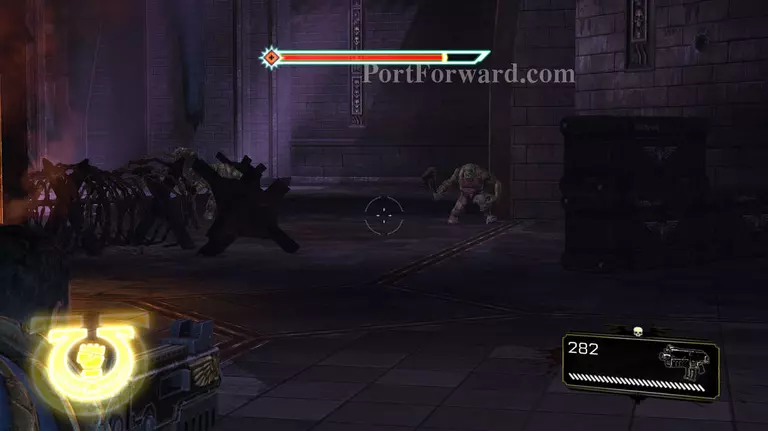
Head up the stairs and turn to the right.
About half way down the corridor there is a barrier blow it to top up your ammo.
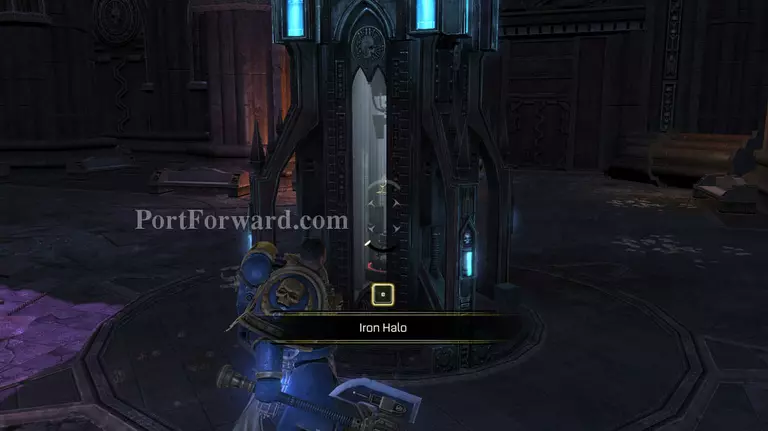
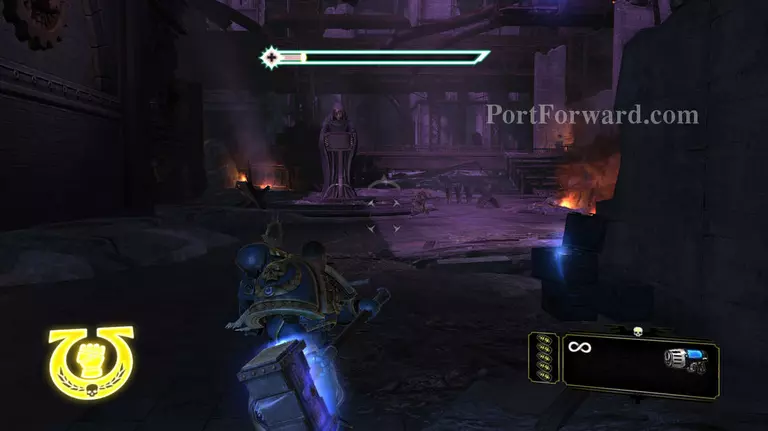
Once you get to the end of the corridor there you will find the iron halo; this is a device that sits ontop of your armour giving it strength and a faster refill time.

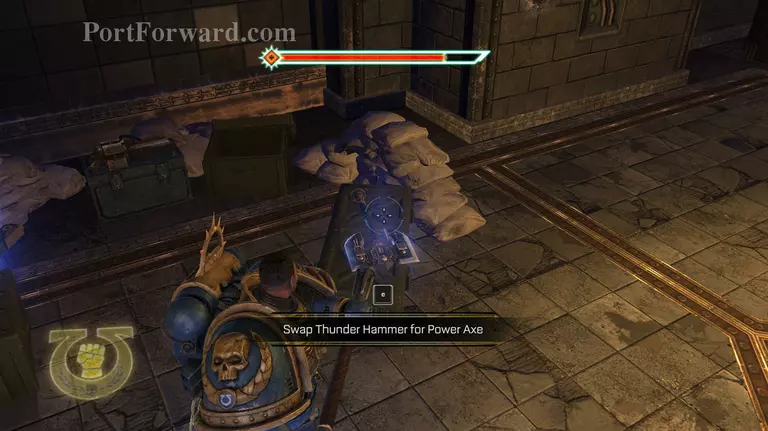
Although tempting i do recomend that you switch to the Thunder hammer at this time.
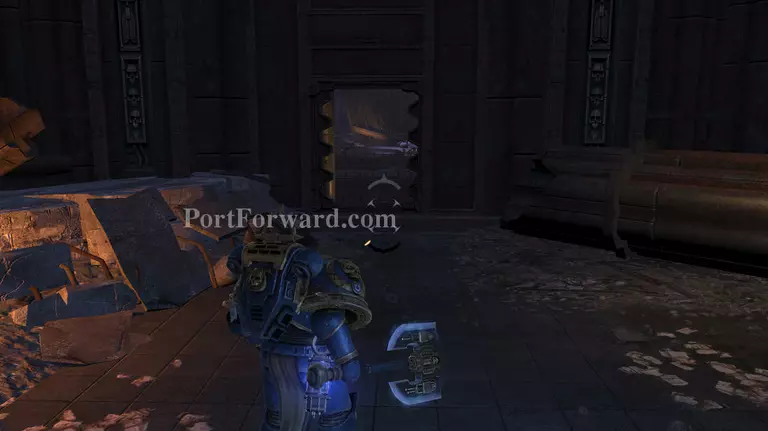
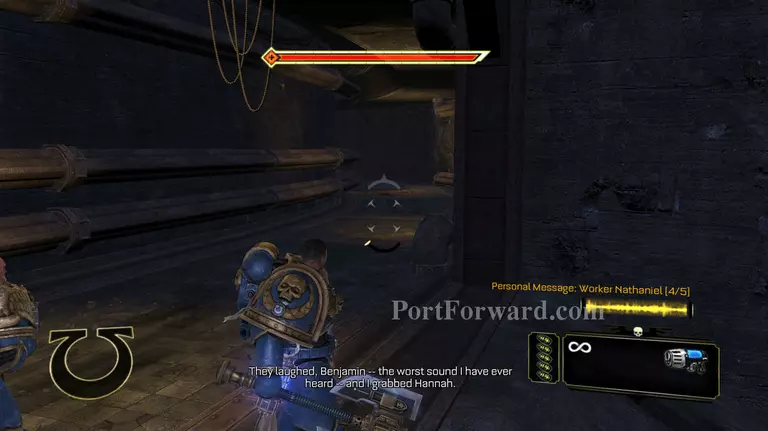
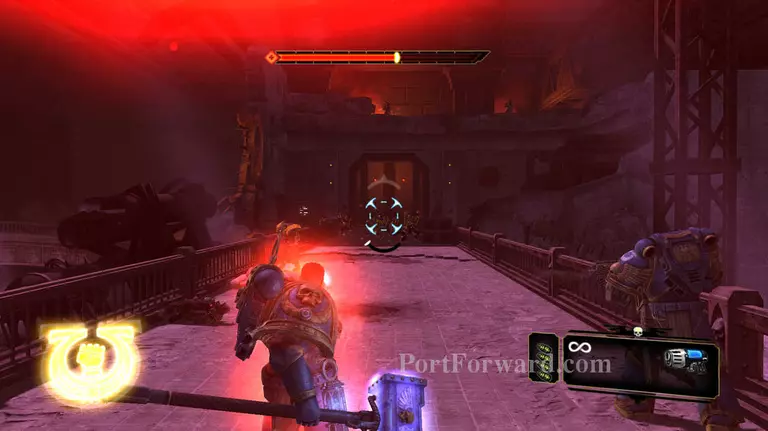
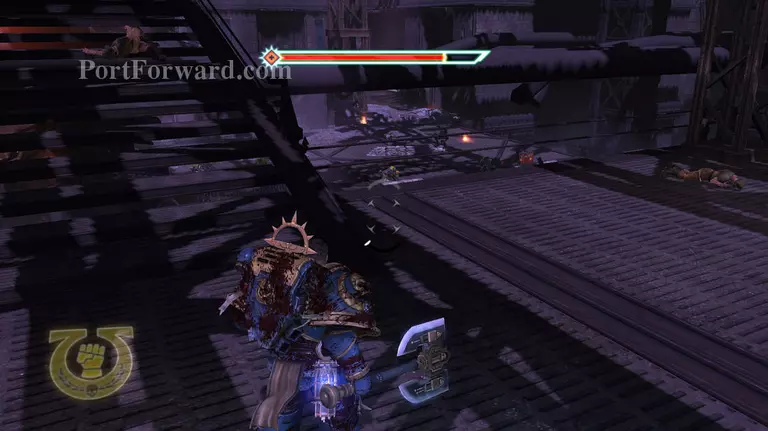
After you are ready, head through this door.
Take the left hand side and hack yuor way through rely on execute and the Kraken bolter here.
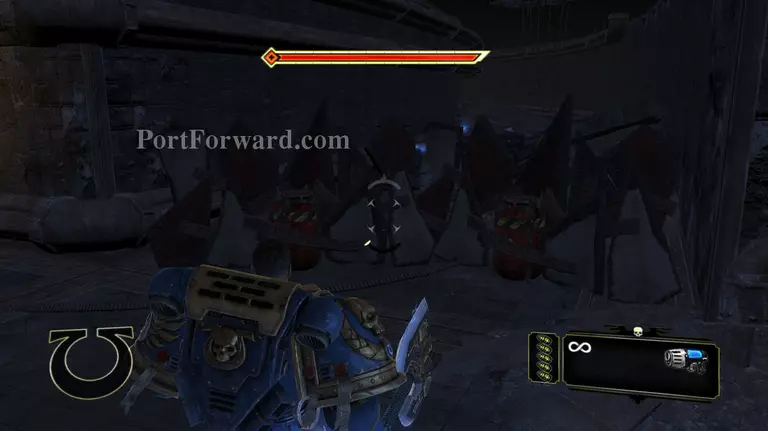
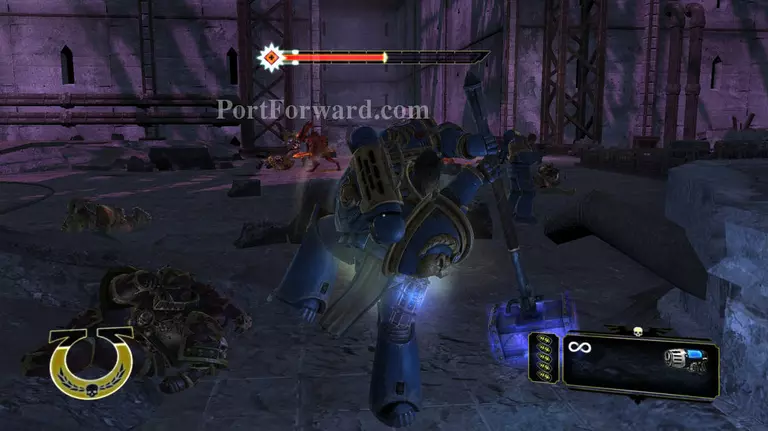
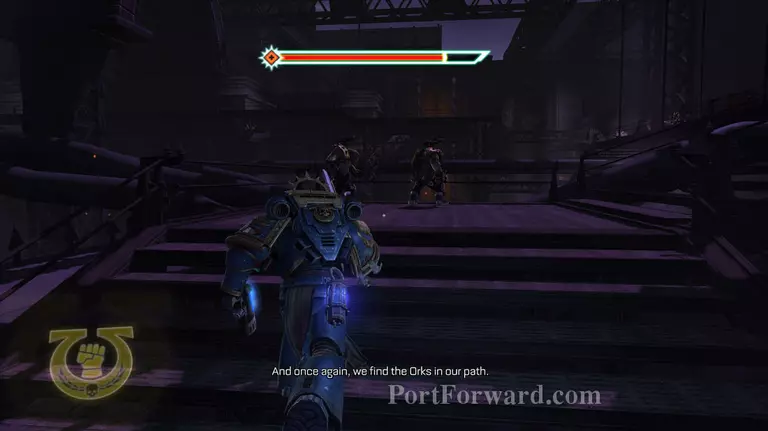
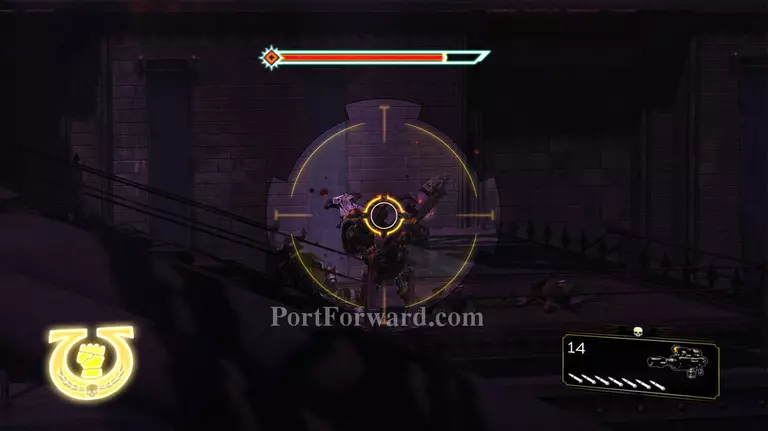
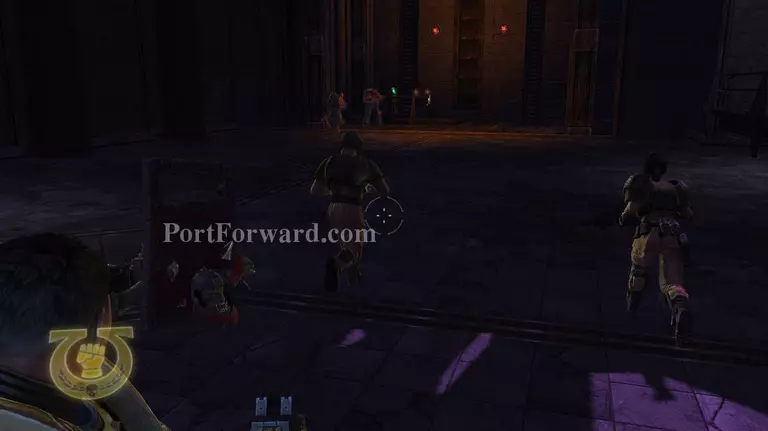
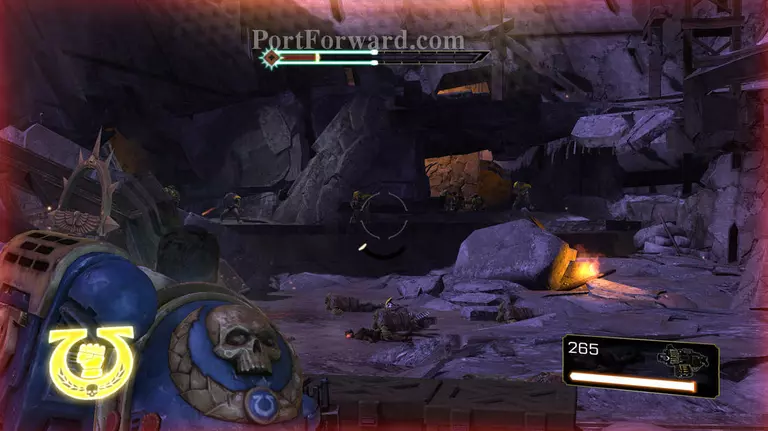
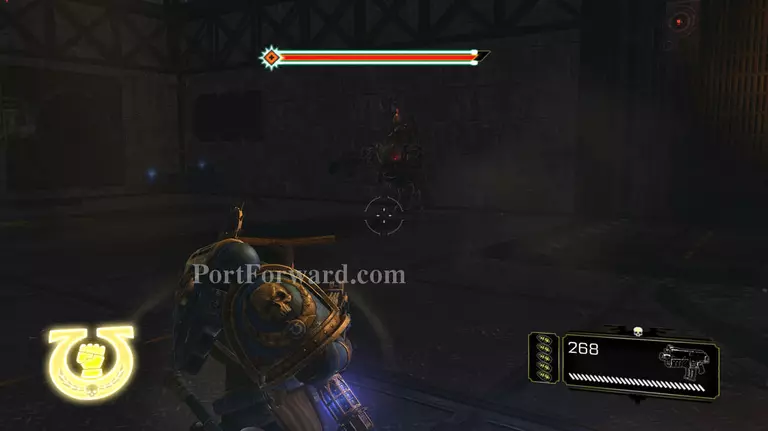
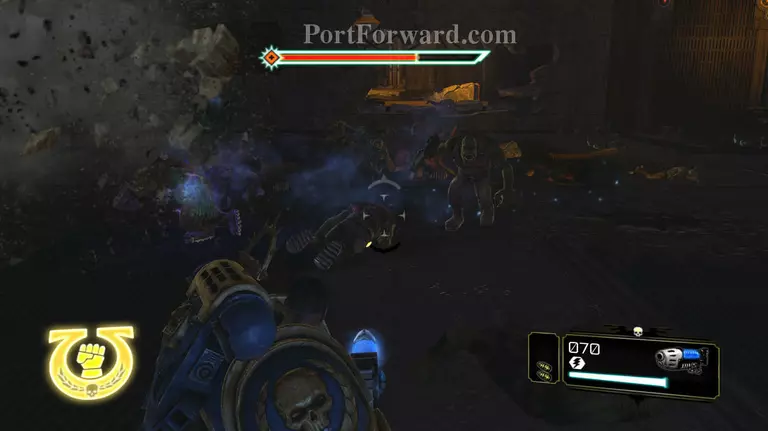
"Here you will meet the Chaos space marine they are like you but they have less health and a plasma bolter, these shoot plasma just like you pistol but in groups of 3, they are more powerful than a Ork rocket,

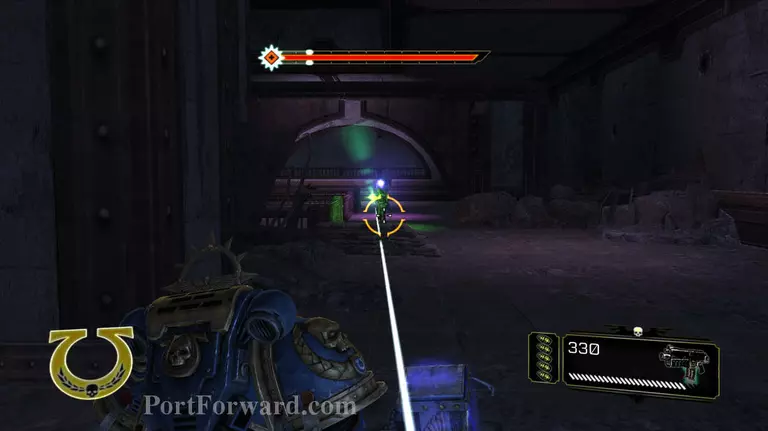
The other new enemy that you will encounter is these guys, they are like the imperial guard but chao, they die in mostly one shot.
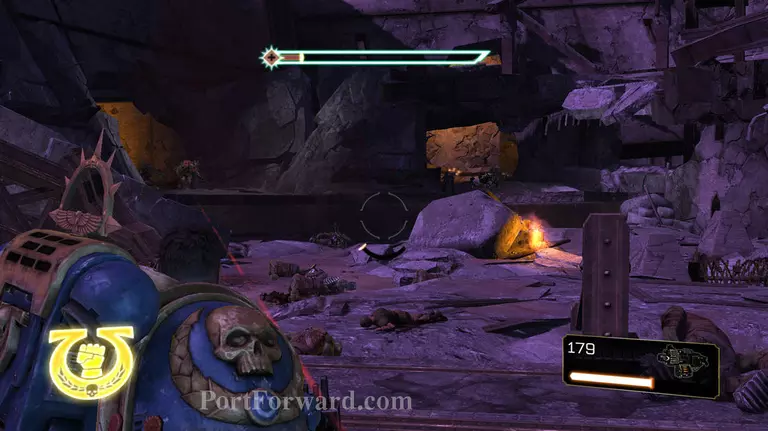
Although it seems like a good idea do not try to take out all the enemys just rush through, kill the ones in your path but the Orks and Chaos mostly kill each other off.
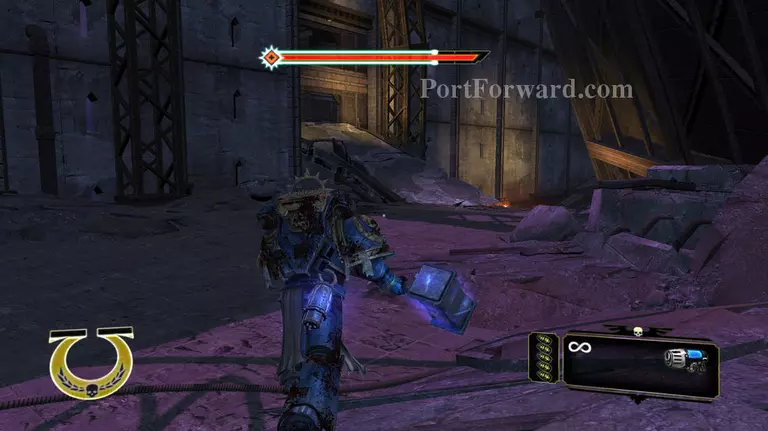
Once you have broken through on the left, head up this slope.
Here it would be a good idea to keep the Thunder Hammer on you but make sure that you top up your ammo.

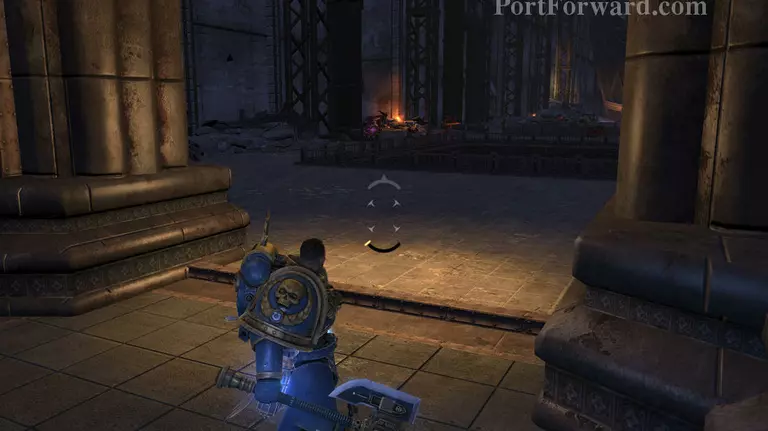
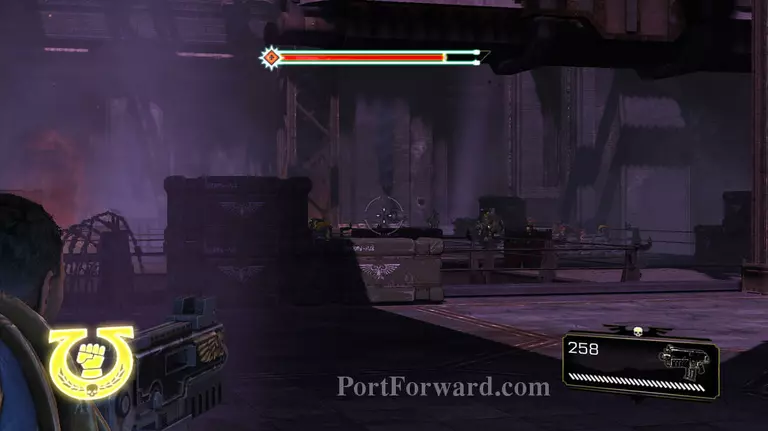
head down the bottom of the stairs and towards the open arch, if you need more grenades go through the door on the right.
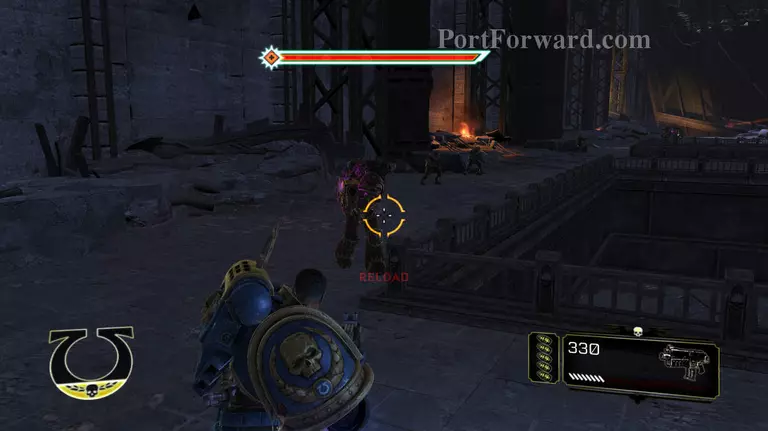
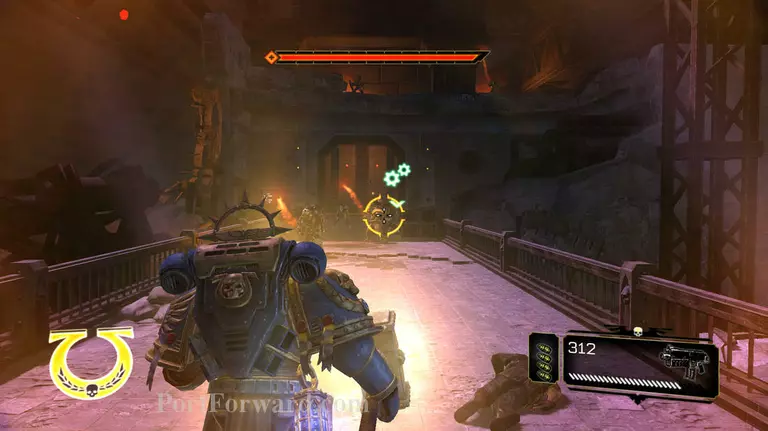
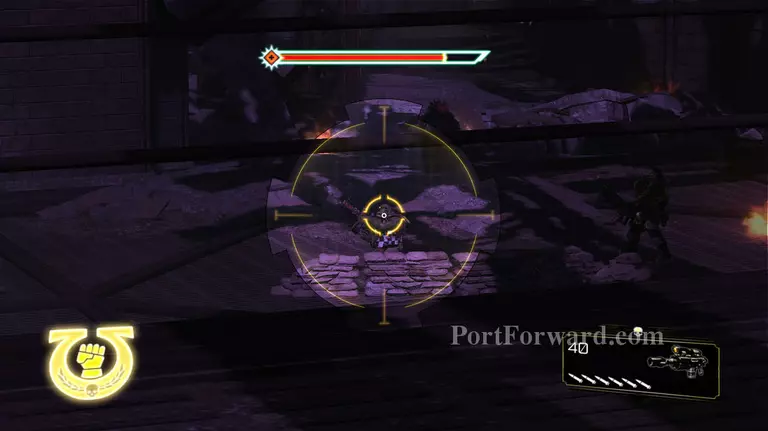
At the end of the corridor there is more chaos, switch to the plasma pistol and take them out.
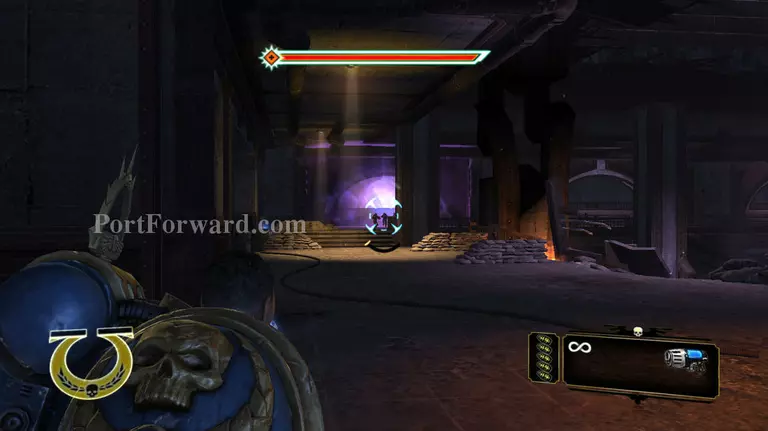
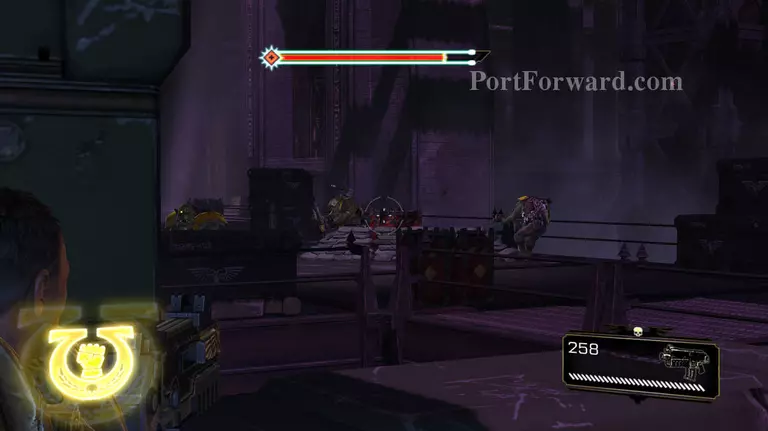
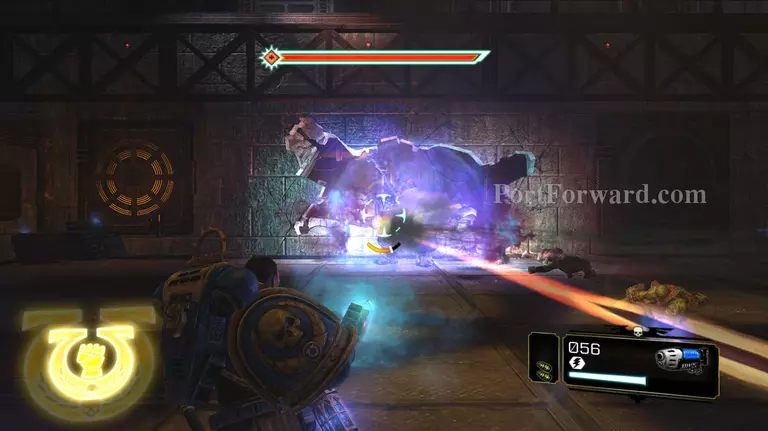
As you continue into the room the warp will open and reinforcements will come out.
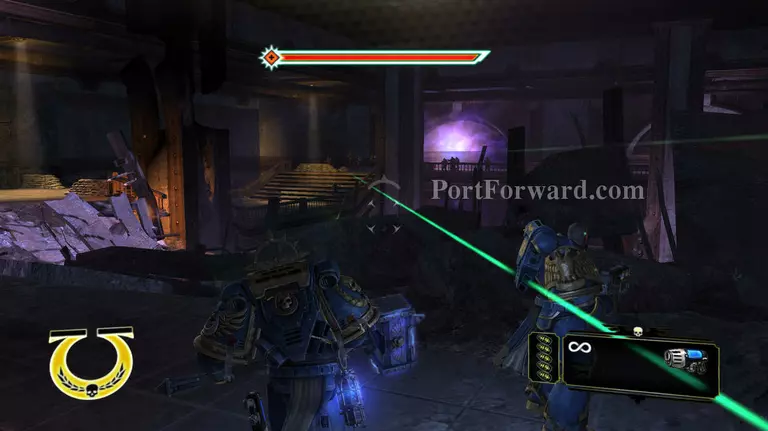
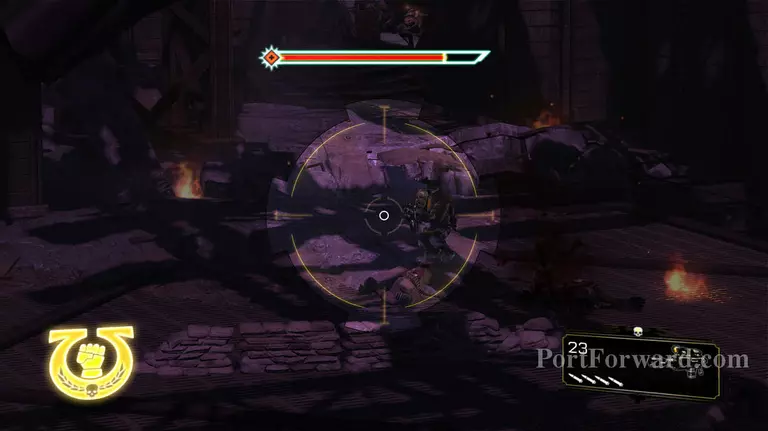
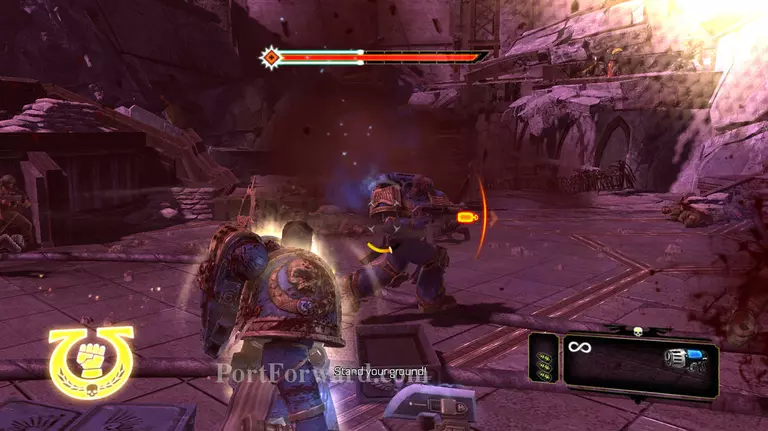
Apon entering the room head to the cover on the right and start to take them out, as they are mostly low level use the pistol, the Chaos marines use the Bolter until you can get close enough to stun and kill him.
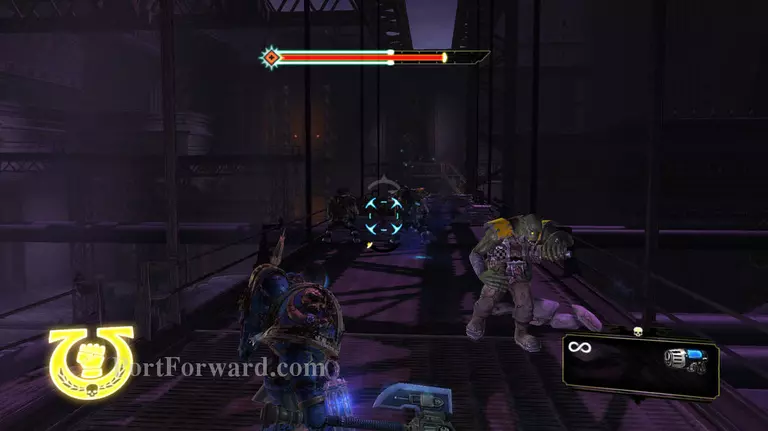
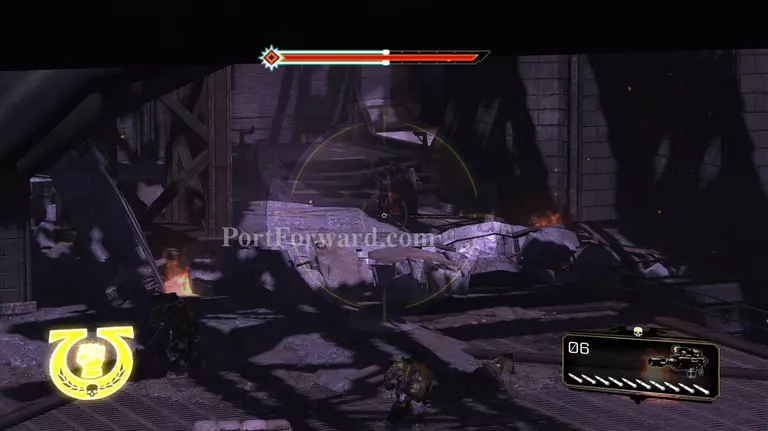
"If you continue round there is a few enemys infront of you, again you don't have to kill everyone just hack your way forward.
After you have attacked the group from behind the warp portal will bring back the daemons, use their lack of range weapons to your advantage.
After they are all dead, head down these stairs.
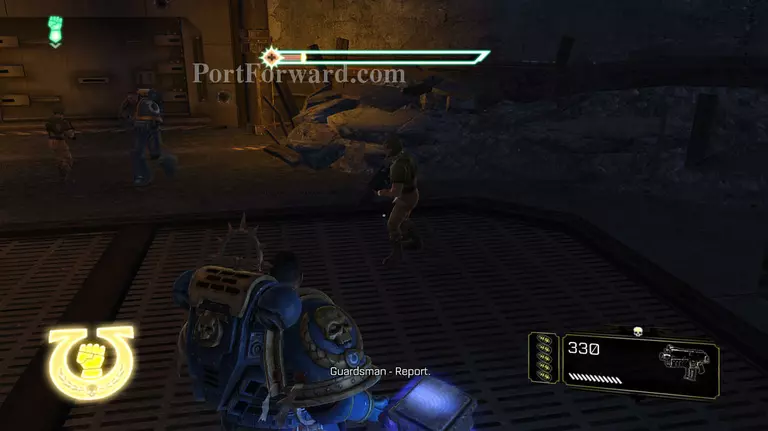
When you get to the doorway a few guards will run out, the door will close shortly after so there is barly any enemys to kill.
After a while the door that re-selaed will open again, enter through it.
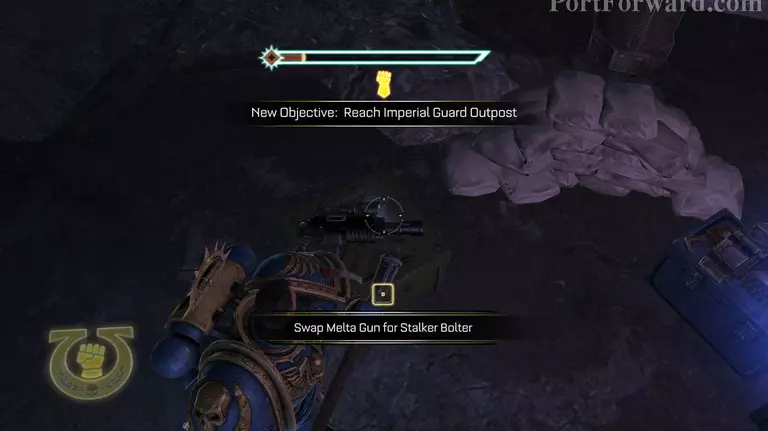
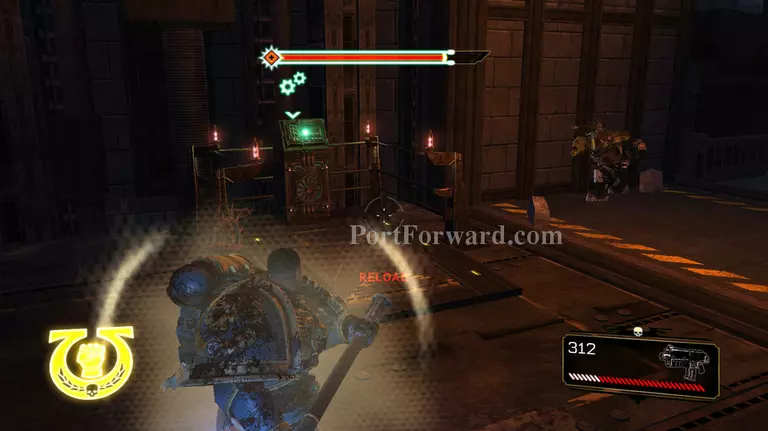
"Now you need switch the melta gun to the stalker bolter.
When you continue you will find another big battle ground head to the left this time as well.
There is a door way, head through it and take out the Ork inside.
Follow the breach in the back wall to avoid the main battle.

Whn you get to here wait for the Deamons to be distracted then sprint up the stairs on the left.
Once you get to the top of the stairs there is one Chaos marine. get him first before heading to the right,
You will find a load of Orks here, a few grenades will do great here.
Afterwards activate fury and enter marksman mode to take out the rest.
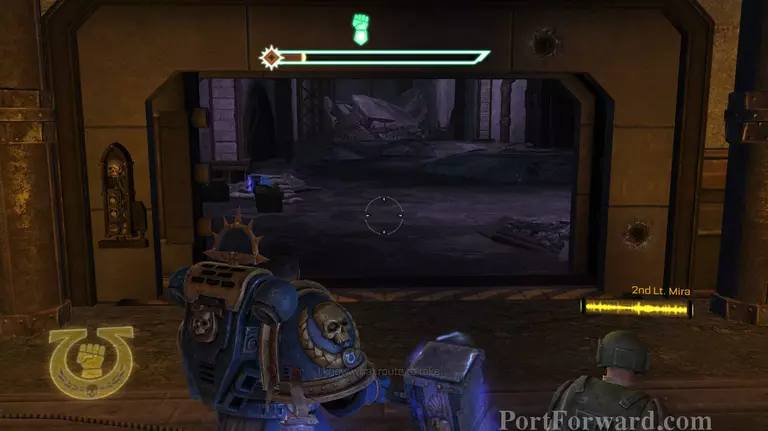
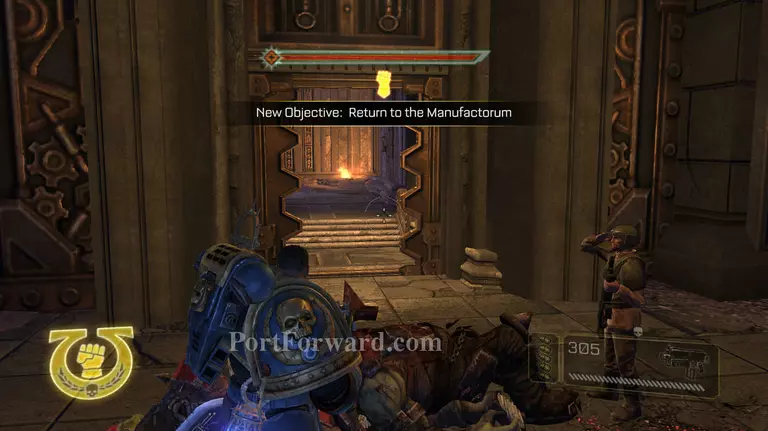
Once at the lift, activate it.
At the bottom of the lift you will meet up with Mira she will take you back to the command post.
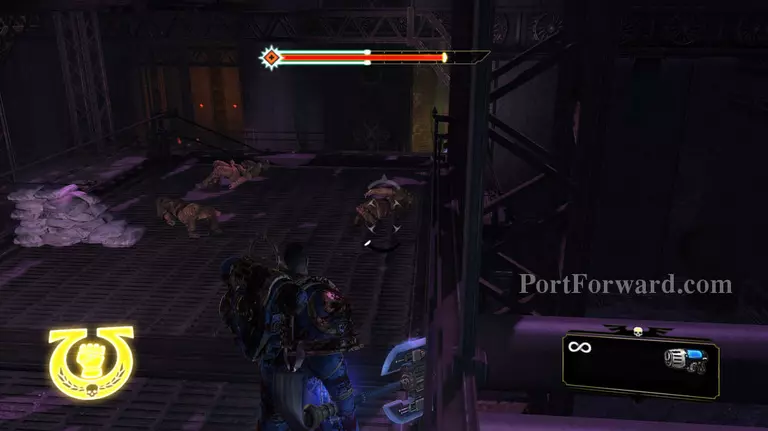
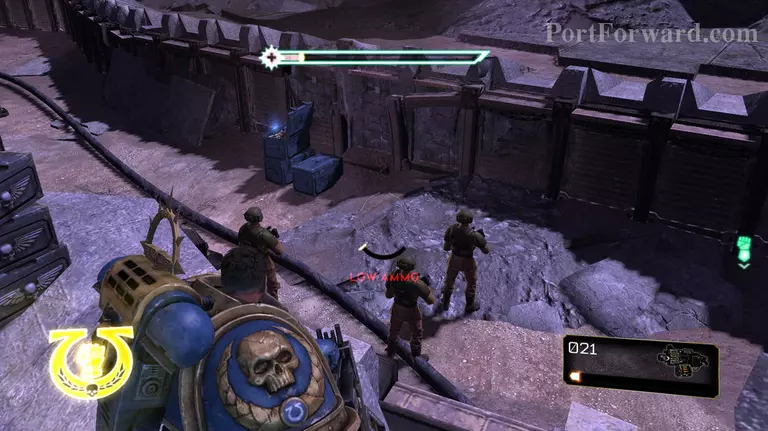
At the end of the corridor there are a few Orks, kill them anyway you wish there is not many.
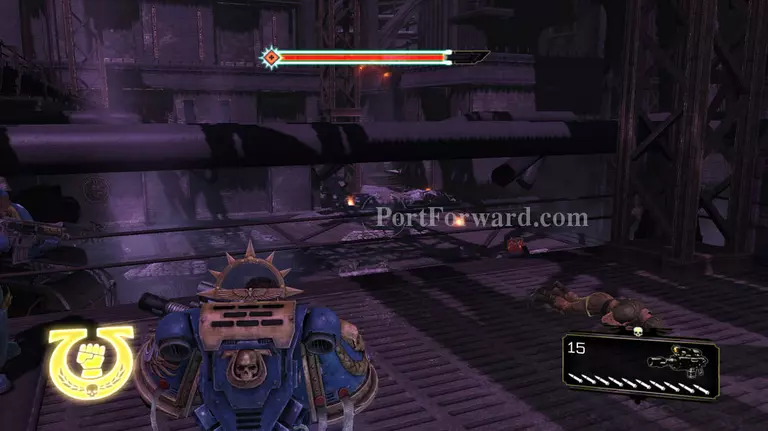
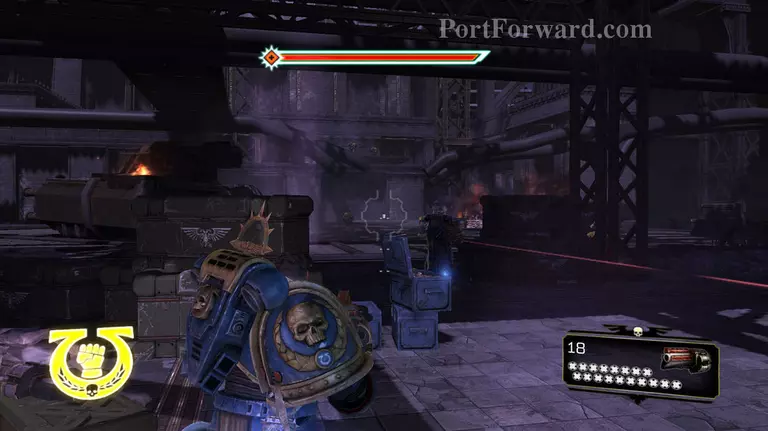
Now by the bridge, head to the boxes on the left and use it as cover, continue with the bolter at this time.
there are some barrels to exploit, use that to your advantage.
Now the Orks are dead head to this location at the top right of the map, re-equip the Power axe and top up all your ammo.
Once you are happy with weapon choice head up these stairs in front of you.
When at the top there are two Orks, kill them with melee and conserve ammo.
When at the top of the stairs shoot this barrel then attack with any weapon that does not limit movements, this is top stop your armour being taken out by the Rockets.
When heading along the walkway stick to the right hand side to avoid stray bullets.
Once you get to here attack with the stalker bolter.
First point to make is that headshots are worth it, they save a lot of ammo. Seondly watch out for squigs sneaking up behind you.
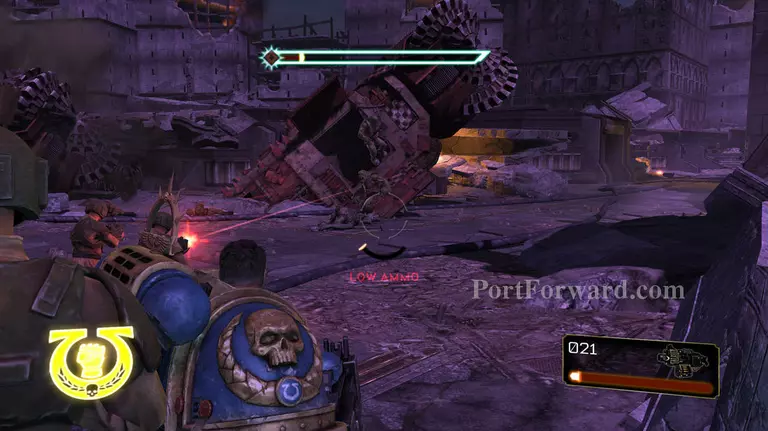
There will be a load of reinforcements so don't shoot unless you know it will hit.
Stay in this position till you either run out of ammo or you have killed all the ranged orks.
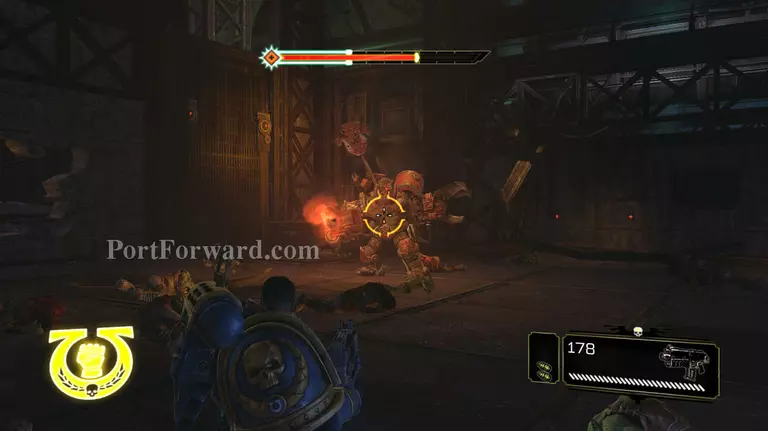
Reinforcements will appear from behind, one is a Nob, make sure to keep out of his range of fire.
Enemys will appear in this formation, this is a Squig and this Ork. Shoot the Squig to stagger the Ork.
Once you have killed most of the Orks, head down to here and get out the Vegance launcher.
This is the last wave, when the Orks appear, switch back to the Bolter. Target the Nob first then attack any Orks left.
Once all the Orks are dead, head to the lift behind you and activate it.
Once at the top of the lift, head along the path.
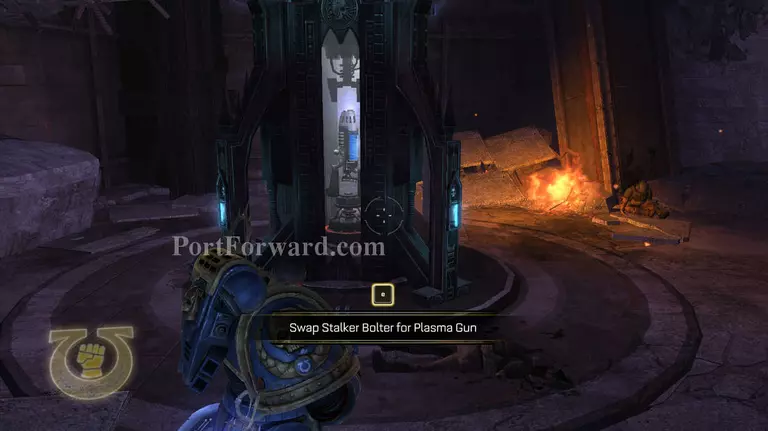
After heading down the empty path for a while and has fallen down a hole, there is a plasma gun, take it. this is just a bigger version of your pistol.
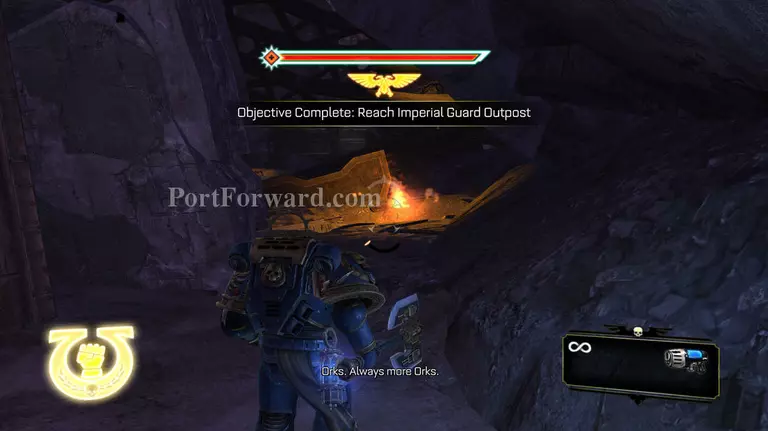
Now head through this gap here.
There are a few Orks here but use your pistol to kill them, as you have a lot of fire support.
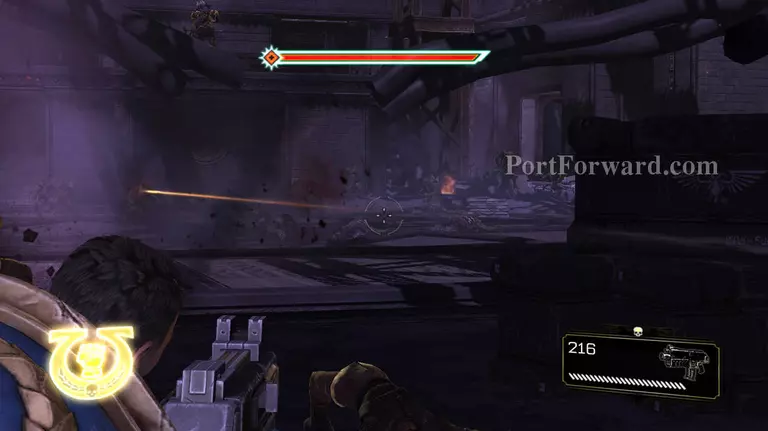
There a lot of enemys here, attack them with ranged push them back and hold it.
To swing the battle in your favour take out the range first, use the barrels to do it.
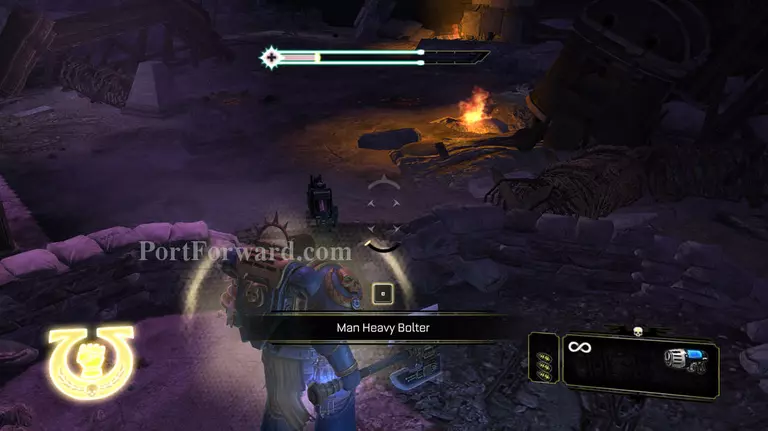
There is also a blank heavy bolter, that as shooting when you first arrived, grab it rip it off and use it.
There will be a lot of reinforcements but use controlled bursts to stop it overheating and secondly to save ammo.
Next wave will have a lot of squigs.
Now there is a big Nob.Target it as the main priority.
After the strike, head behind you, and drop into the trenches.
When you get to the top of the stairs there is a load of Orks, attack them with the remaining ammo in the bolter if you have any. If you do not use the pistol.
Continue to here and drop into the second trench.
At the other end of the trench there is a load of Orks, use any ammo you have left in the heavy bolter then use melee area attacks.
When you have kiilled them head allong the path, there is a few Ranged Orks and one heavy Nob. Target the ranged Orks then use the Plasma bolter to kill the Heavy Nob.
Now the turrets have bene activated and the Orks are diing get out of there and head back up the path.
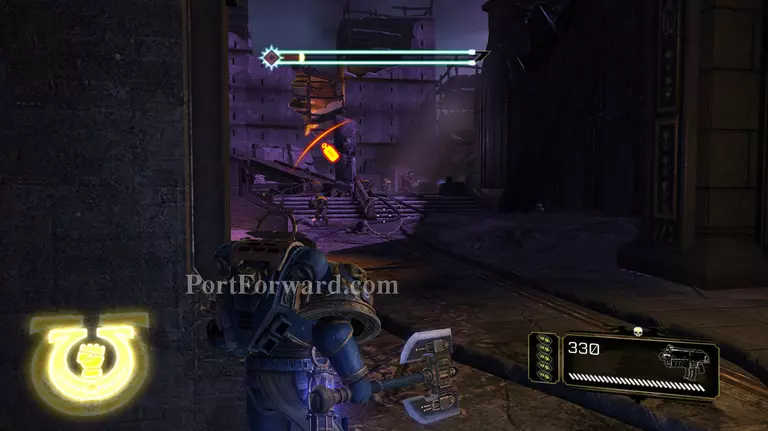
Now enter this door here, it is half way down with a guard standing outside.
At the end of the path, top up all your ammo then open the door.
When the door opens you will be dragged in.
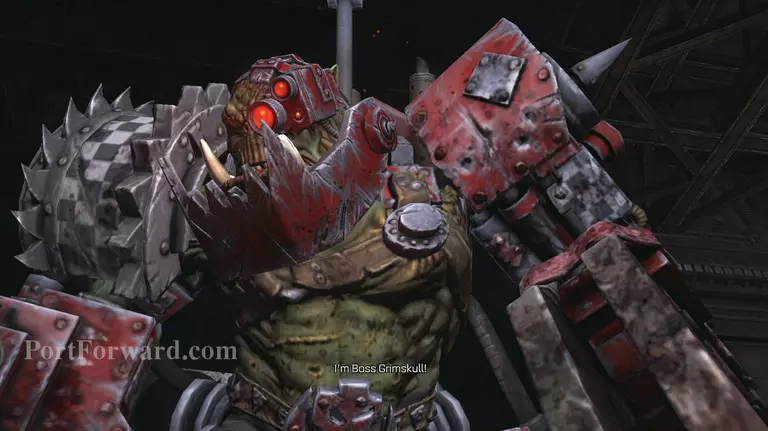
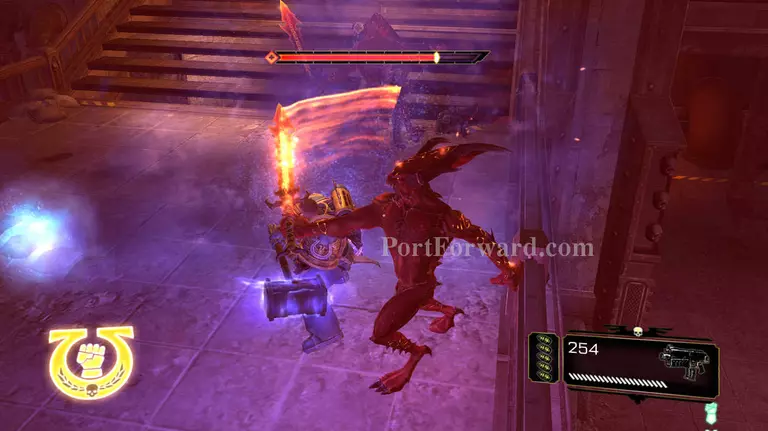
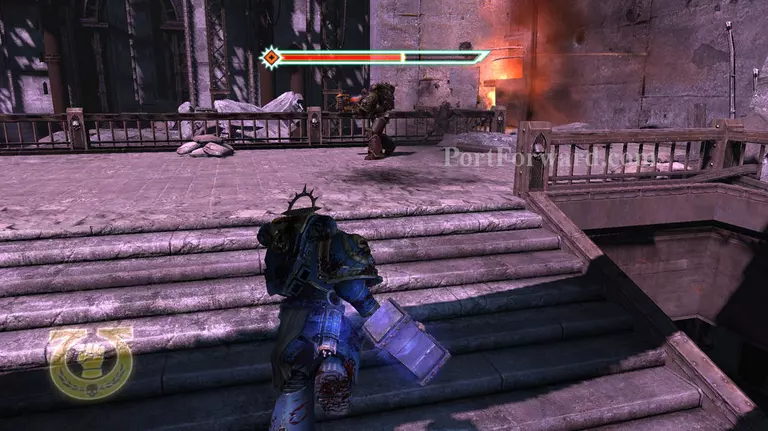
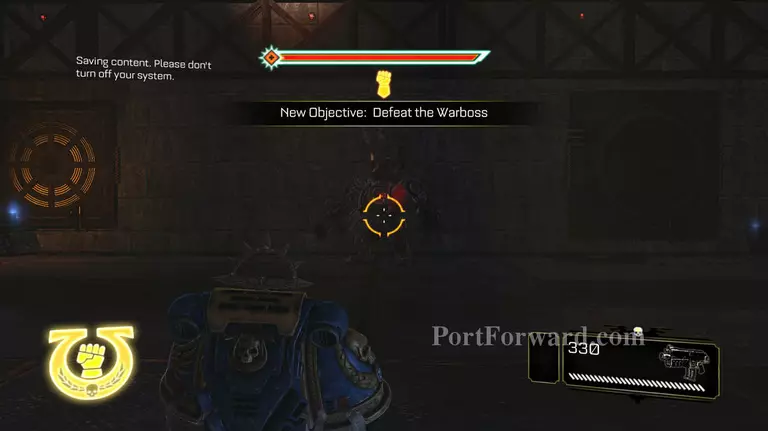
You will have to kill him in a areana boss fight.
Back off and shoot with the bolter.
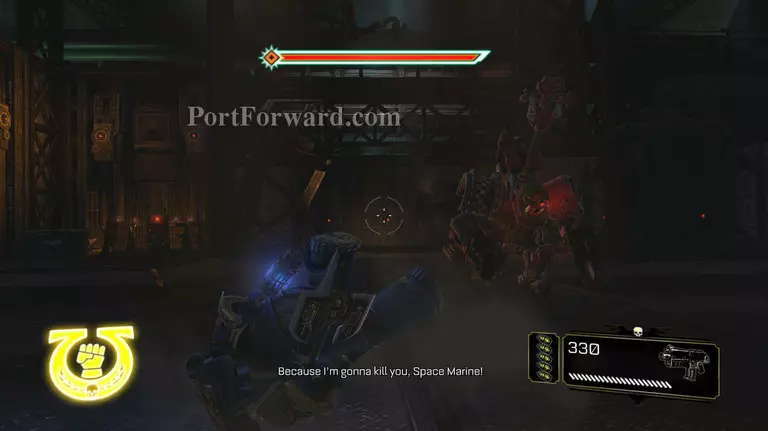
When he charges roll away into the space. do not roll into a corner.
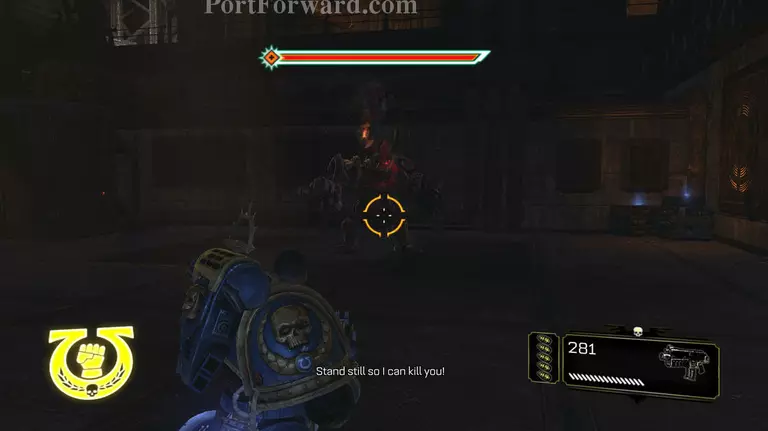
After a while he will switch up tactics.
He will attack with flash bangs.
He will now use Grenades to attack you. While he backs himself up with Orks, use the same tactics use a few Grenades to kill the supporting Orks then continue with the bolter/ roll tactic.
When all the supporting Orks are dead change to the plasma gun.
After a few shots he will change tactics again.

he will blind you again.
He will attack with more Orks. and break another wall. use the plasma gun still to take them out quickly. i also recomend that you put some vengance launcher charges on the floor then blow them when the Orks run over it. Still try to dodge the boss.

Try to keep away from the Orks, the boss will run straight through them
He will also use this Gun again. try to stay to the side of him when he is using this weapon.
To finnish him off activate fury and attack, he will run up here. The advantage of this is so you can restore ammo and still do a lot of damage to him.
Shoot charged plasma shots at him, this will blow up the squigs he trys tosned in and also it will do a lot of damage to him also. Mind out for the missiles that he will fire.
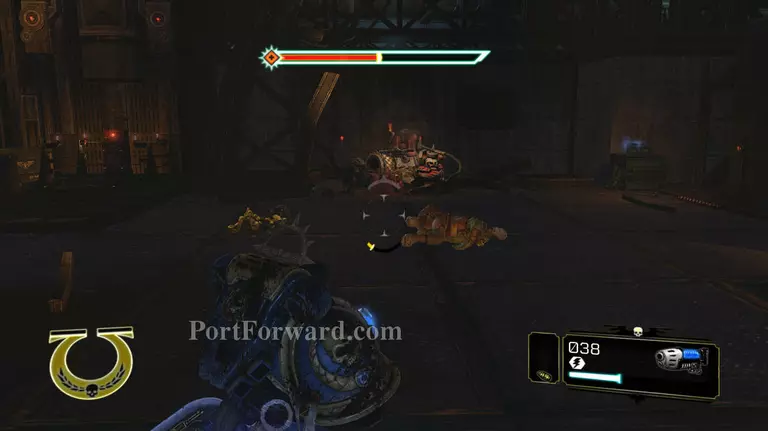
After a while he will fall down to here. Run at his body.
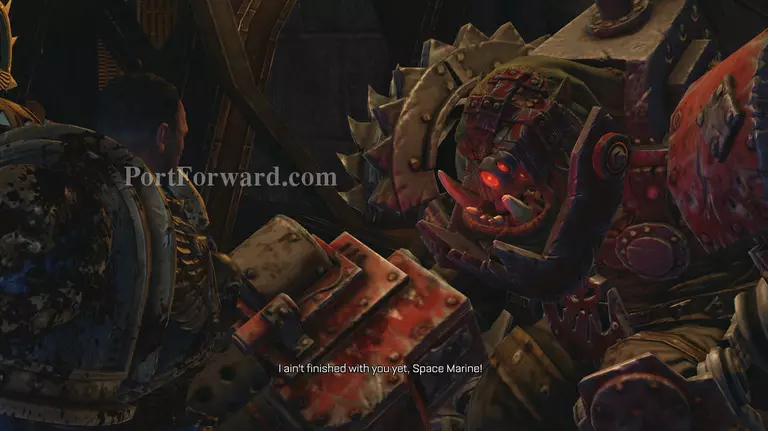
You will now get a cut scene/execute.
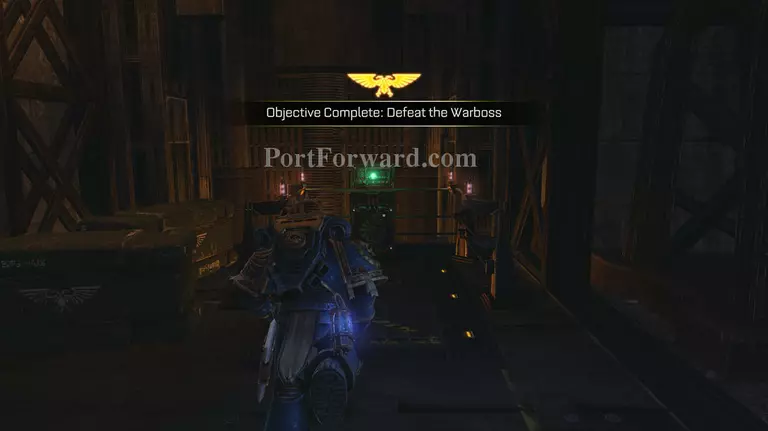
Now the warboss is dead, take this lift back up to the top.
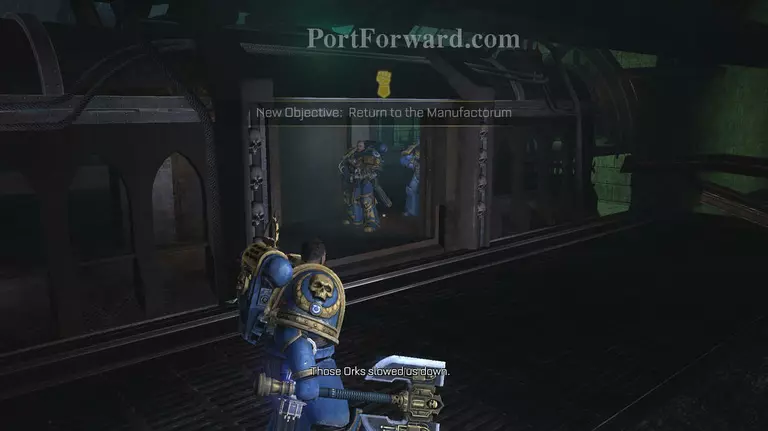
Enter into this pod, and you will re-join your friends.
More Warhammer 40,000 Space Marine Walkthroughs
This Warhammer 40,000 Space Marine walkthrough is divided into 18 total pages.


