
This Warhammer 40,000 Space Marine walkthrough is divided into 18 total pages.
You can jump to nearby pages of the game using the links above.
15 - Prince of Daemons
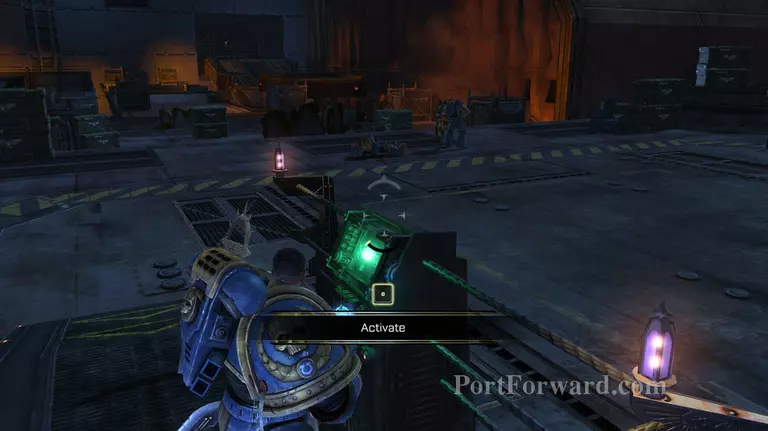
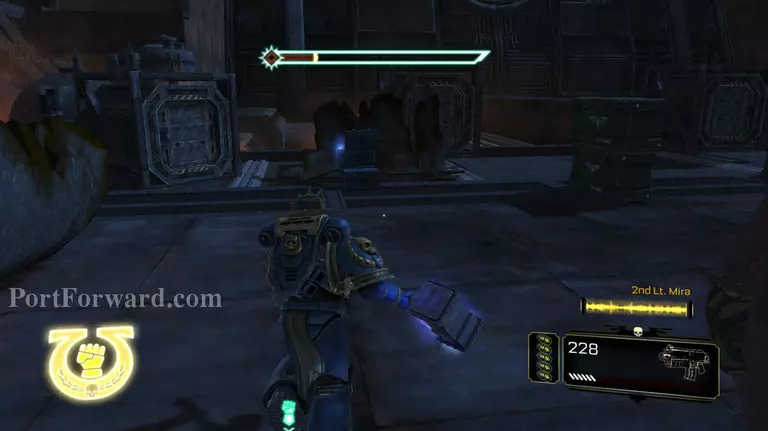
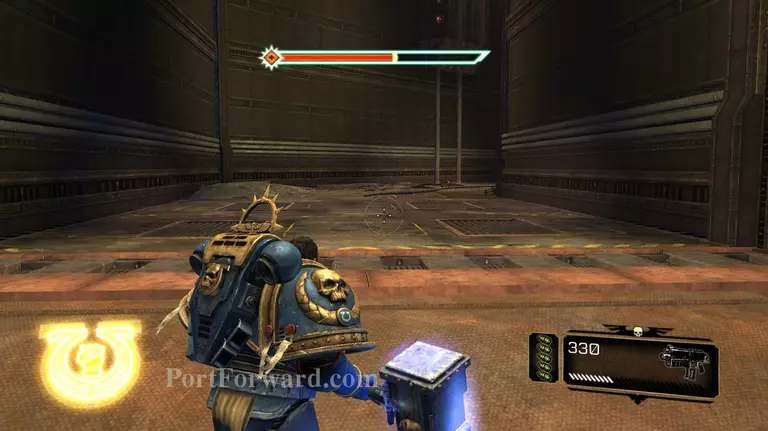
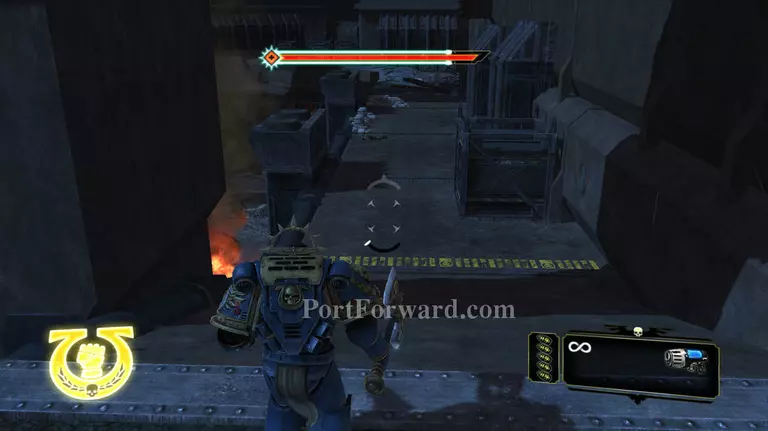
When you joi the level Mira will replace the fallen comrade, activate the lift behind you.
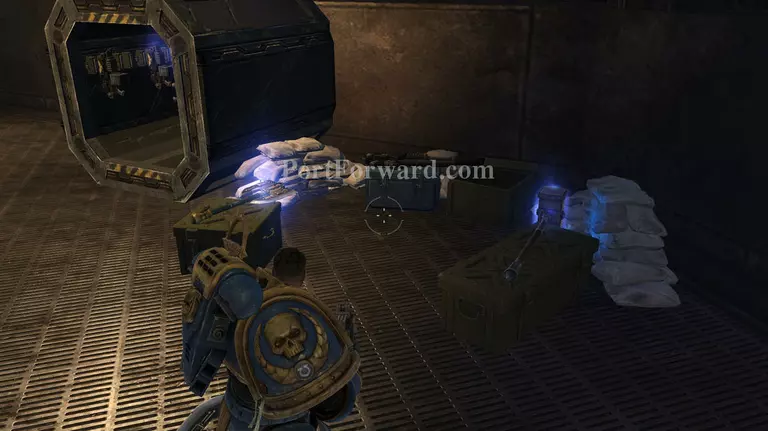
When you get to the bottom of the lift and have got to the ammo dump, grab the Thunder hammer.
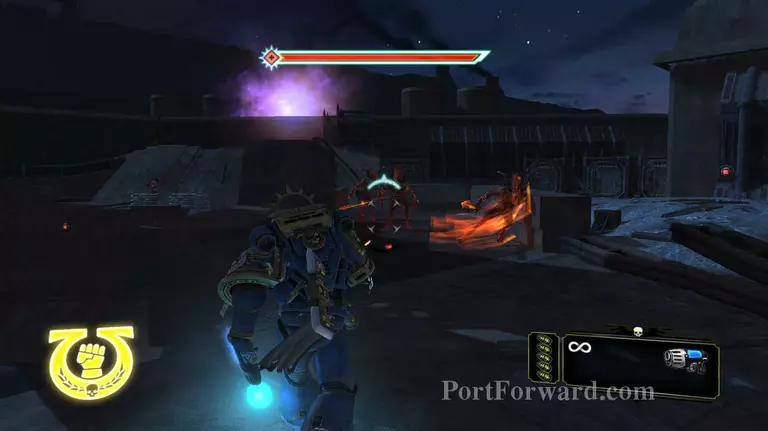
After a while you will run into some more of the Chaos, do not engage in close combat yet. Kill them first. This will make sense in a second.

The Chao turn into daemons, so shoot them first then engage in close combat.
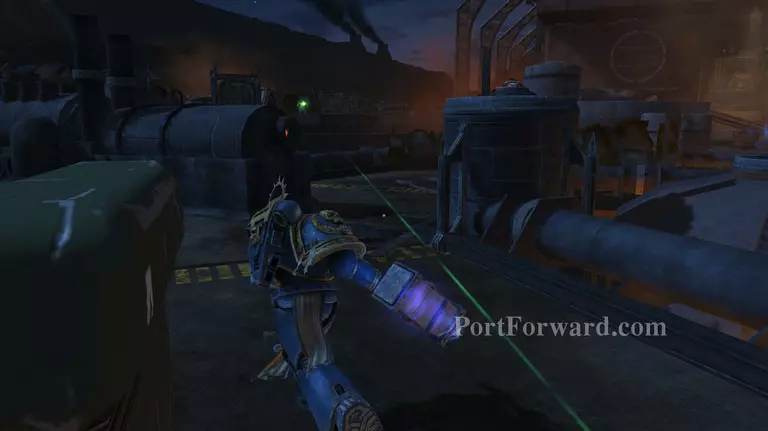
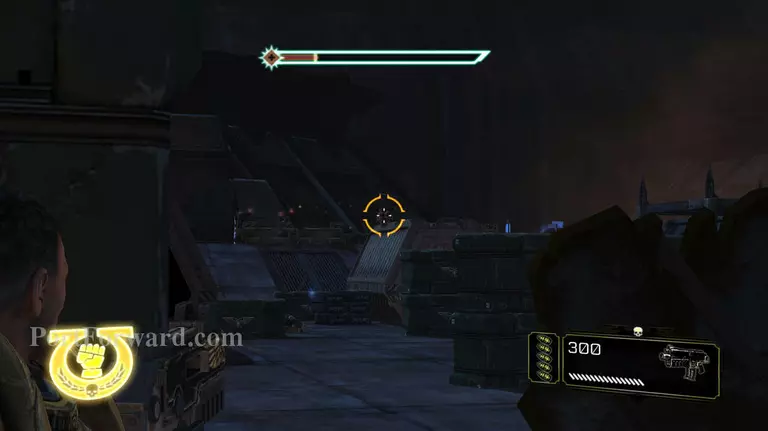
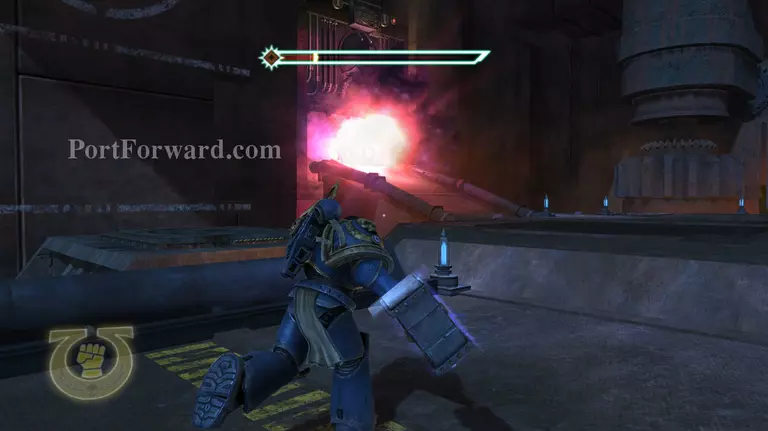
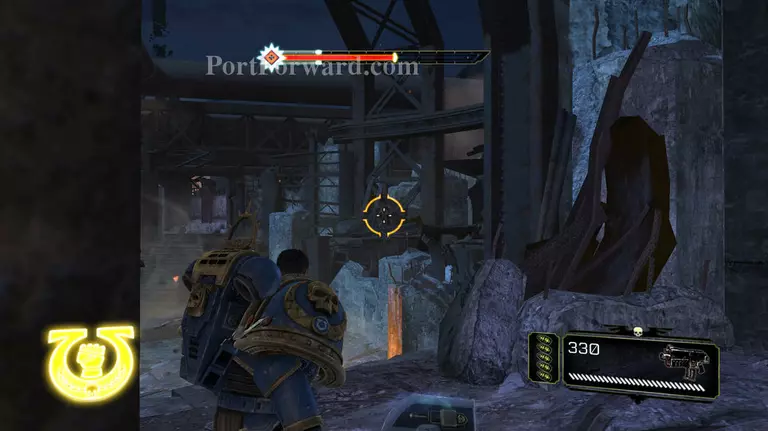
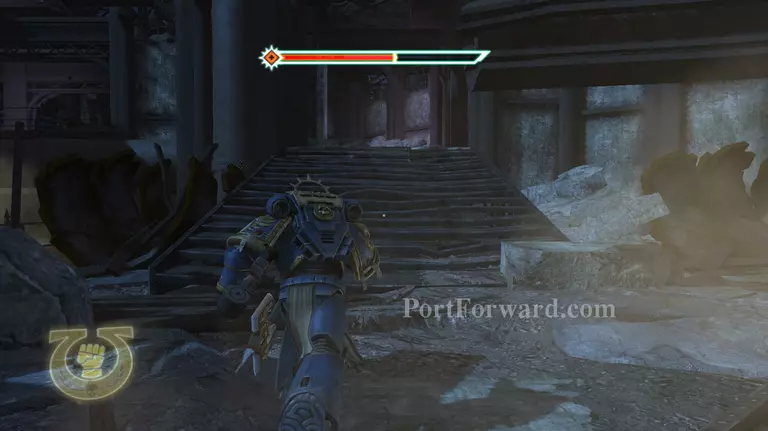
Make sure that you take cover after you head up the ramp as there are electrical bolts flying around.
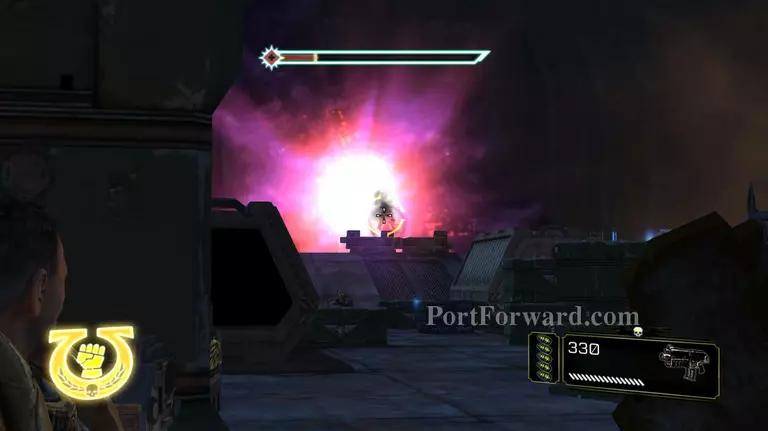
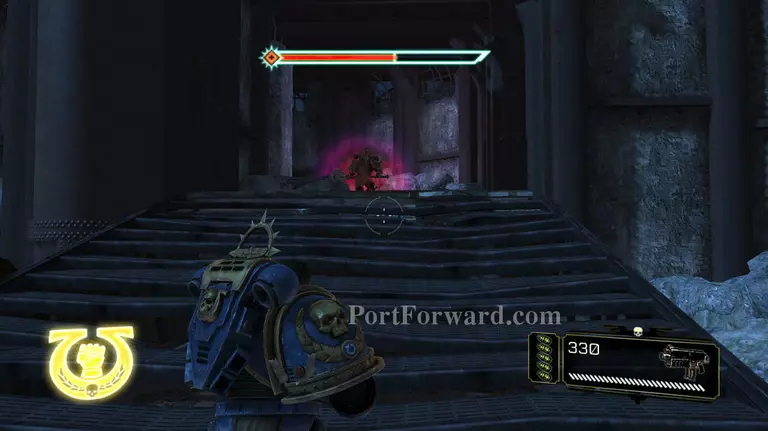
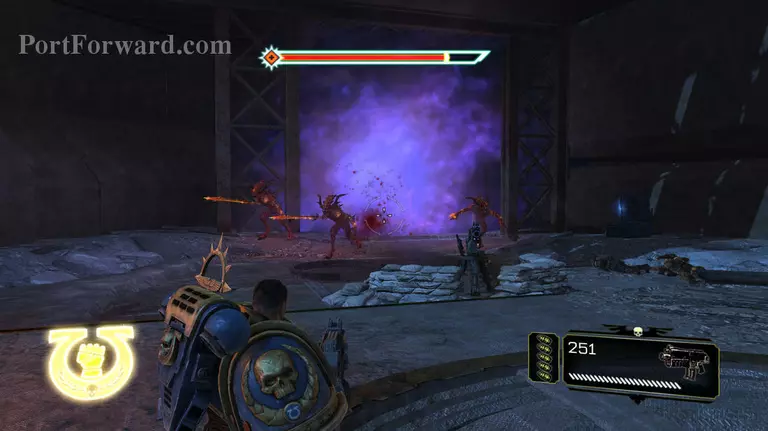
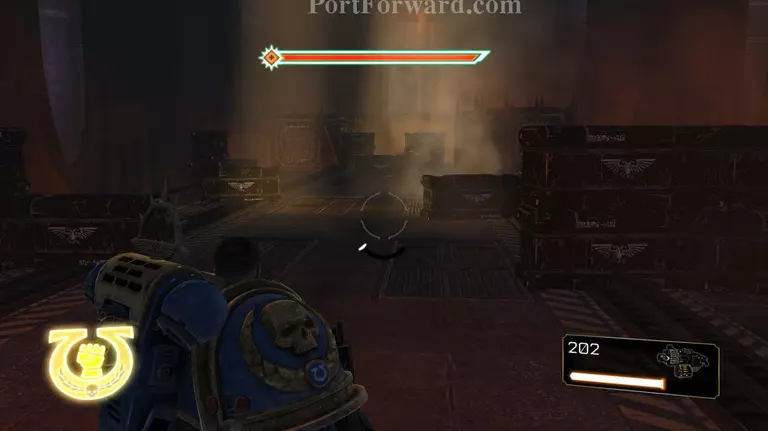
Slide just out of cover and attack the enemy that is summoning the warp.
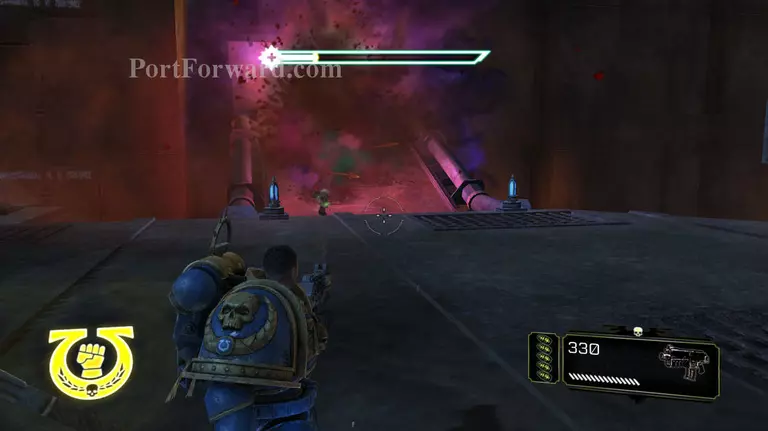
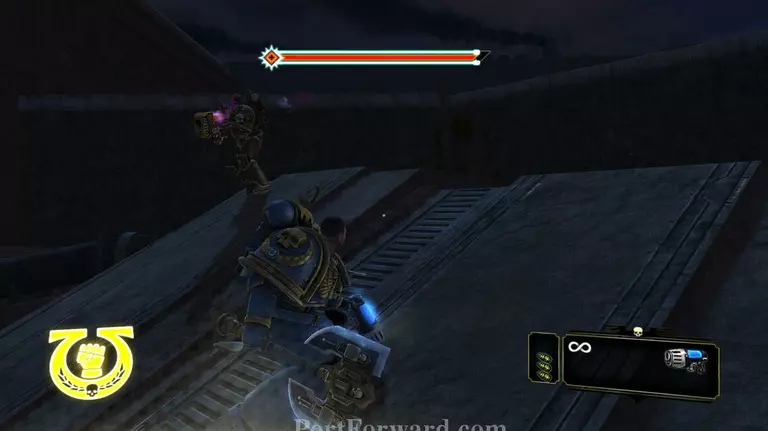
There is also a Chaos space marine kill him from the same position.
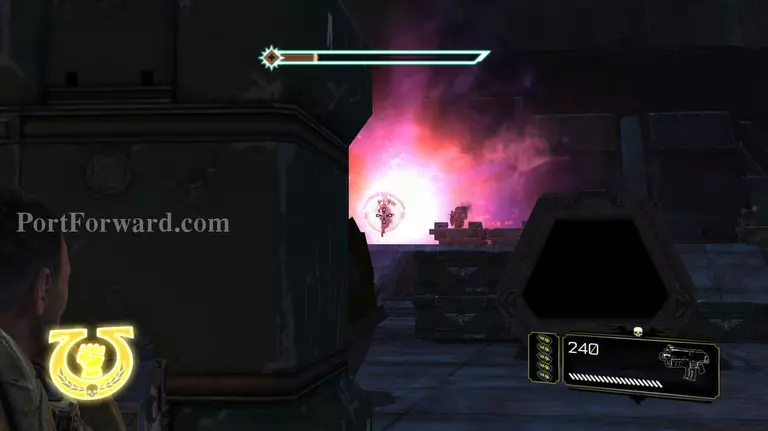
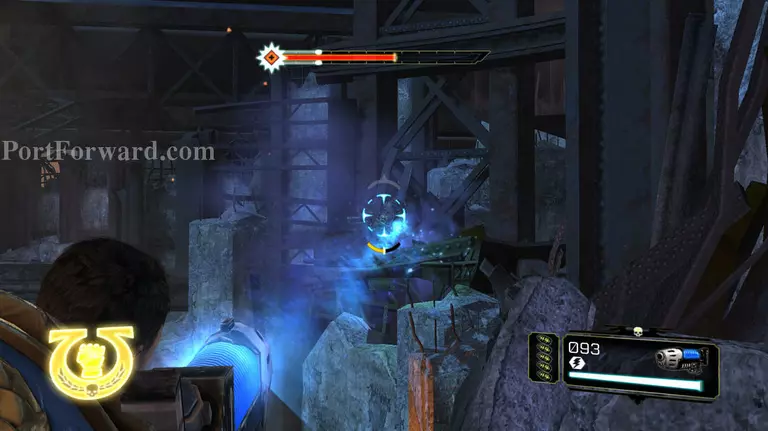
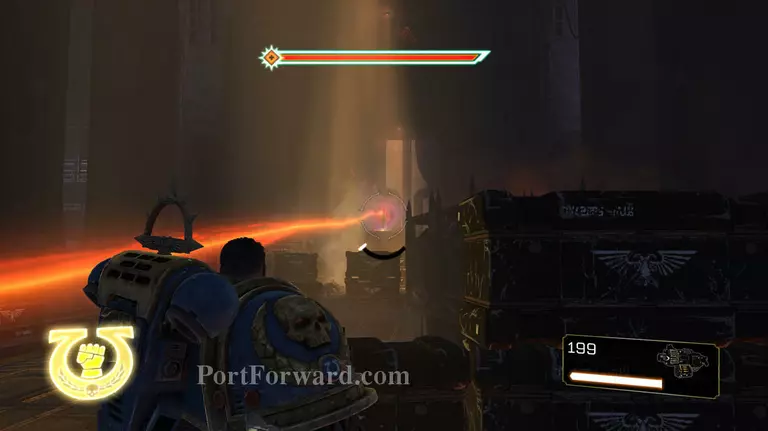
Now head slightly more around your cover and take out the other warp portal.
Then take out the other Chaos marine.
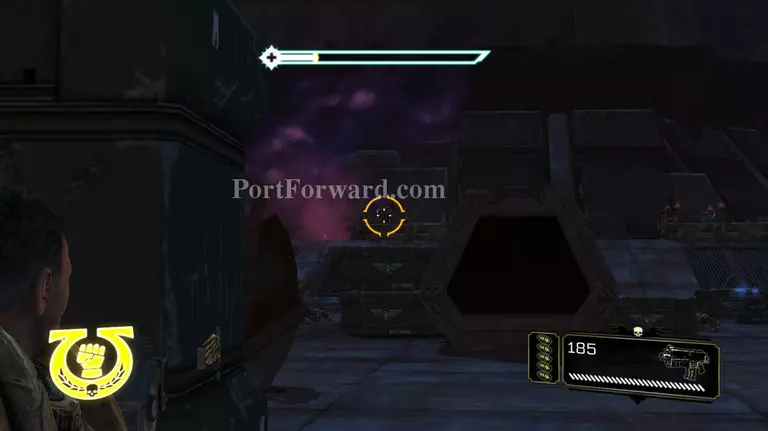
After you have killed them all recover your lost ammo.
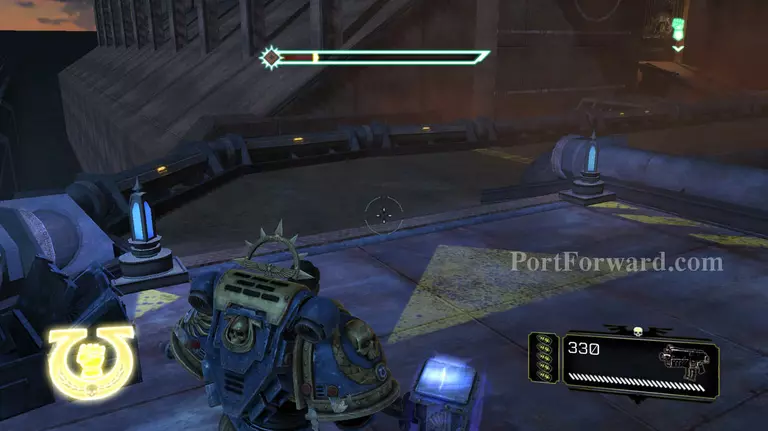
Once at the top of the map, head along this path, the lift will not work.
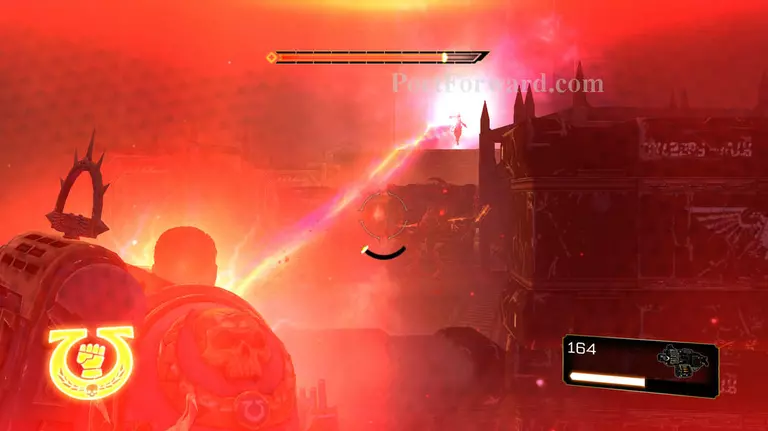
A warp will open.
More of the deamons will summon from the Chao troops that come out. kill them with melee to recover any health.
After they are dead, follow the path up the ramp.
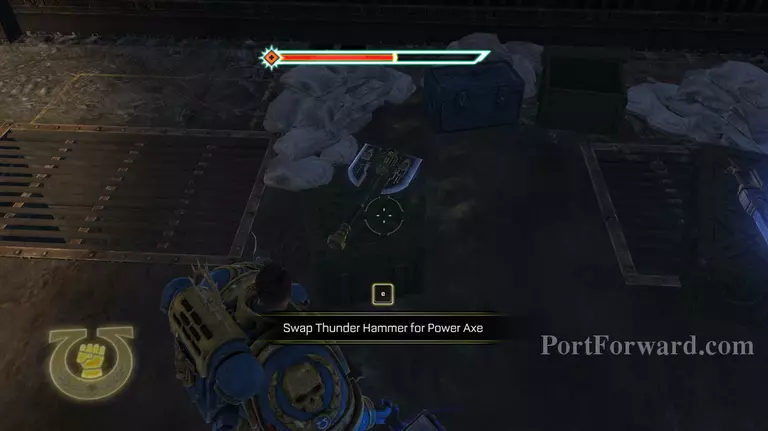
Switch back to the power axxe and then continue.
When you fin the opening there is a lot of ranged firepower here so don't jump through just yet.
Use the plasma gun to kill all visible enemys then go back and refill the ammo.
Once dead, pull out your pistol and head towards the stairs.
A melee Chaos marine will appear. Use the charged plasma gun to attack, do not engage dodge and keep the range.
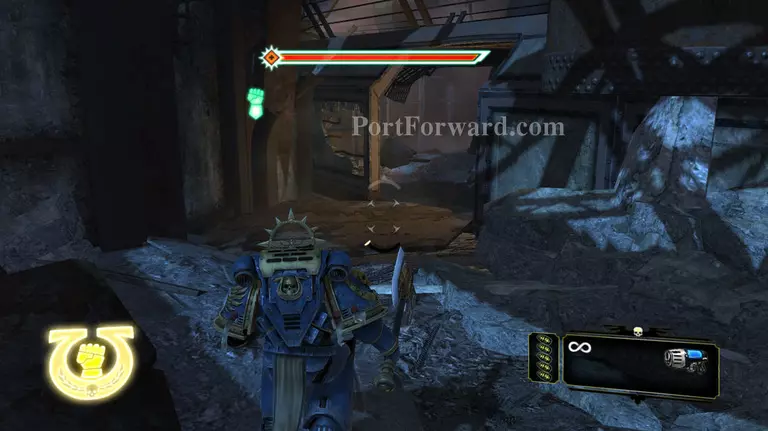
Head back up the stairs and follow the path. enter through this gap.
You will encounter minor resistance. use the plasma pistol to kill them.

As you continue there will be a ammo dump do not change any weapons. continue through and see the warp gates open.
For now ignore the enemy and head down the path.
Attack these with the charged pistol shot them melee them. try to keep in cover while doing so.
Once near enough get the plasma gun and hit him with a charged blast to stun, then execute.
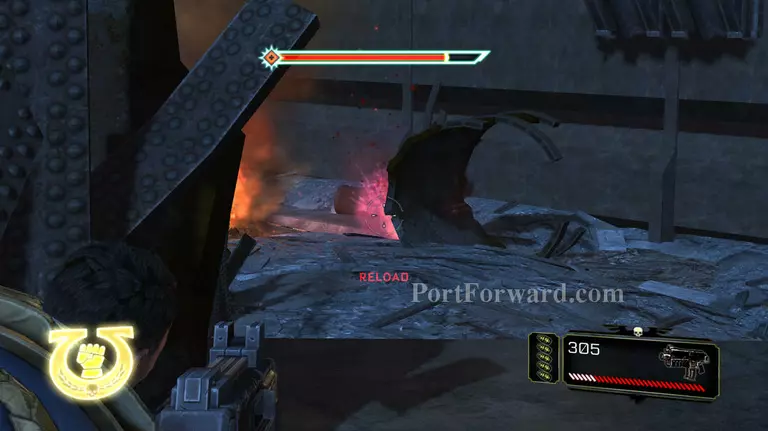
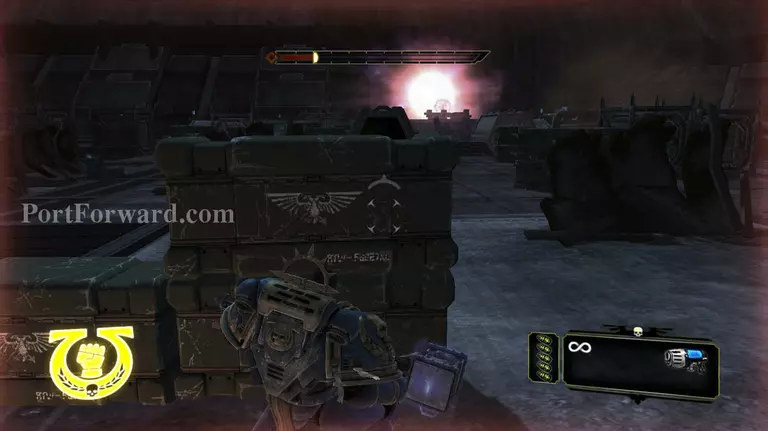
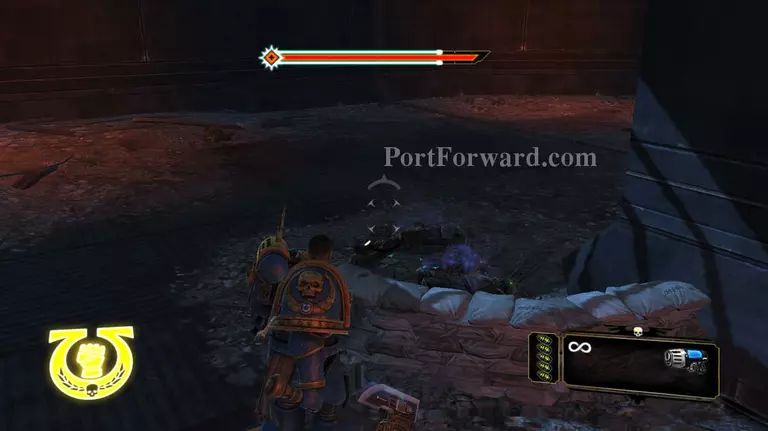
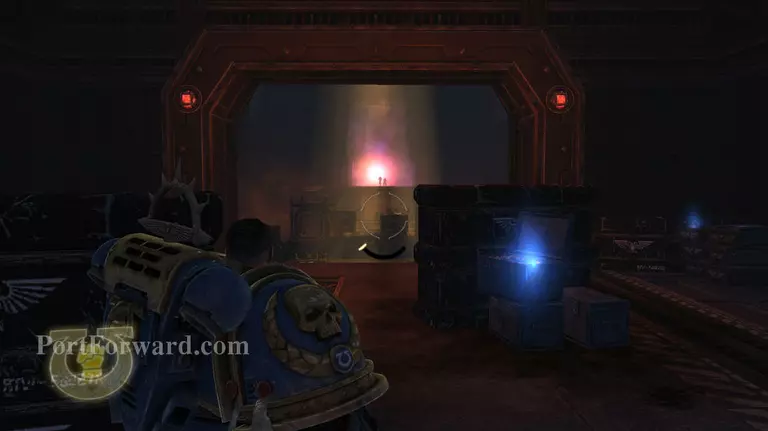
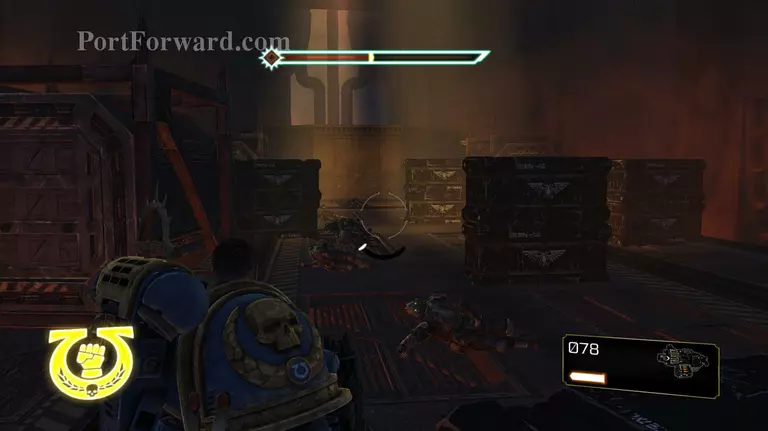
Once down the slope, stick behind this cover and kill the marine and the smaller enemys with the bolter then lob a grenade over the wall to kill the people on the heavy bolter, if you miss exploit the bolters cover breaking.
Once all enemys have died some daemons will come out the warp and that gate will close, kill the enemys with the bolter and then grab the heavy bolter.
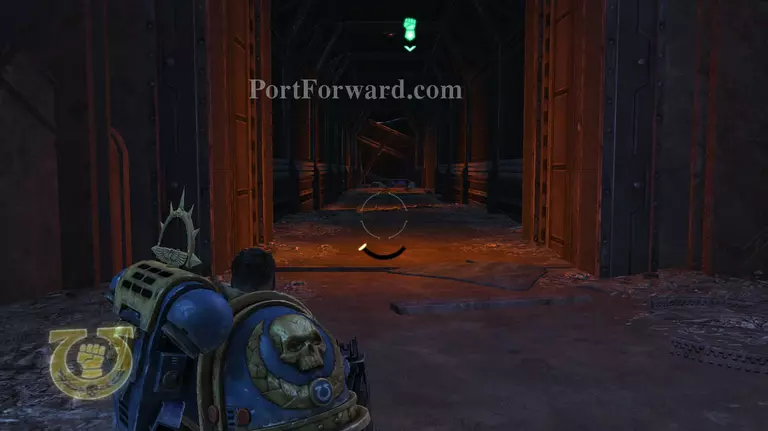
Now head through this door.
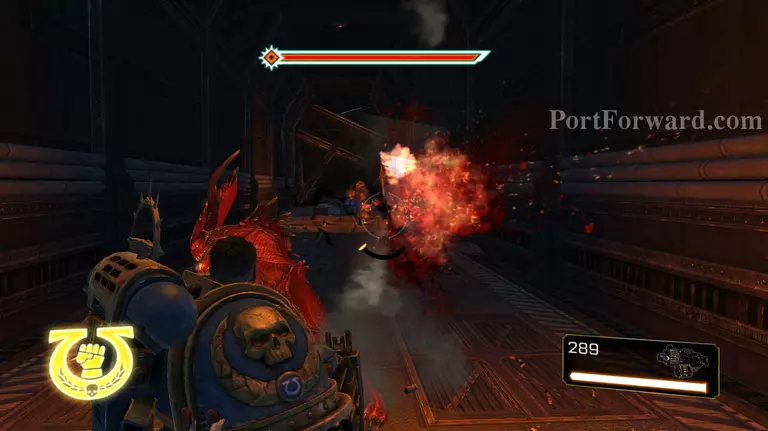
Some daemons will come around the corner, attack them with the bolter.
Head up the ramp and there will be another warp gate, attack all the visible enemys before entering the room.
After you have killed the all and the gate closes drop into the room.
take cover on the right and kill the new enemy.
they will summon daemons so don't let them sneak up on you.
After they are all dead, advance.

The next room has no enemys in it, head to the lift and activate it.
More Warhammer 40,000 Space Marine Walkthroughs
This Warhammer 40,000 Space Marine walkthrough is divided into 18 total pages.


