Warhammer 40,000 Space Marine Walkthrough 14 - Victory And Sacrifice

September 12, 2016 (Last Updated: ) | Reading Time: 3 minutes

This Warhammer 40,000 Space Marine walkthrough is divided into 18 total pages.

You can jump to nearby pages of the game using the links above.

14 - Victory And Sacrifice

Warhammer 40,000 Space Marine Walkthrough - Warhammer 40000-Space-Marine 631

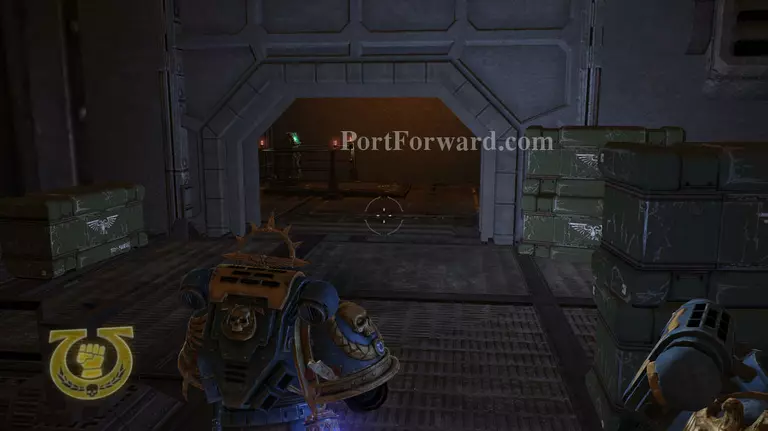
wait for you top stop talking and then head through this door that will open after a little while, activate the lift.

Warhammer 40,000 Space Marine Walkthrough - Warhammer 40000-Space-Marine 632

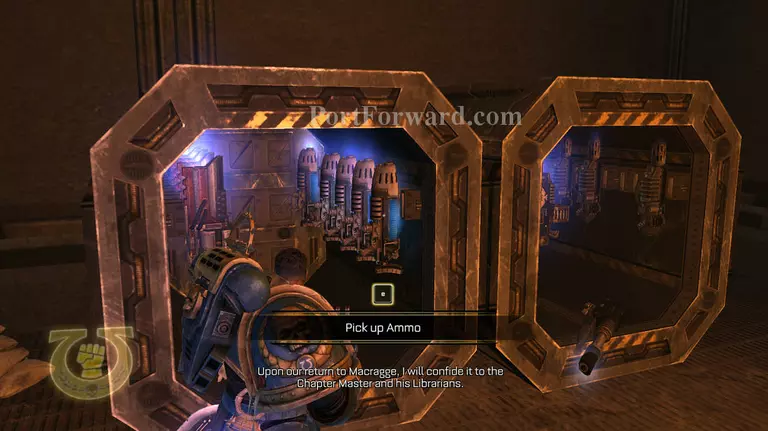
After exiting the lift, head to the ammo spot and fill up your plasma gun.

Warhammer 40,000 Space Marine Walkthrough - Warhammer 40000-Space-Marine 633

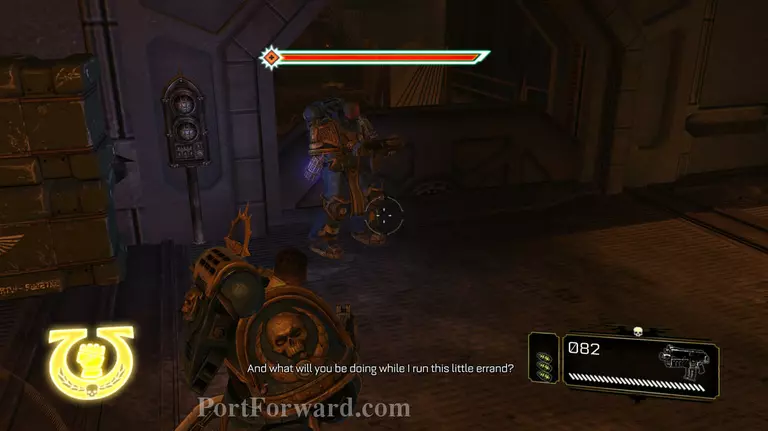
After a cut scene you give the power source to one of your friends, the door will now open.

Warhammer 40,000 Space Marine Walkthrough - Warhammer 40000-Space-Marine 634

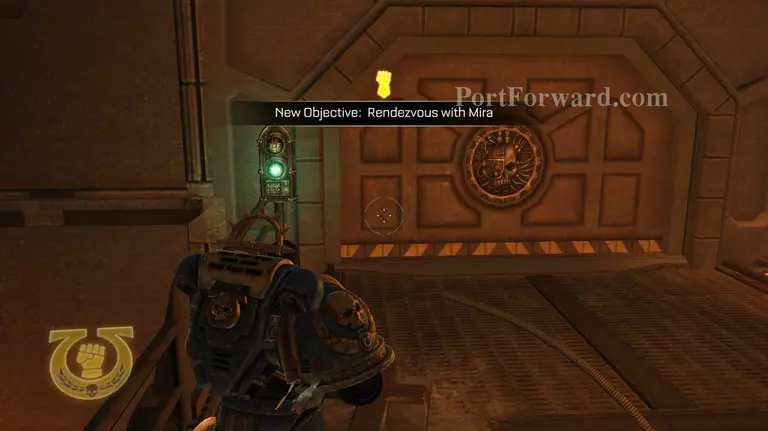
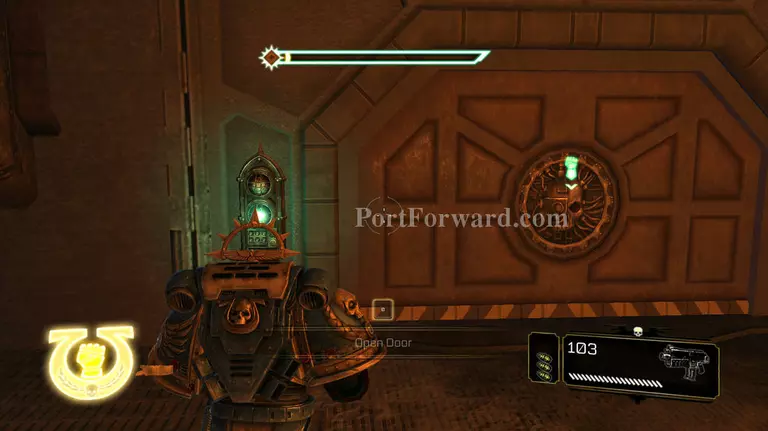
After the objective notifications have updated this door will become openable. Open it and enter.

Warhammer 40,000 Space Marine Walkthrough - Warhammer 40000-Space-Marine 635

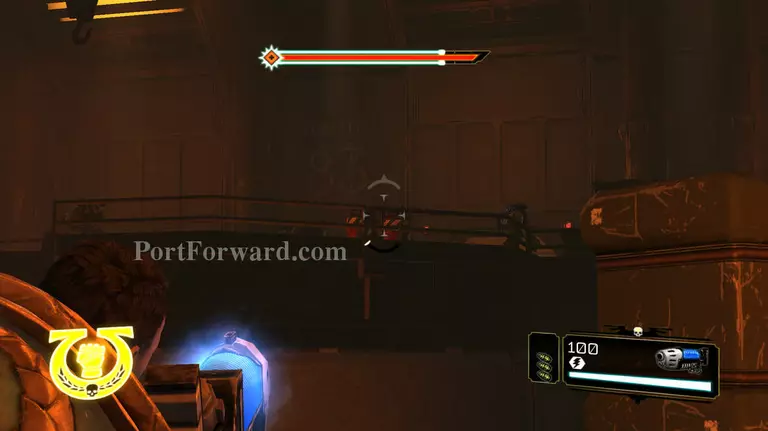
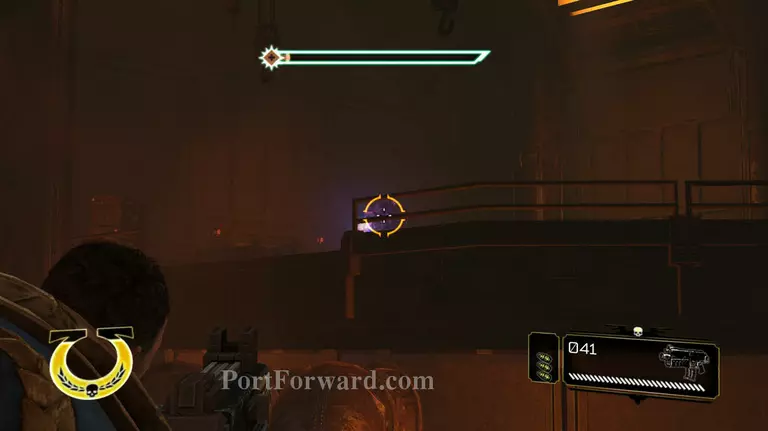
When you jump down here, go straight to one of the boxes for cover.

Warhammer 40,000 Space Marine Walkthrough - Warhammer 40000-Space-Marine 636

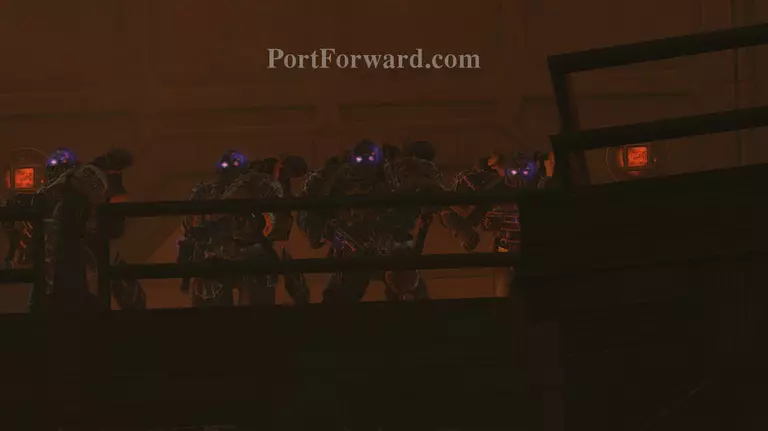
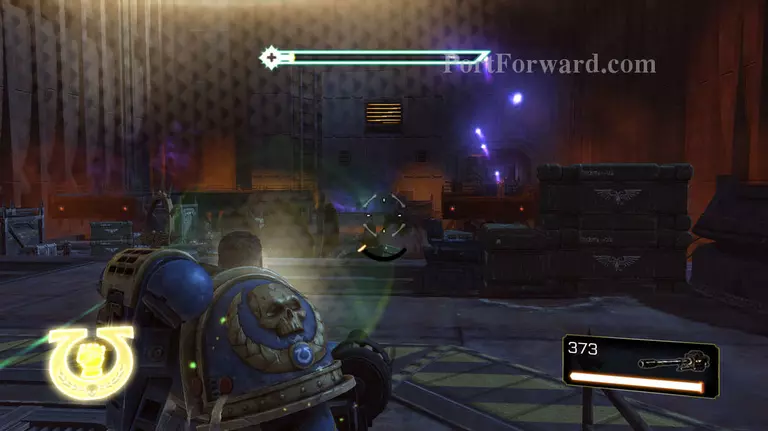
these Chaos marines will appear. you will have to kill them to continue.

Warhammer 40,000 Space Marine Walkthrough - Warhammer 40000-Space-Marine 637

Use the plasma gun to kill them, also exploit the barrels when you can.

Warhammer 40,000 Space Marine Walkthrough - Warhammer 40000-Space-Marine 638

After you kill the first one, activate fury and take out the others, or at least weaken them.

Warhammer 40,000 Space Marine Walkthrough - Warhammer 40000-Space-Marine 639

When grenades appear move to the next piece of cover, this location at the far right is a good firing apon the marine on the far left.

Warhammer 40,000 Space Marine Walkthrough - Warhammer 40000-Space-Marine 640

Another one will appear after you kill the Marine in the middle, make sure that you do not try to attack with no shield, when there is only one you can stun him quickly but do not count on it.

Warhammer 40,000 Space Marine Walkthrough - Warhammer 40000-Space-Marine 641

After you run out of Plasma ammo, refill with the ammo on the left later, but kill the others with your bolter.

Warhammer 40,000 Space Marine Walkthrough - Warhammer 40000-Space-Marine 642

After you kill the last marine, they will attack from your left flank, so watch it.

Warhammer 40,000 Space Marine Walkthrough - Warhammer 40000-Space-Marine 643

Once you kill the smaller enemys on your flank head through this door.

Warhammer 40,000 Space Marine Walkthrough - Warhammer 40000-Space-Marine 644

you will see one of your friends up ahead, head towards him.

Warhammer 40,000 Space Marine Walkthrough - Warhammer 40000-Space-Marine 645

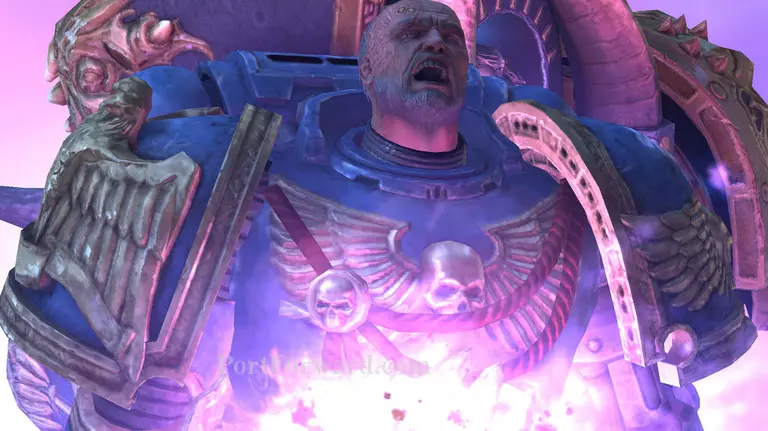
In a cut scene one of your friends die.

Warhammer 40,000 Space Marine Walkthrough - Warhammer 40000-Space-Marine 646

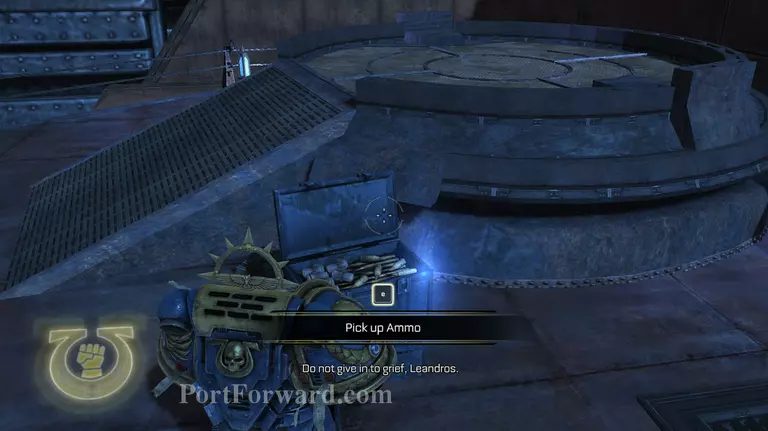
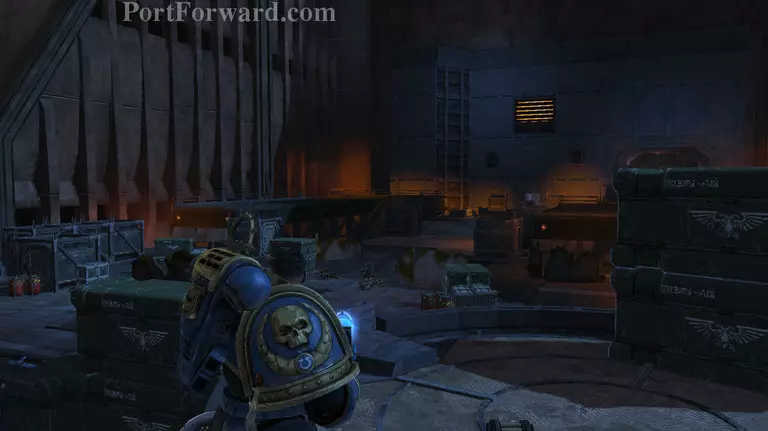
After the cut scene pick up as much ammo as possable. then advance slowly down the slope.

Warhammer 40,000 Space Marine Walkthrough - Warhammer 40000-Space-Marine 647

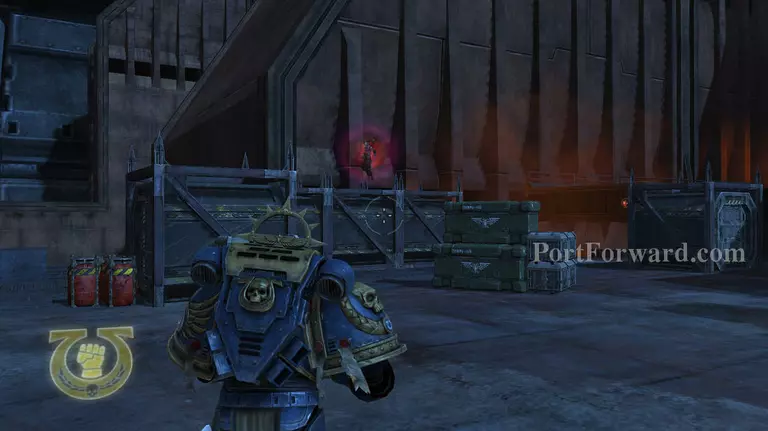
Chaos will appear, back up and take them out before advancing again.

Warhammer 40,000 Space Marine Walkthrough - Warhammer 40000-Space-Marine 648

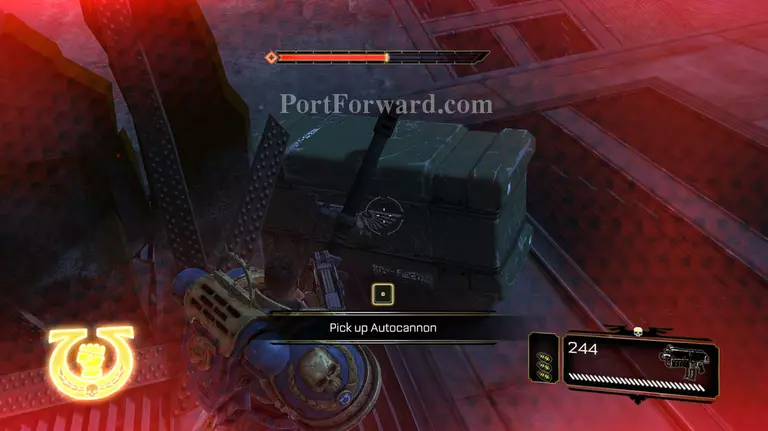
there is a autocanon hidden on the map, make sure to pick it up.

Warhammer 40,000 Space Marine Walkthrough - Warhammer 40000-Space-Marine 649

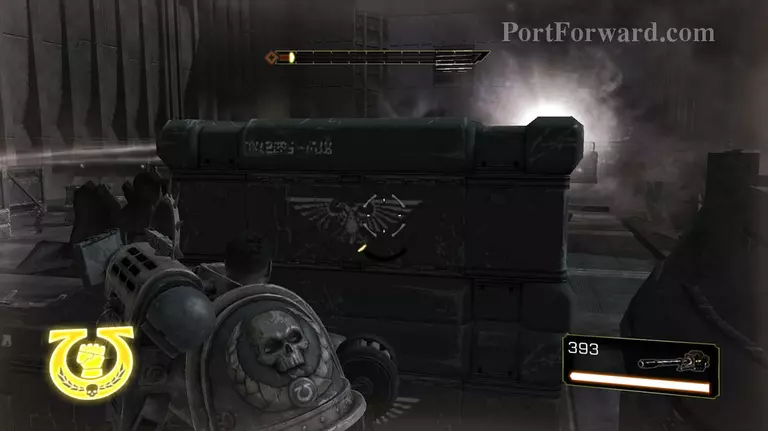
When your health gets low, head to a box like this and wait till your shield heals.

Warhammer 40,000 Space Marine Walkthrough - Warhammer 40000-Space-Marine 650

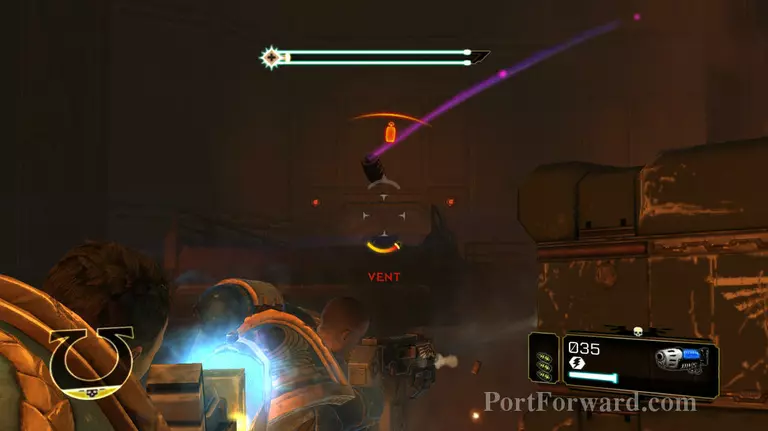
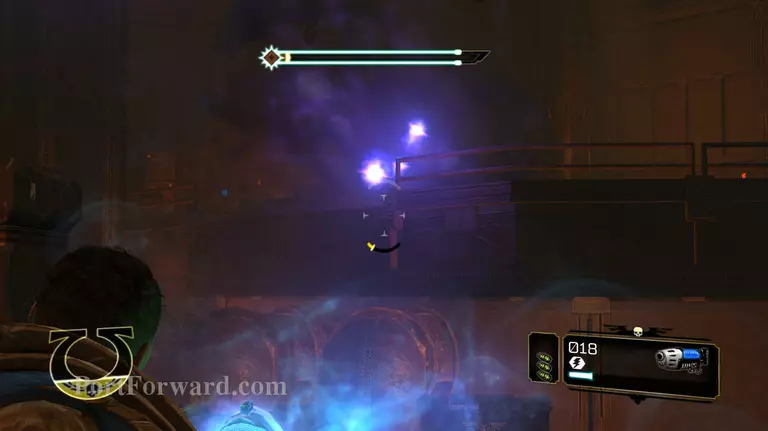
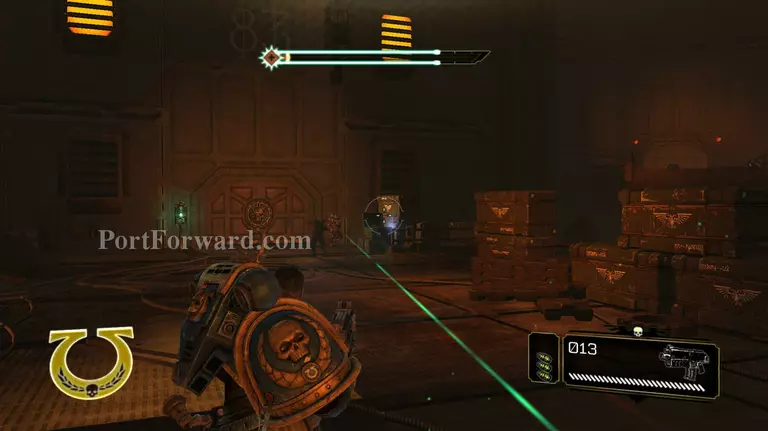
After you take out the ones controlling the portal, there will be some marines that arrive, some have morning stars and the others have ranged. target the ranged first, then find the melee types before they reach you.

Warhammer 40,000 Space Marine Walkthrough - Warhammer 40000-Space-Marine 651

After you have killed all of the enemys, you will drop the auto cannon, and Mira will be on approach.

Warhammer 40,000 Space Marine Walkthrough - Warhammer 40000-Space-Marine 652

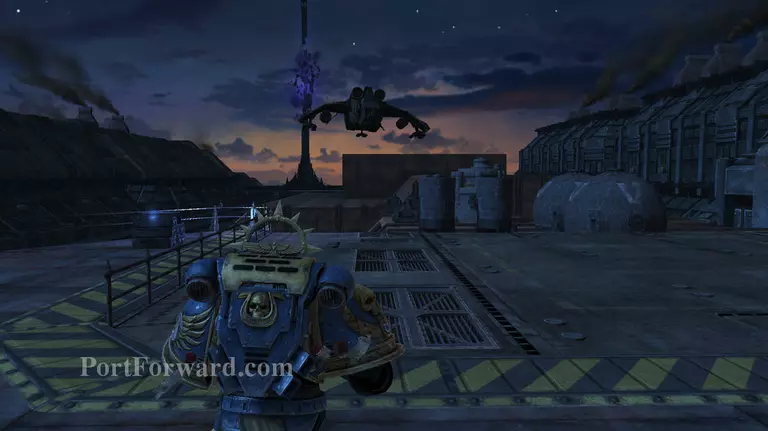
She will arrive behind you, there will be a cut scene then the mission will end.

More Warhammer 40,000 Space Marine Walkthroughs

This Warhammer 40,000 Space Marine walkthrough is divided into 18 total pages.

More From Portforward