This Warhammer 40,000 Space Marine walkthrough is divided into 18 total pages.
You can jump to nearby pages of the game using the links above.
8- Whipsers Of the Dead
![Warhammer 40,000 Space Marine Walkthrough - Warhammer 40000-Space-Marine 288](warhammer-40000-space-marine-288-small.webp)
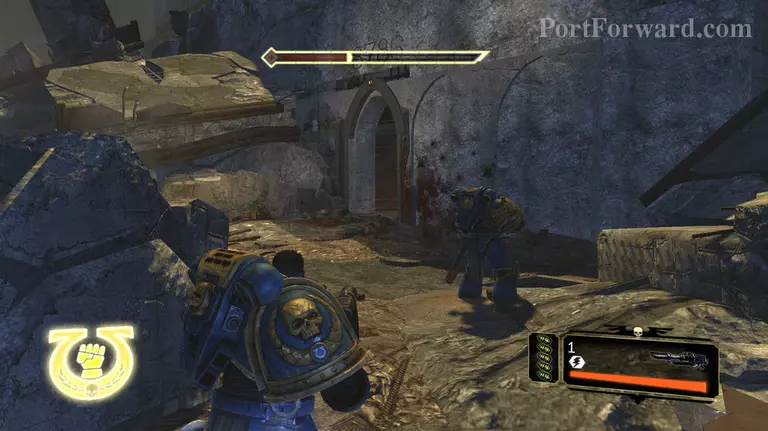
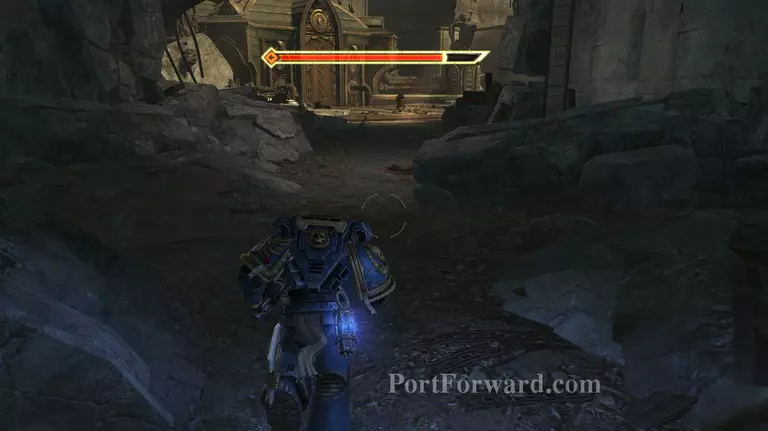
head up here through this small opening, you will get a objective marker.
![Warhammer 40,000 Space Marine Walkthrough - Warhammer 40000-Space-Marine 289](warhammer-40000-space-marine-289-small.webp)
In the first door on the right there is a ammo box.
![Warhammer 40,000 Space Marine Walkthrough - Warhammer 40000-Space-Marine 290](warhammer-40000-space-marine-290-small.webp)
the next one over has grenades.
![Warhammer 40,000 Space Marine Walkthrough - Warhammer 40000-Space-Marine 291](warhammer-40000-space-marine-291-small.webp)
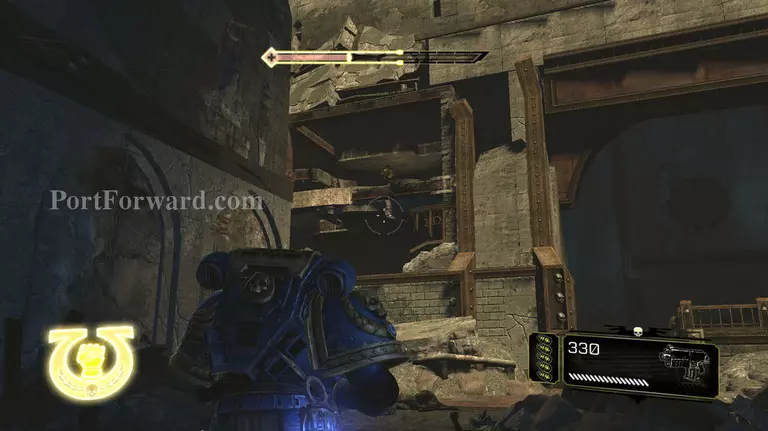
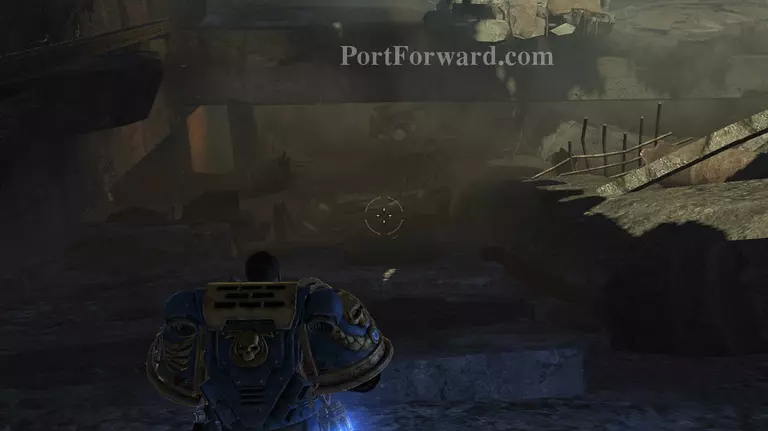
The way seems to be blocked but if you take the last room on the right there is a breach on the back wall that will take you around the obstruction.
![Warhammer 40,000 Space Marine Walkthrough - Warhammer 40000-Space-Marine 292](warhammer-40000-space-marine-292-small.webp)
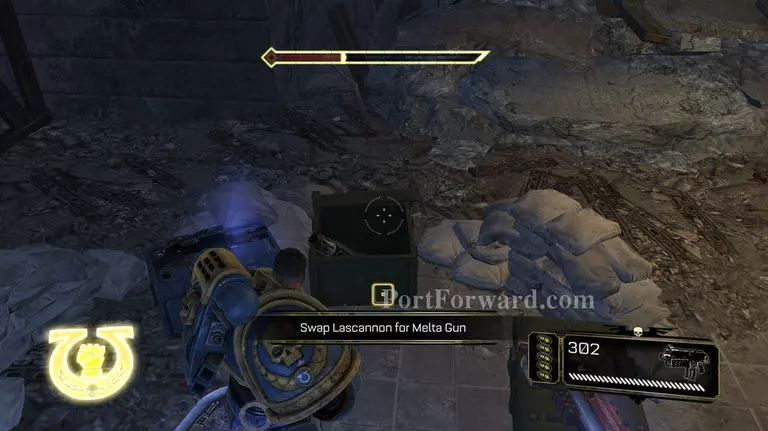
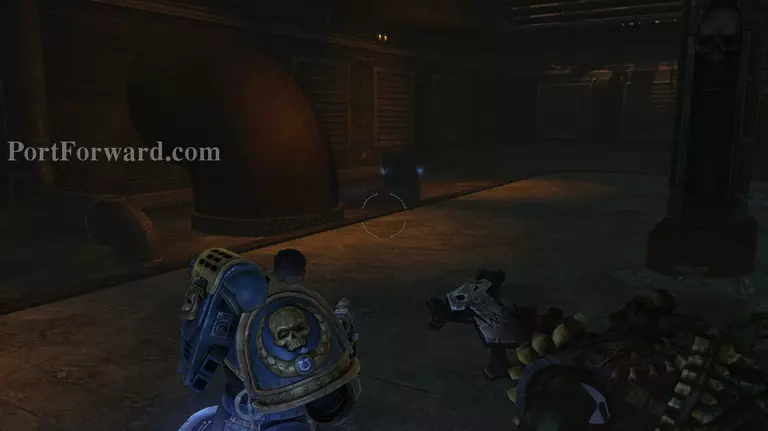
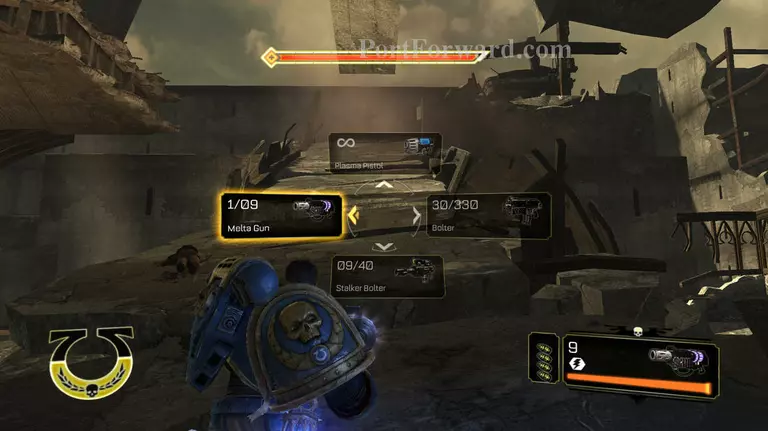
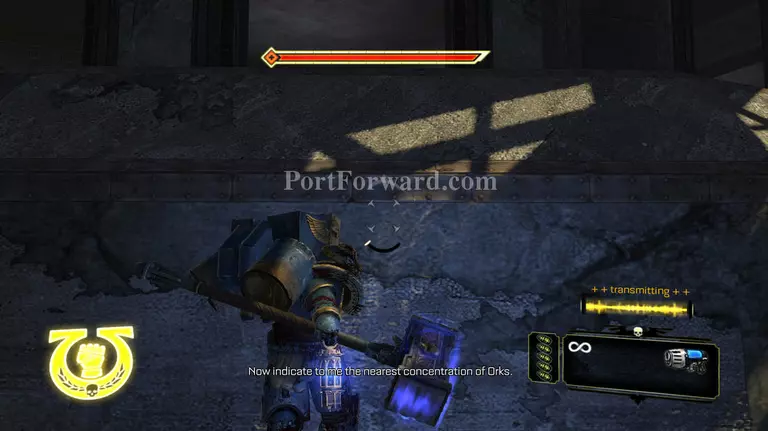
when you have dropped down and followed the path, you will get a cut scene. After the cut scene there is a weapon altar.
![Warhammer 40,000 Space Marine Walkthrough - Warhammer 40000-Space-Marine 293](warhammer-40000-space-marine-293-small.webp)
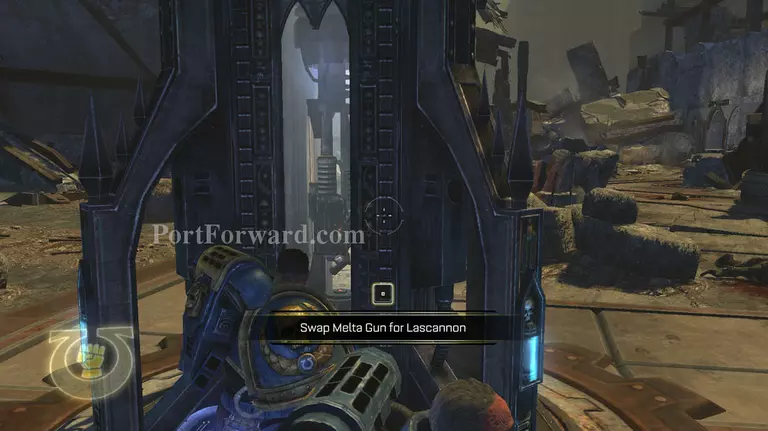
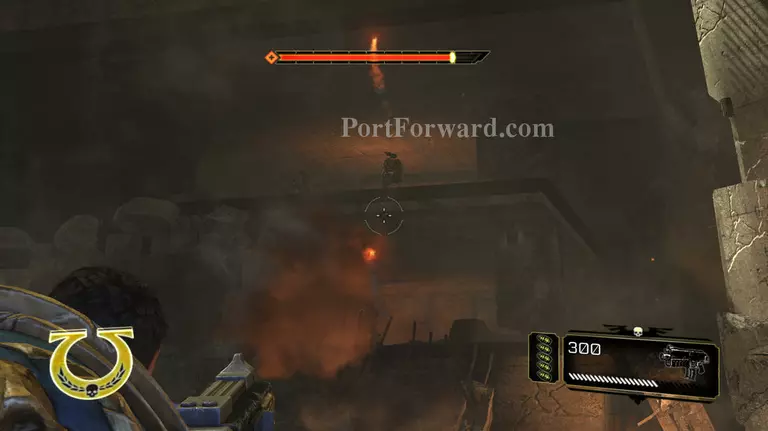
The room holds a weapon that is like the stalker bolter but shoots high powered lazers. i recomend that you take it.
![Warhammer 40,000 Space Marine Walkthrough - Warhammer 40000-Space-Marine 294](warhammer-40000-space-marine-294-small.webp)
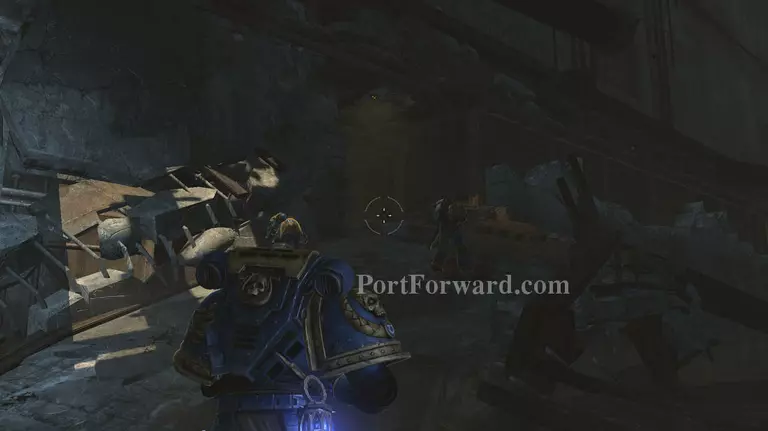
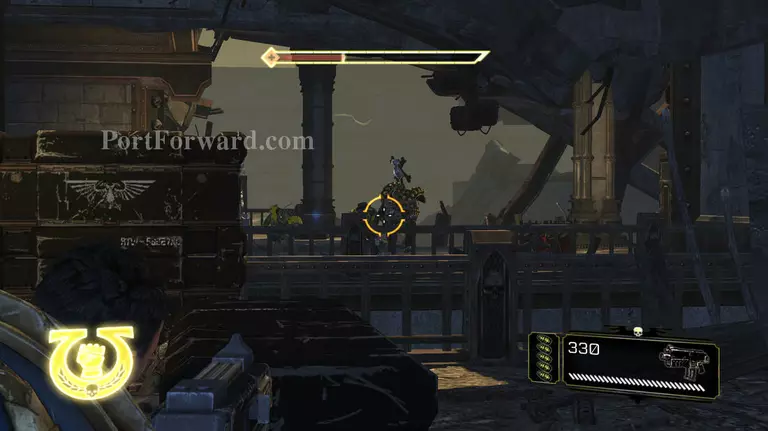
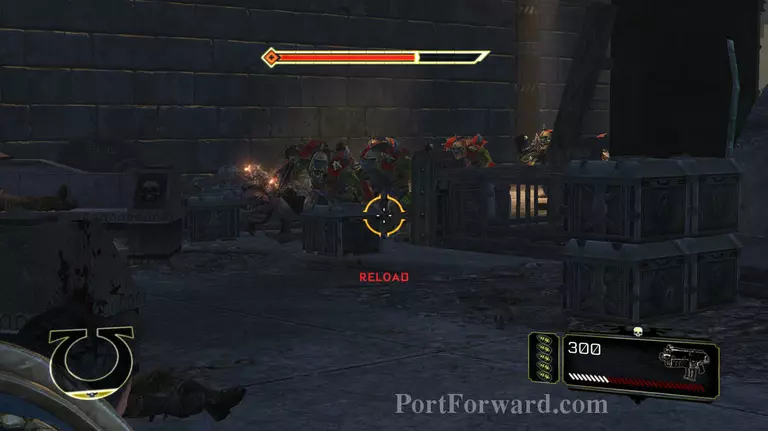
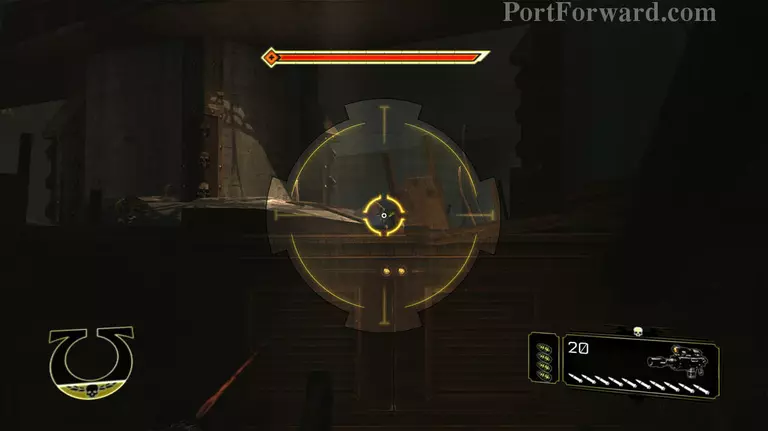
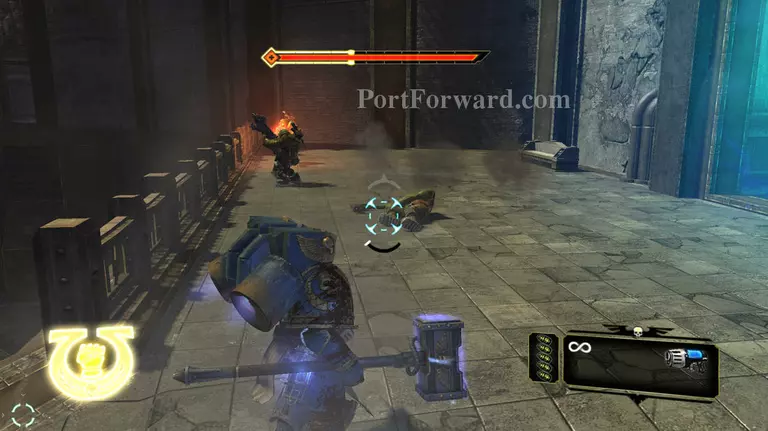
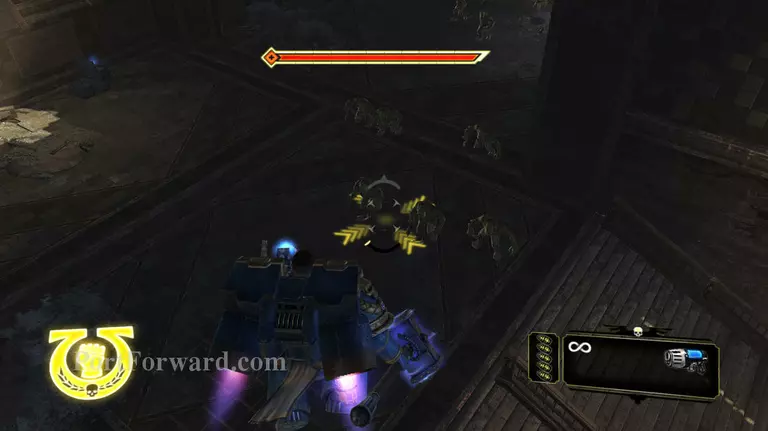
After you have taken the weapon this guy will appear. He is like the shooter boys that shoot rockets but he shoots more faster and has more health. Shoot him with the newly aquired weapon, you know when you have a good line of sight on the enemy because a Skull will appear on your HUD (only when scoped)
![Warhammer 40,000 Space Marine Walkthrough - Warhammer 40000-Space-Marine 295](warhammer-40000-space-marine-295-small.webp)
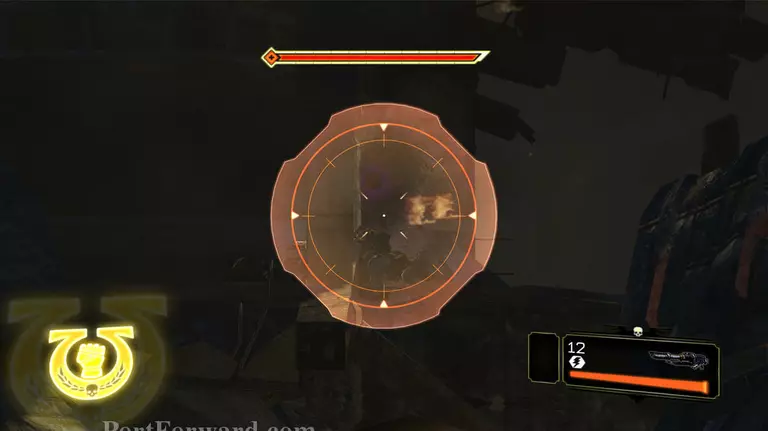
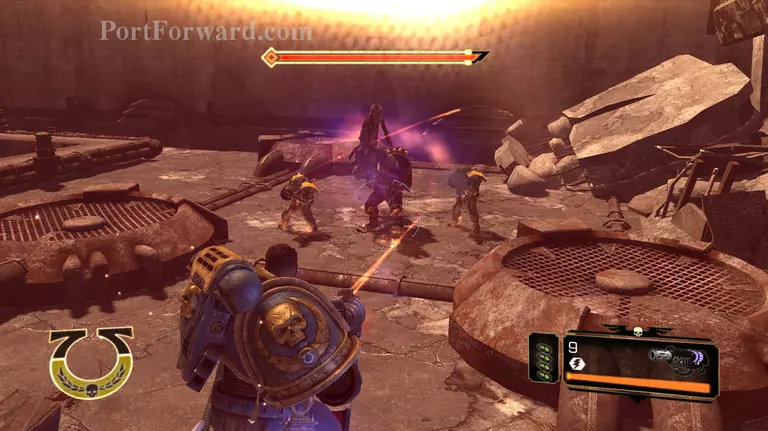
he will take about three rounds.
![Warhammer 40,000 Space Marine Walkthrough - Warhammer 40000-Space-Marine 296](warhammer-40000-space-marine-296-small.webp)
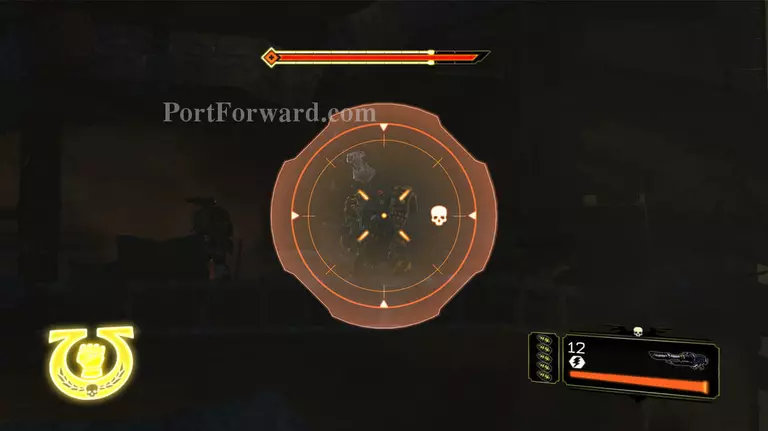
Kill the other that are on the other broken layers with the same weapon.
![Warhammer 40,000 Space Marine Walkthrough - Warhammer 40000-Space-Marine 297](warhammer-40000-space-marine-297-small.webp)
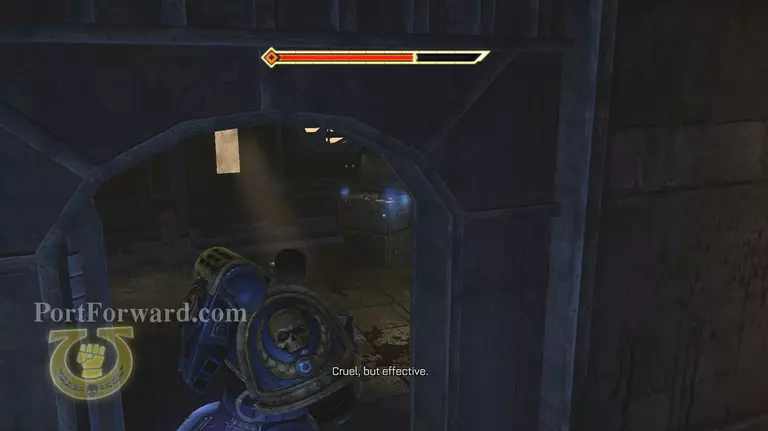
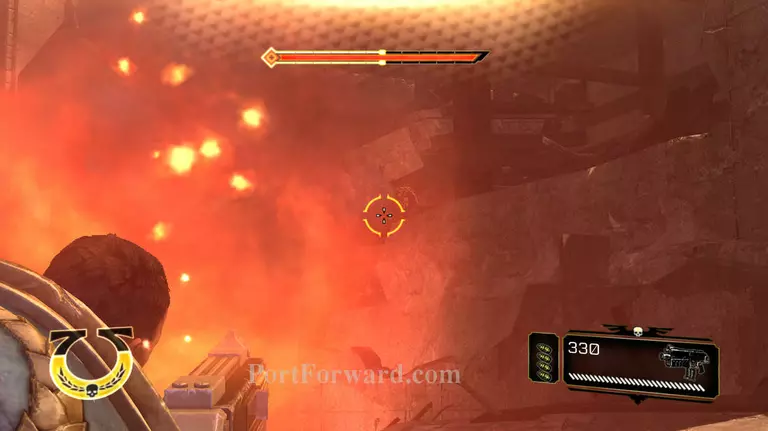
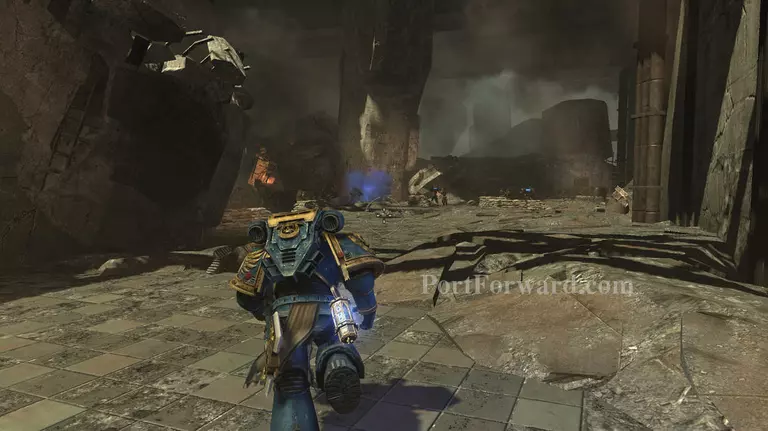
You do not have to kill them, if you wish to keep the melta then run straight through this arch here. If you have killed them go through anyway; it is located at the top right hand side of the map.
![Warhammer 40,000 Space Marine Walkthrough - Warhammer 40000-Space-Marine 298](warhammer-40000-space-marine-298-small.webp)
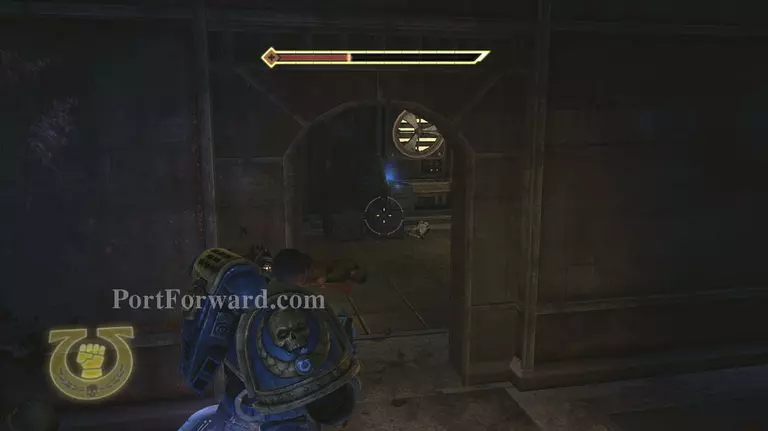
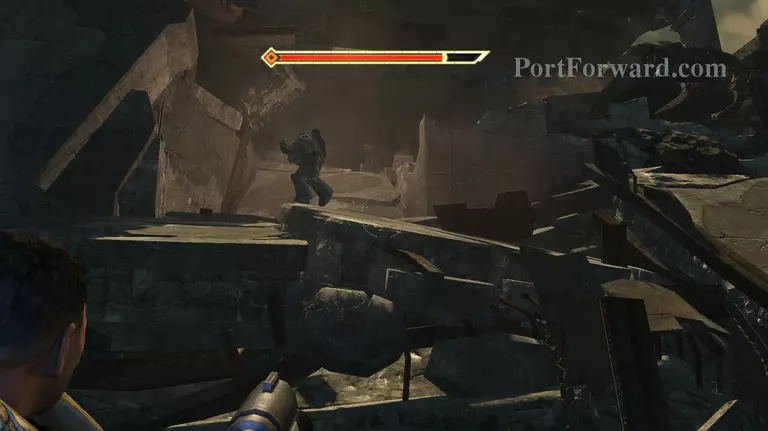
On the second floor there is a door at the end ot the corridor. it has ammo in it that you badly need if you killed those Orks.
![Warhammer 40,000 Space Marine Walkthrough - Warhammer 40000-Space-Marine 299](warhammer-40000-space-marine-299-small.webp)
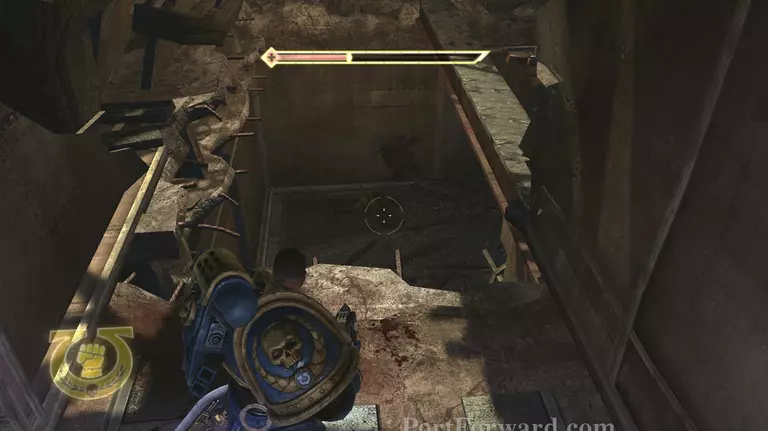
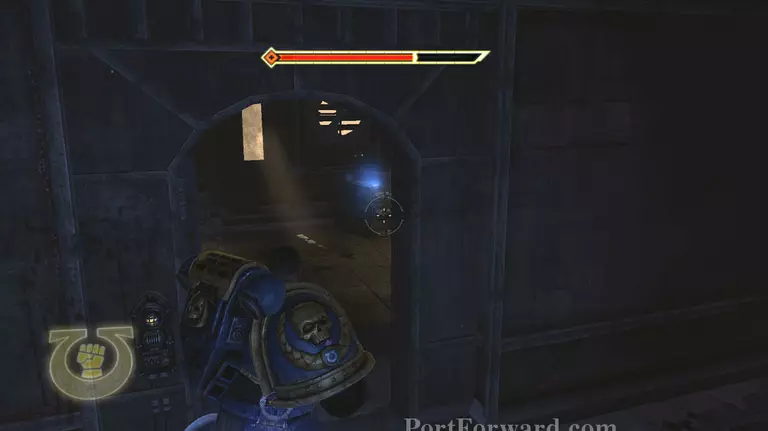
Now drop through here.
![Warhammer 40,000 Space Marine Walkthrough - Warhammer 40000-Space-Marine 300](warhammer-40000-space-marine-300-small.webp)
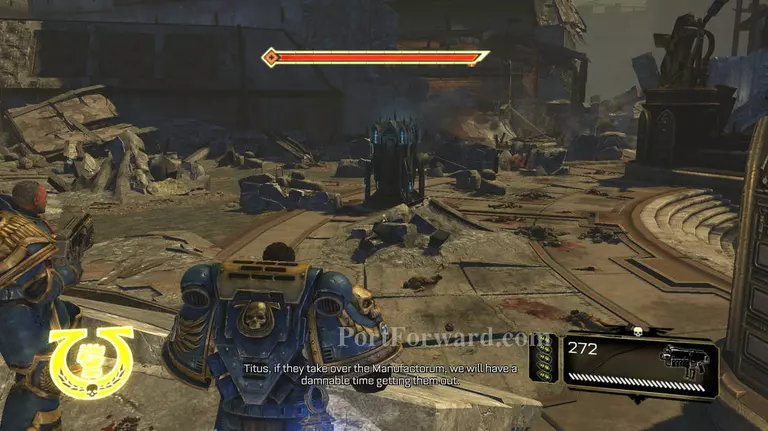
At the end of the room you will see some guards they will die, there is no way of saving them but they do warn you about the Orks nearby.
![Warhammer 40,000 Space Marine Walkthrough - Warhammer 40000-Space-Marine 301](warhammer-40000-space-marine-301-small.webp)
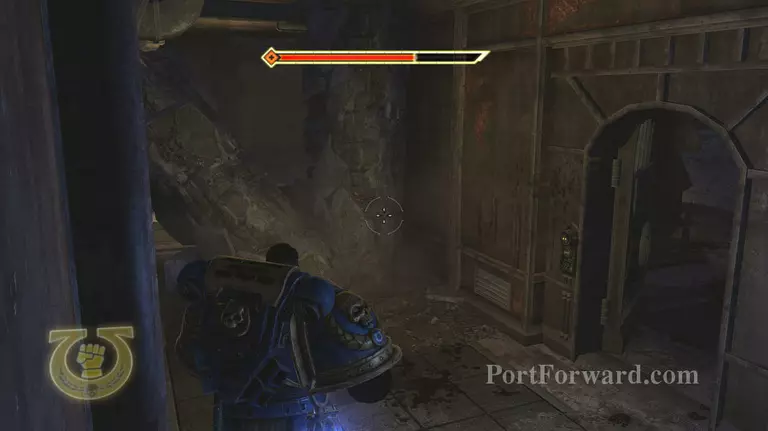
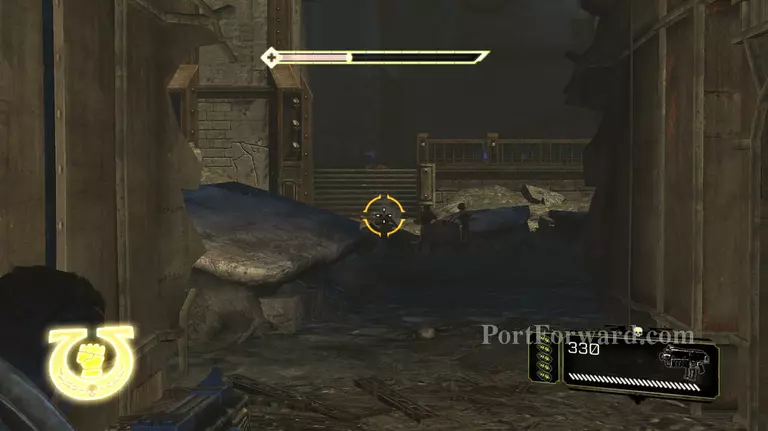
Be careful as you walk forward there is a Orks hiding on the rght high up.
![Warhammer 40,000 Space Marine Walkthrough - Warhammer 40000-Space-Marine 302](warhammer-40000-space-marine-302-small.webp)
"I recomend that you swap back to the melta gun.
![Warhammer 40,000 Space Marine Walkthrough - Warhammer 40000-Space-Marine 303](warhammer-40000-space-marine-303-small.webp)
there is another Nob but he will walk near a barrel time it right and you will kill most of the Orks.
![Warhammer 40,000 Space Marine Walkthrough - Warhammer 40000-Space-Marine 304](warhammer-40000-space-marine-304-small.webp)
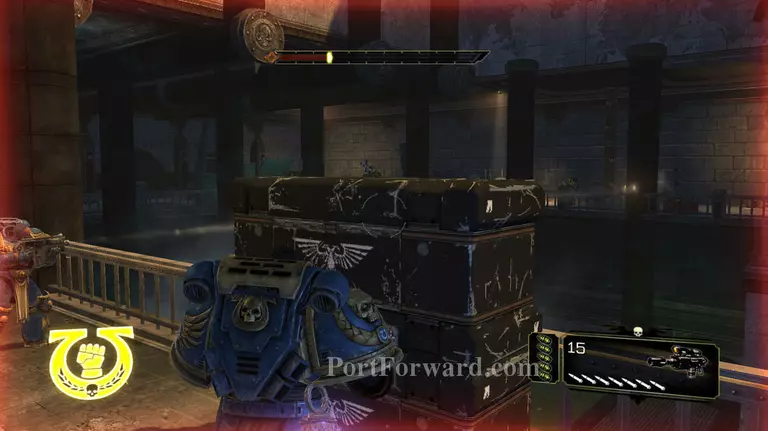
If you want you can run around the side and melta them. if you don't use your stalker bolter when your armour gets low, hide behind these boxs.
![Warhammer 40,000 Space Marine Walkthrough - Warhammer 40000-Space-Marine 305](warhammer-40000-space-marine-305-small.webp)
If it is taking to long or you just want to, use the marksman mode of fury. This auto activates when you scope.
![Warhammer 40,000 Space Marine Walkthrough - Warhammer 40000-Space-Marine 306](warhammer-40000-space-marine-306-small.webp)
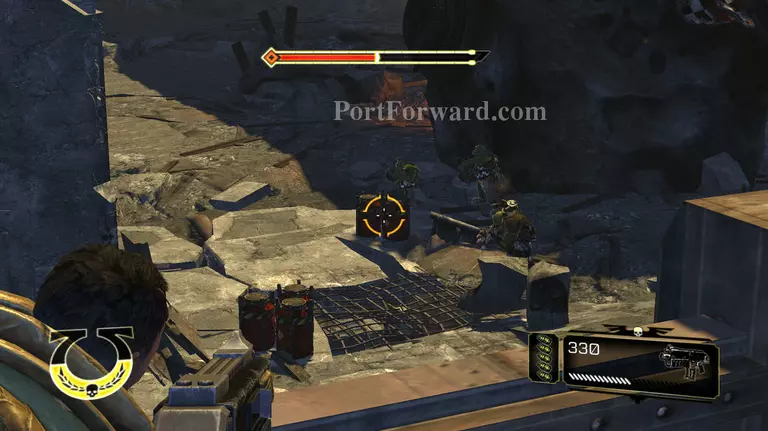
when you move forward around there side these guys will appear, shoot the squig for advantages.
![Warhammer 40,000 Space Marine Walkthrough - Warhammer 40000-Space-Marine 307](warhammer-40000-space-marine-307-small.webp)
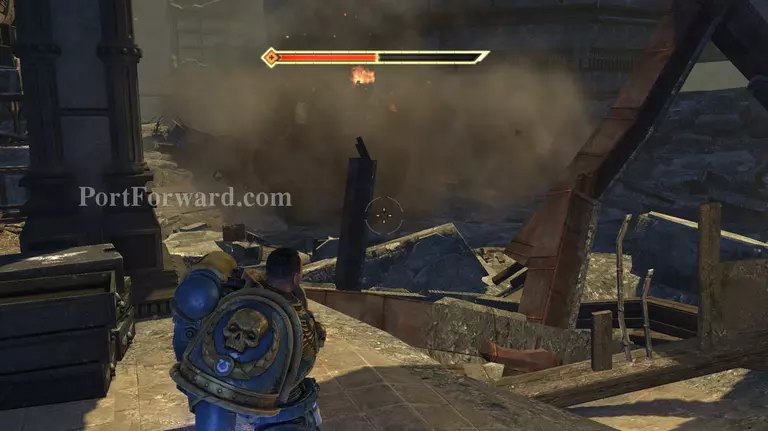
when you get to the end of the room, and collected all the ammo, this Ork drop-pod will fall.
![Warhammer 40,000 Space Marine Walkthrough - Warhammer 40000-Space-Marine 308](warhammer-40000-space-marine-308-small.webp)
Kill them with the barrels again.
![Warhammer 40,000 Space Marine Walkthrough - Warhammer 40000-Space-Marine 309](warhammer-40000-space-marine-309-small.webp)
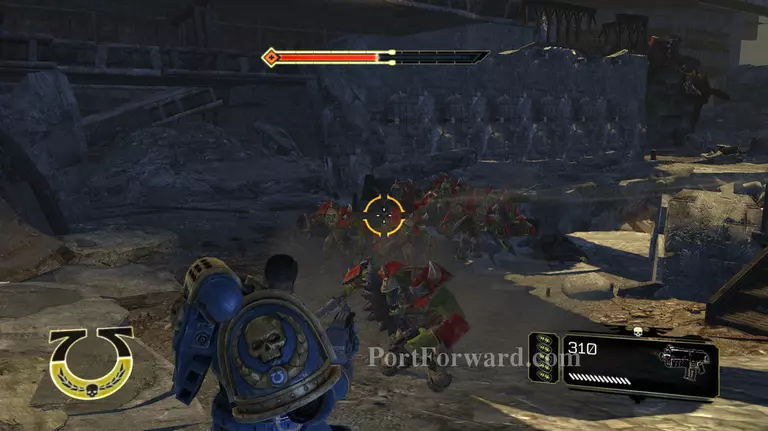
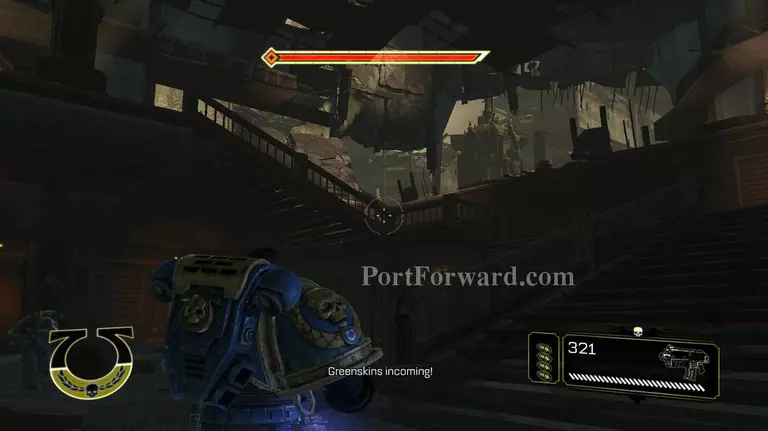
When you head down the stairs there is a load of Orks that pour out the floor don't get distracted by the Orks above.
![Warhammer 40,000 Space Marine Walkthrough - Warhammer 40000-Space-Marine 310](warhammer-40000-space-marine-310-small.webp)
there are several advantages about having your friends back. the first is that they do not acutally get shot by Orks or take friendly fire so when they walk forward throw in a grenade to kill the Orks this will not harm your friends.
![Warhammer 40,000 Space Marine Walkthrough - Warhammer 40000-Space-Marine 311](warhammer-40000-space-marine-311-small.webp)
As you will have probably lost a lot of health make sure you restore it before heading down the ramp.
![Warhammer 40,000 Space Marine Walkthrough - Warhammer 40000-Space-Marine 312](warhammer-40000-space-marine-312-small.webp)
After you have gone down the ramp for some time there is a turn off. there is ammo in it. Make sure you get it.
![Warhammer 40,000 Space Marine Walkthrough - Warhammer 40000-Space-Marine 313](warhammer-40000-space-marine-313-small.webp)
As you enter the room there will be Orks all over. Take cover straight away.
![Warhammer 40,000 Space Marine Walkthrough - Warhammer 40000-Space-Marine 314](warhammer-40000-space-marine-314-small.webp)
If you try to take the cover that is too far away you will find that this guy kills you very fast, he is above you on the right. shoot the explsive barrel then finnish him off.
![Warhammer 40,000 Space Marine Walkthrough - Warhammer 40000-Space-Marine 315](warhammer-40000-space-marine-315-small.webp)
Mind the ground there is a Nob there.
![Warhammer 40,000 Space Marine Walkthrough - Warhammer 40000-Space-Marine 316](warhammer-40000-space-marine-316-small.webp)
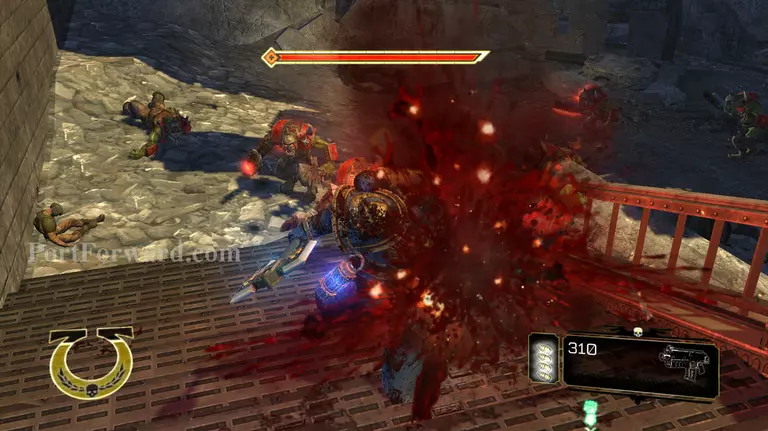
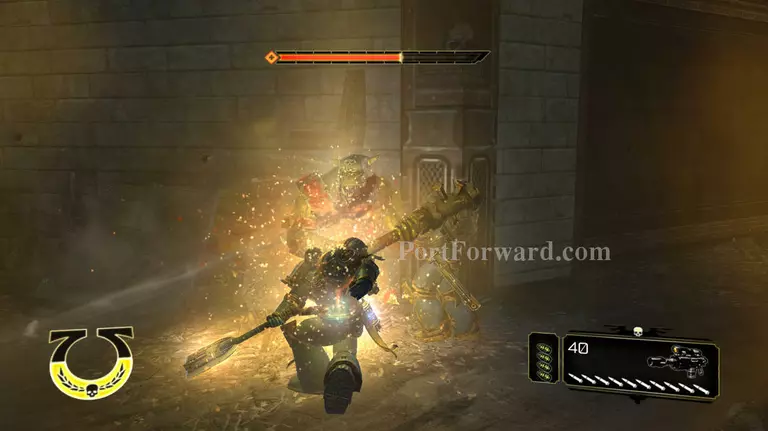
Due to the large amount of Nobs try to use Fury to kill as many as you can as quickly as you can.
![Warhammer 40,000 Space Marine Walkthrough - Warhammer 40000-Space-Marine 317](warhammer-40000-space-marine-317-small.webp)
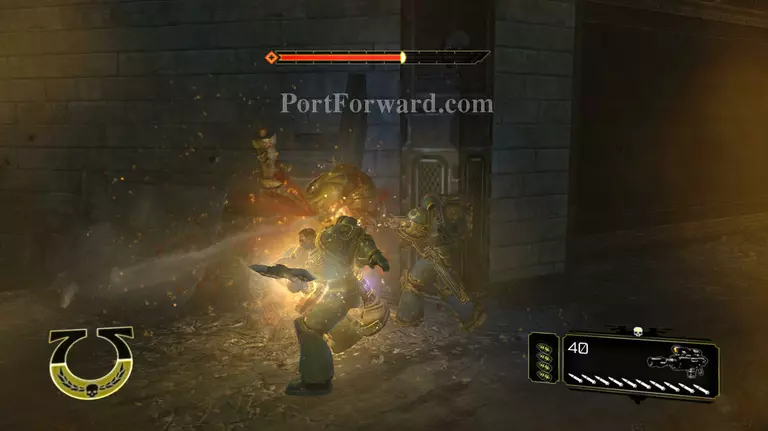
the melta Gun is very good at staggering Nobs so use it to do so mix it with the stalker bolter. execute him to get full health.
![Warhammer 40,000 Space Marine Walkthrough - Warhammer 40000-Space-Marine 318](warhammer-40000-space-marine-318-small.webp)
After you have killed him, that is the last Nob for now. Kill the other ranged Orks with your stalker.
![Warhammer 40,000 Space Marine Walkthrough - Warhammer 40000-Space-Marine 319](warhammer-40000-space-marine-319-small.webp)
there is some ammo nestled in the back corner, make sure to get it.
![Warhammer 40,000 Space Marine Walkthrough - Warhammer 40000-Space-Marine 320](warhammer-40000-space-marine-320-small.webp)
Asecnd the stairs and try to beat the Orks to it.
![Warhammer 40,000 Space Marine Walkthrough - Warhammer 40000-Space-Marine 321](warhammer-40000-space-marine-321-small.webp)
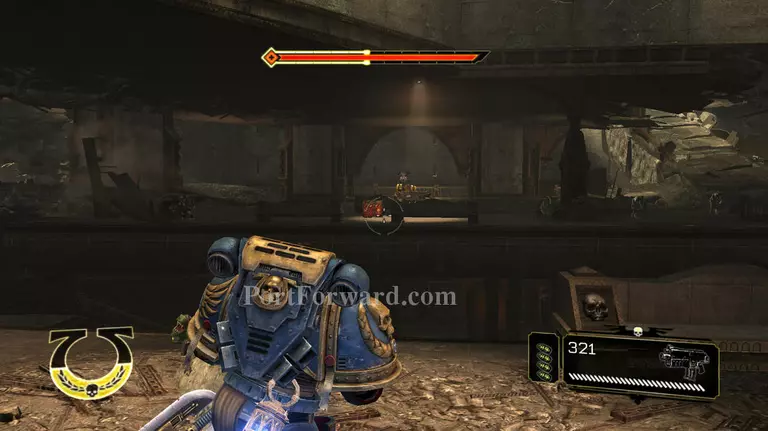
Now that you are up here look across there is 1 Nob and some shooter. use the barrels to kill them along with the stalker bolter. Use the cover to your advantage.
![Warhammer 40,000 Space Marine Walkthrough - Warhammer 40000-Space-Marine 322](warhammer-40000-space-marine-322-small.webp)
If you do not kill them fast enough they will run up the stairs.
![Warhammer 40,000 Space Marine Walkthrough - Warhammer 40000-Space-Marine 323](warhammer-40000-space-marine-323-small.webp)
Pull out your Melta gun and follow them, they are waiting at the top.
![Warhammer 40,000 Space Marine Walkthrough - Warhammer 40000-Space-Marine 324](warhammer-40000-space-marine-324-small.webp)
target the nob first, then kill the others in melee to conserver the Melta's ammo
![Warhammer 40,000 Space Marine Walkthrough - Warhammer 40000-Space-Marine 325](warhammer-40000-space-marine-325-small.webp)
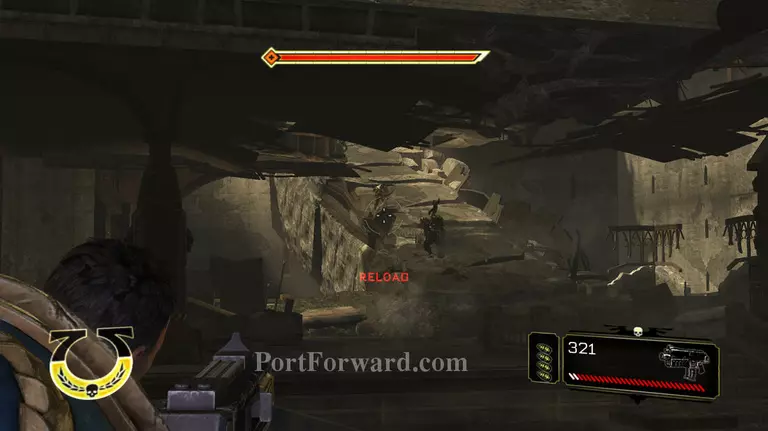
As you continue forward there is a Ork on the right take over and kill with the Stalker bolter. the reason is not ammo sake but the stalker staggers a little so when the Nob reloads you stagger him stopping him reloading.
![Warhammer 40,000 Space Marine Walkthrough - Warhammer 40000-Space-Marine 326](warhammer-40000-space-marine-326-small.webp)
After he is dead make your way to the bottom of the slope.
![Warhammer 40,000 Space Marine Walkthrough - Warhammer 40000-Space-Marine 327](warhammer-40000-space-marine-327-small.webp)
then run towards Drogan.
![Warhammer 40,000 Space Marine Walkthrough - Warhammer 40000-Space-Marine 328](warhammer-40000-space-marine-328-small.webp)
You will get a objective marker then a cut scene, after that is over head through this door.
![Warhammer 40,000 Space Marine Walkthrough - Warhammer 40000-Space-Marine 329](warhammer-40000-space-marine-329-small.webp)
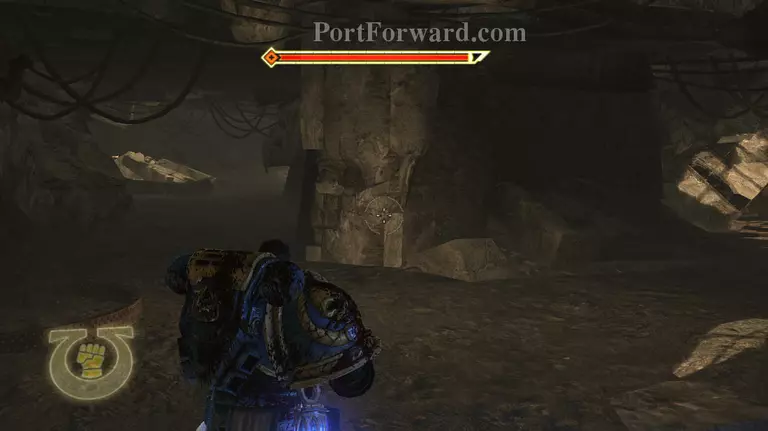
As you walk through the hallway you will get an objective marker.
![Warhammer 40,000 Space Marine Walkthrough - Warhammer 40000-Space-Marine 330](warhammer-40000-space-marine-330-small.webp)
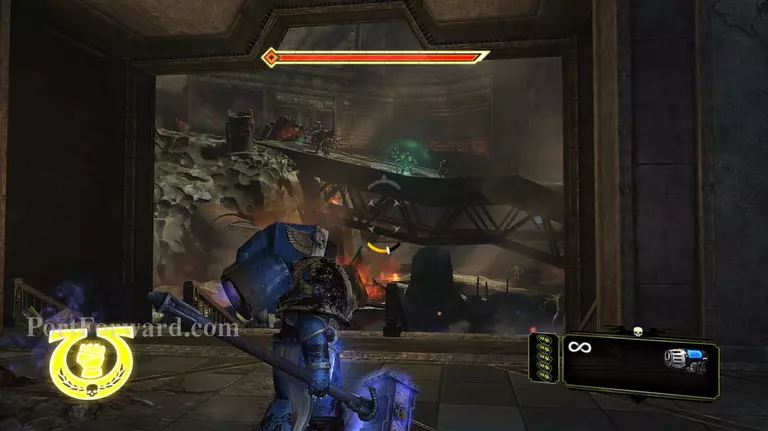
At the end of the corridor there is a square at the other end there is a walkway down; descend.
![Warhammer 40,000 Space Marine Walkthrough - Warhammer 40000-Space-Marine 331](warhammer-40000-space-marine-331-small.webp)
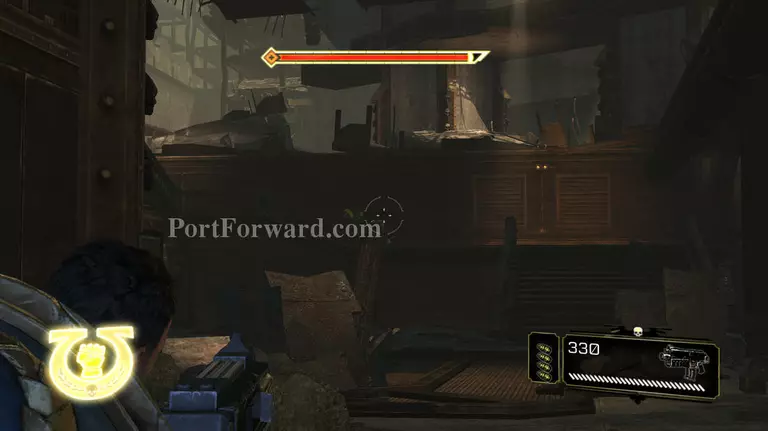
When you get to the bottom there is a fight between the Orks and the guards head over to them and provide assistanace.
![Warhammer 40,000 Space Marine Walkthrough - Warhammer 40000-Space-Marine 332](warhammer-40000-space-marine-332-small.webp)
Use the bolter here, this is so you can see where the rockets are going dodge them.
![Warhammer 40,000 Space Marine Walkthrough - Warhammer 40000-Space-Marine 333](warhammer-40000-space-marine-333-small.webp)
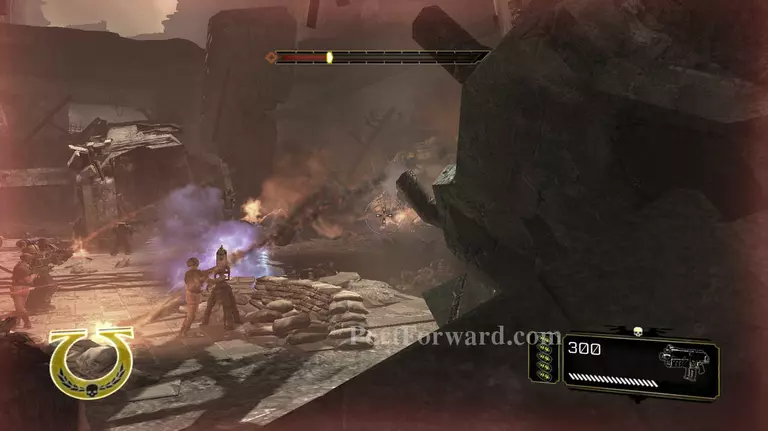
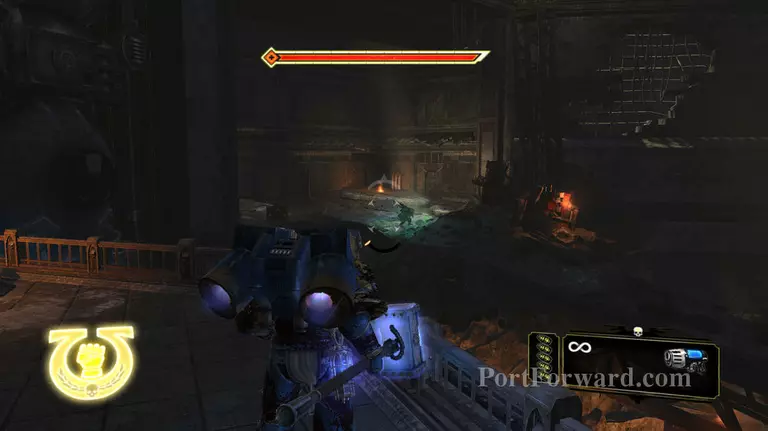
If your health does get low, hide behind here and wait for your sheild to regen.
![Warhammer 40,000 Space Marine Walkthrough - Warhammer 40000-Space-Marine 334](warhammer-40000-space-marine-334-small.webp)
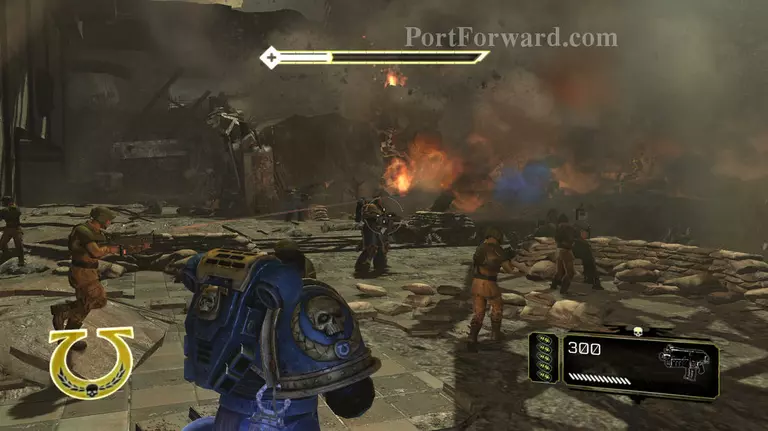
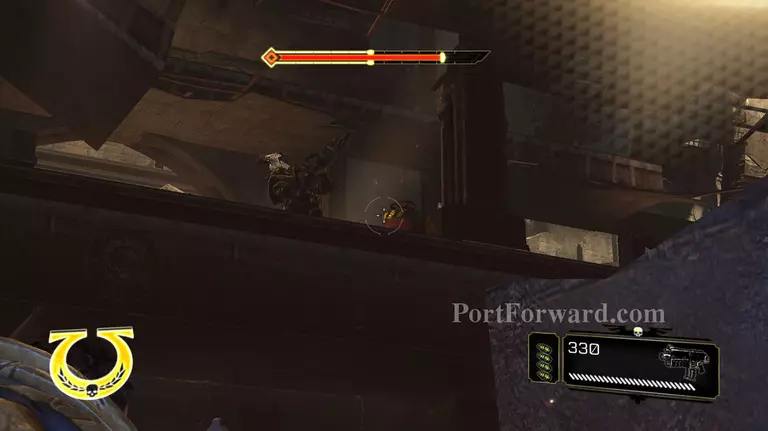
After most of the ranged is dead Orks will appear from this Drop-pod.
![Warhammer 40,000 Space Marine Walkthrough - Warhammer 40000-Space-Marine 335](warhammer-40000-space-marine-335-small.webp)
use grenades to not only thin them but to try and get your Fury back if you don't already have it. you will need it in a second.
![Warhammer 40,000 Space Marine Walkthrough - Warhammer 40000-Space-Marine 336](warhammer-40000-space-marine-336-small.webp)
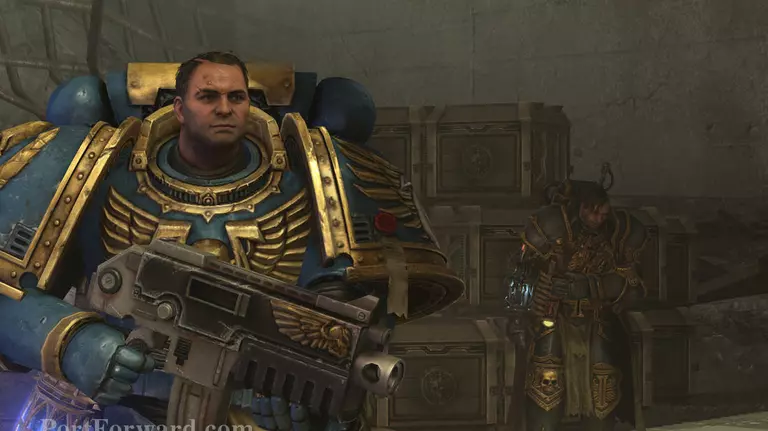
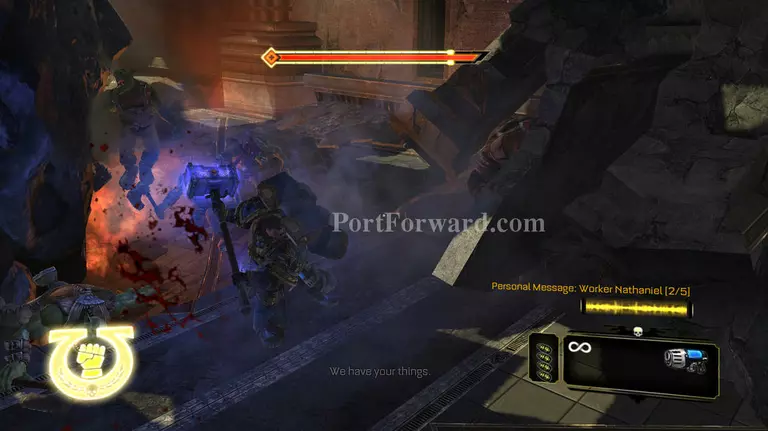
After all the Orks have died you will get a cut scene.
![Warhammer 40,000 Space Marine Walkthrough - Warhammer 40000-Space-Marine 337](warhammer-40000-space-marine-337-small.webp)
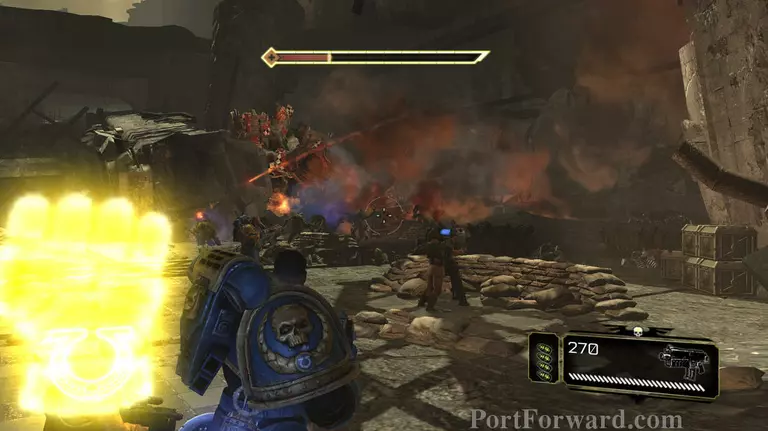
these gates will have opened and some Orks will come out. melee them and stun/execute to save the remaining ammo.
![Warhammer 40,000 Space Marine Walkthrough - Warhammer 40000-Space-Marine 338](warhammer-40000-space-marine-338-small.webp)
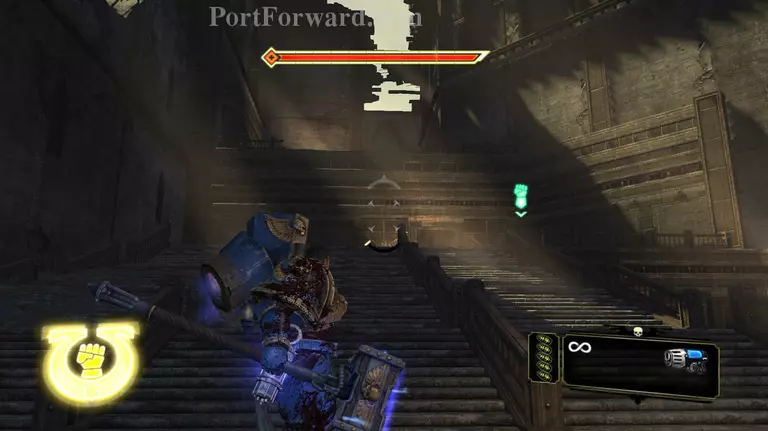
Now climb the stairs.
![Warhammer 40,000 Space Marine Walkthrough - Warhammer 40000-Space-Marine 339](warhammer-40000-space-marine-339-small.webp)
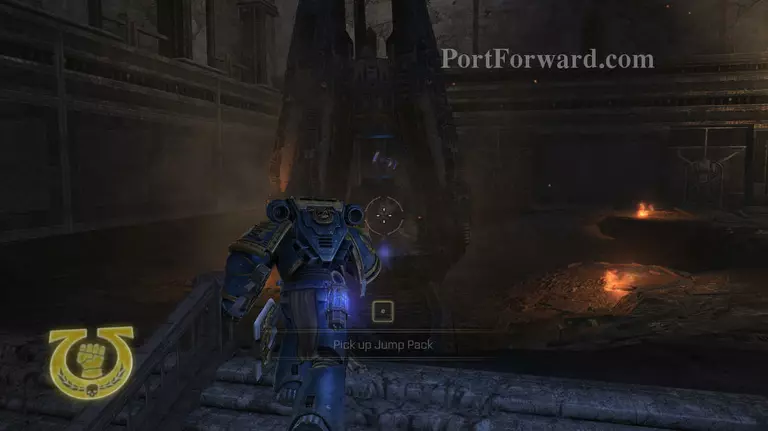
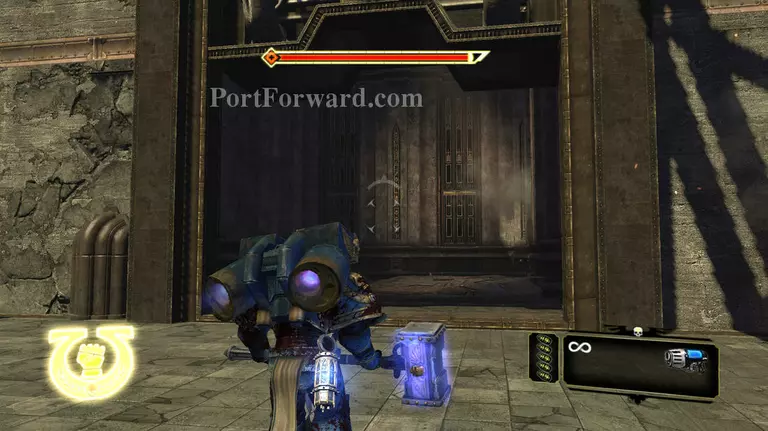
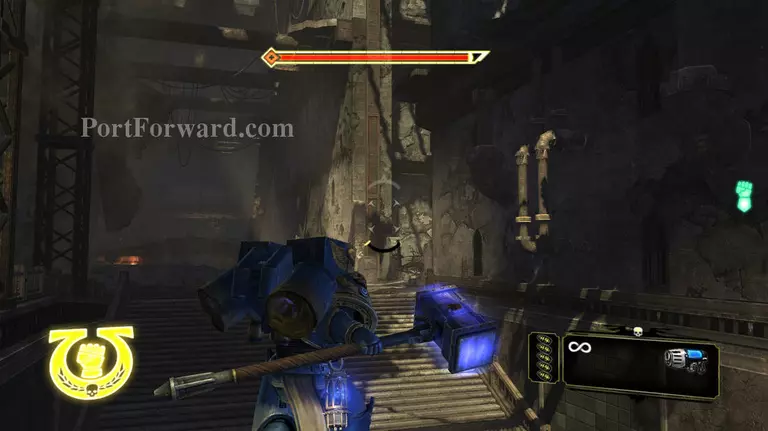
You will encounter another drop-pod this time your own. It contains another jump pack and a thunder hammer. this weapon is very powerful and can kill most Orks in one hit Nobs i a few more. the disadvantage is that you cannot use all your weapons with this hammer equiped; only the botler and the pistol.
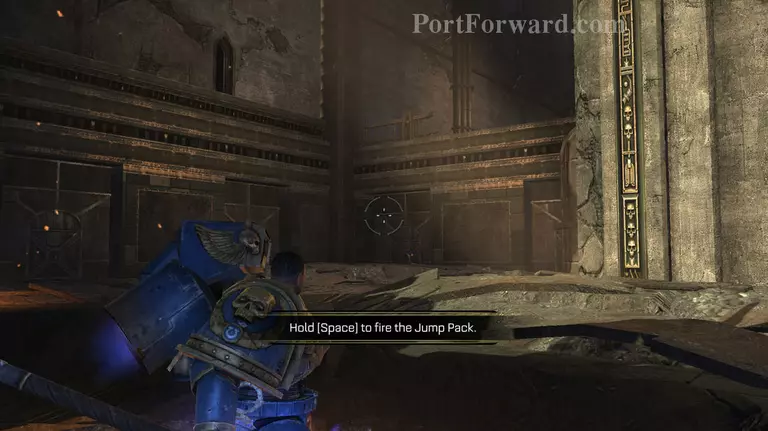
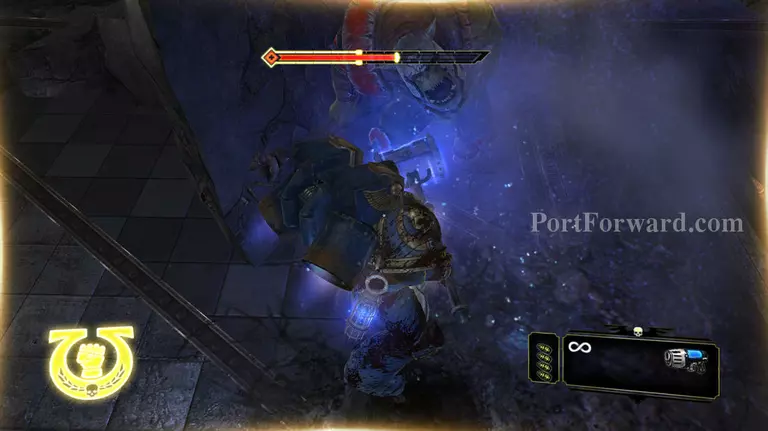
![Warhammer 40,000 Space Marine Walkthrough - Warhammer 40000-Space-Marine 340](warhammer-40000-space-marine-340-small.webp)
Jump up this wall.
![Warhammer 40,000 Space Marine Walkthrough - Warhammer 40000-Space-Marine 341](warhammer-40000-space-marine-341-small.webp)
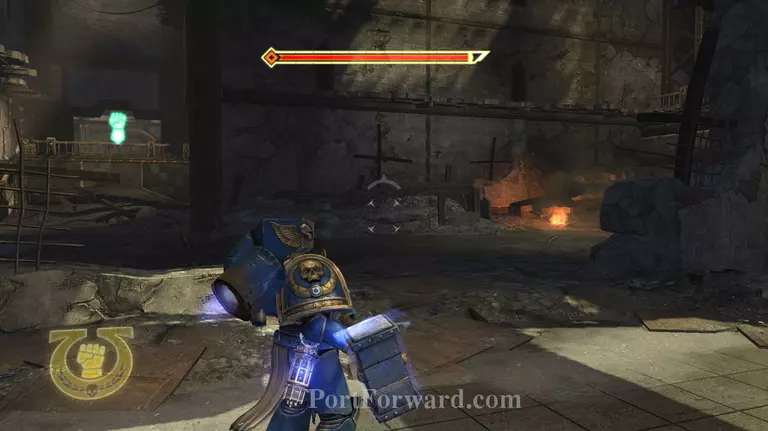
When you have jumped around the wall will crumble and Orks will come out.
![Warhammer 40,000 Space Marine Walkthrough - Warhammer 40000-Space-Marine 342](warhammer-40000-space-marine-342-small.webp)
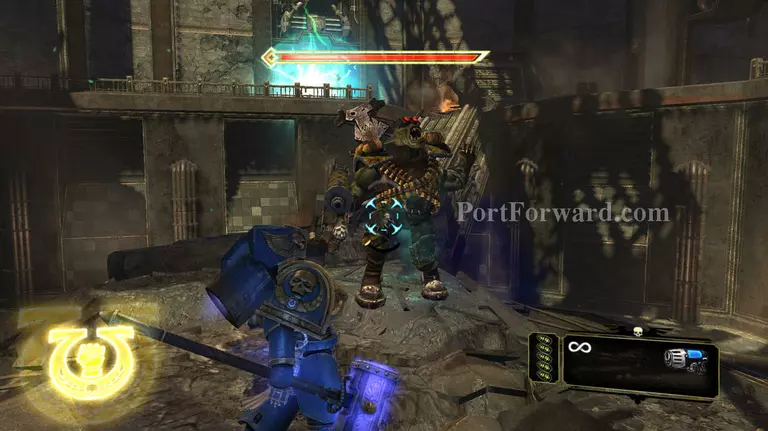
you will encounter a few Orks and 1 Nob. they will be no challenge now you have the thunder hammer.
![Warhammer 40,000 Space Marine Walkthrough - Warhammer 40000-Space-Marine 343](warhammer-40000-space-marine-343-small.webp)
One of the best things about this hammer is there is no power struggle when executing a Nob he will die like a normal Ork.
![Warhammer 40,000 Space Marine Walkthrough - Warhammer 40000-Space-Marine 344](warhammer-40000-space-marine-344-small.webp)
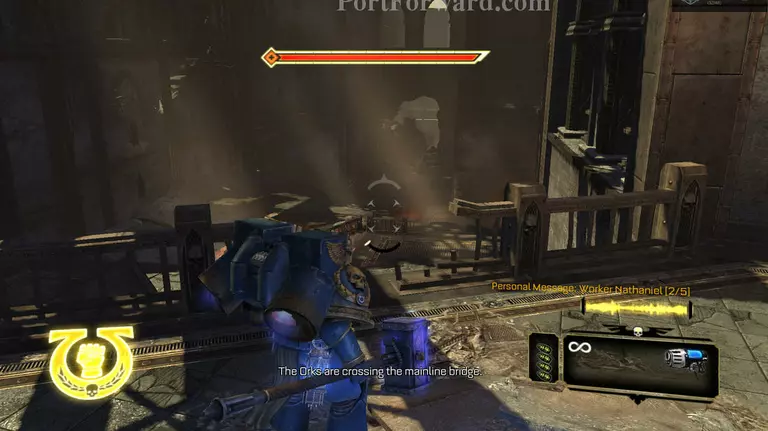
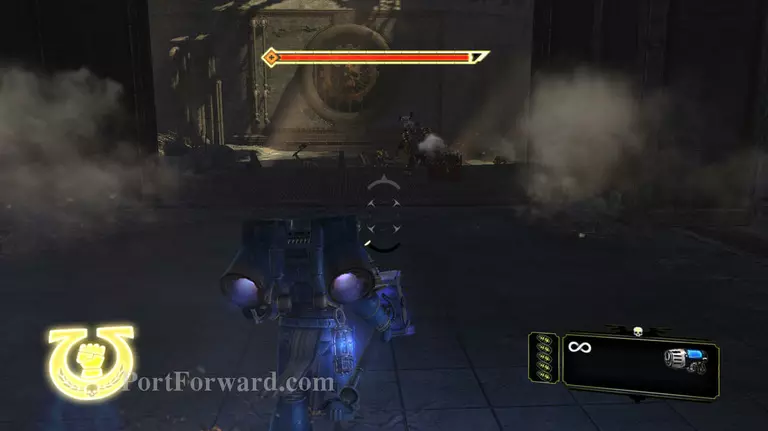
Jump up these stairs after heading through the breach.
![Warhammer 40,000 Space Marine Walkthrough - Warhammer 40000-Space-Marine 345](warhammer-40000-space-marine-345-small.webp)
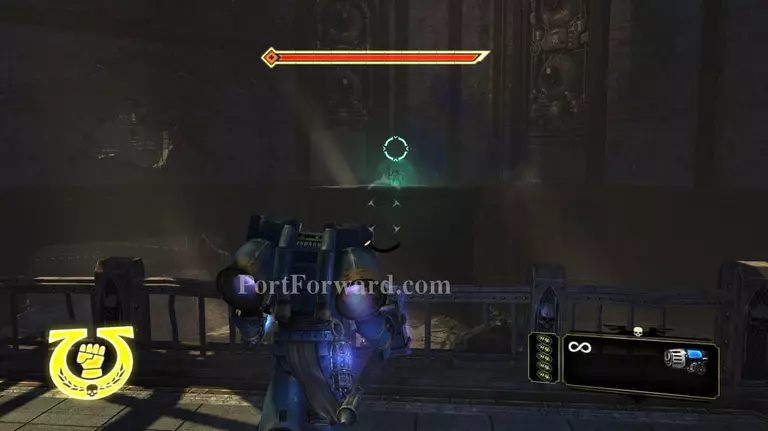
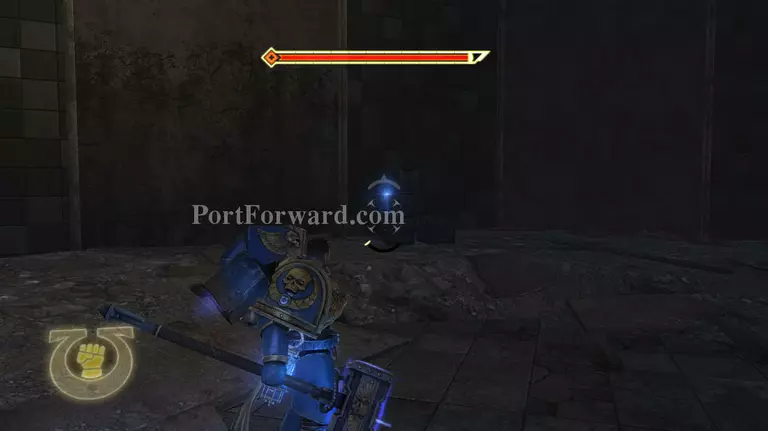
You will find this room, jump to the center and kill this Nob as he teleports in. You must kill the Mad doc before travelling further as he has blocked the way.
![Warhammer 40,000 Space Marine Walkthrough - Warhammer 40000-Space-Marine 346](warhammer-40000-space-marine-346-small.webp)
Now jump to the edge. Kill all ranged Orks you can jump to avoid normal Orks so kill the ranged first while avoiding the normal Orks. Only when there is no more ranged Orks kill the regulars.
![Warhammer 40,000 Space Marine Walkthrough - Warhammer 40000-Space-Marine 347](warhammer-40000-space-marine-347-small.webp)
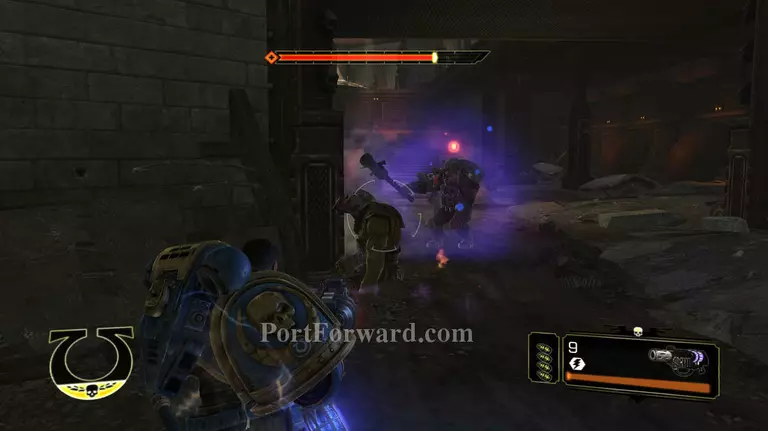
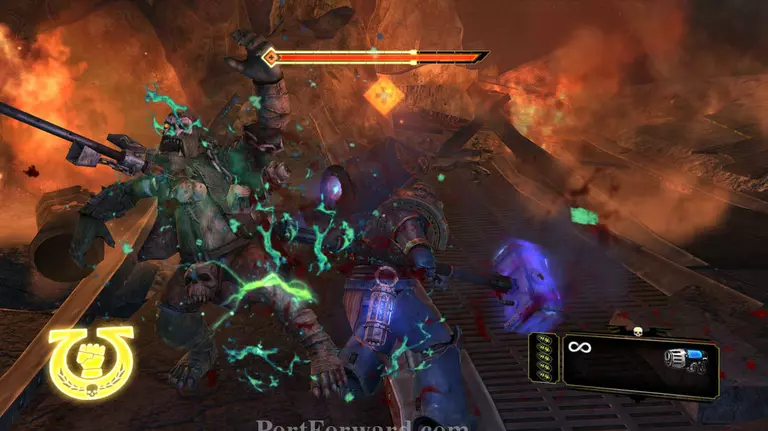
This is the mad Doc. you need to kill him now. jump over and stun him before he can teleport again.
![Warhammer 40,000 Space Marine Walkthrough - Warhammer 40000-Space-Marine 348](warhammer-40000-space-marine-348-small.webp)
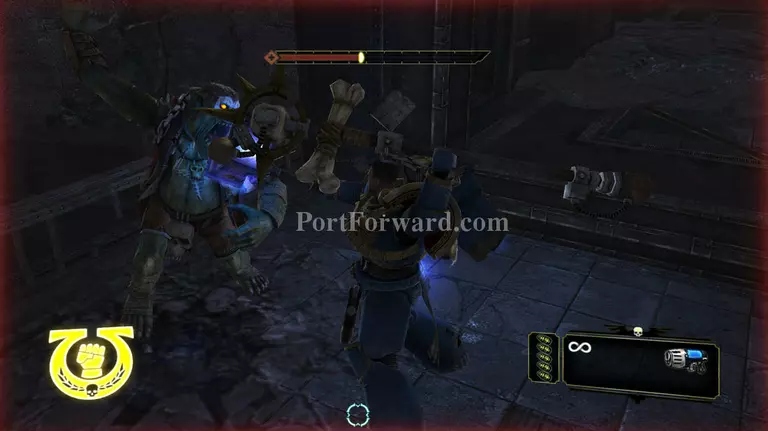
When stunned simply execute.
![Warhammer 40,000 Space Marine Walkthrough - Warhammer 40000-Space-Marine 349](warhammer-40000-space-marine-349-small.webp)
then leave through the previously blocked route.
![Warhammer 40,000 Space Marine Walkthrough - Warhammer 40000-Space-Marine 350](warhammer-40000-space-marine-350-small.webp)
Follow the path and you will come to a stair case, follow it down and there is some ammo there if you need it.
![Warhammer 40,000 Space Marine Walkthrough - Warhammer 40000-Space-Marine 351](warhammer-40000-space-marine-351-small.webp)
Now go through the breach on the right.
![Warhammer 40,000 Space Marine Walkthrough - Warhammer 40000-Space-Marine 352](warhammer-40000-space-marine-352-small.webp)
Now you have two choices of direction. it does not matter which one you take so it is up to you.
![Warhammer 40,000 Space Marine Walkthrough - Warhammer 40000-Space-Marine 353](warhammer-40000-space-marine-353-small.webp)
I took the direct route, there is a nob by a barrel. You know the drill shoot the barrel and jump/slam on the others.
![Warhammer 40,000 Space Marine Walkthrough - Warhammer 40000-Space-Marine 354](warhammer-40000-space-marine-354-small.webp)
There is a Nob so look out for him.
![Warhammer 40,000 Space Marine Walkthrough - Warhammer 40000-Space-Marine 355](warhammer-40000-space-marine-355-small.webp)
After all the Orks are dead you will get a message from the Guards; Now just follow the path up th stairs on the left as you enter.
![Warhammer 40,000 Space Marine Walkthrough - Warhammer 40000-Space-Marine 356](warhammer-40000-space-marine-356-small.webp)
When you get to the top of the stairs there are more Orks.
![Warhammer 40,000 Space Marine Walkthrough - Warhammer 40000-Space-Marine 357](warhammer-40000-space-marine-357-small.webp)
There is also another Mad doc.
![Warhammer 40,000 Space Marine Walkthrough - Warhammer 40000-Space-Marine 358](warhammer-40000-space-marine-358-small.webp)
Kill the ranged Nob then go straight for the Mad doc.
![Warhammer 40,000 Space Marine Walkthrough - Warhammer 40000-Space-Marine 359](warhammer-40000-space-marine-359-small.webp)
Kill him then go through the breach, you do not have to clear the remaining Orks.
![Warhammer 40,000 Space Marine Walkthrough - Warhammer 40000-Space-Marine 360](warhammer-40000-space-marine-360-small.webp)
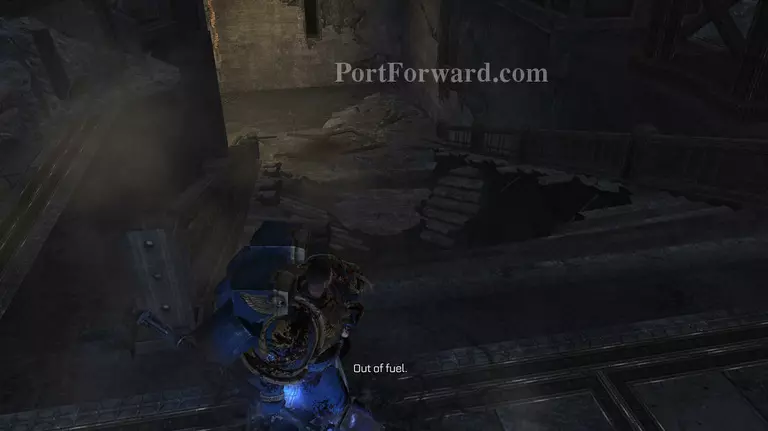
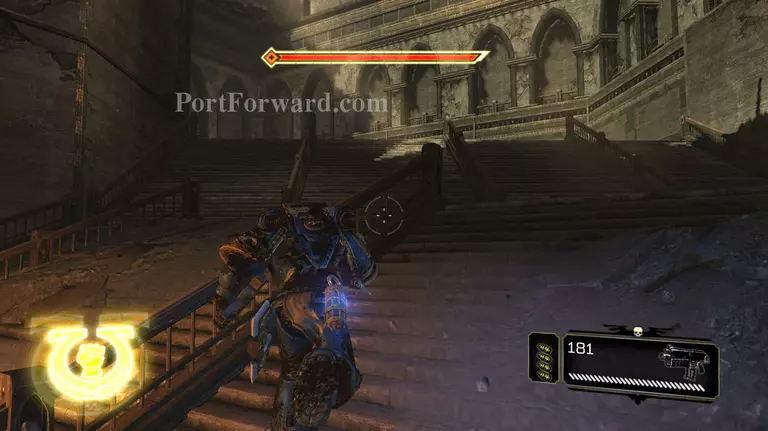
After you jump up these stairs you will told that you are out of fuel and cannot use the jump pack any more. you still keep the Thunder hammer for now.
![Warhammer 40,000 Space Marine Walkthrough - Warhammer 40000-Space-Marine 361](warhammer-40000-space-marine-361-small.webp)
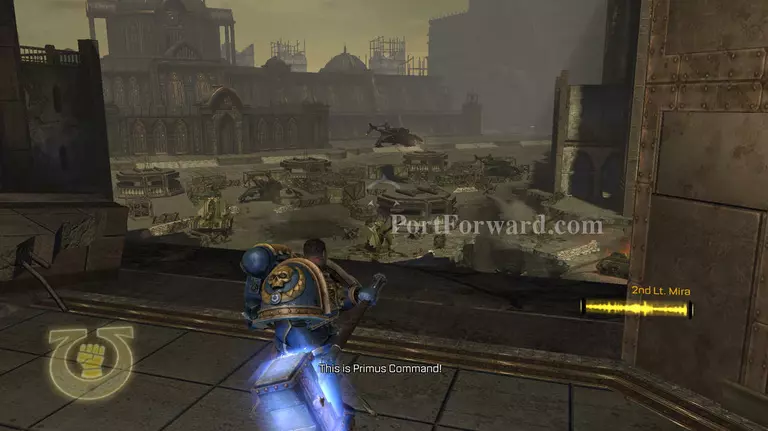
If you follow the path to the left you have reached the Primus command
![Warhammer 40,000 Space Marine Walkthrough - Warhammer 40000-Space-Marine 362](warhammer-40000-space-marine-362-small.webp)
Don't worry about the sieging Orks on the right hand side just follow the Lt.
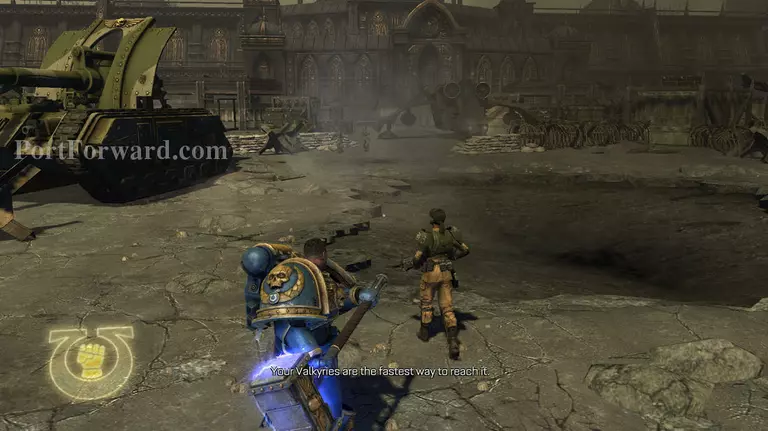
![Warhammer 40,000 Space Marine Walkthrough - Warhammer 40000-Space-Marine 363](warhammer-40000-space-marine-363-small.webp)
Aproach the craft.
More Warhammer 40,000 Space Marine Walkthroughs
This Warhammer 40,000 Space Marine walkthrough is divided into 18 total pages.