Warhammer 40,000 Space Marine Walkthrough 6- Lair Of The giants

September 12, 2016 (Last Updated: ) | Reading Time: 8 minutes

This Warhammer 40,000 Space Marine walkthrough is divided into 18 total pages.

You can jump to nearby pages of the game using the links above.

6- Lair Of The giants

Warhammer 40,000 Space Marine Walkthrough - Warhammer 40000-Space-Marine 181

When you start the level walk down the hall, the macinhes on the wall will turn and look at you, ignore them they will not attack. when you get to the end of the hall, activate the lift.

Warhammer 40,000 Space Marine Walkthrough - Warhammer 40000-Space-Marine 182

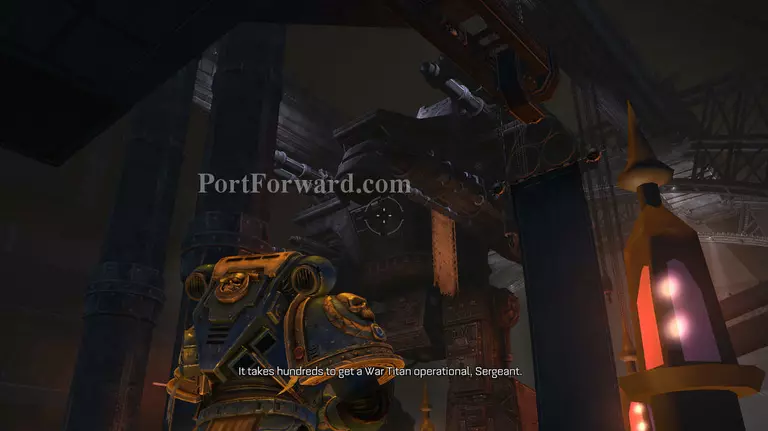
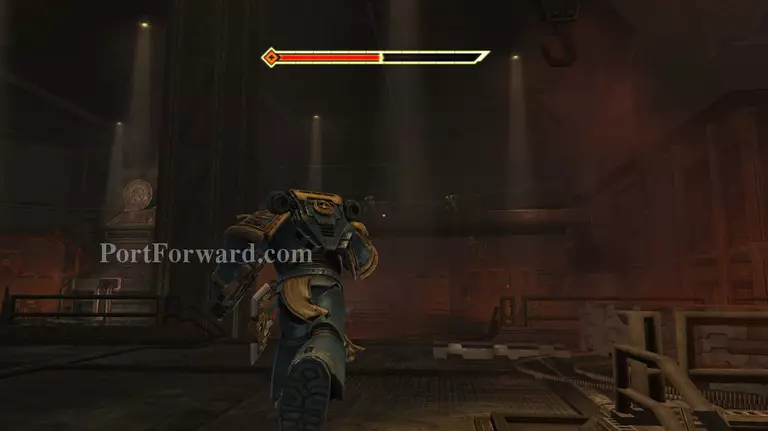
Now you will get a good view of the titan, the lift will stop at the top, the door is the oppersite side to the titan

Warhammer 40,000 Space Marine Walkthrough - Warhammer 40000-Space-Marine 183

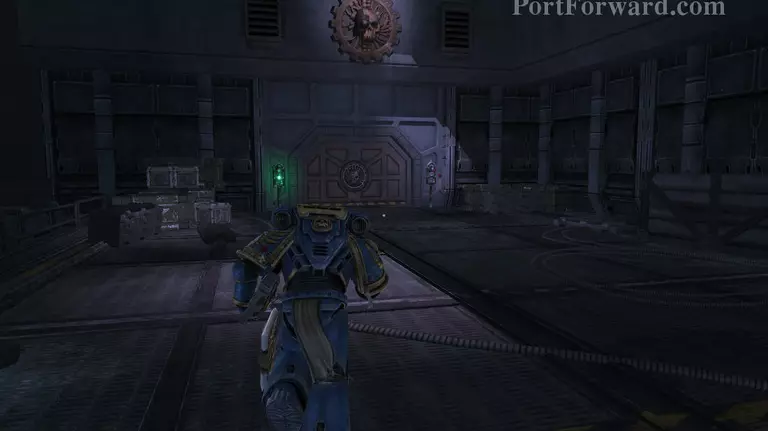
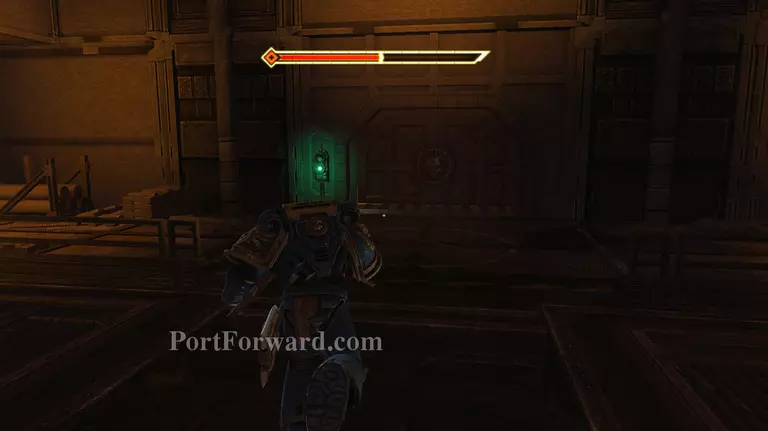
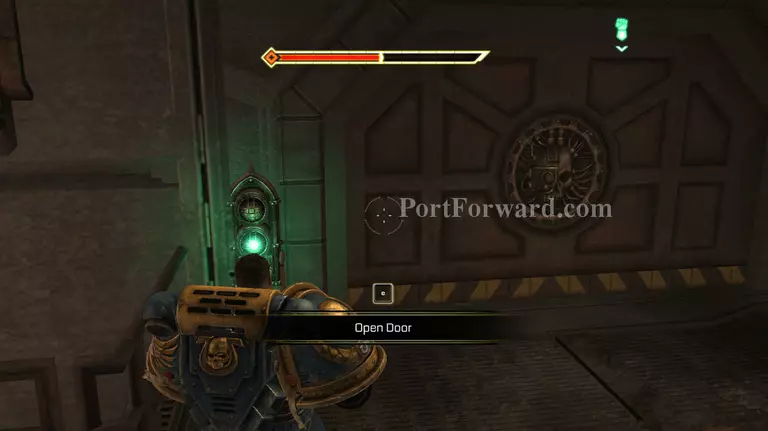
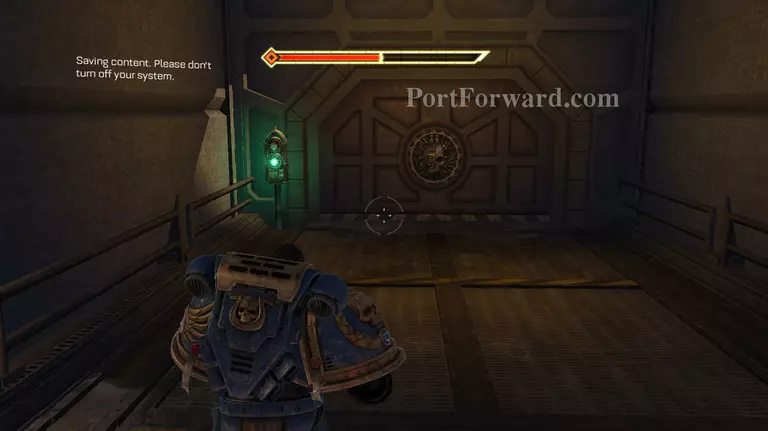
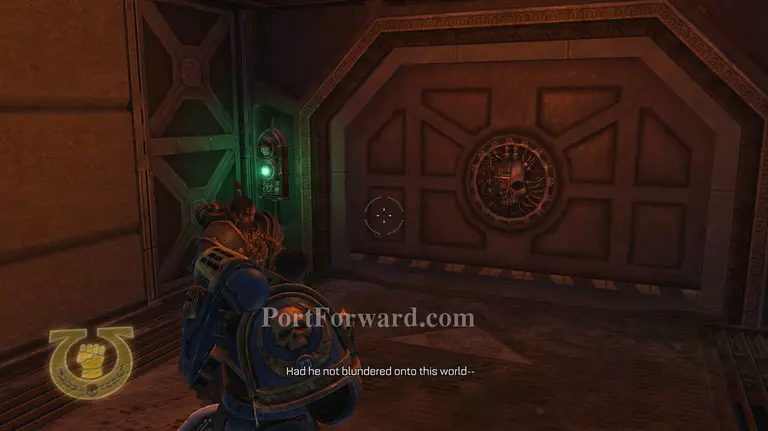
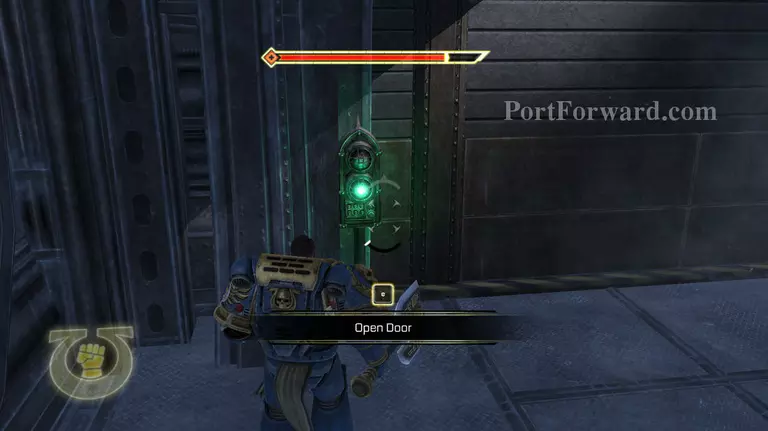
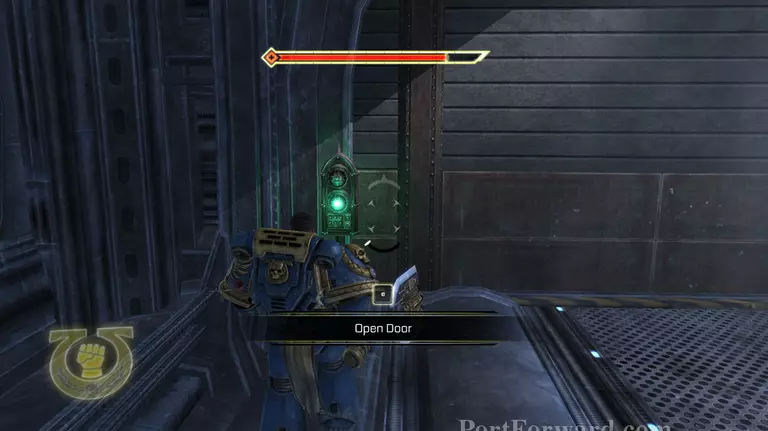
Enter through the door and go straight to the other room. activate the door and enter.

Warhammer 40,000 Space Marine Walkthrough - Warhammer 40000-Space-Marine 184

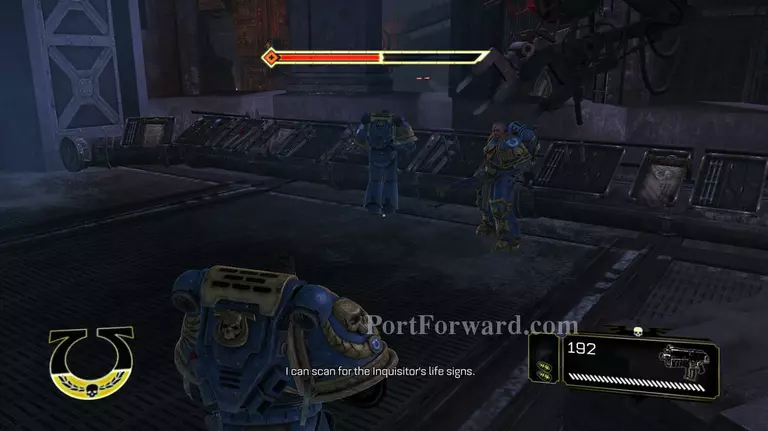
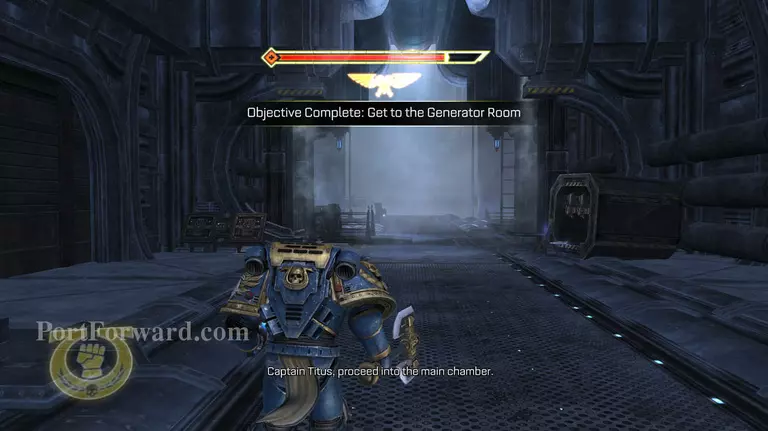
Allow you friend to scan for life signs, then follow the path down the steps.

Warhammer 40,000 Space Marine Walkthrough - Warhammer 40000-Space-Marine 185

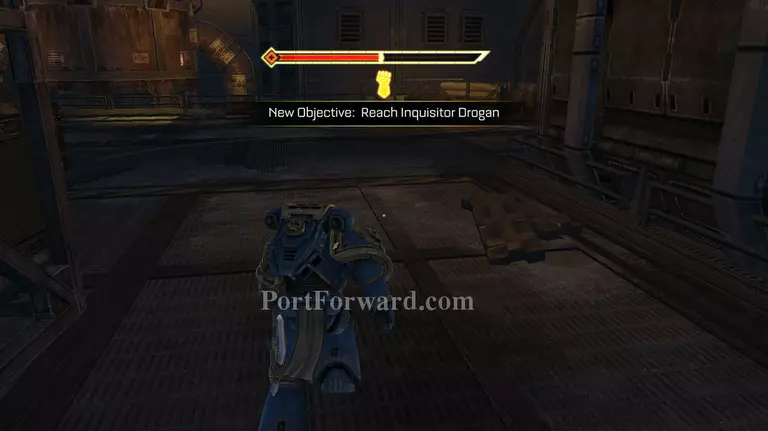
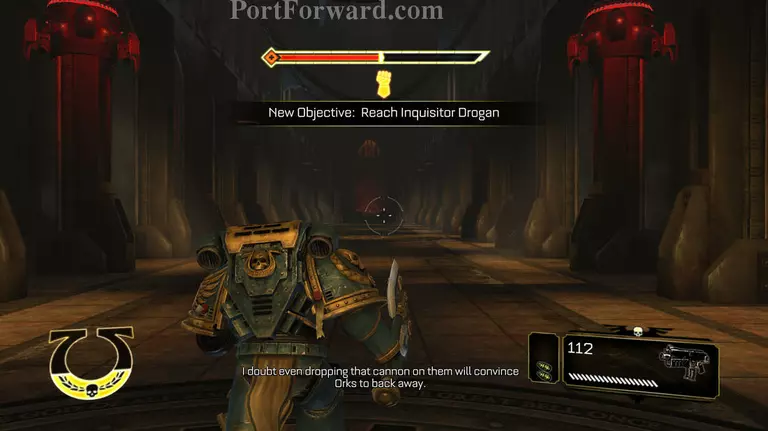
You will get a objective marker.

Warhammer 40,000 Space Marine Walkthrough - Warhammer 40000-Space-Marine 186

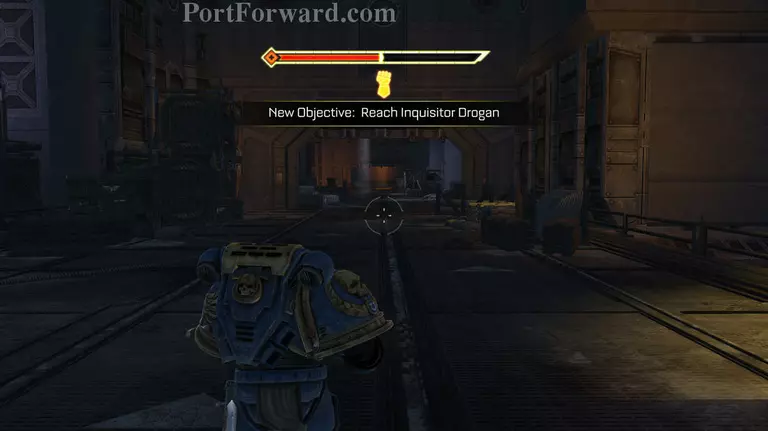
these doors will open enter through there are still no enemys around.

Warhammer 40,000 Space Marine Walkthrough - Warhammer 40000-Space-Marine 187

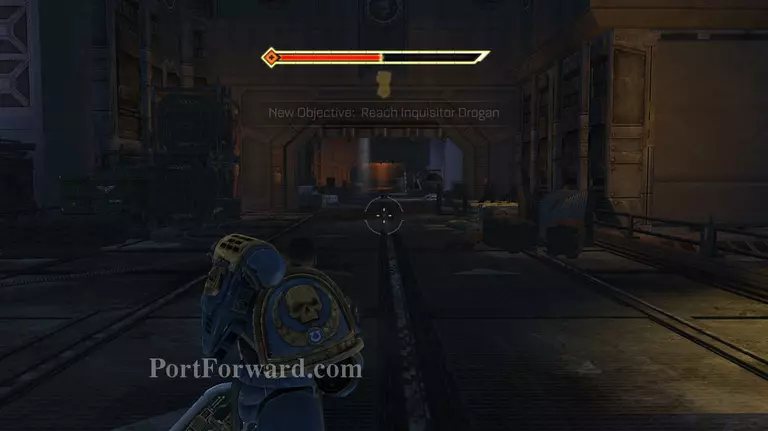
Scavange any ammo you can find.

Warhammer 40,000 Space Marine Walkthrough - Warhammer 40000-Space-Marine 188

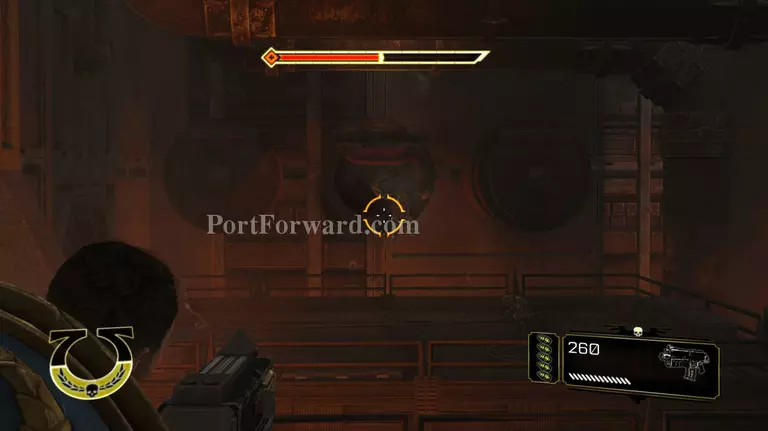
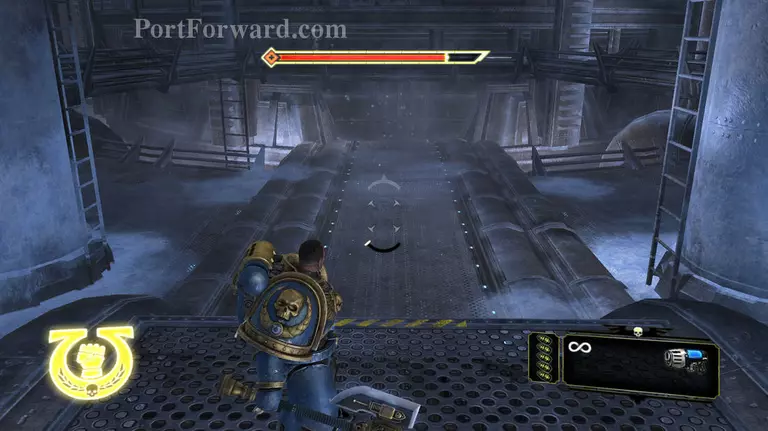
Go on into the room at the end and activate the button, the floor will more down. It is actually a lift.

Warhammer 40,000 Space Marine Walkthrough - Warhammer 40000-Space-Marine 189

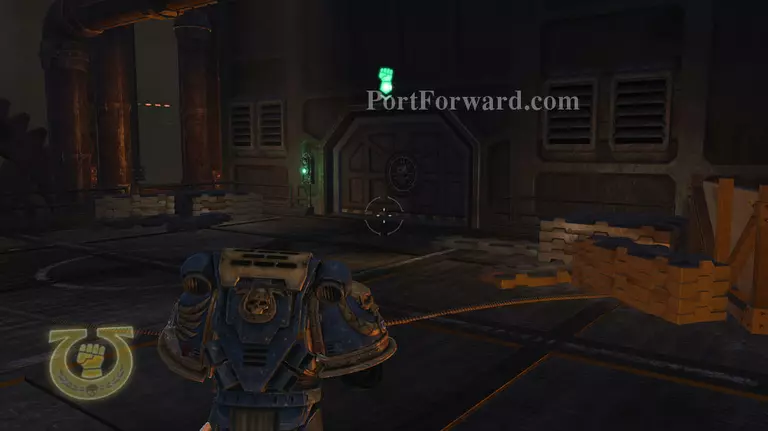
now move to the only door and open it.

Warhammer 40,000 Space Marine Walkthrough - Warhammer 40000-Space-Marine 190

Now allow your friend to boost vox range and listen to the chat.

Warhammer 40,000 Space Marine Walkthrough - Warhammer 40000-Space-Marine 191

Open this door, get the ammo and follow the path, still no Orks to kill at this point.

Warhammer 40,000 Space Marine Walkthrough - Warhammer 40000-Space-Marine 192

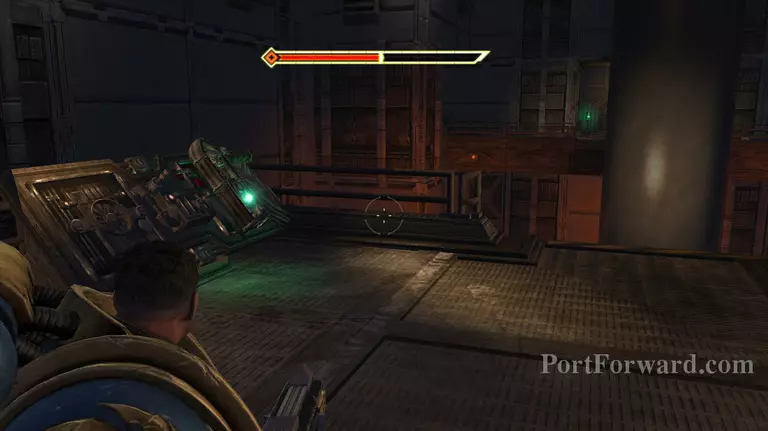
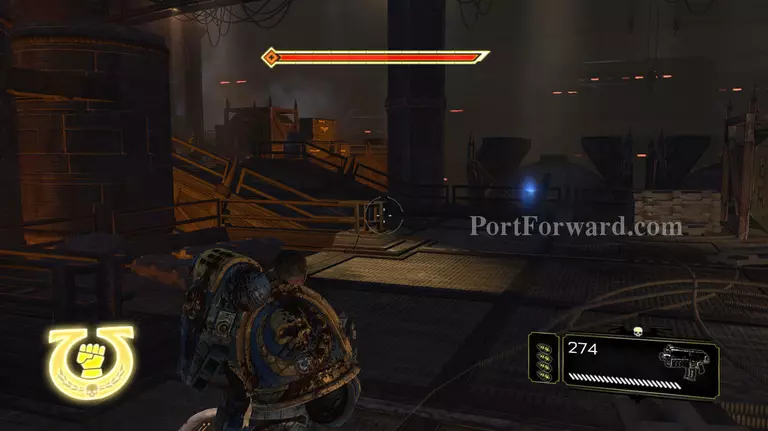
You will note that Grechin are jumping off the pipes to your left when you get on the bridge. you don't need to waste your ammo on thoose Grechin.

Warhammer 40,000 Space Marine Walkthrough - Warhammer 40000-Space-Marine 193

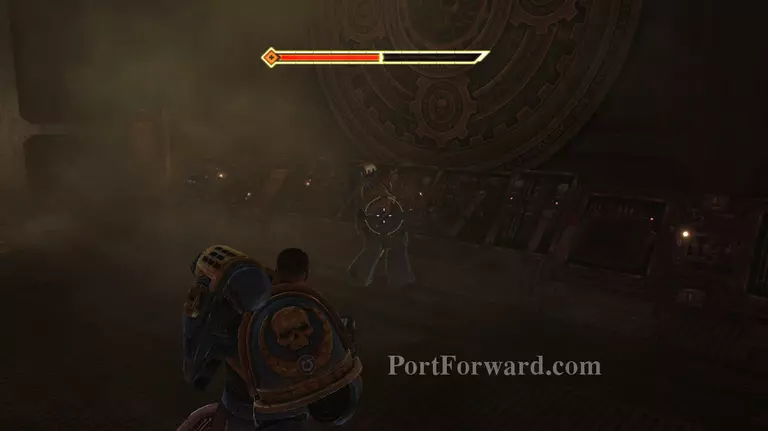
There will be shooter in front of you, hug the cover on the left and shoot with the botler/stalker bolter, you choose.

Warhammer 40,000 Space Marine Walkthrough - Warhammer 40000-Space-Marine 194

behind you will see an ork proping open the pipe, shoot him. It will mean less Orks later to worry about.

Warhammer 40,000 Space Marine Walkthrough - Warhammer 40000-Space-Marine 195

open the door at the end of the room.

Warhammer 40,000 Space Marine Walkthrough - Warhammer 40000-Space-Marine 196

Activate the button on the right in this room, this will call the left.

Warhammer 40,000 Space Marine Walkthrough - Warhammer 40000-Space-Marine 197

Cross the bridge, and activate the door at the end of the walkway.

Warhammer 40,000 Space Marine Walkthrough - Warhammer 40000-Space-Marine 198

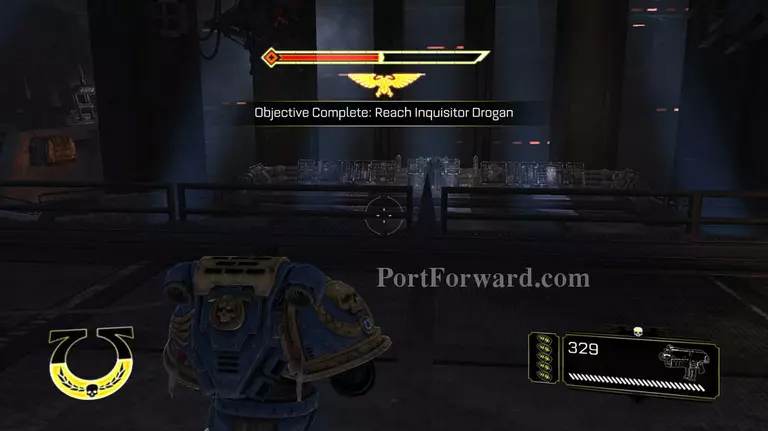
Through this door you will see Drogan, don't shoot him it won't hurt and wastes ammo. you will also now get the objective marker.

Warhammer 40,000 Space Marine Walkthrough - Warhammer 40000-Space-Marine 199

After the cut seen run up the other stairs, note that Drogan now follows you. Open the door in front of you.

Warhammer 40,000 Space Marine Walkthrough - Warhammer 40000-Space-Marine 200

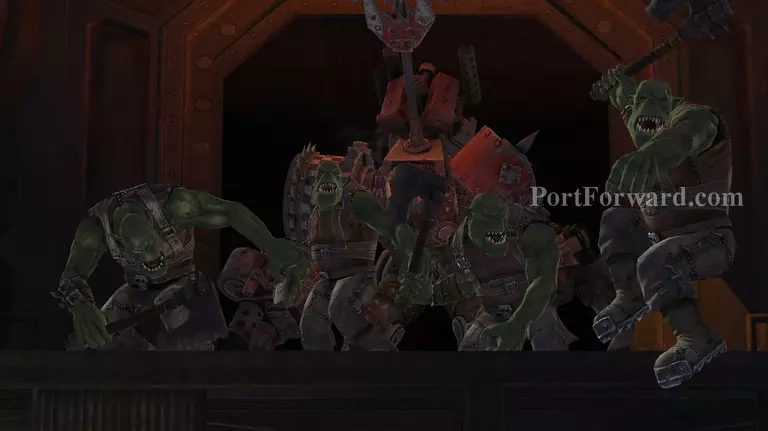
After entering the room and descending down the stairs you will meet the Ork boss agian.

Warhammer 40,000 Space Marine Walkthrough - Warhammer 40000-Space-Marine 201

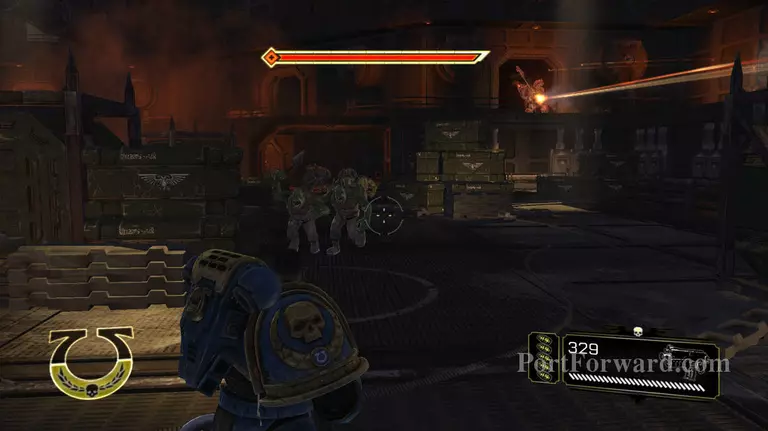
Mind the heavy gun that he is firing, and kill the Orks in front of you with Melee not your weapon.

Warhammer 40,000 Space Marine Walkthrough - Warhammer 40000-Space-Marine 202

there will be a few specail Orks mixed in, stun and kill them that is the easiest way to keep your armour up. Mind out for the reinforcements through that door.

Warhammer 40,000 Space Marine Walkthrough - Warhammer 40000-Space-Marine 203

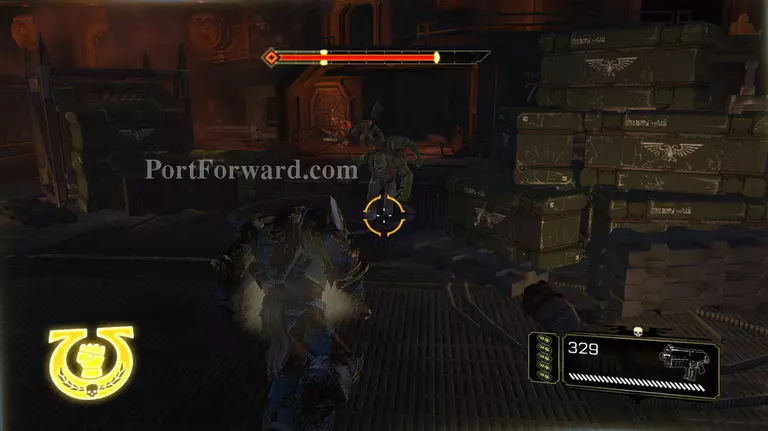
Kill this Ork ASAP. This will stop Orks entering the room

Warhammer 40,000 Space Marine Walkthrough - Warhammer 40000-Space-Marine 204

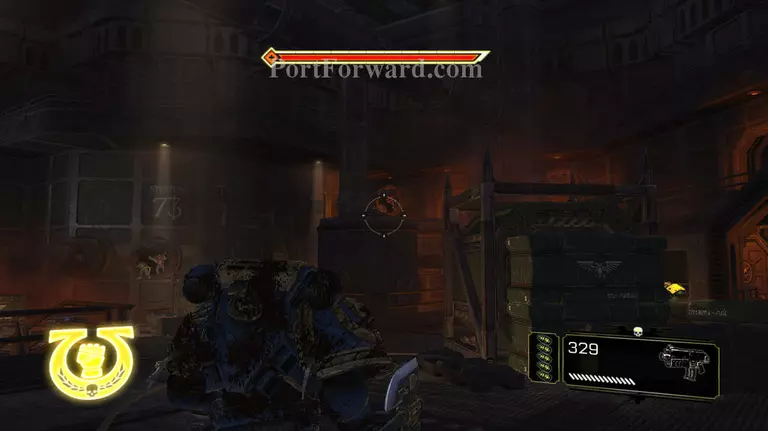
the second Ork proping up the pipes is in the pipe on the left.

Warhammer 40,000 Space Marine Walkthrough - Warhammer 40000-Space-Marine 205

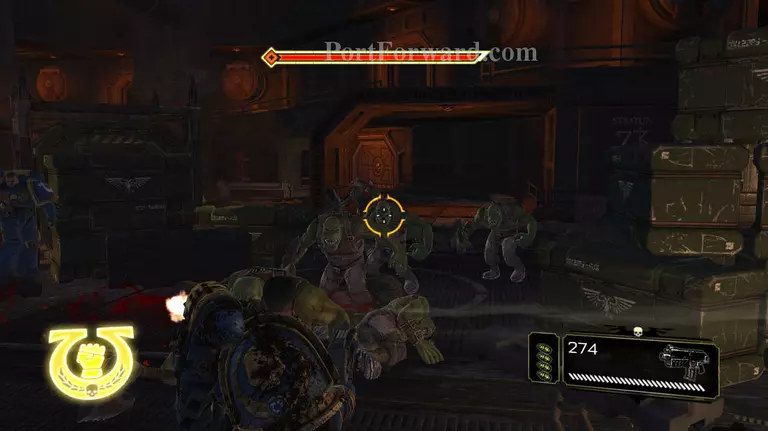
If you require you can shoot this wave, there are ammo boxes around.

Warhammer 40,000 Space Marine Walkthrough - Warhammer 40000-Space-Marine 206

these are the locations of the ammo boxes.

Warhammer 40,000 Space Marine Walkthrough - Warhammer 40000-Space-Marine 207

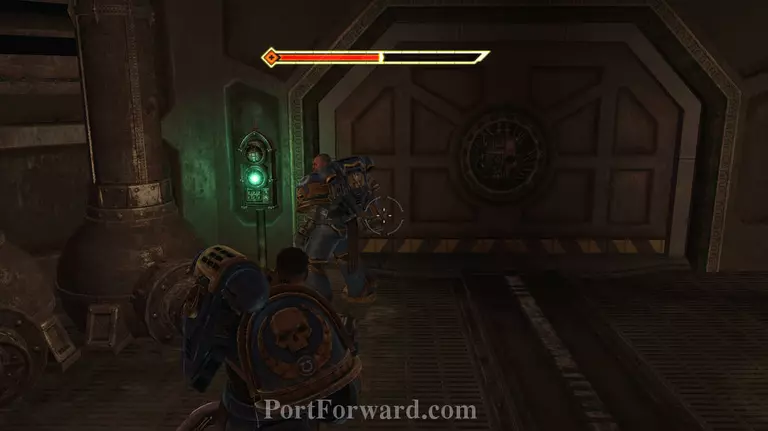
get the ammo then head to this door and open it.

Warhammer 40,000 Space Marine Walkthrough - Warhammer 40000-Space-Marine 208

this is like a dead lock, one door has to close and seal before the other can open. wait for the other to close and then open the door infront of you.

Warhammer 40,000 Space Marine Walkthrough - Warhammer 40000-Space-Marine 209

Go to the left and head down the stairs. go up to the weapon altar.

Warhammer 40,000 Space Marine Walkthrough - Warhammer 40000-Space-Marine 210

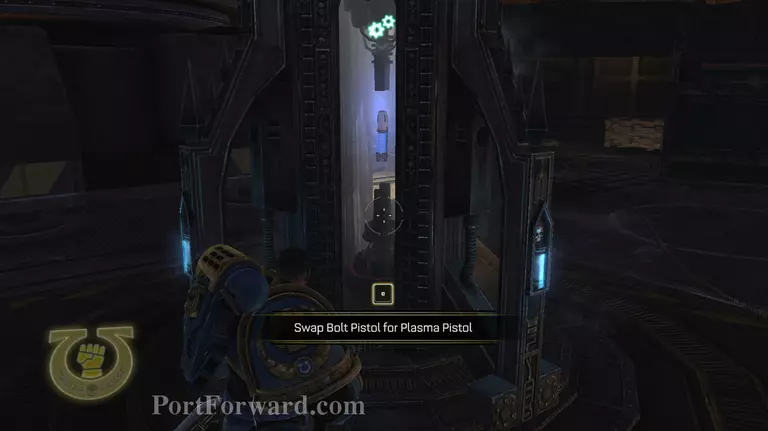
"this now give you the weapon Plamsa pistol; this weapon shoots hot bolts of plasma at your enemys. It has high armour piercing and will kill Specail Orks and Nobs faster than a regualar pistol. This gun will replace your bolter pistol. But don't worry you still keep your unlimited ammo.

Warhammer 40,000 Space Marine Walkthrough - Warhammer 40000-Space-Marine 211

Head back up the stairs and take the other route, when you get to a certain point on the bridge this guy will appear. He is a Mad doc, these Orks have specail powers that means they have a shield and the ability to teleport not only them selves but other Orks as well.

Warhammer 40,000 Space Marine Walkthrough - Warhammer 40000-Space-Marine 212

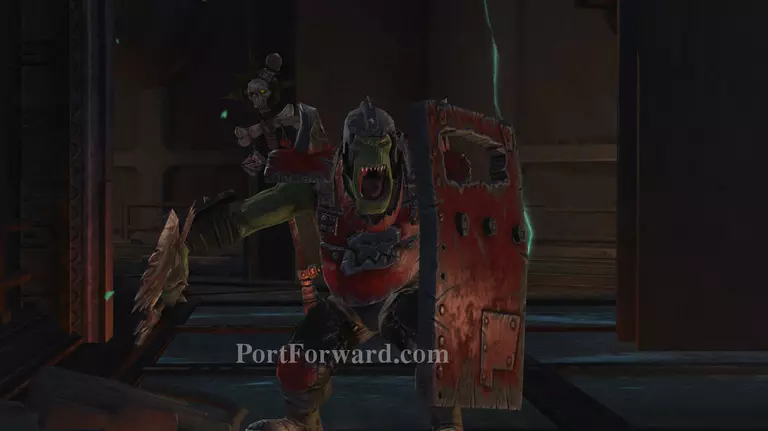
the Ork that has been just summoned is a little like the SWAT riot sheil it works the same way, the ork will hide behind it and will advance hitting you with the sheild and stabbing. These Orks can be most effectivly killed by the shutn combo, charging them or hitting them with a charged burst from a plamsa pistol. ( as a side note you can use grenades although i do not recomend it as they are not umlimited and can be saved for massive groups of Orks)

Warhammer 40,000 Space Marine Walkthrough - Warhammer 40000-Space-Marine 213

2 more will appear kill them and advance to the lift, get on it and activate.

Warhammer 40,000 Space Marine Walkthrough - Warhammer 40000-Space-Marine 214

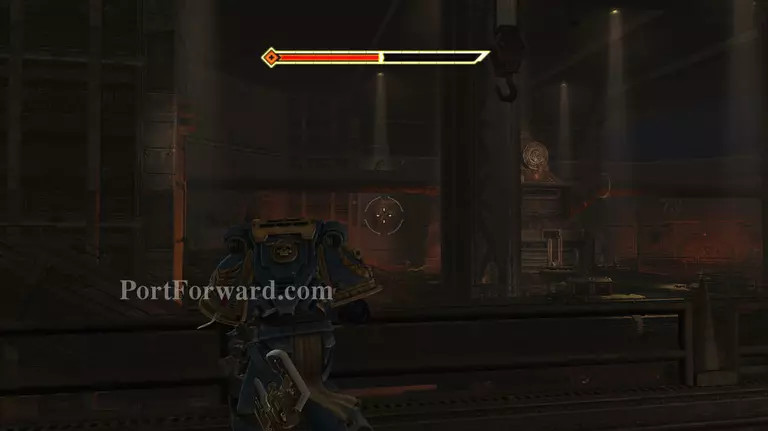
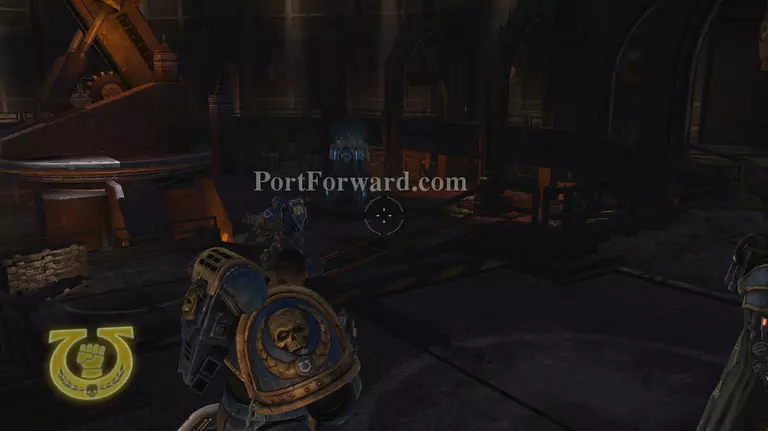
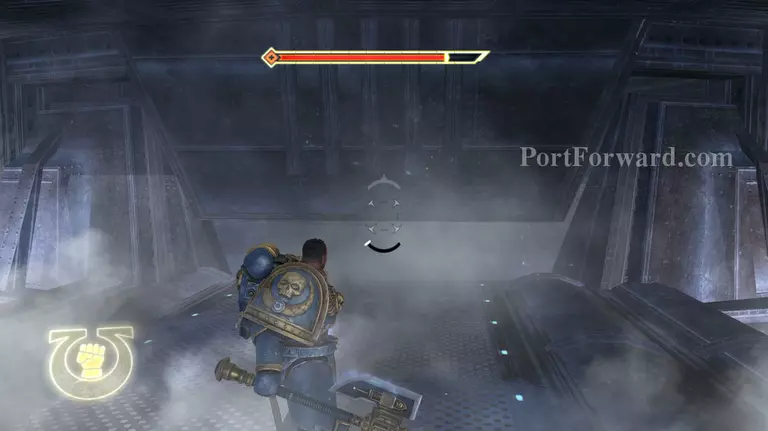
Once you get to the bottom of the lift head forward towards the suspended power source.

Warhammer 40,000 Space Marine Walkthrough - Warhammer 40000-Space-Marine 215

Activate the door at the end of the room.

Warhammer 40,000 Space Marine Walkthrough - Warhammer 40000-Space-Marine 216

Go along the path and activate the door at the end.

Warhammer 40,000 Space Marine Walkthrough - Warhammer 40000-Space-Marine 217

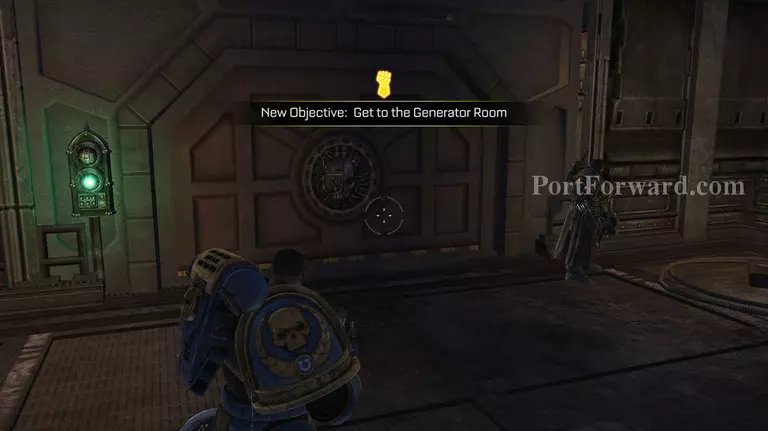
you will get a objective marker. top up all your ammo and enter follow the path. I recomend that you keep the power axe at this point.

Warhammer 40,000 Space Marine Walkthrough - Warhammer 40000-Space-Marine 218

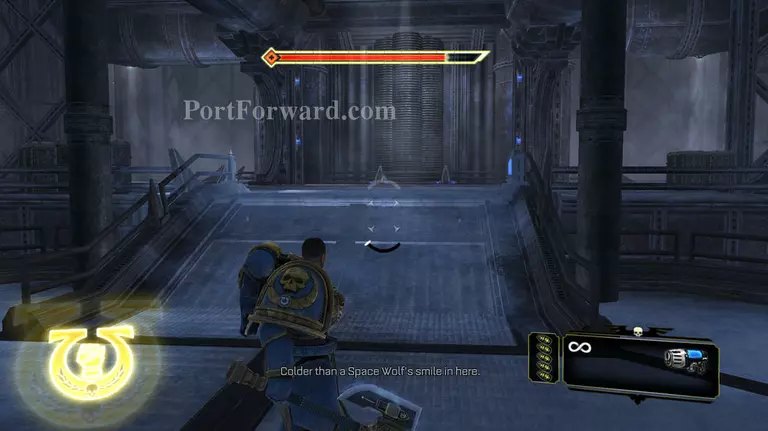
Fall down this part here you friends will no longe follow you at this point. You cannot get back up so make sure you have all the ammo you need before falling.

Warhammer 40,000 Space Marine Walkthrough - Warhammer 40000-Space-Marine 219

It seems like a dead end but if you wait the door in front of you will raise. just be patient and allow Drogan to talk.

Warhammer 40,000 Space Marine Walkthrough - Warhammer 40000-Space-Marine 220

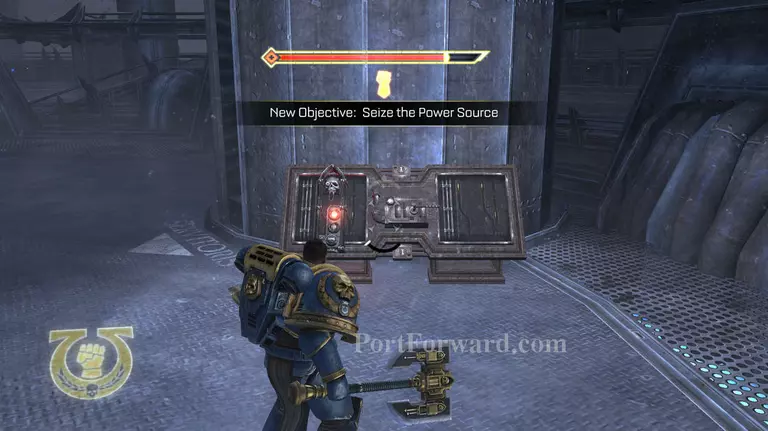
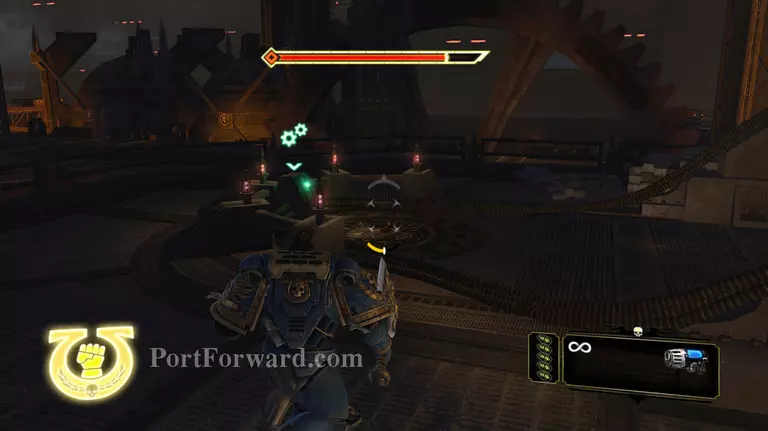
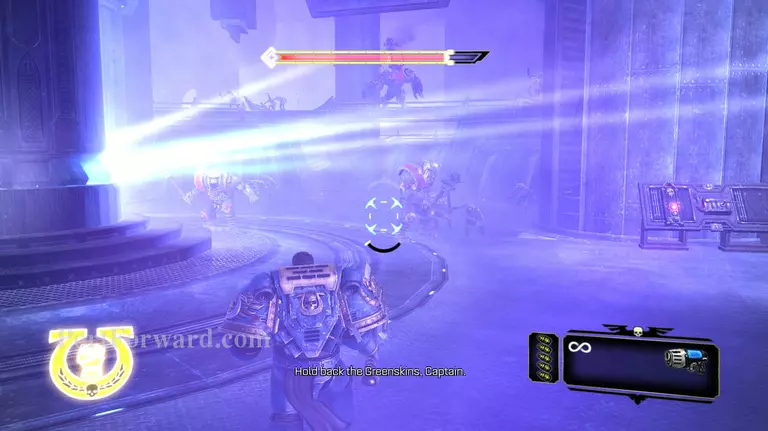
you will get a objective marker, mind out Orks are incoming keep your eyes peeled.

Warhammer 40,000 Space Marine Walkthrough - Warhammer 40000-Space-Marine 221

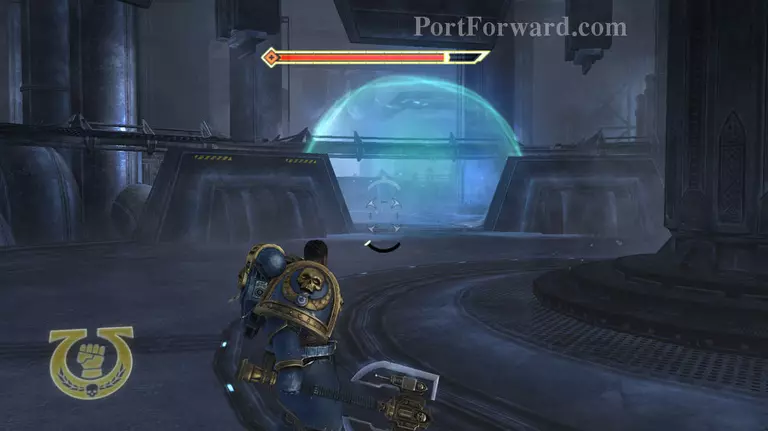
A Mad doc has put up a shiled to prevent escape.

Warhammer 40,000 Space Marine Walkthrough - Warhammer 40000-Space-Marine 222

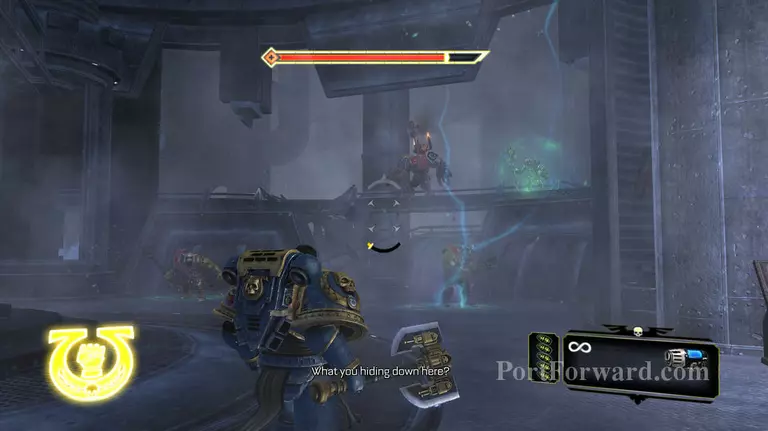
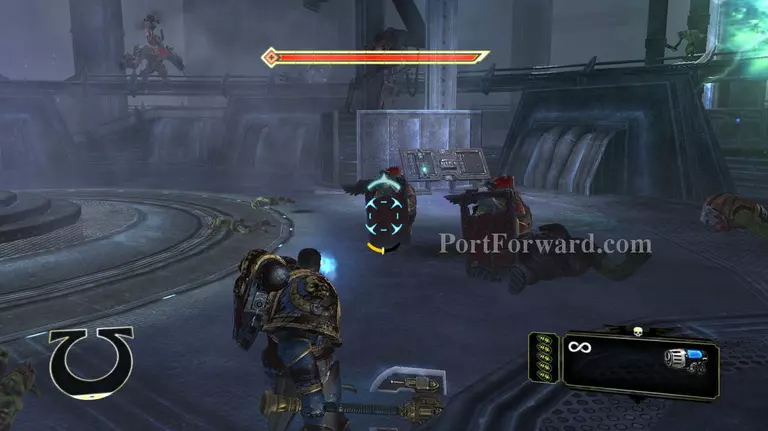
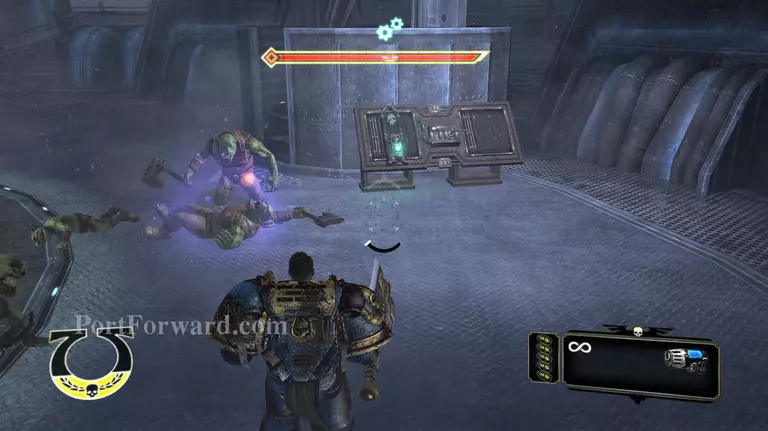
the mad doc and the warboss will appear, the mad doc will spawn in 2 Nobs, charge and roll again same as normal.

Warhammer 40,000 Space Marine Walkthrough - Warhammer 40000-Space-Marine 223

Try to kill the Nobs quickly as you can be concentrating on them, mind the rockets from the warboss and ignore the Grechin; the reason for that is they will most likyl die when you hit the ork with a charge.

Warhammer 40,000 Space Marine Walkthrough - Warhammer 40000-Space-Marine 224

Don't worry if you have to use your fury, it is of no consequence.

Warhammer 40,000 Space Marine Walkthrough - Warhammer 40000-Space-Marine 225

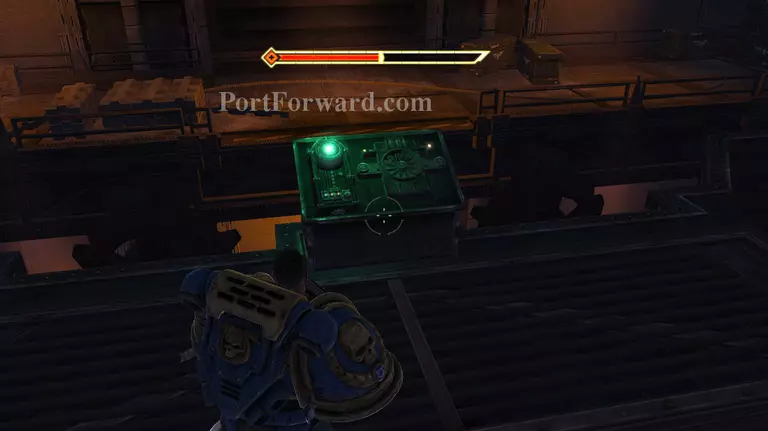
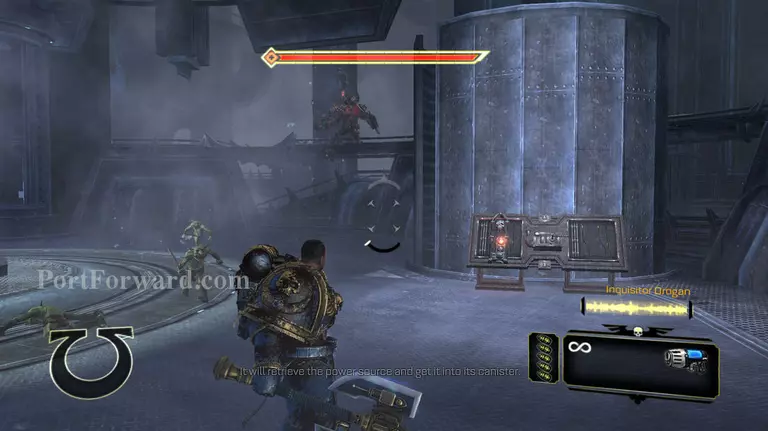
When Drogan talks about getting the power source more of the Sheild Orks will spawn hit them with a charged shot and wait for the red light on the console to go green.

Warhammer 40,000 Space Marine Walkthrough - Warhammer 40000-Space-Marine 226

When the button is pressed the War boss with attack it and destroy it.

Warhammer 40,000 Space Marine Walkthrough - Warhammer 40000-Space-Marine 227

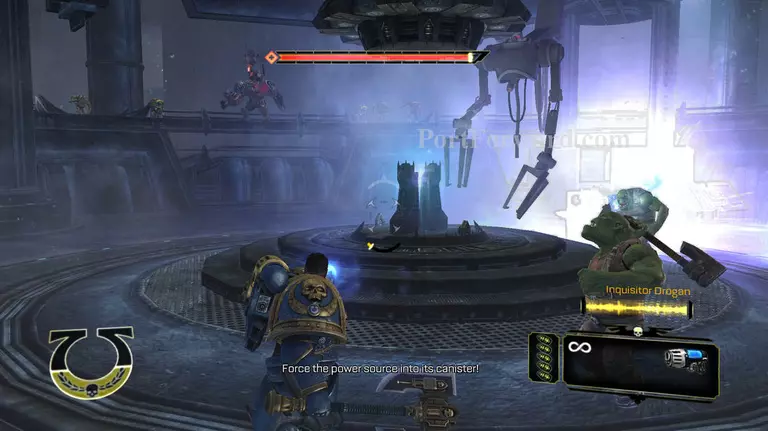
When Drogan tells you to, run up to the canister ignore the Orks and grab it.

Warhammer 40,000 Space Marine Walkthrough - Warhammer 40000-Space-Marine 228

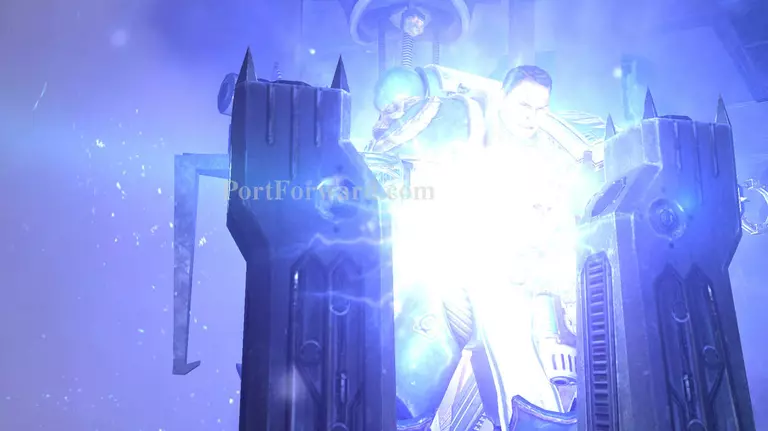
When you do there will be a explotion and the Orks will die anyway.

More Warhammer 40,000 Space Marine Walkthroughs

This Warhammer 40,000 Space Marine walkthrough is divided into 18 total pages.

More From Portforward