
This Warhammer 40,000 Space Marine walkthrough is divided into 18 total pages.
You can jump to nearby pages of the game using the links above.
Part II The Inquisitor 5- The Inquisitor
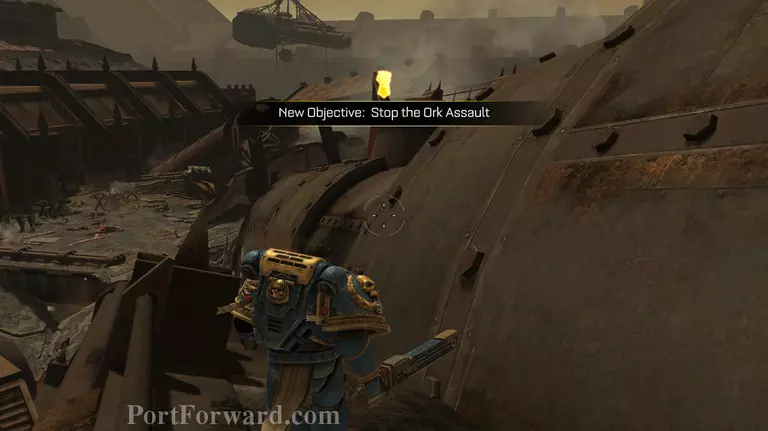
When you begin the level you will have left the pipe network, you are now out side, turn and walk to the right and follow the only possable path
You will find a skull probe by lots of dead orks and guardsman, look at the cut scene then head through this hole.
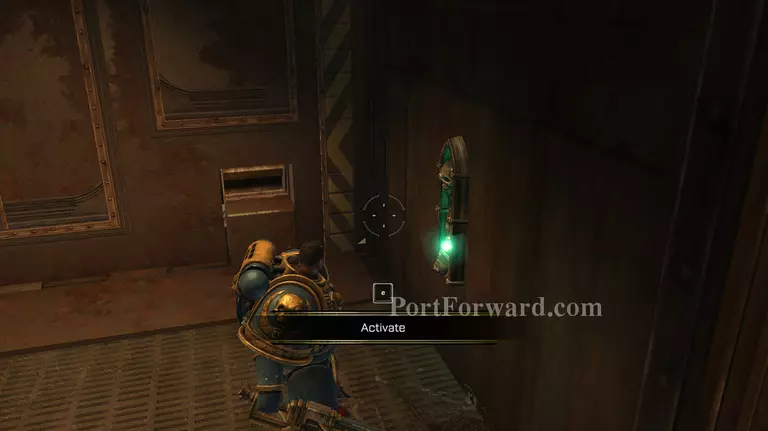
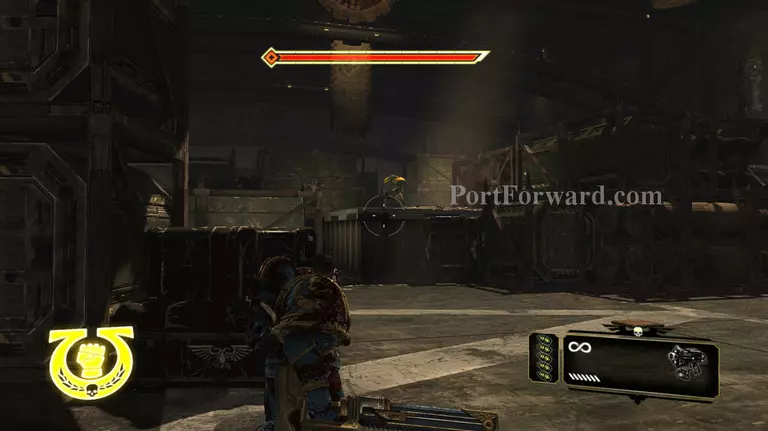
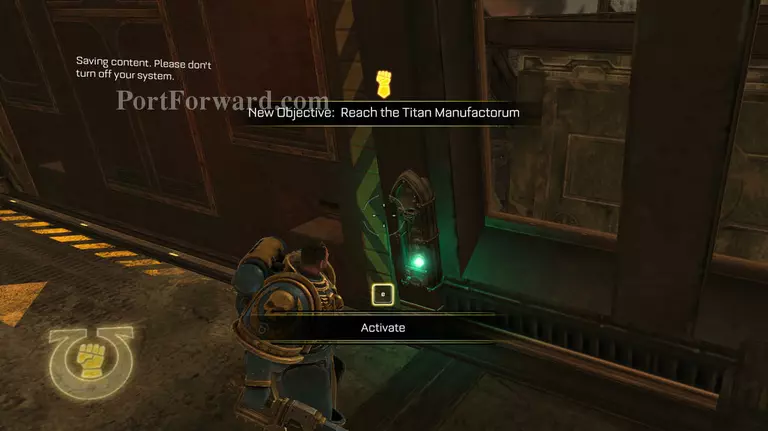
At the end of the path there is a door activate it.
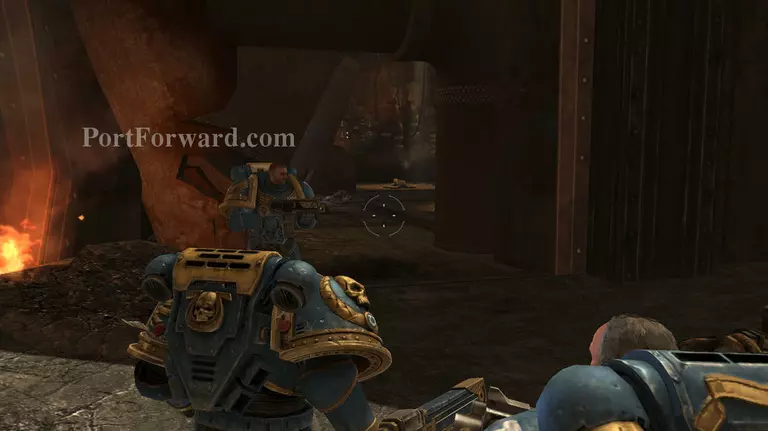
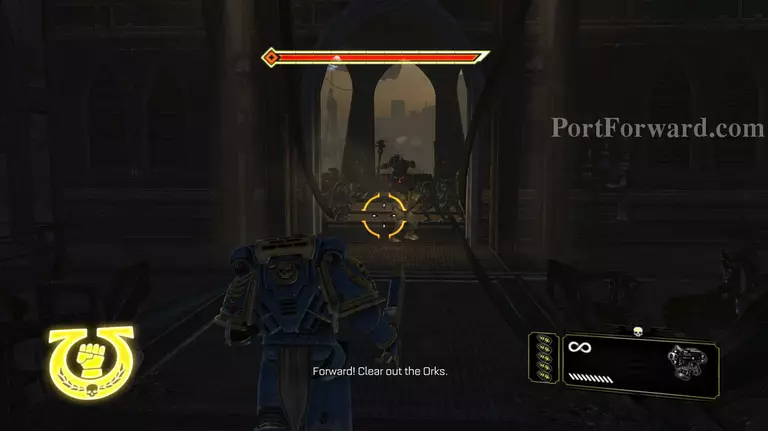
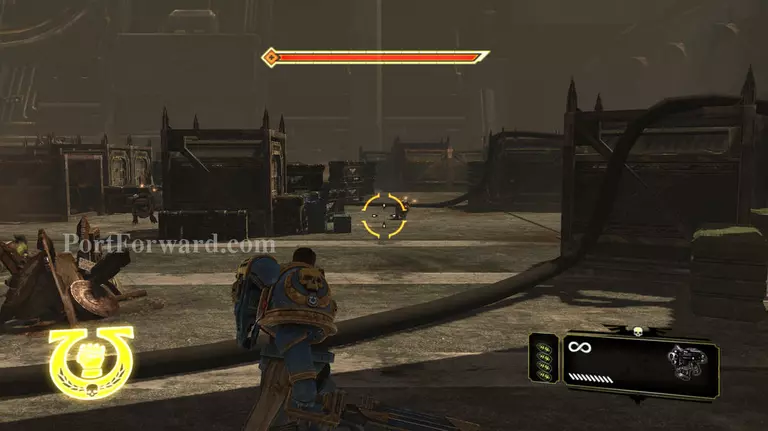
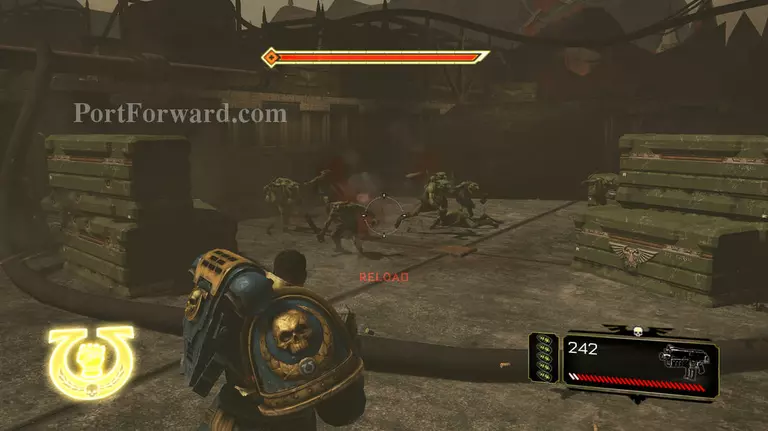
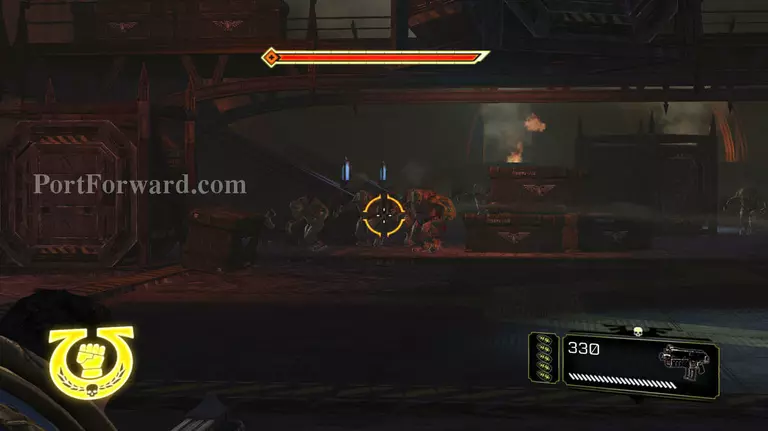
This is where you encounter your first Orks of the level, do not be fooled by their low number, they actually are not. There are many Orks running in to support them so don't run in and get in too deep. Remain close to your friends and stun as many as possable so you can top up your health but also so you don't have to worry about all the Orks attcking at once.
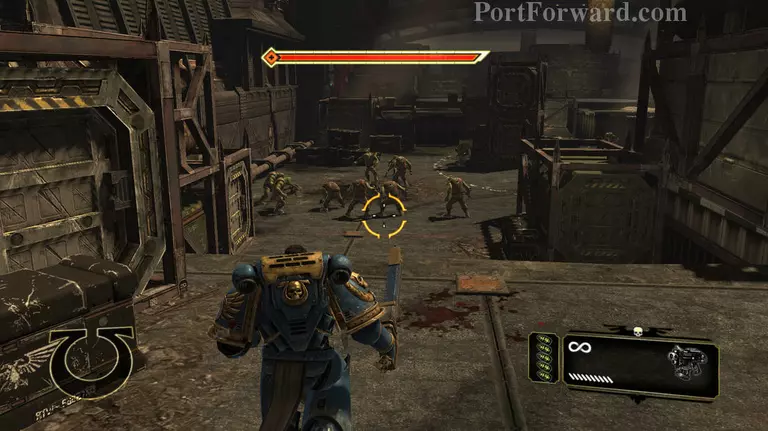
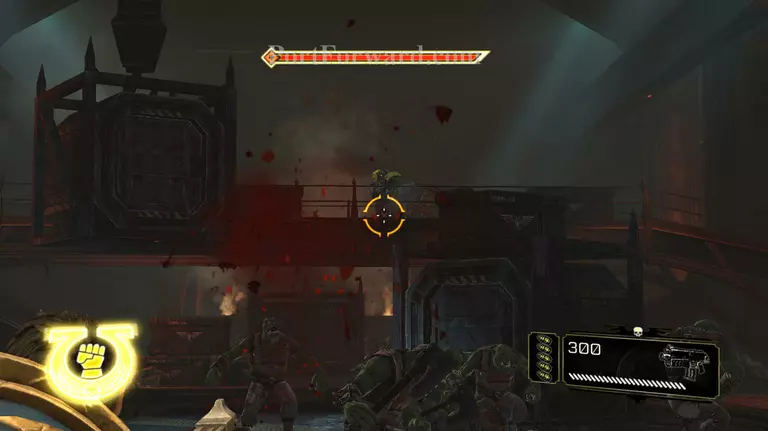
Once you are finally able to advance, head round the corner, there is a ton of shooter boys. Don't venture out when your shield is still down.
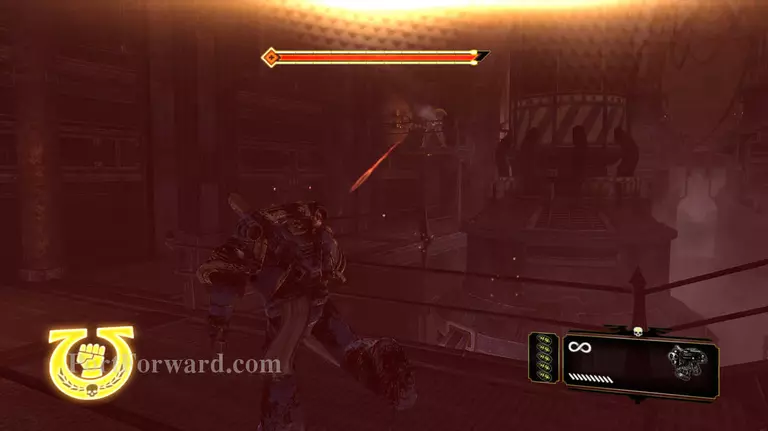
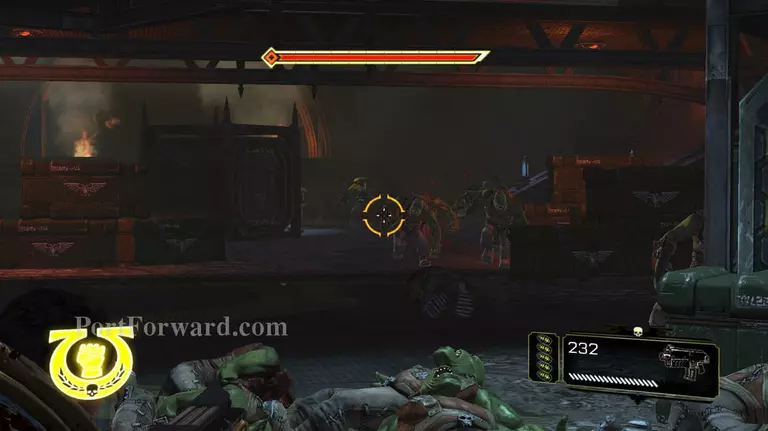
Round the corner again there is some Orks, they will attack, try not to get hit much as a Nob will arrive from the door seen behind the Orks.
Once the Nob appears avoid him and charge the Orks, kill them first; this allows you to put down more effective fire on the Nob without having to use you fury.
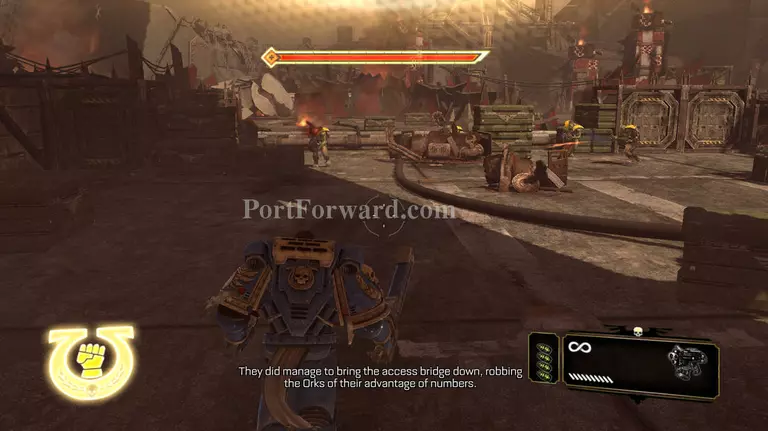
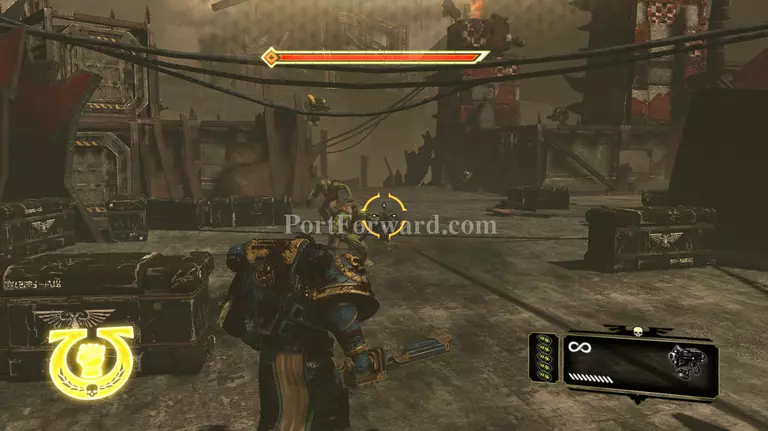
As you have most likly realised you cannot advance untill all the Orks are dead, when they are this bridge will drop all the way and allow for you to advance
Once in the facility kepp a eye open there are shooter boys on platforms above and on the staircase around the corner.
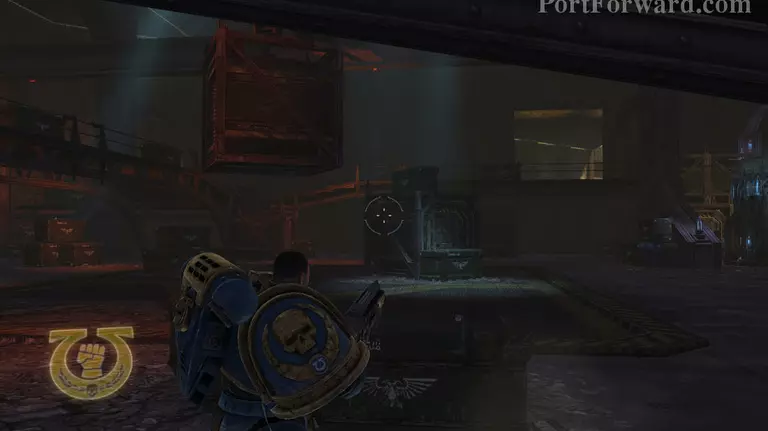
After making your way around to this room you will encounter some Orks and another Nob, simple grenade them when they run at you; If times correctly you can kill all the Orks and stagger the Nob. Use the normal tactic of charge and roll to kill him, you may use the vengance launcher here if you wish as there is a ammo station in that room.
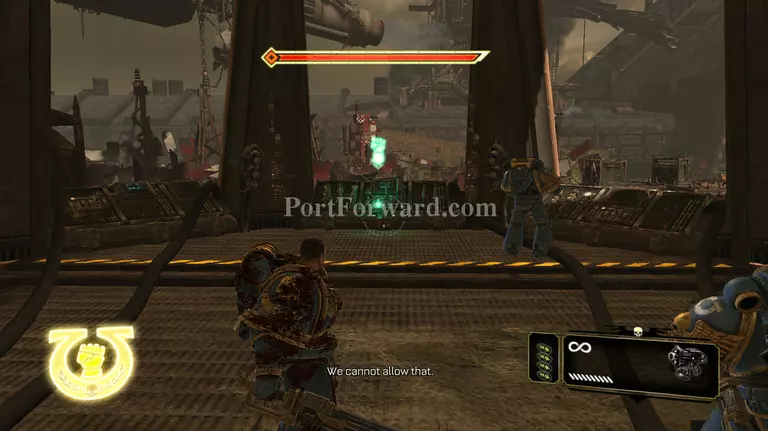
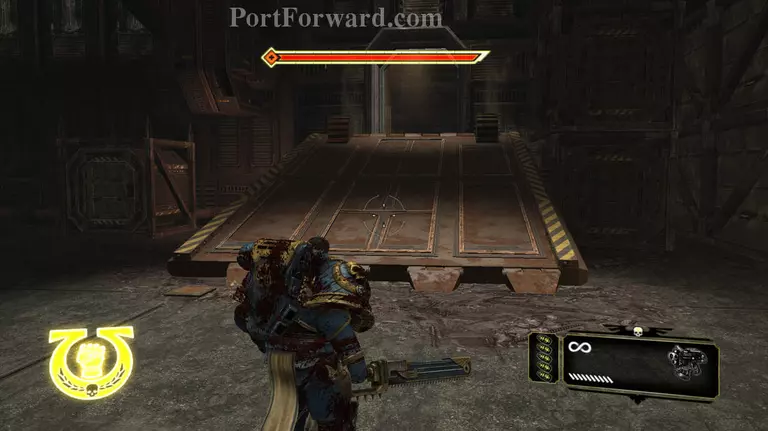
Once the room is clear press the button in front of you.
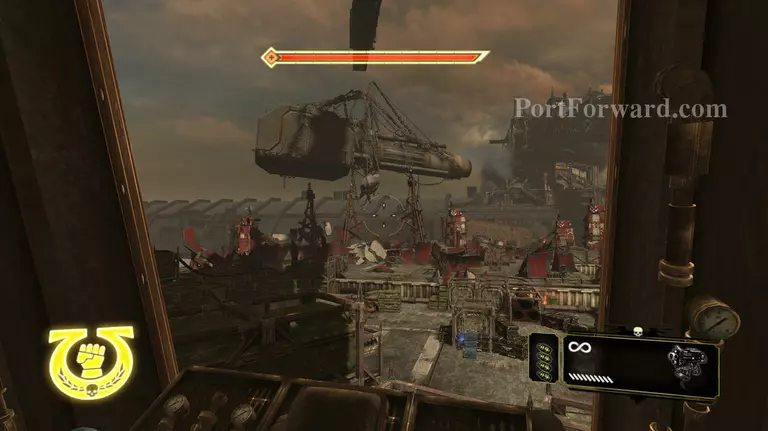
This will cause the Gun outside that the Orks where planning to fire to fall, it will blow up on impact.
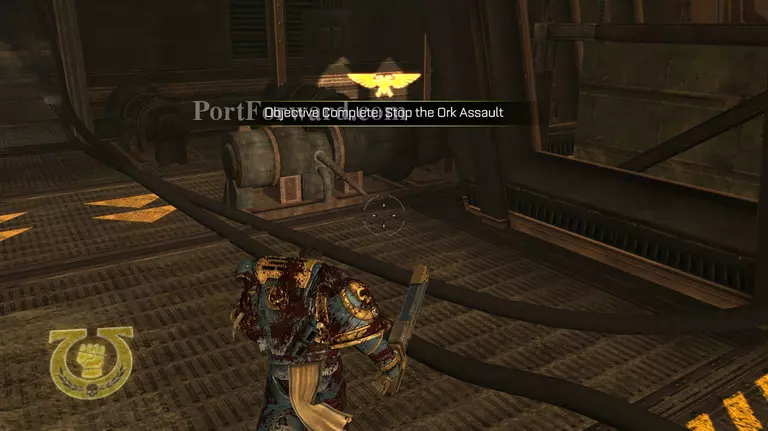
This completes an objective.
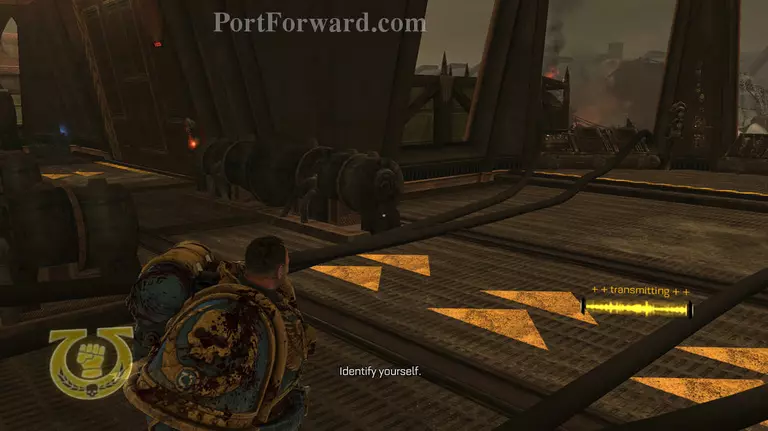
Now head to the left of the control panel, top up your weapons.
Now press the button and allow for the bridge to decend. There is no Orks behind it.
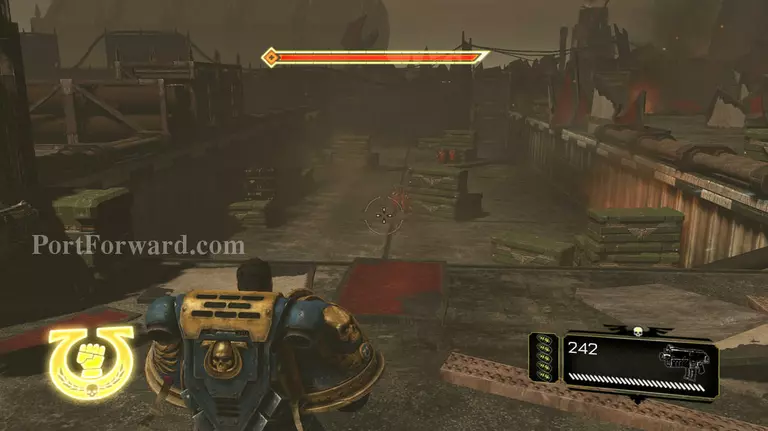
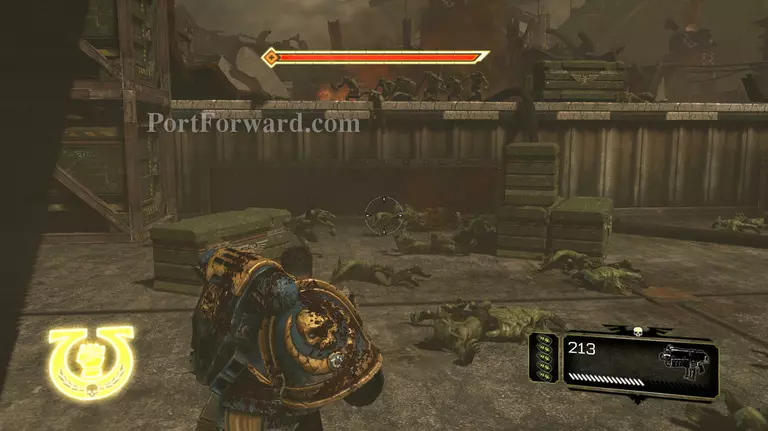
After heading down the bridge you will encounter A LOT of shooter boys, stick to cover and use some grenades if you have to.
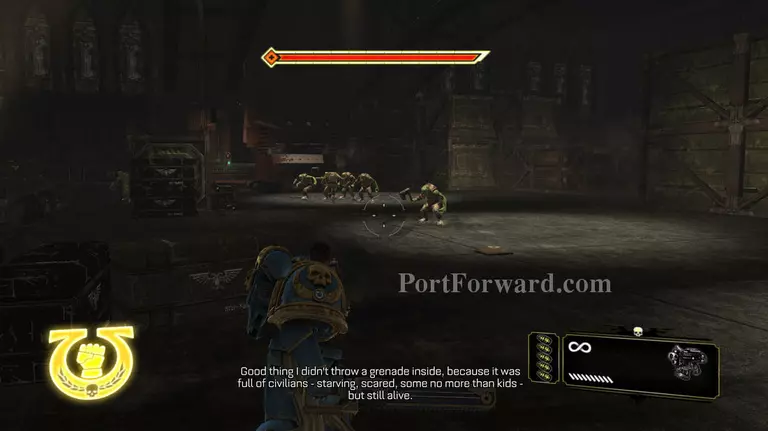
Be careful there are loads of Squigzs hiding around the corner.Shoot them straight away they are of no stratigic advantage to you.
After you have killed all the Ork in that location fall off the wall ahead of you, this seems like a bad idea but there is only grechin to concern yourself with.
the first lot of grechin come at you from the right side, wait then shoot the explosive barrel, this shold kill the lot of them.
the second lot will come out of the wall just further forward of the first wave, shoot the barrel again and then deal with the shooter boy on top of the wall.
More grechin will come, they will attack from the oppersite side, kill them with melee while keeping tabs on the walls so to avoid the shooter boys.
The final wave will come over the top of the wall same location as the second wave. Kill them how you please.
When you run up the stairs at the far end, grab the ammo on the right then allow these Orks to run at you.
Kill them with melee and try to stay in cover.
There are a lot of ranged in this area so use grenades and stick to the boxes and cover, make suer your shield is up when you poke your head around.
then follow the path around till you get to this room, run across the bridge then drop through the hole at the end. be-line for the weapon altar.
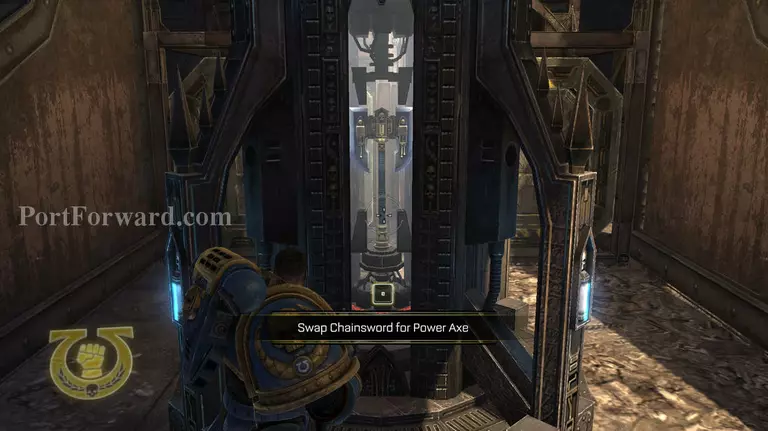
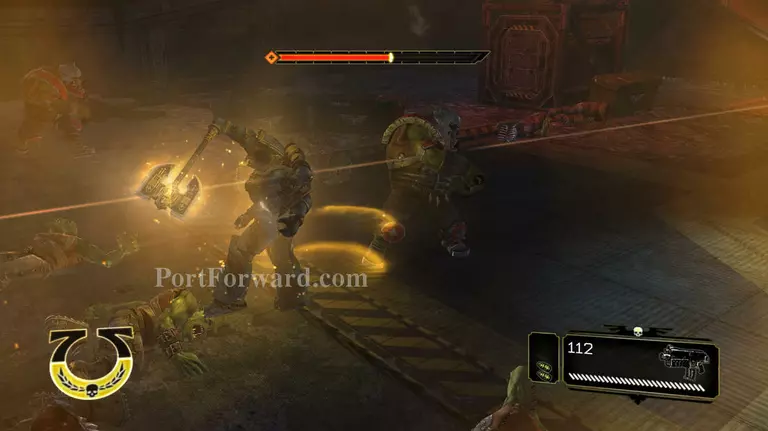
It contains a power axe, this is a slower weapon than the chainsword but smuch stronger, you can kill regular Orks in 2 hits and can even take on a few Nobs in fury mode. Ironically this is what you will have to do in a second.
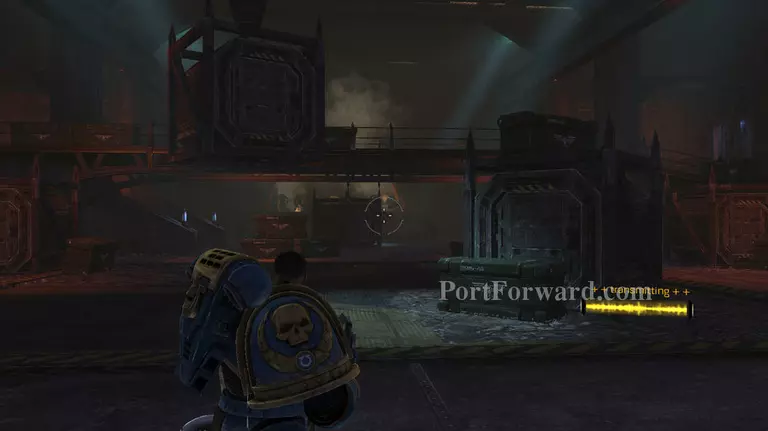
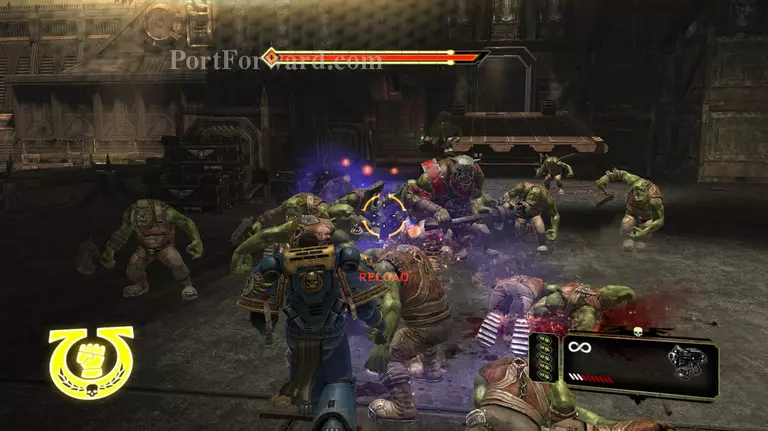
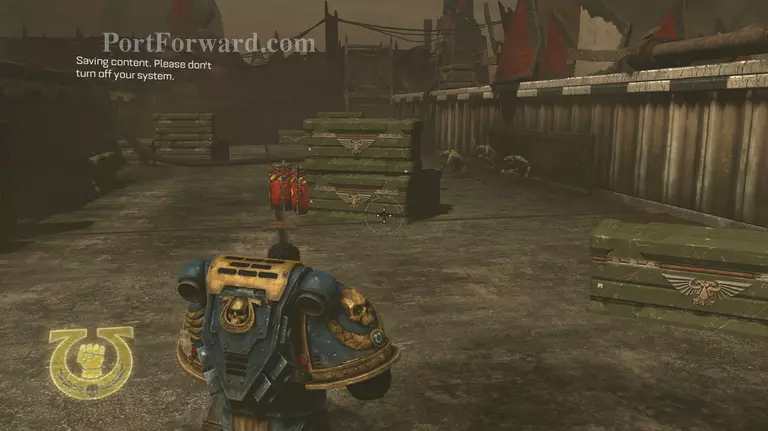
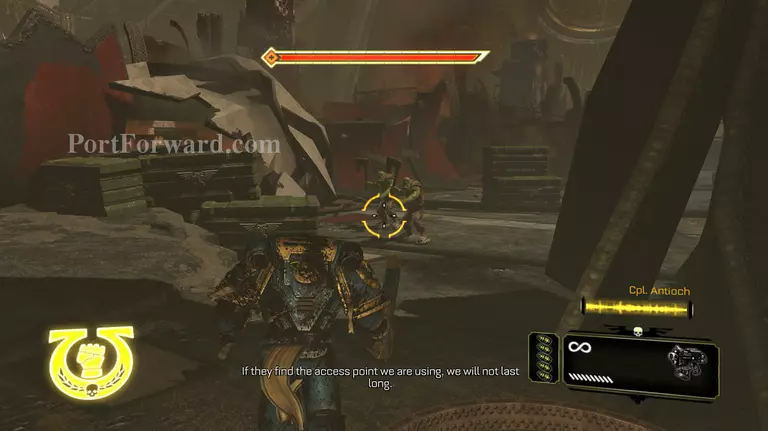
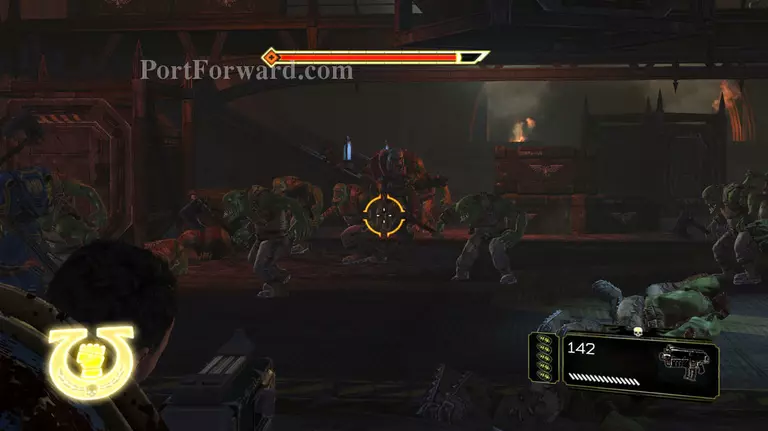
Once you have the power axe turn your attention this way, you will see that the wall have broke and Orks are charging out, kill as many as you like with any weapon, try to save grenades. I recomend that you stick with your bolter and keep vengance launcher rounds on the floor incase you get over run and need a escape option, blowing the rounds on the floor would be useful in that sense.
Another recomendation is that you stick with you friends and do not venture out, this concetrates the fire power meaning you can kill Orks more effectively.
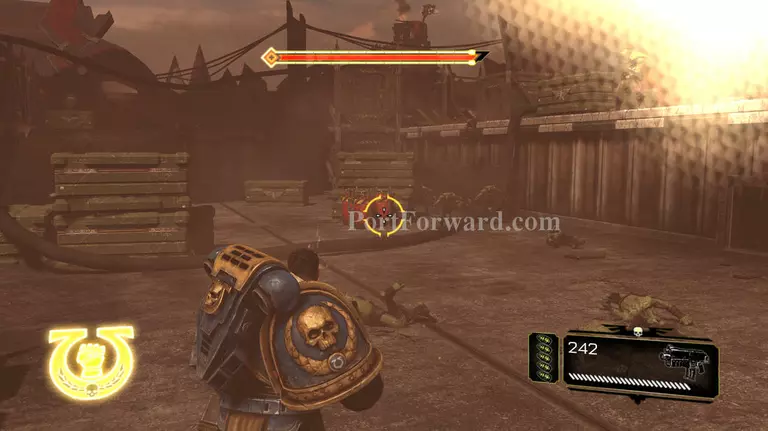
Keep your eyes on the bridge as shooter boys will use it to shoot at you, do not let them build up and kill them before you kill the Orks. When scoping with any weapon do not remain still, unlike over games aim does not drop, so use this to your advantage. The reason you should keep moving and combat roll a lot is so you can avoid Orks attacks, as you seem to no-clip while rollong and secondly it means that you can reload while rolling and that is useful as there is no other way t oreload while sprinting.
After a while they will mix in Grechin and Shooter boys, again get the shooters first, then the Orks and Grechin.
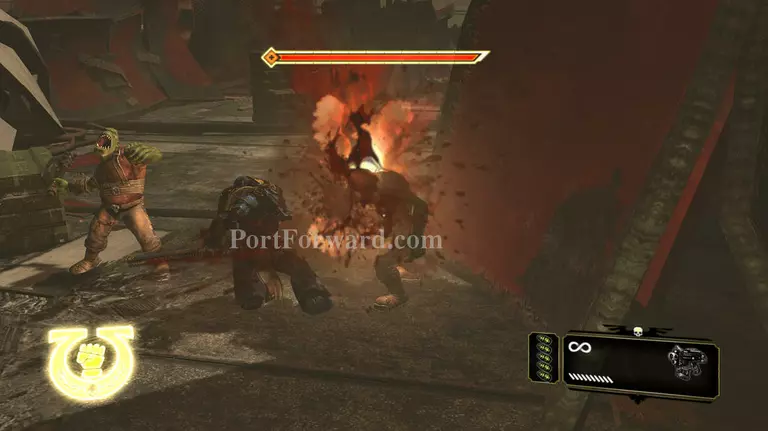
You will hear a warning that a Nob has been sighted, Find them straight away, there is at least 2.
I recomend for the sake of speed and ammo that you use you fury right now, that coupled with the power axe means that you can easily take on 2 nobs and regain health at a very fast rate.
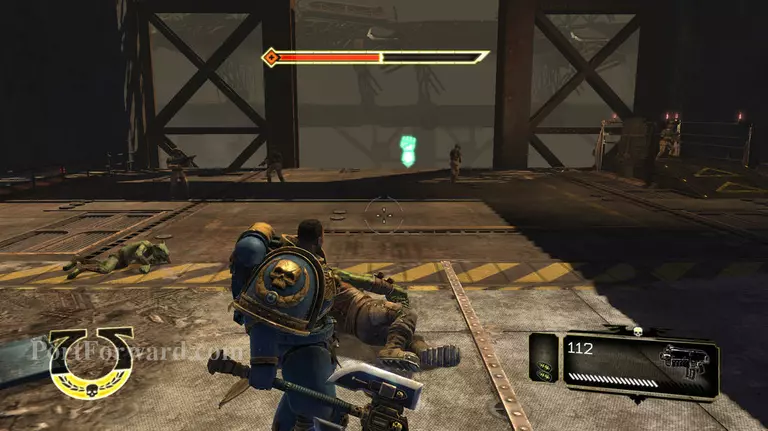
After the Nobs are dead the lift will arrive to take you down, get on it.
More Warhammer 40,000 Space Marine Walkthroughs
This Warhammer 40,000 Space Marine walkthrough is divided into 18 total pages.


