
This Warhammer 40,000 Space Marine walkthrough is divided into 18 total pages.
You can jump to nearby pages of the game using the links above.
2- Against All Odds

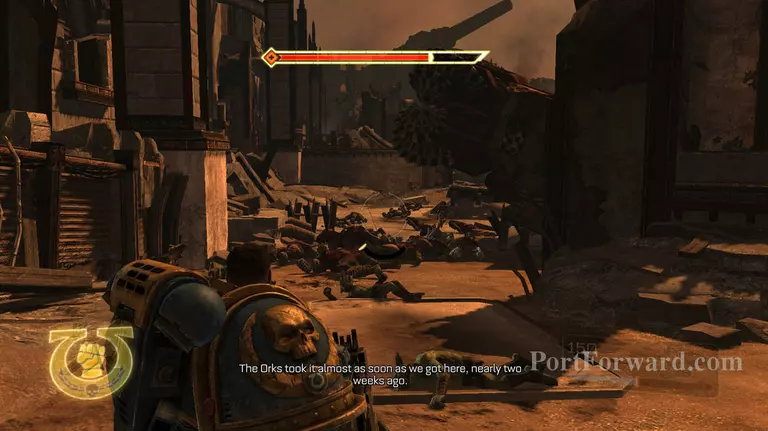
When you arrive on the planet follw the path around, you will learn more about the story and the location of your friends.
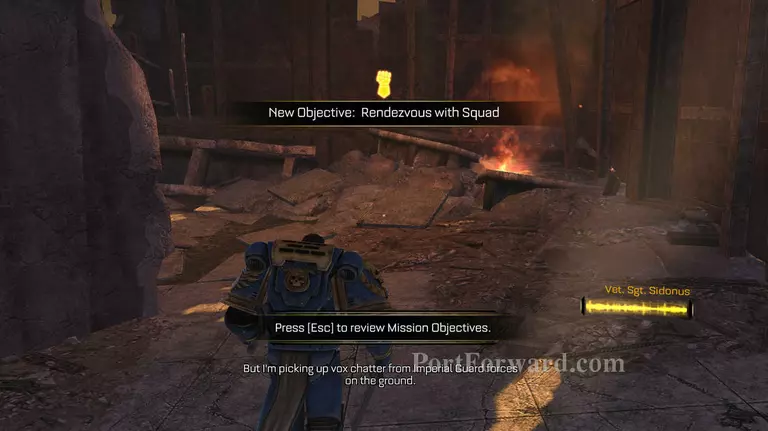
An objective marker will appear.
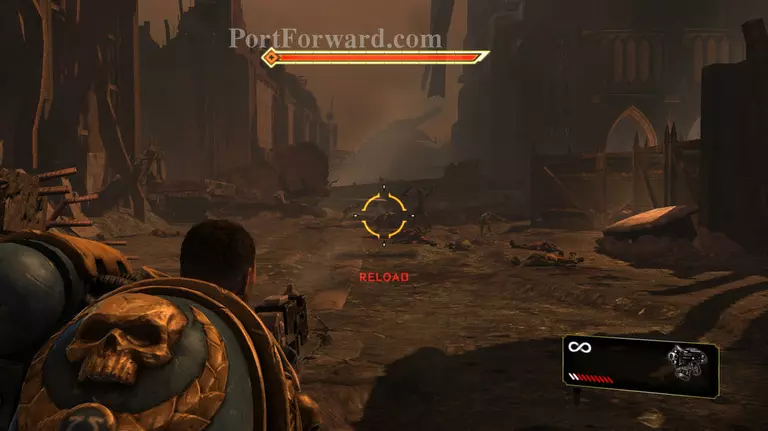
The first things that you will notice after following the path is an increased number of Grechin, you not have to attack the Grechin, infact don't as they will show you where to go, follow them.
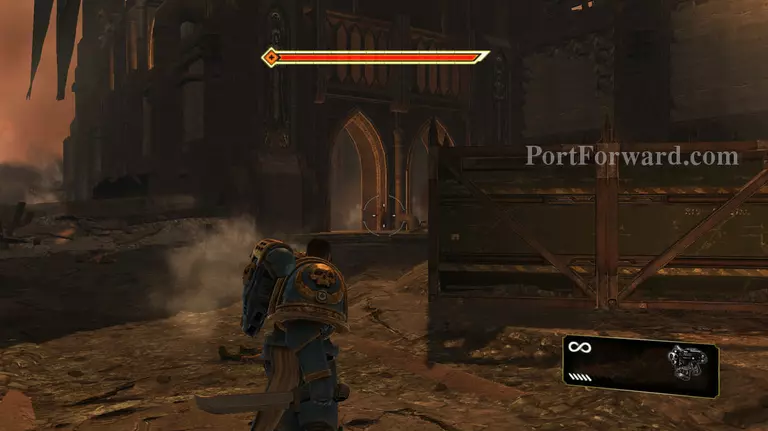
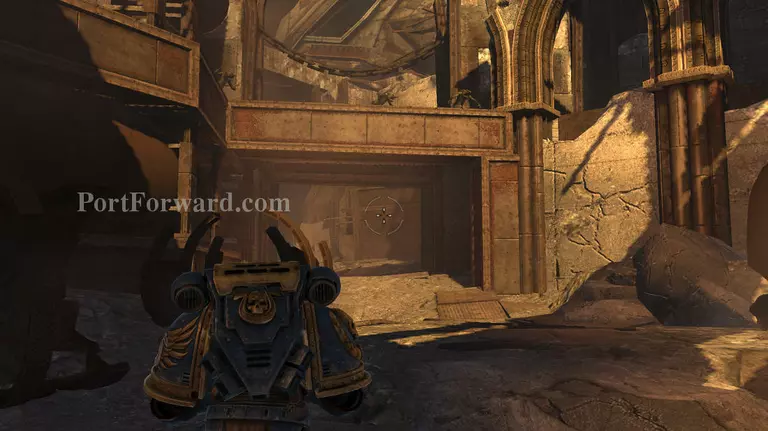
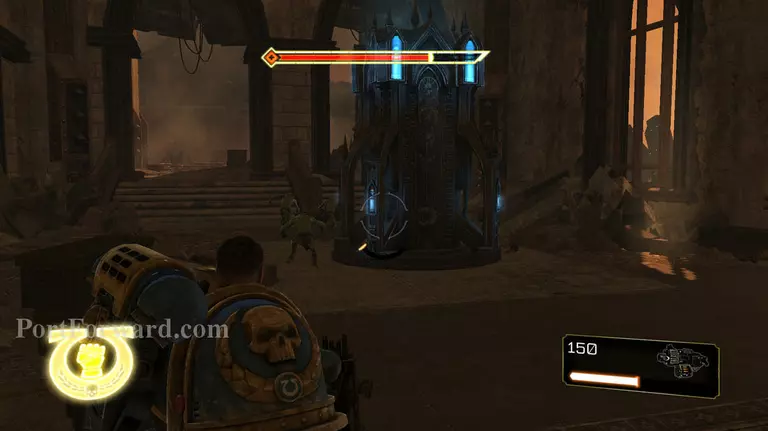
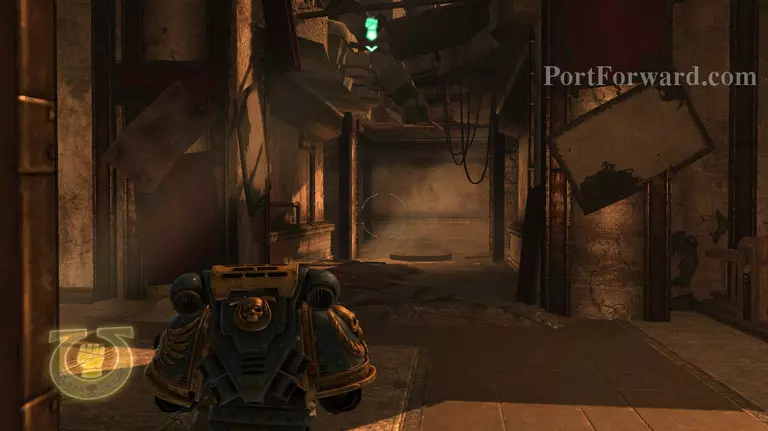
If you kept the Grechin alive you will already know where to head next, if not just enter through the arch shown.
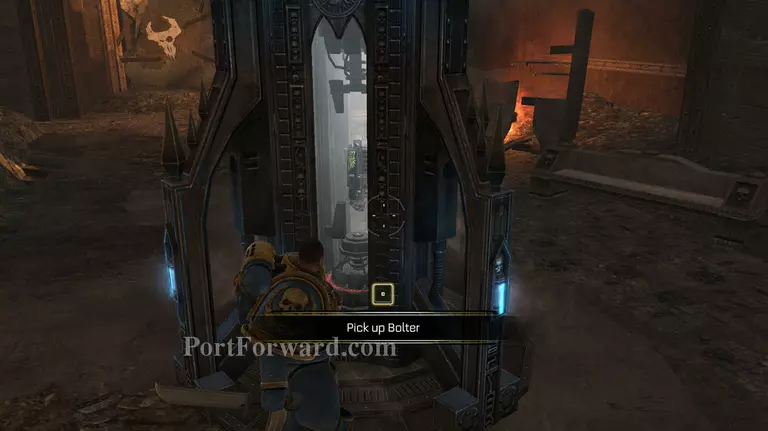
Once you do you will note that there is a strange altar type thing in front of you, these are weapon dispencers; they allow you to access better weapons. In this case the ring is blue so is a weapon, this weapon is a bolter. A bolter is a simple machine gun, it is rapid fire and very good at killing at mid range. These can be used to thin Orks froma distance. I recomend that you do not use it much at this point in time and stick to the bolter pistol where ever possable.
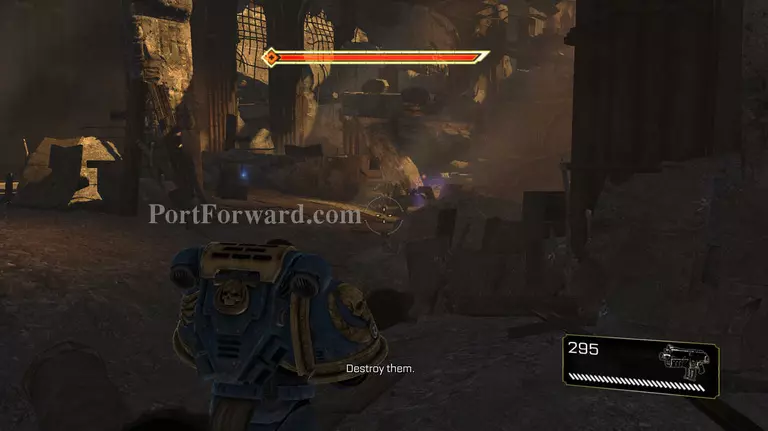
Once you have picked up the bolter at the end of the room a Ork barrier will fall to reveal the next path, it is blocked by tow shooter boys.
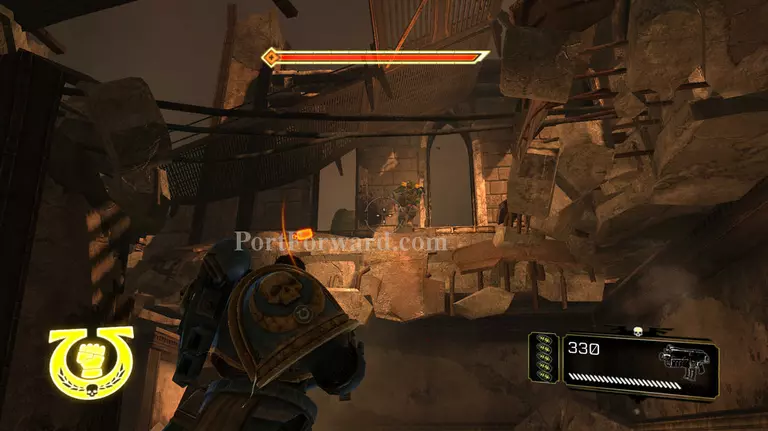
When you enter the next area you will see Orks running across the paths above you, do not shoot them as it is a waste of time and they will not attack. The second path will though so only attack the Orks above if they attack first; this avoids health damage and saves ammo (if you are using the bolter).
You will note that ahead of you, there is one of you friends. Stay where he is and do not venture out too far from the ammo stores.
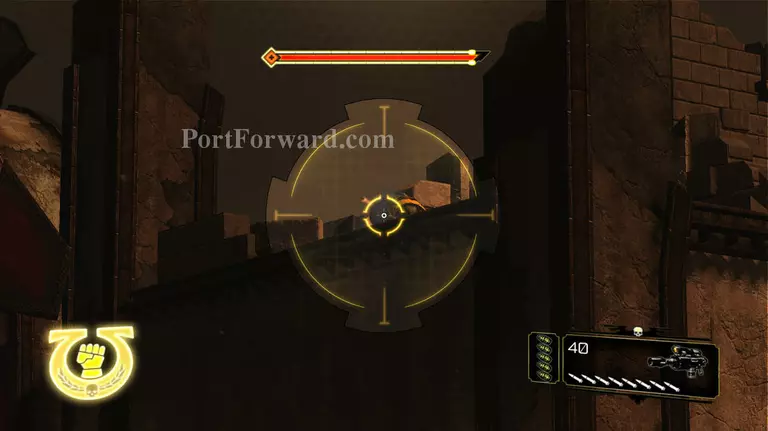
"You can now use the bolter to take out the shooter boys above you, target them first as they will be the ones that do the most damage.
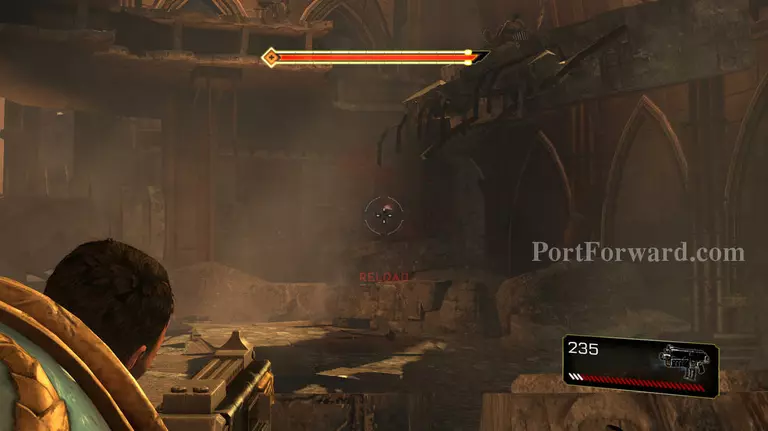
Once most of the shooter boys have died you will be attacked by some Orks, there are not many but if you have cleared all of the shooters try to save your ammo again for a pinch situation.
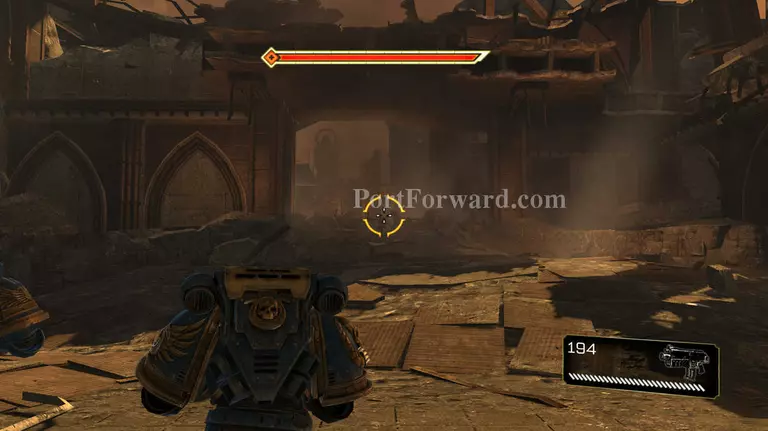
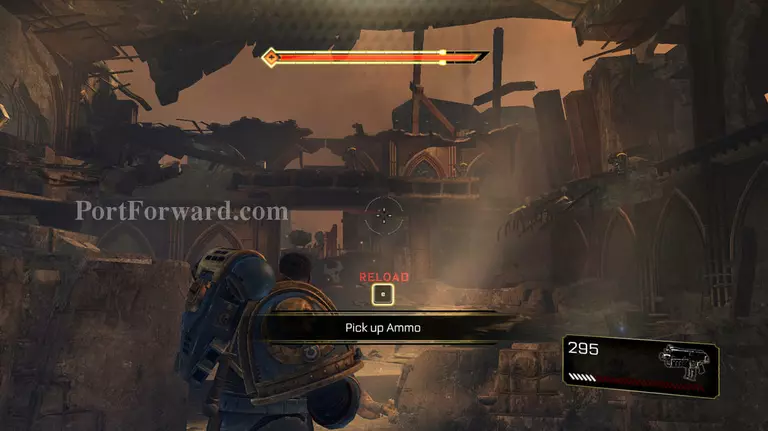
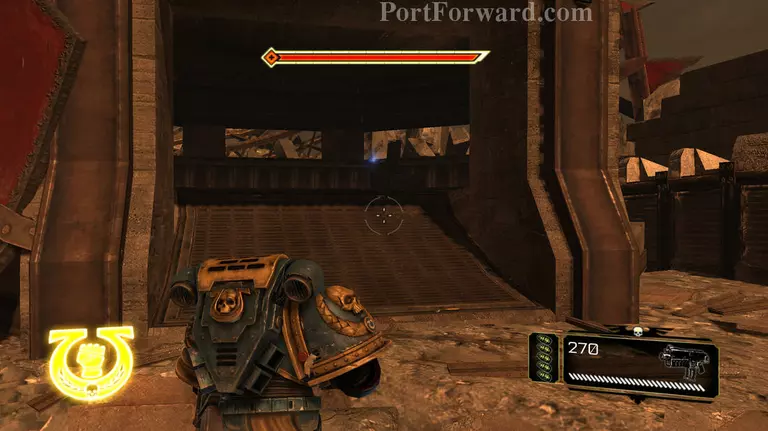
After most of the Ork waves have been killed, the barrier in front of you will break, revealing your path and more Orks.
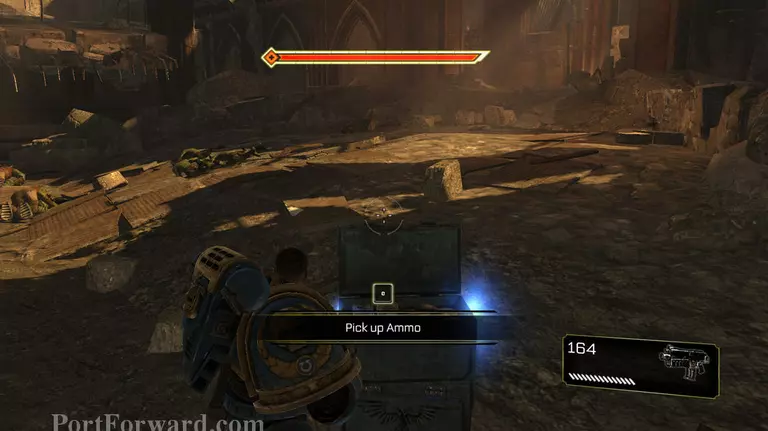
Make sure to stock up on as much ammo as is possable before entering the next area.
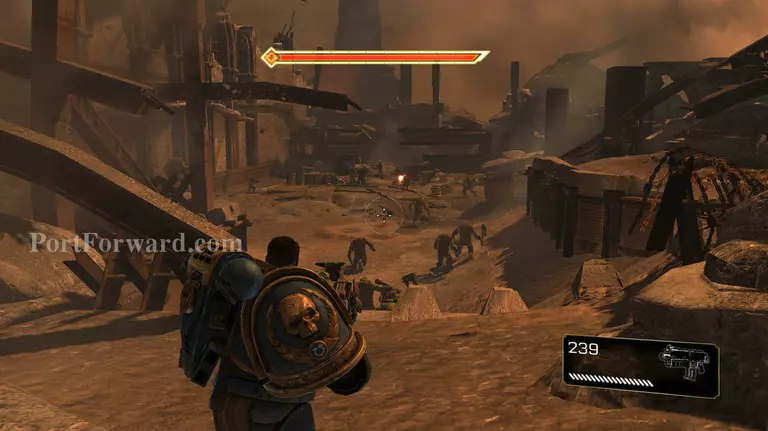
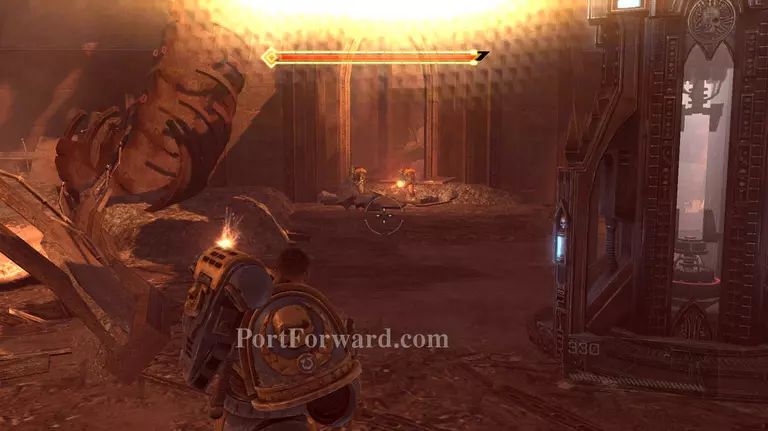
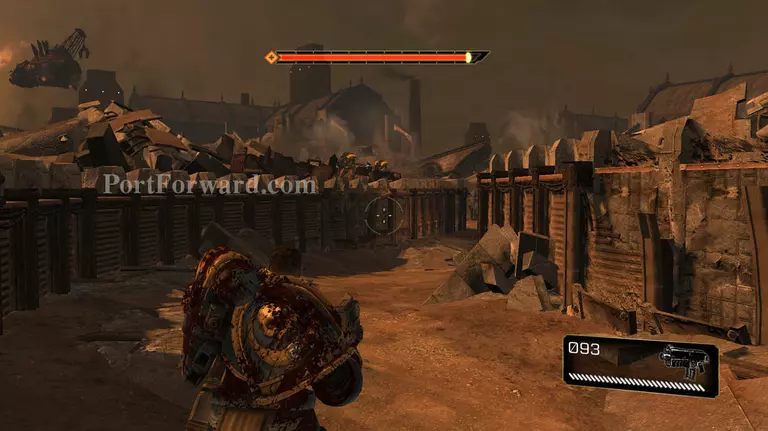
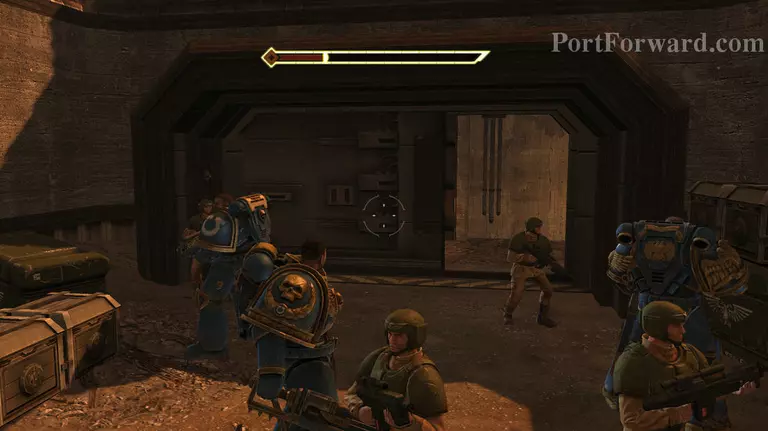
You will appear above what seems to be a big fight, some orks will be what appears to be running from you, but this is not the case, they are attacking some Imperial guard at the end. Shoot them down
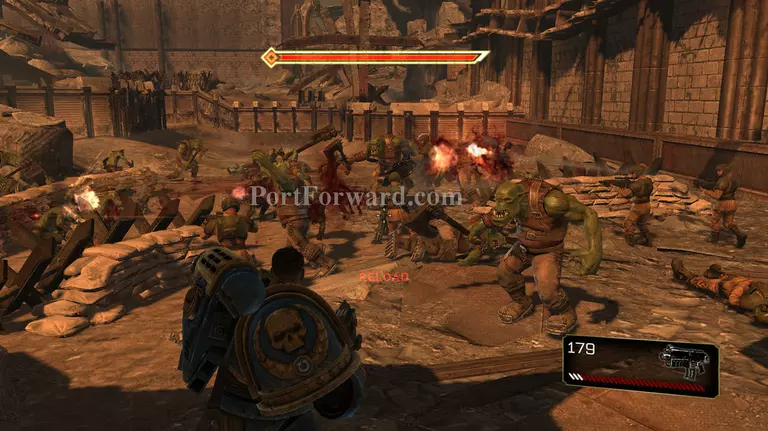
Once you have shot most of the runners, move straight away to the back of the imperial guard picket, the reason for this is so there is mroe fire on the Orks thus killing them quicker and most importantly more defence for you.
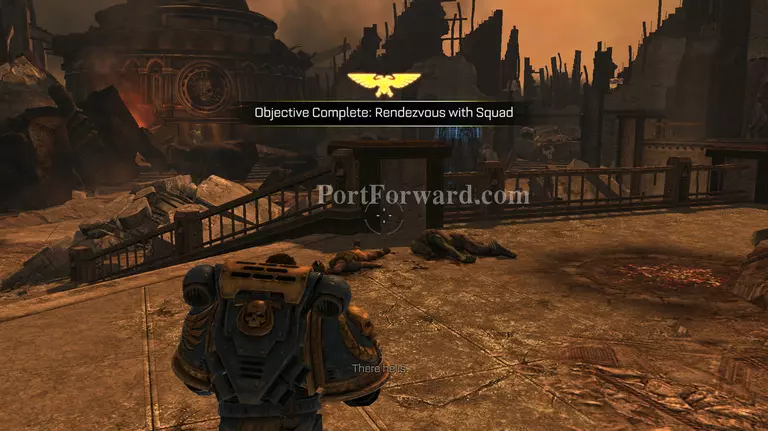
After you have saves the Guards they will open a door for you, enter and follow your way around to the outside.
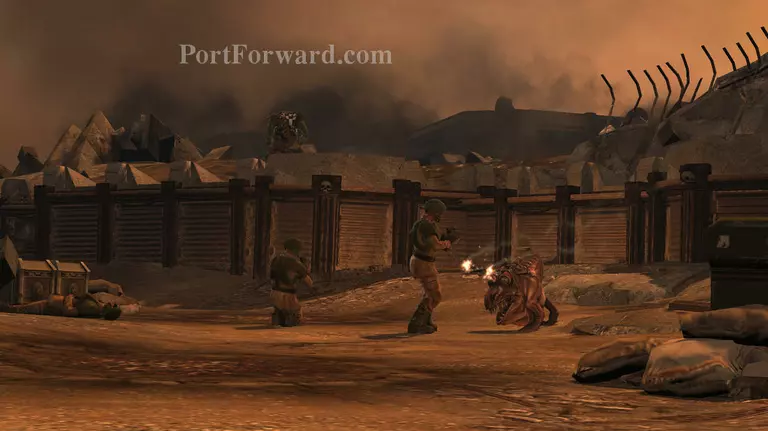
Once you get out the other side you will see another Weapon altar. this one gives you a chainsword. This sword is the fastest melee weapon with the lowest damage, but in the hands of your player it can create strong shockwaves.
Once you pick it up, the barrier at the end will break to reveal Orks. I recomend that you pix the simple melee with stun attacks such as shunting and charging, this allows you to move and kill lots of Orks quickly while not loosing to mcuh health, and if you do loose a lot there are several stunned Orks around to be executed.
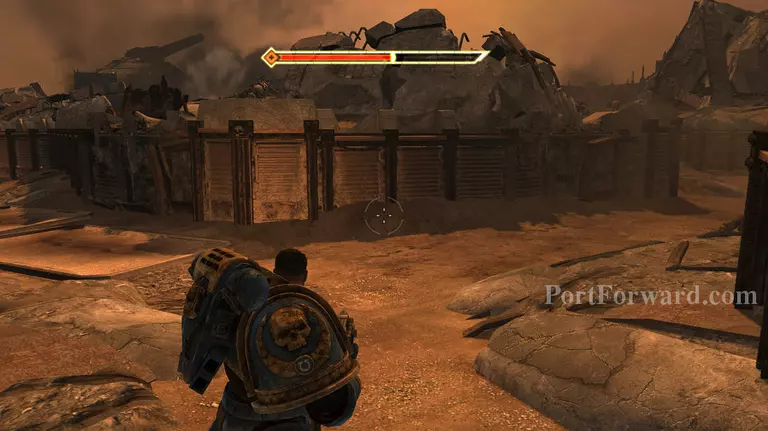
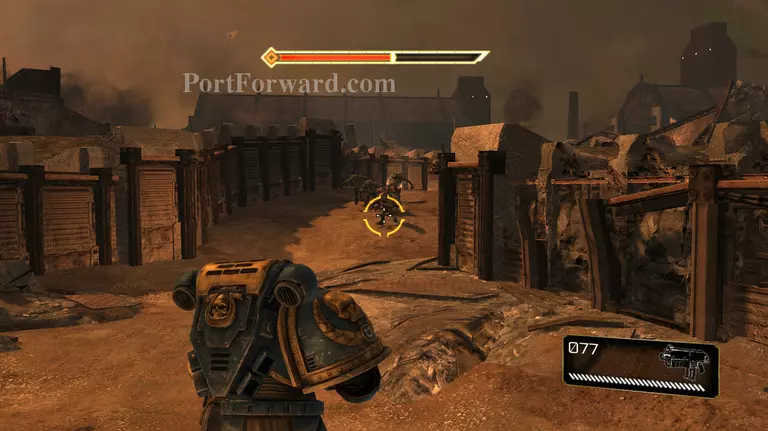
Now drop into the trenches but be careful! there are several shooter boys lining the tops of the trenches, these will be devestating to your health if you stay in range or ty rush through. Try to stay on the oppersite side of the wall they are on to limit the amount shooting at one time. Then simply kill them will the bolter.
After you have fought your way through the shooter, you will come to a split path, take the left fork.
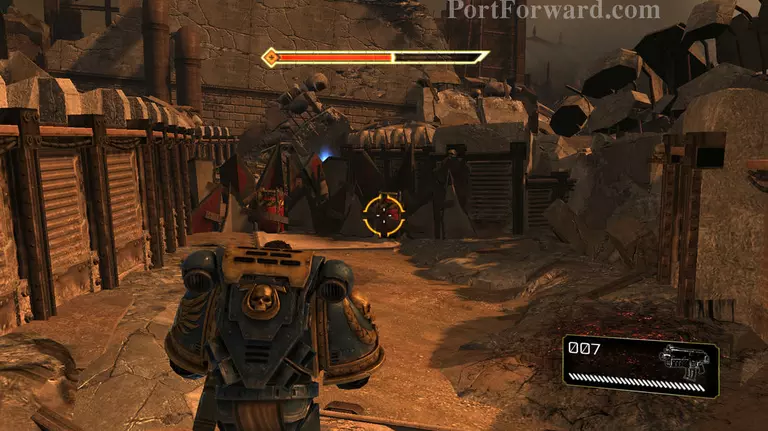
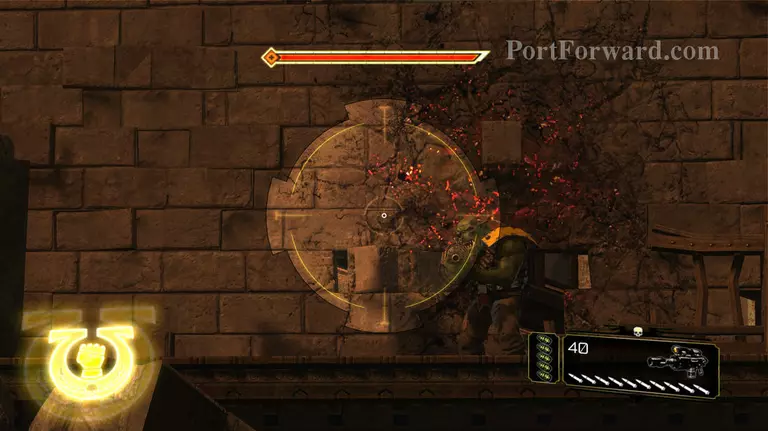
At the end of this fork it appears to be a dead end, not so! shoot the red containers.
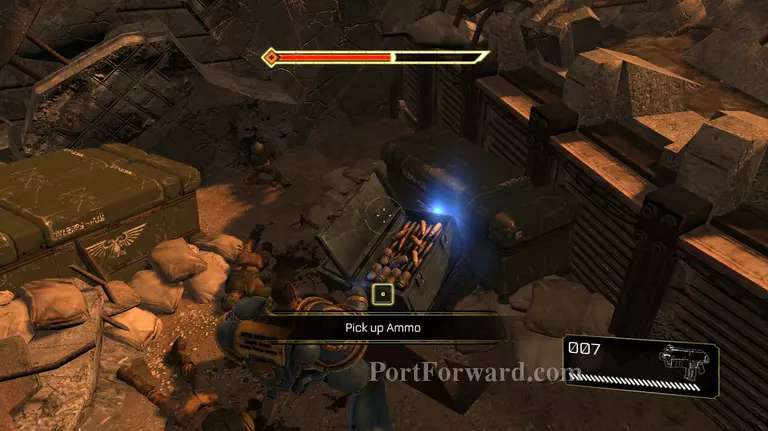
They will explode to reveal ammo, take the ammo to replenish the ones that you lost killing the shooter boys earlier.
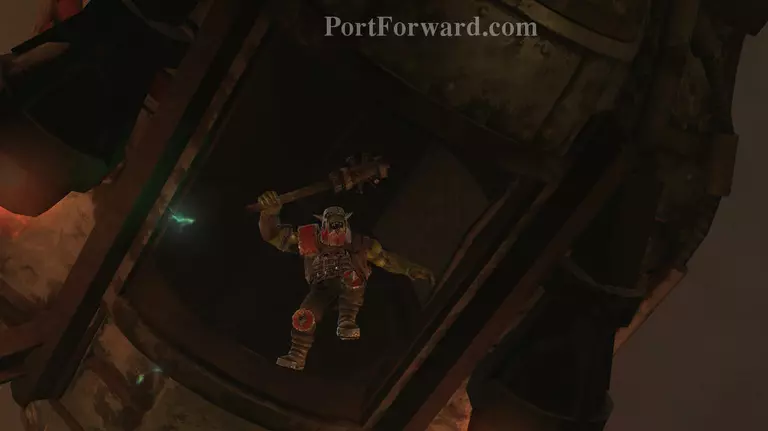
Now head back the the fork and take the other one. this will lead you to small circular area where you will meet another type of Ork. These Ork are called Squigzs; they are basicly suicide bombers, small fast creates will explosives strapped to them. They do a lot of damage to your health, don't let them get close!!
They do have a advantage however, if you shoot a Squig it will explode and damage nearby Orks liek these Grechin here, this will give you a big advantage in killing without wasting ammo.

You will enter a big area, beline for the defences on the left, ignore the drop ship, you cannot shoot it.
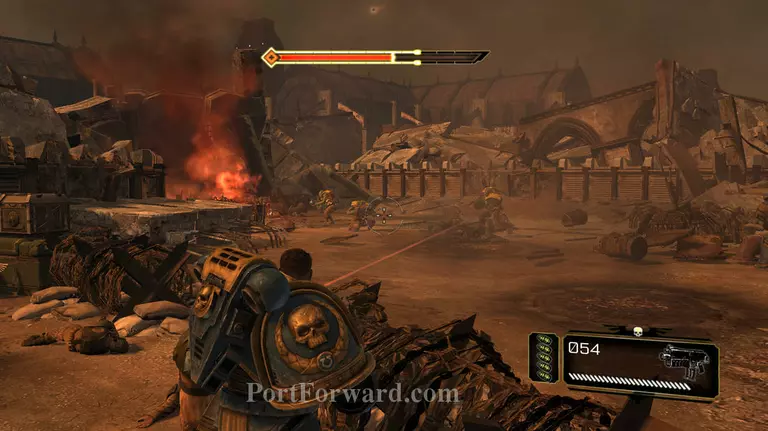
Use your bolter for most of these waves, kill the shooters first, then the Orks.
If you wish you can use a grenade to thin the Grechin allowing you to shoot at the Shooters in more peace.
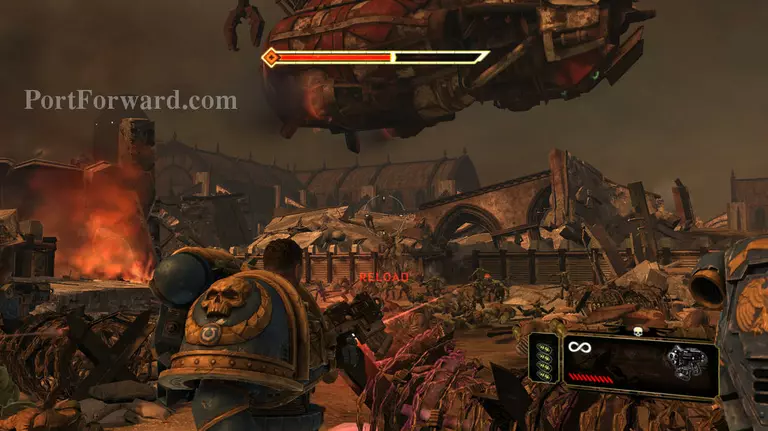
the drop will appear a few times dropping Orks they are no thing major but now most of the shooter are gone try to top up your ammo, you will need it for later.
The ship will not drop a Nob, these are massive Orks that have loads of endurance, DO NOT ENGAGE IN CLOSE COMBAT this is suicide as they have so mcu physical strength, they do not however have any ranged weapons; use this to your advantage, shoot it at range. If it gets stunned you can try to execute, but it is a power stuggle, loose and you may loose more health or die. I do not recomend at this point.
After the Nob has died move towards the doors behind the defences, enter through.
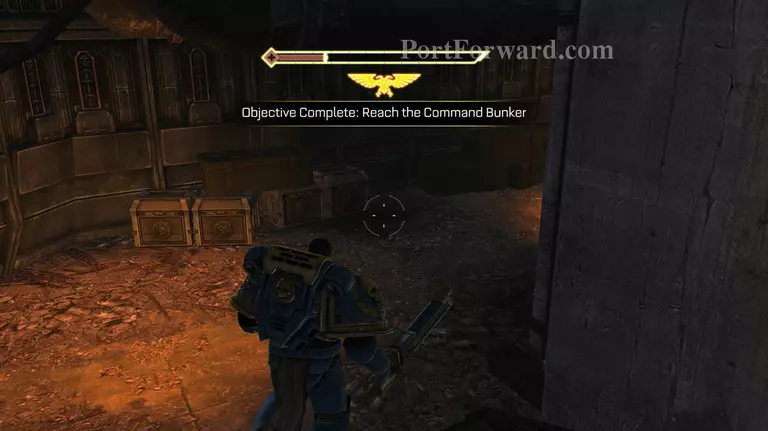
You are now in the command bunker.

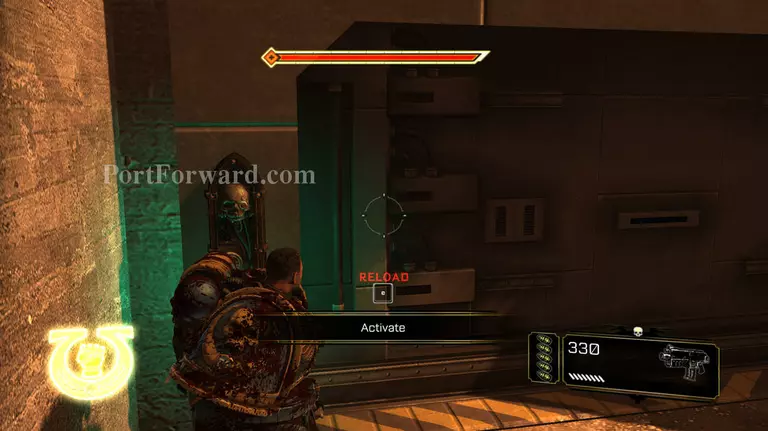
After the cut scene, do not follow the Lt straight away, go to the altar, this has a yellow line on it, this means it is a perk dispencer. This perk is called fury, it is VERY important. Fury allows you to ahve very fast regeneration and also increases attack power for a limited time, use if you are in a pinch situation. The downside to fury is that it needs charging, after you use it you need to kill a lot more Orks before you can use it again, you can see the meter re-fill on the lefthand side of you screen, when full (completly yellow) you can use fury.
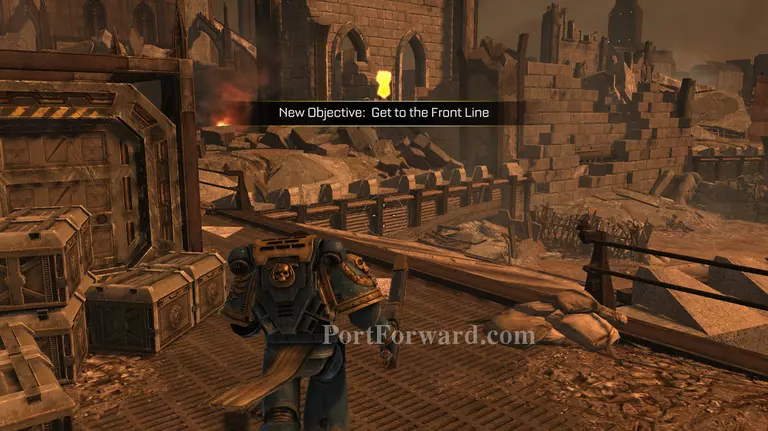
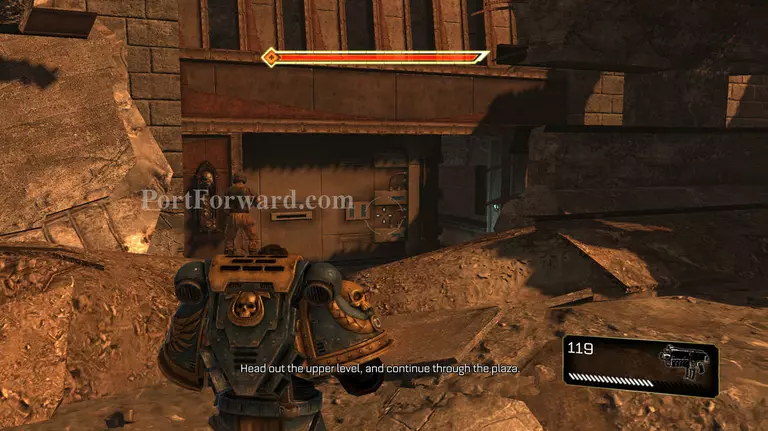
Now follow her outside and simply follow the path, noting the new objective.
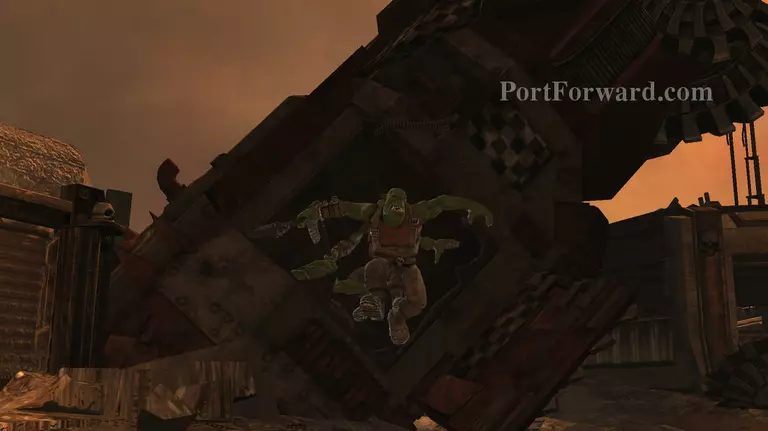
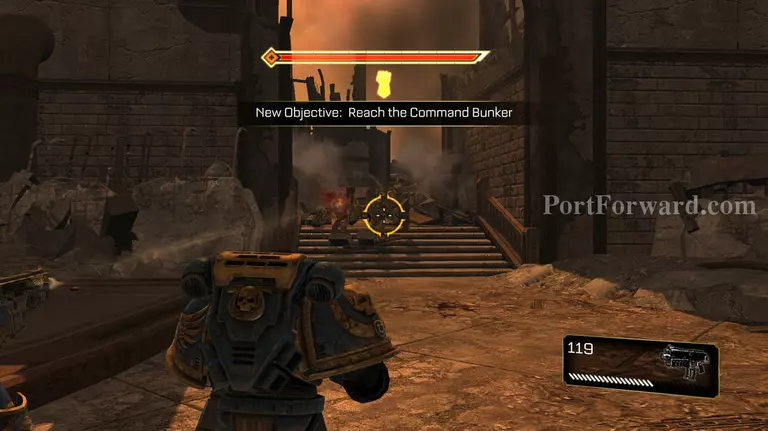
When you have entered the trenchesallow some imperial guard to go first, a stange drill will come out the ground, Orks will come out of it, only a few but melee them and save your ammo. Another two will appear, kill them and enter under the arch formed by the drills.
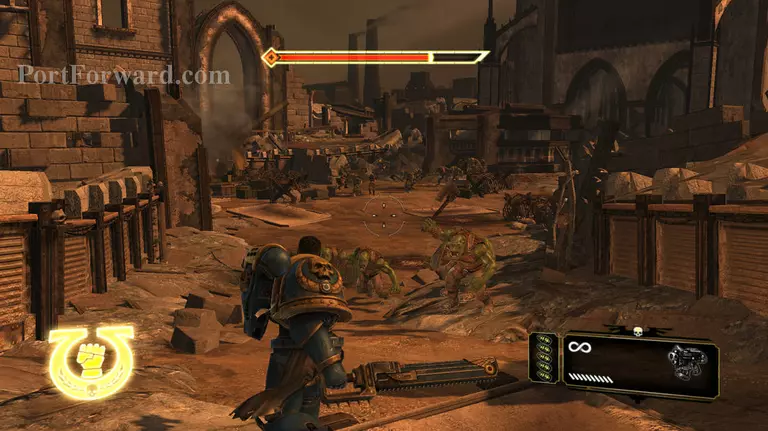
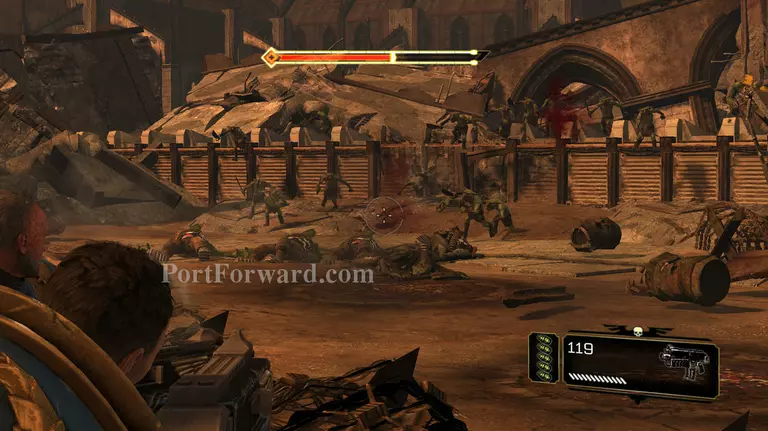
"Aftre you have killed the orks and follwed the trenches to the next load, you wil find some more orks and Guards. again save the guards and move towards there defences.
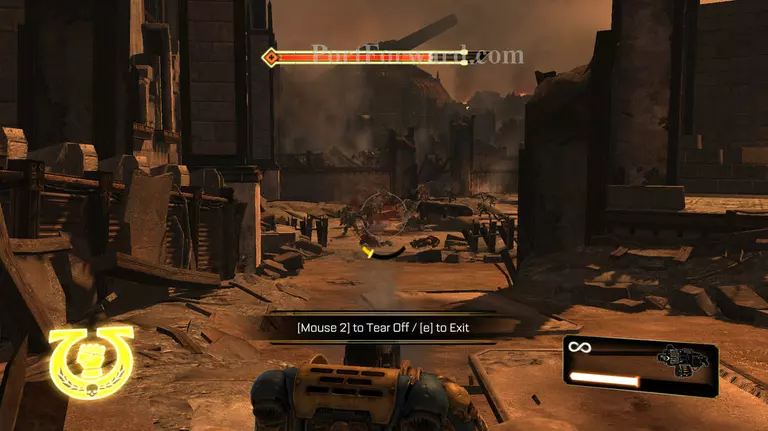
Use this mounted gun to killl the incoming Orks, a guard will be on it at first but gets blown off. Do not hold the fire button, although you do have unlimited ammo you do not have any cooling so the gun will overheat and that will disable it for a while, so do not use extended bursts and only shoot if it is not too hot. Make sure that you kill the shooters first again and you can rely a little on you companions to kill the Orks while doing so.
After al the orks are dead, jleave the gun if you wish and follow the path, again don't shoot any grechin that do not challenge you.
After you follow the simple paths grab the next weapon, this weapon is stalkter bolter, it is a sniper rifle, same stats as most games, not very accurate from the hip but aimed you get a scope and high power.
"Now you need to use it to kill some shooter boys, once you enter the clearing shoot the Orks that are shown.
This is above you on the right.

This is straight ahead of you above the building.
Once the Orks have been killed enter the building and head right, get to the marked location
Mind out for Orks in the roof and grenades.
Once you follow the Grechin and and the path you will see a pill box, of somre description. This has ammo in it do not miss it as you will be running low if you have been using the bolter a lot.

Allow the Orks to run because they will not be your concern, keep your eyes on the roof as Orks will literally pour off it! then enter the door that the Orks where running through.
Make sure that you have your health restored before entering.
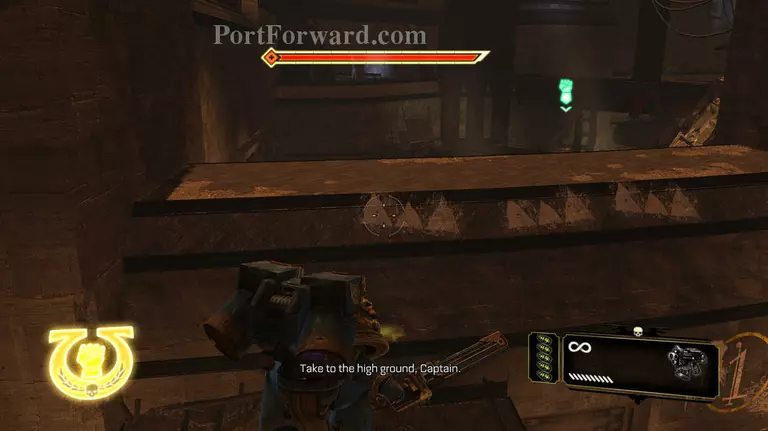
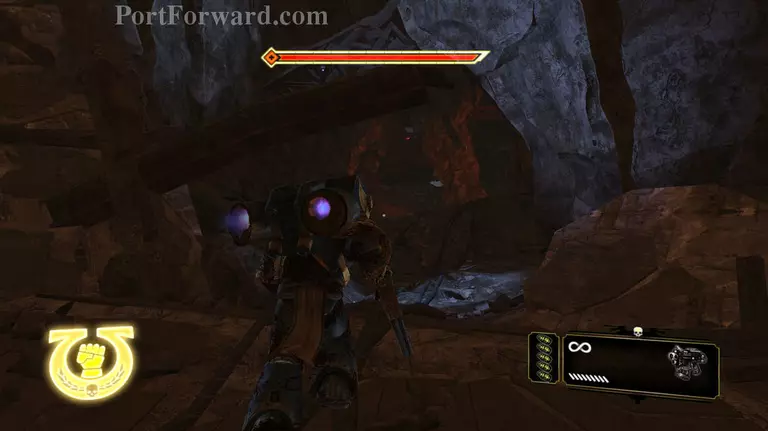
you will see a drop pod in front of you, grab it and you will get a jetpack, use it to jump over the door as shown.
Stick to the high ground the reason is because you friends will be fine, they do not die at this point, but take out the rocket boys. These are like shooter boys but slightly tougher with guided rocket launchers. Kill them by jumping and then slamming into them, this then stuns them and allows for a execute to regain health if required.

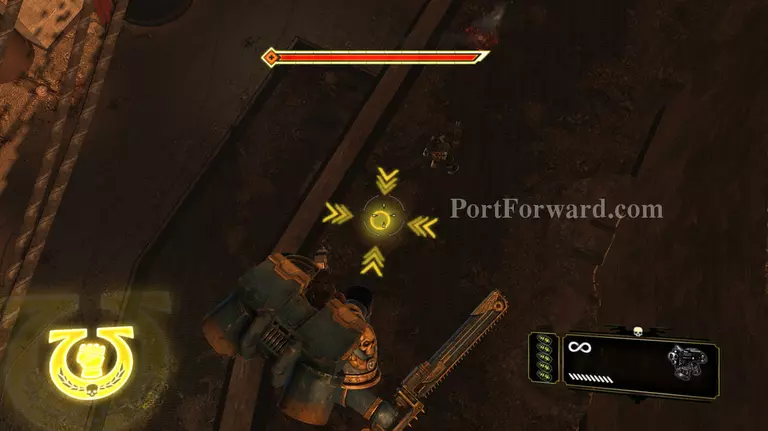
Now enter the door at the bottom level of the map and repeat the same tactics.
If you wish slamming into Orks on the ground will kill them instantly.
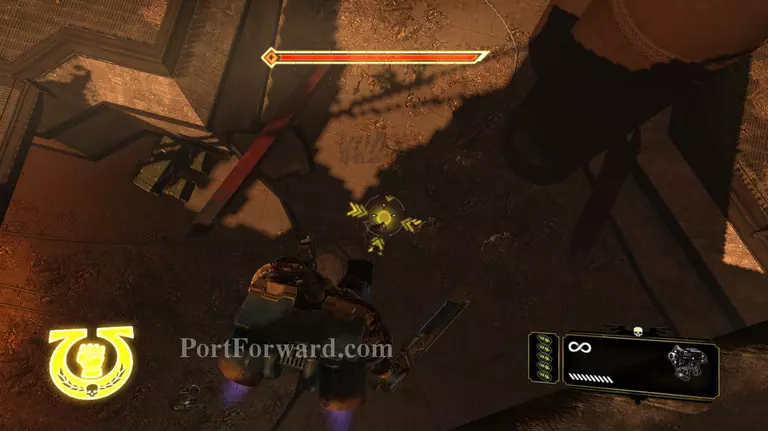
When you are on the ground look for a pipe that has a red lid, there will be a ork proping it up. Shoot him; this will close the pipe and prevent more Orks from attacking from the pipes.
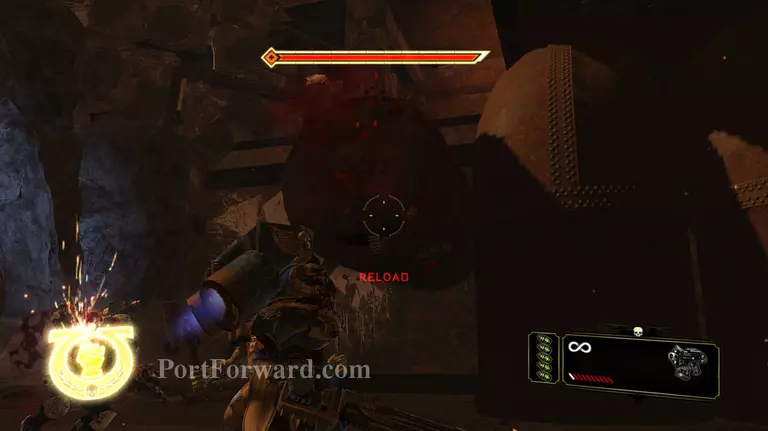
Now head towards the whole in the wall, following thoose cables.
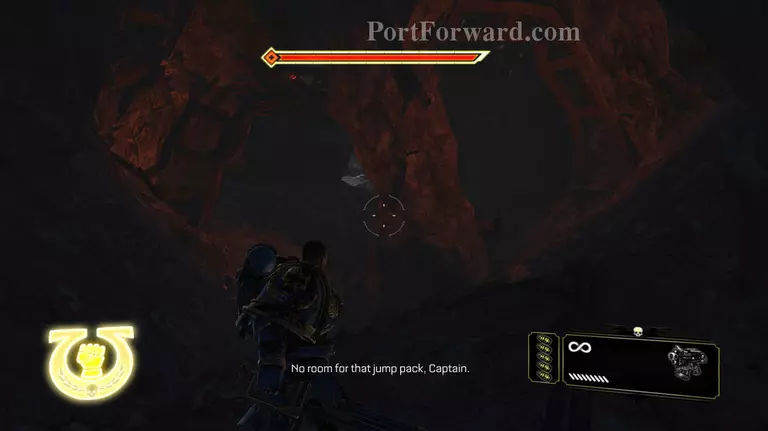
You will be prompted to drop the jetpack, you cannot change this fact.
More Warhammer 40,000 Space Marine Walkthroughs
This Warhammer 40,000 Space Marine walkthrough is divided into 18 total pages.


