
This Cry of Fear walkthrough is divided into 10 total pages.
You can jump to nearby pages of the game using the links above.
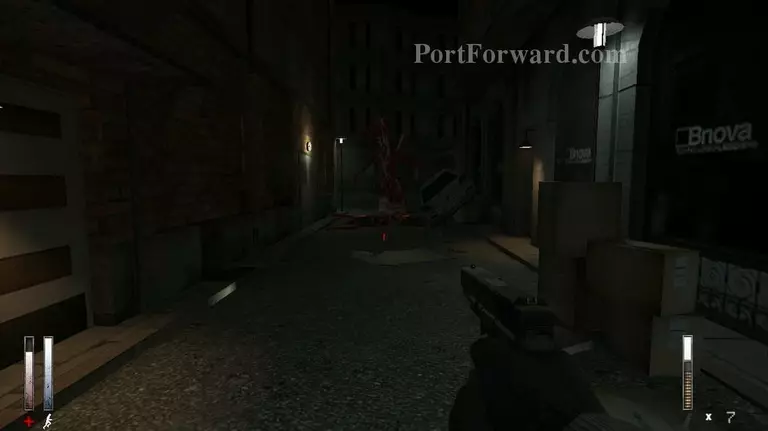
Chapter 3 - The City is Not Safe
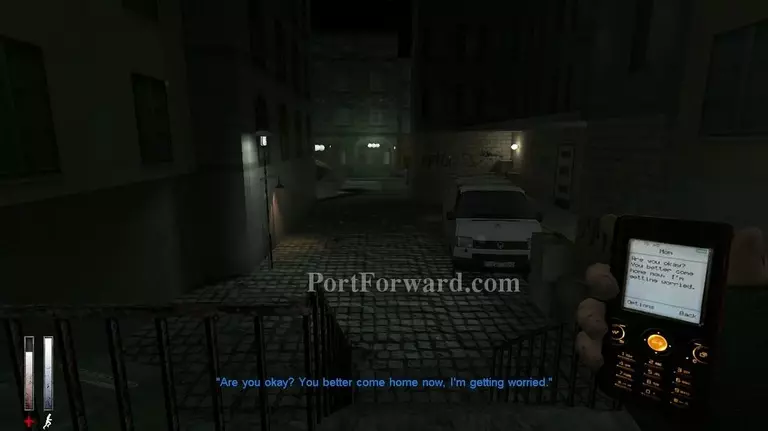
It's starting to snow a bit.
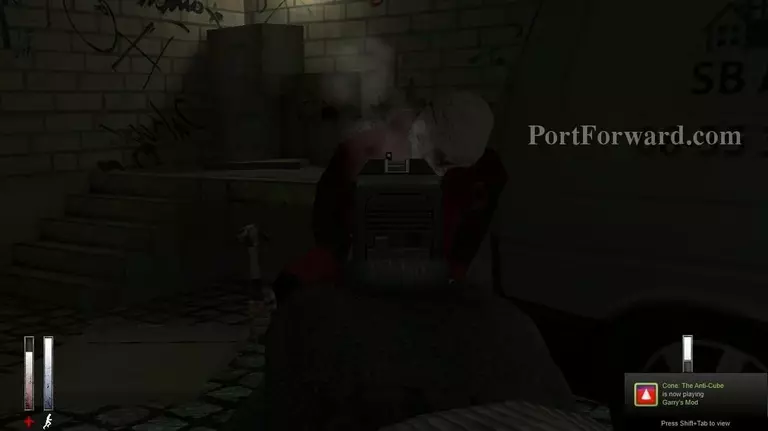
Cone: The Anti-Cube. Brilliant.
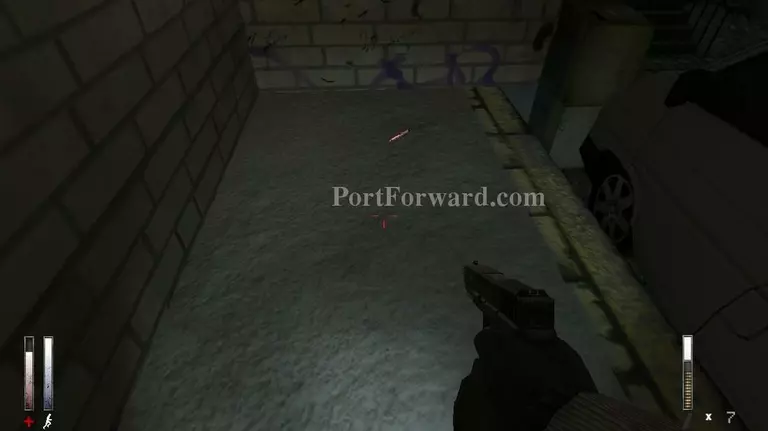
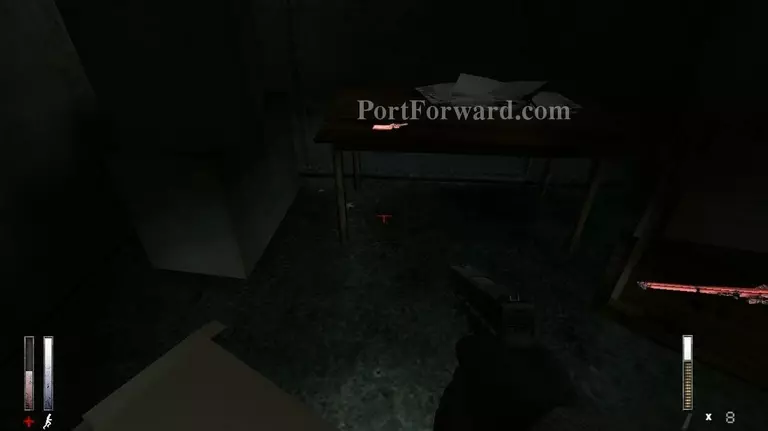
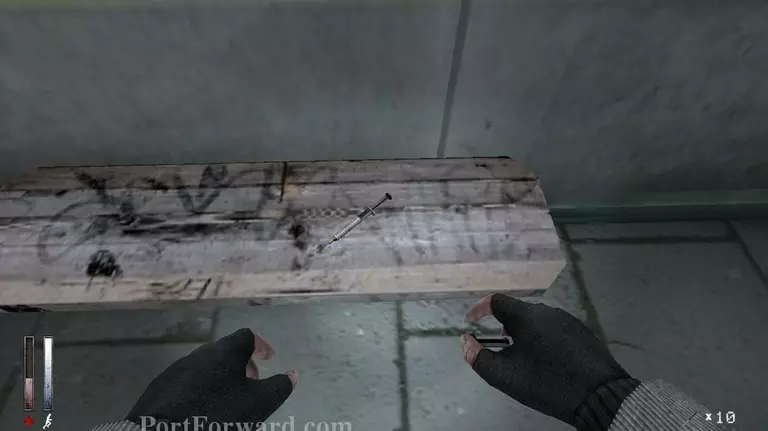
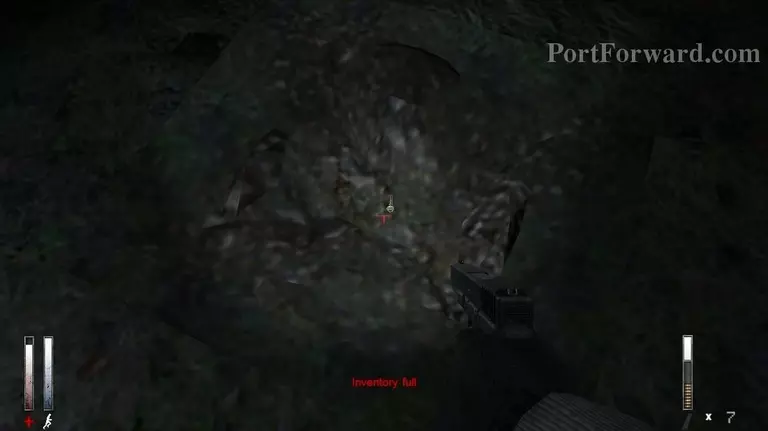
There is a syringe up here if you need it.
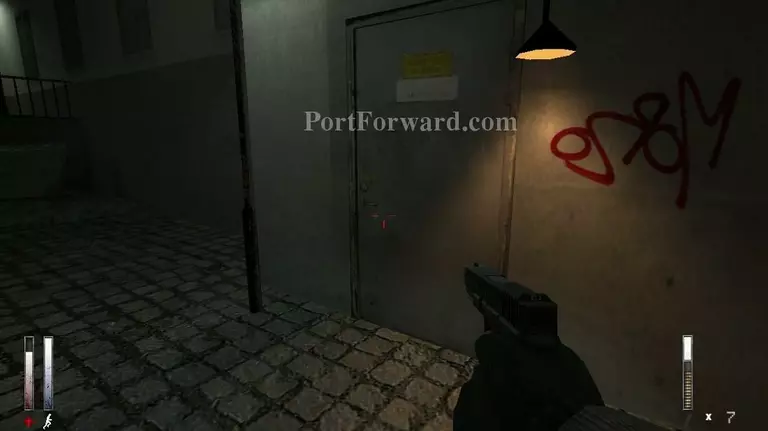
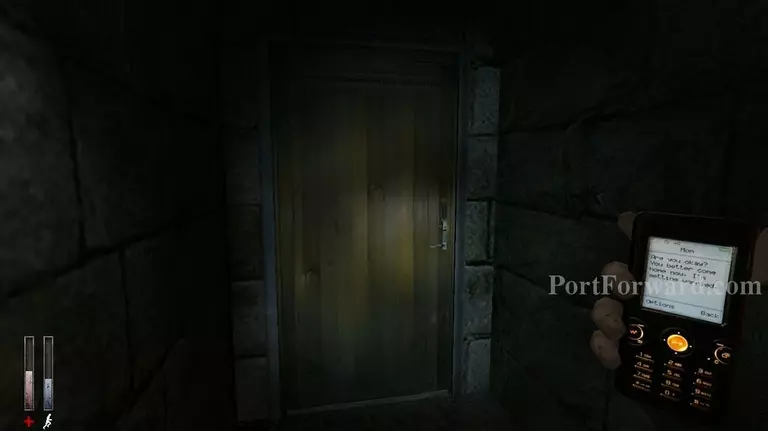
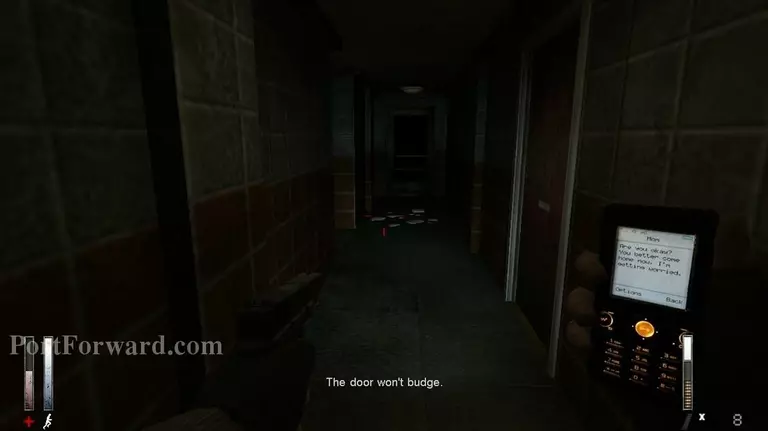
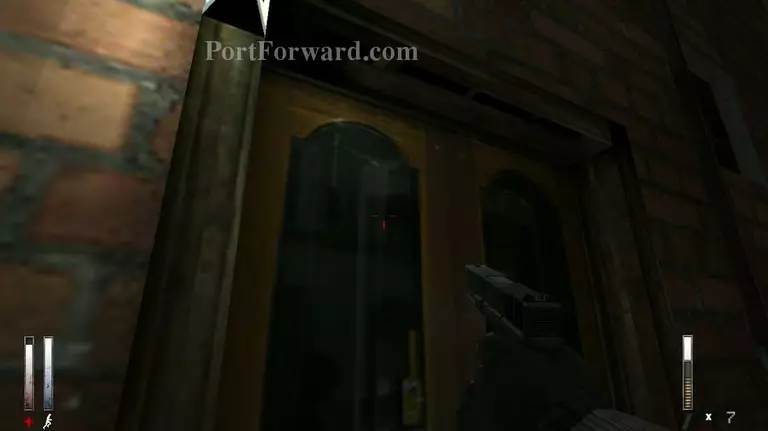
This door is locked, take note of that.
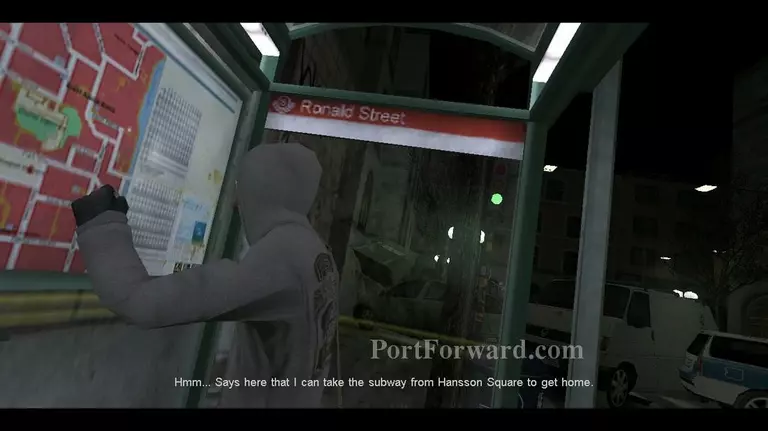
So we need to take the subway to get home, that'll be the endgame.
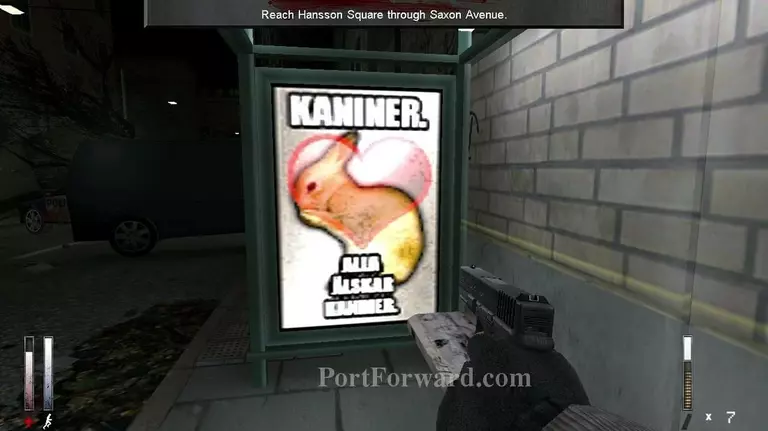
"Rabbits. Everybody loves rabbits."
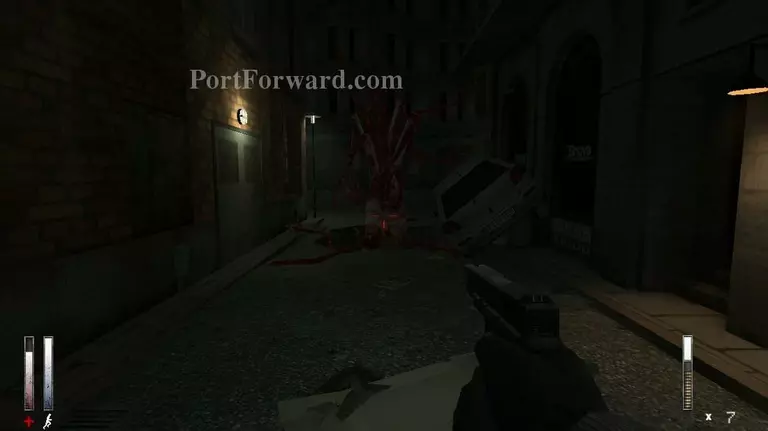
Ewww...
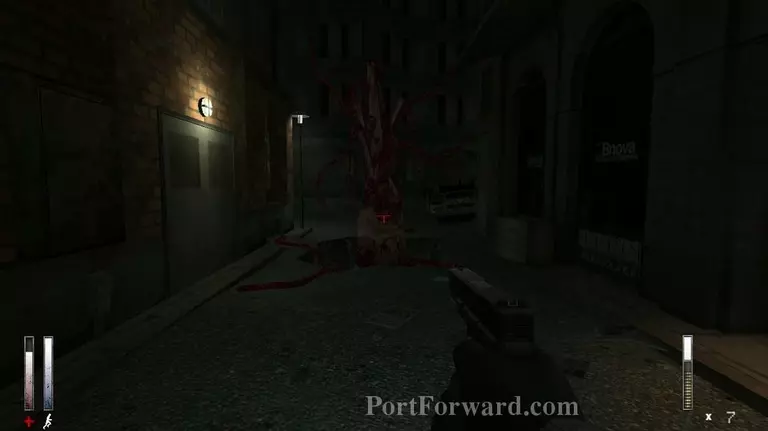
SMASH It kills you in one hit so stay away.
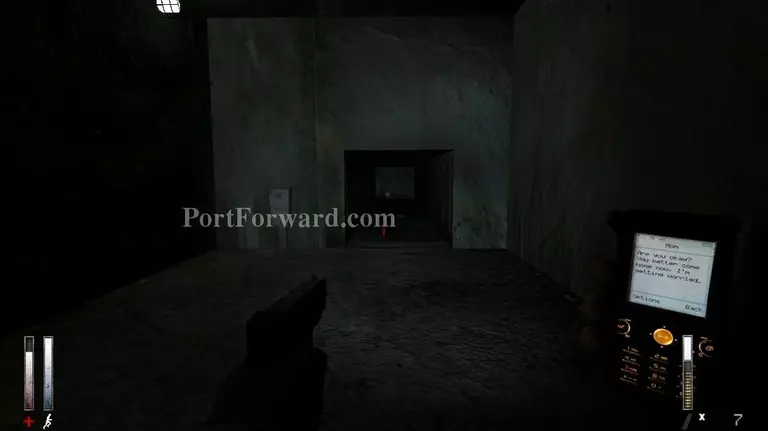
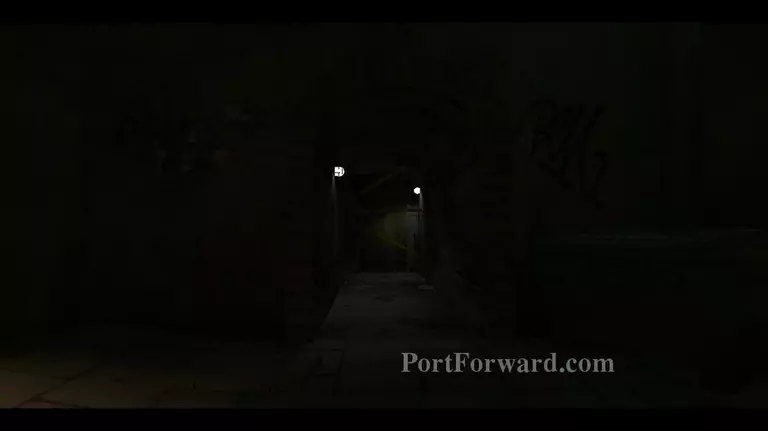
That dark hole past the door on the left there is a vent, go through it.
I see somethi
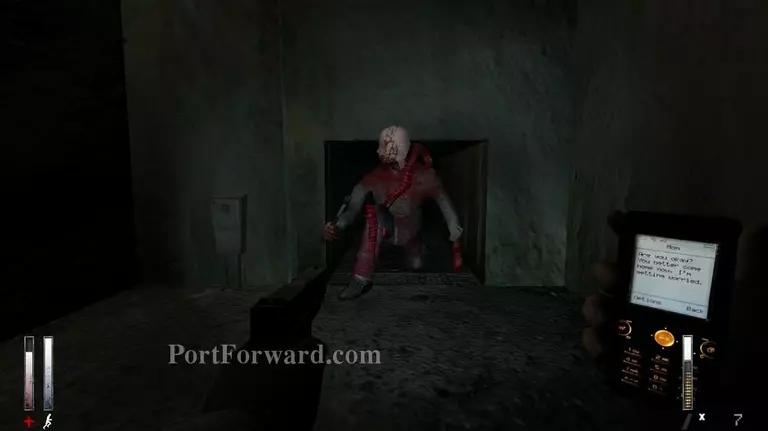
AHHH!!
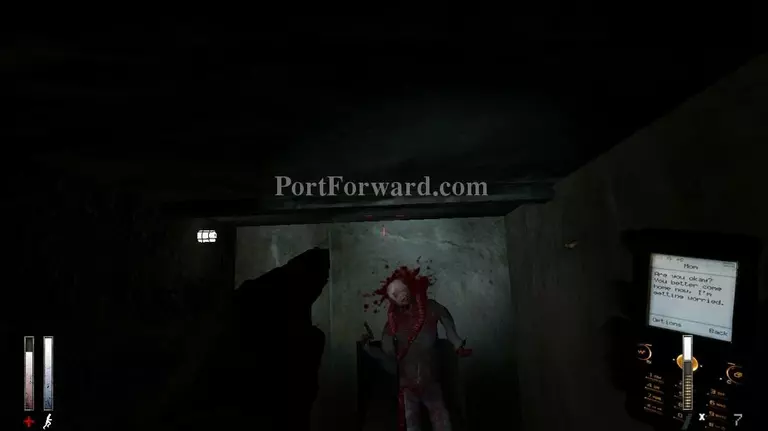
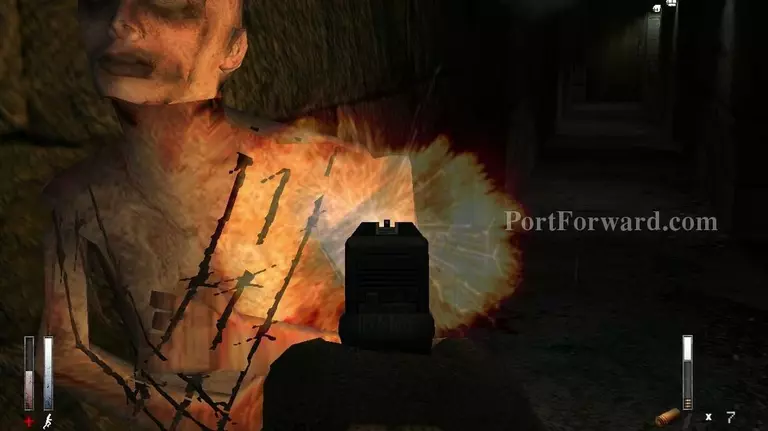
BLAMBLAM
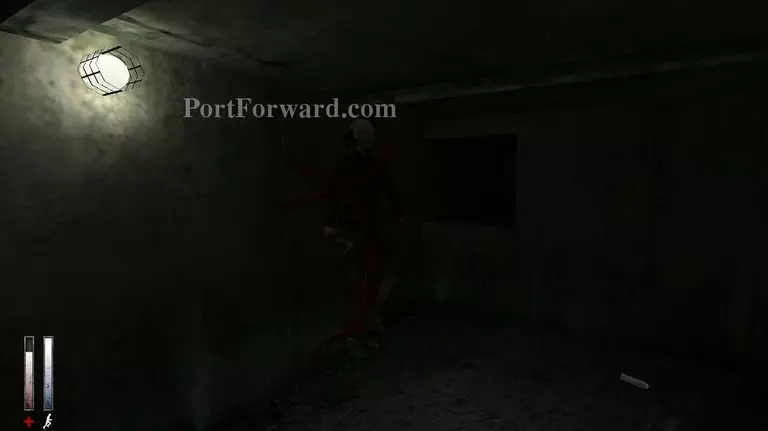
For some reason people seem to think you have to face these things head on. Just stand to the side and you will never be hit.
This next part can be slightly tricky, 4 enemies swarm you at once.
Just stay back, make sure you have plenty of ammo, and your health is above 75%.

I end up running out of ammo when there's still a couple left.
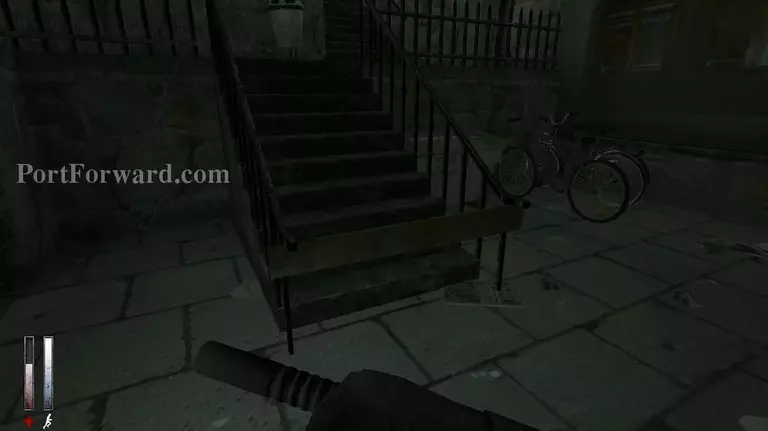
Once they are all dead, break the board covering the stairs.
HA! The guy on the wall just hit his friend!
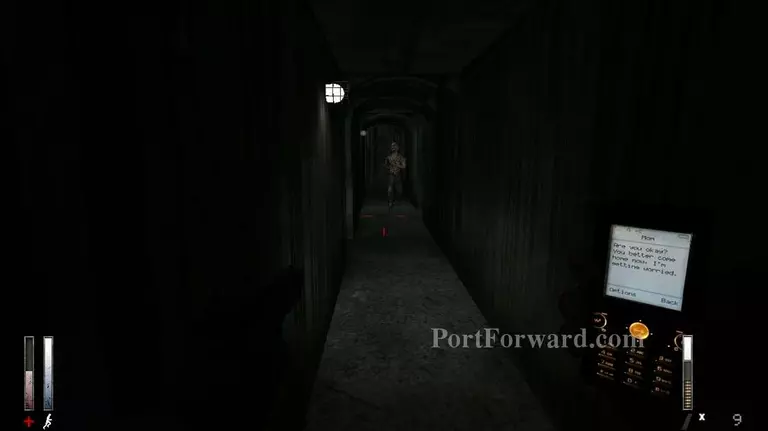
This Sewmo starts at the end of the hall. There is also one around the first corner on the right.
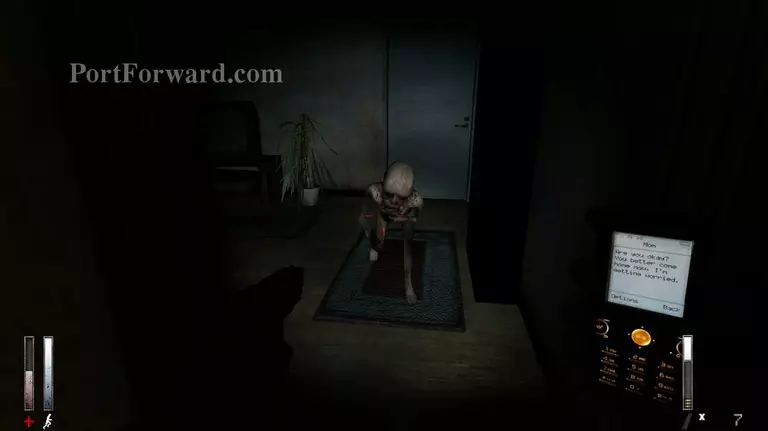
Looks like the apartment from earlier...
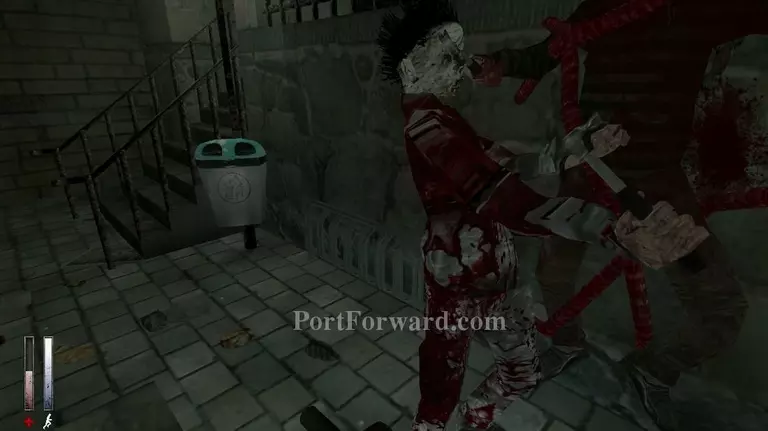
Chainsaw revs Uhhh....
SMASH

RAAAAAGHGH

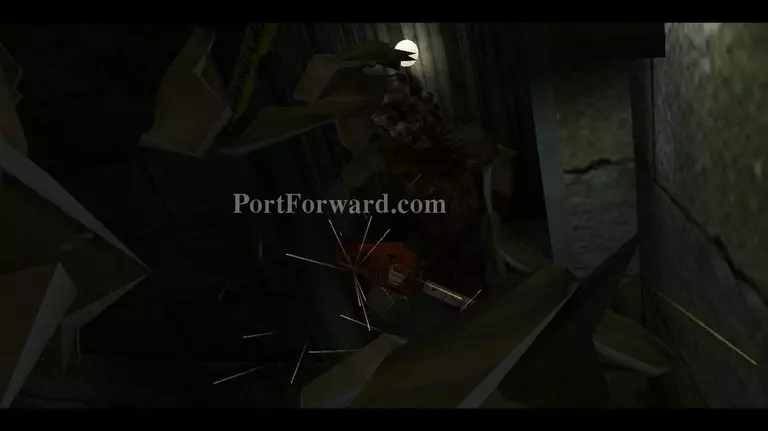
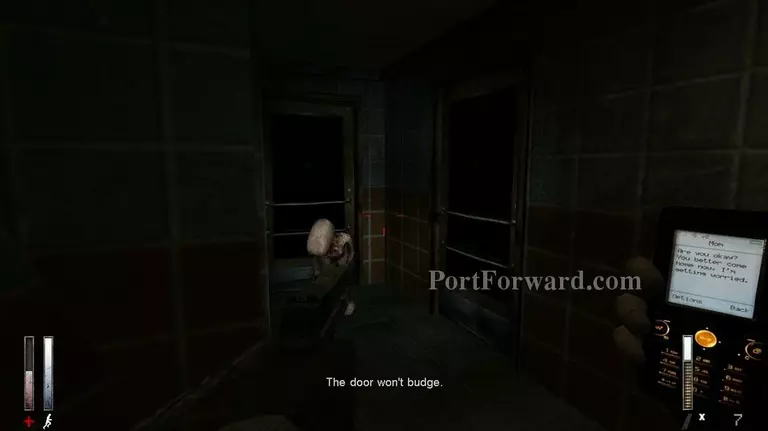
What I am about to do is very dangerous, the Sawrunner is the most powerful mobile enemy in the game being able to kill you in one hit.
If you can get around him you can get back to the door.
Go back through the door where the Sewmos where to trigger a loading point.

When you go back the Sawrunner will despawn and you can go into the room he was in for an M16.
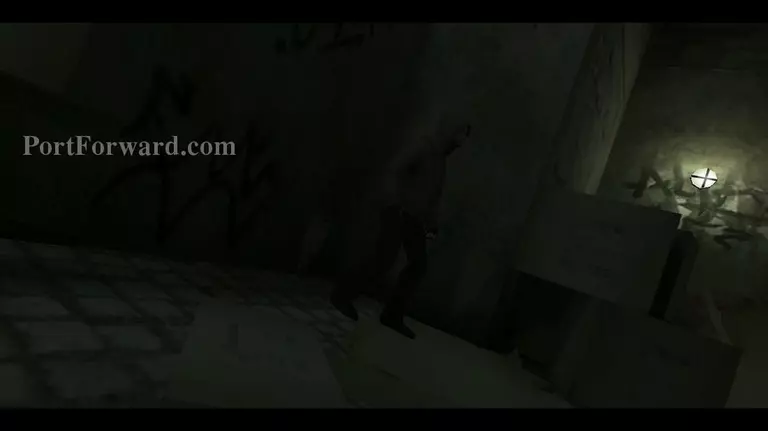
Simon continues along normal.

HMm
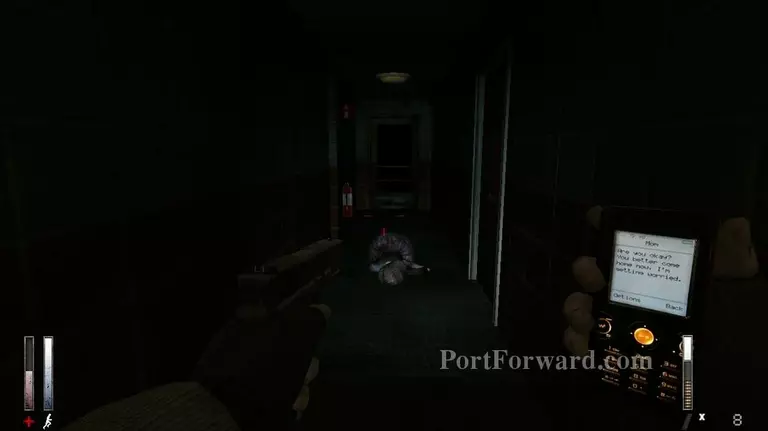
There is no killing Sawrunner so you have to simply run away.
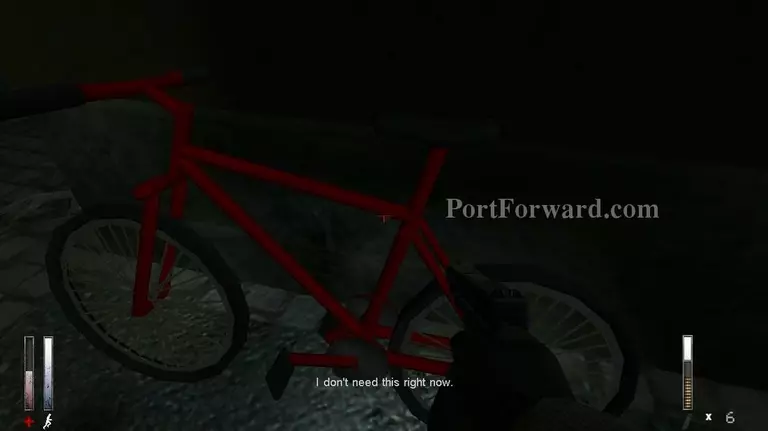
Someone didn't fix the bike texture :p

The right path has some ammo, straight ahead is where we need to go.
Also... BABEYS

There's another one around the corner so get it too.

Small Cramped Hallways: The Game
Also.

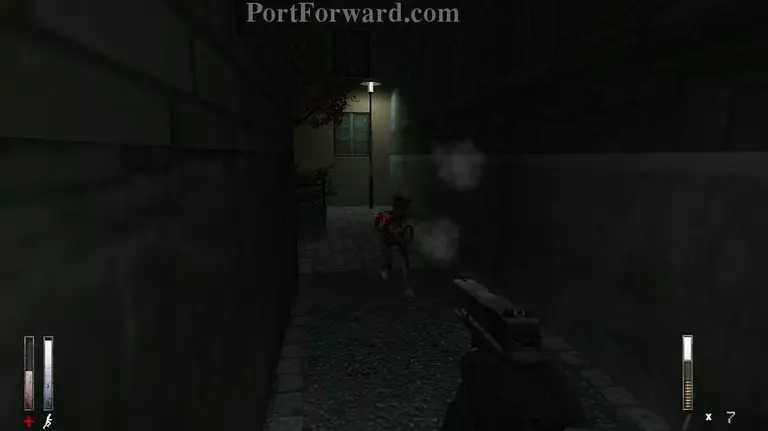
I swear, the Faster is the only enemy that does this.
There is also a BABEY in the room where the Faster came from, including an easter egg.
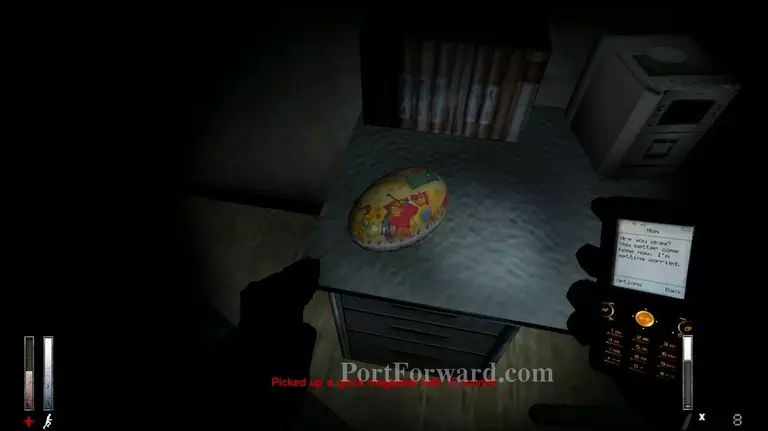
Literally.
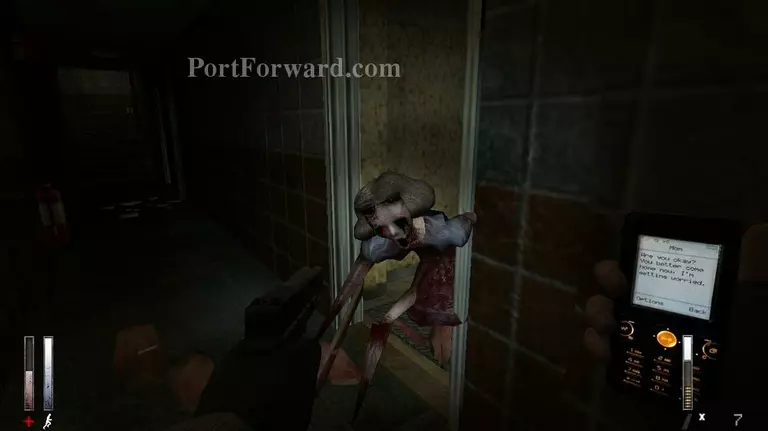
And more BABEYS. When you kill it a Child spawns behind you. The door on the right has some ammo.
Also a Faster spawns behind you.
The door on the right has some more ammo.
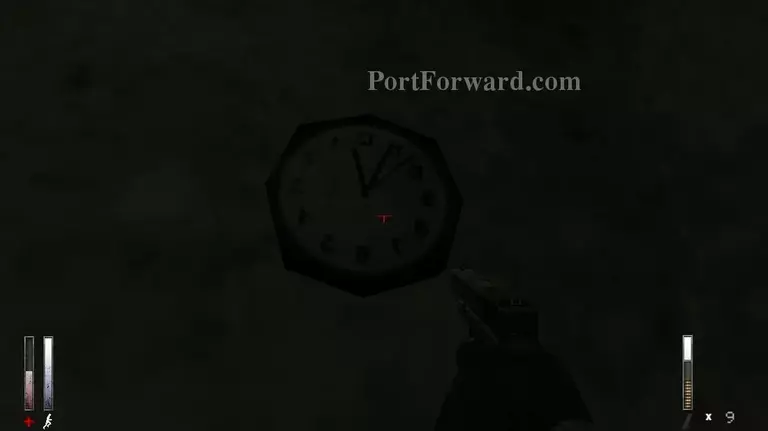
I think some thing is wrong with this clock...
Also when you get back out the this room...
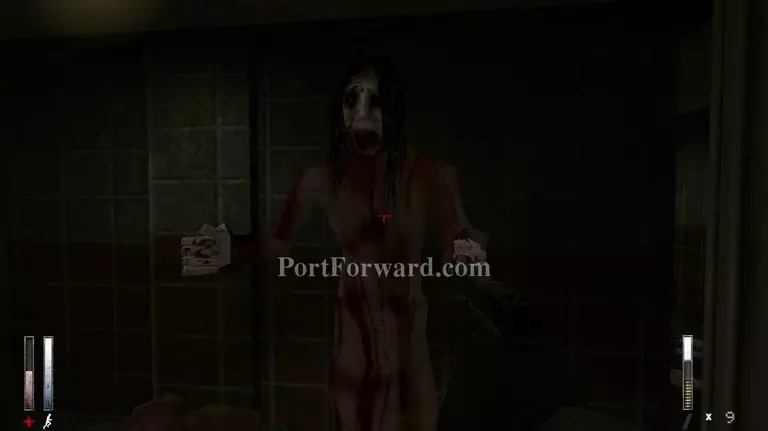
this happens
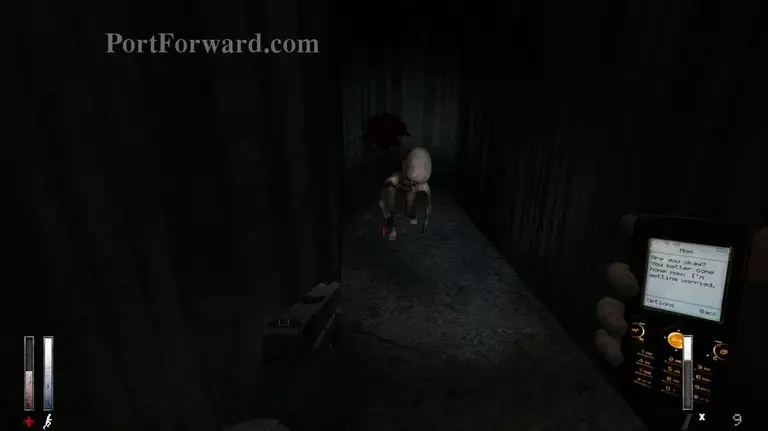
There is 2 Sewmos once you hit these... crawl spaces... I have no idea.
This part of the game really throws all the Babies at you.

There is a little part where you can walk along to get past all this crap.
This is one of the prettiest parts of the game.
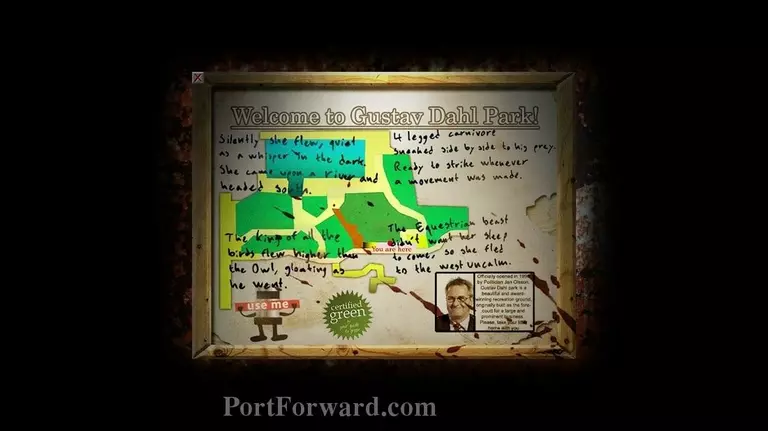
There are 4 statues around the park, they correspond to the 4 messages written on this board.
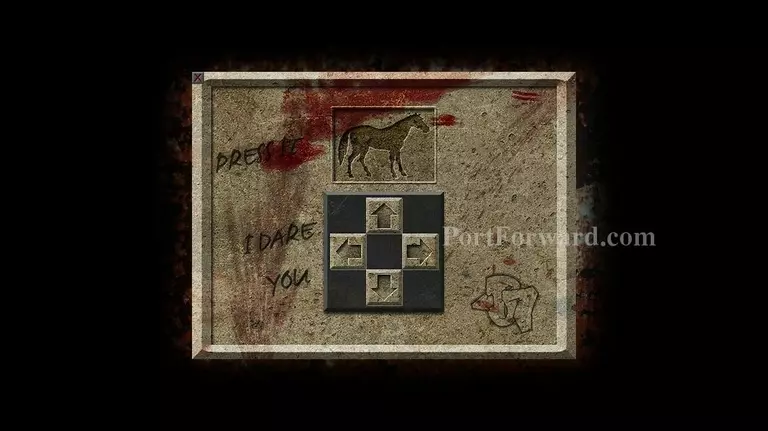
Horse: Up 1, Left 1

Owl: Down 1
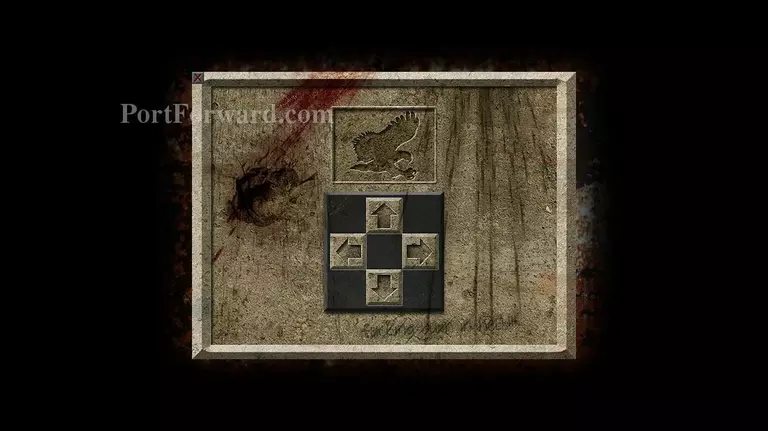
Eagle: Right 1, Up 1
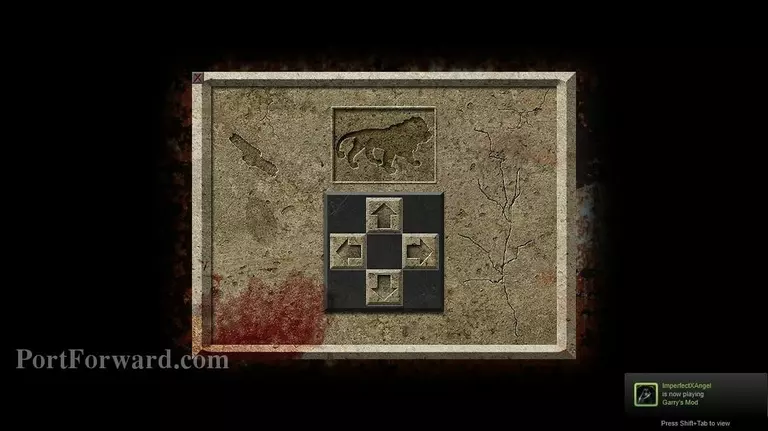
Lion: Left 2
The shed door unlocks once all the statues are in place.
There is a key and a Hunting Rifle. The Rifle is only really useful during one part of the game coming up.
Also when you get out of the room.
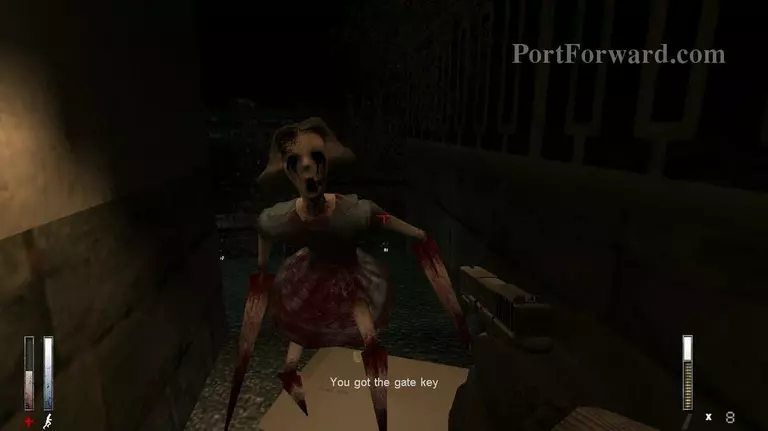
The key opens up the chainlink fence; if you dropped anything you can go back and pick them up.
The Hunting Rifle is the most powerful weapon in the game, unfortunatly, it isn't very practical making it almost useless. It is VERY useful, however, against the enemy up ahead.
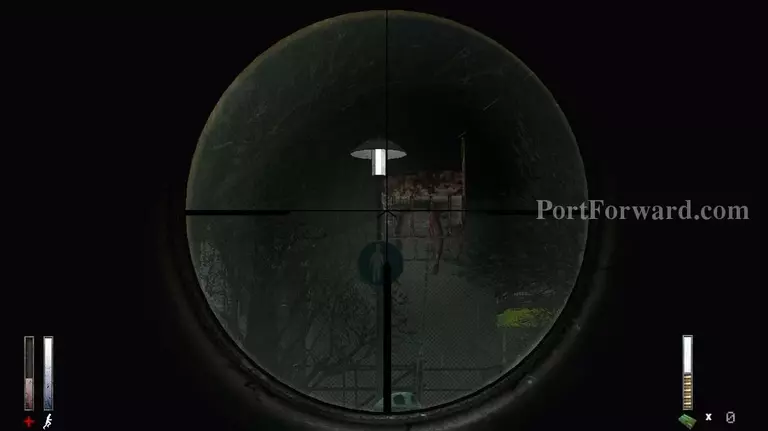
The TL Trading building is locked so we need to find a keycard in Waspet Gardens.
So here is Waspet Gardens, one of the most system intesive areas of the game.

RAGH!
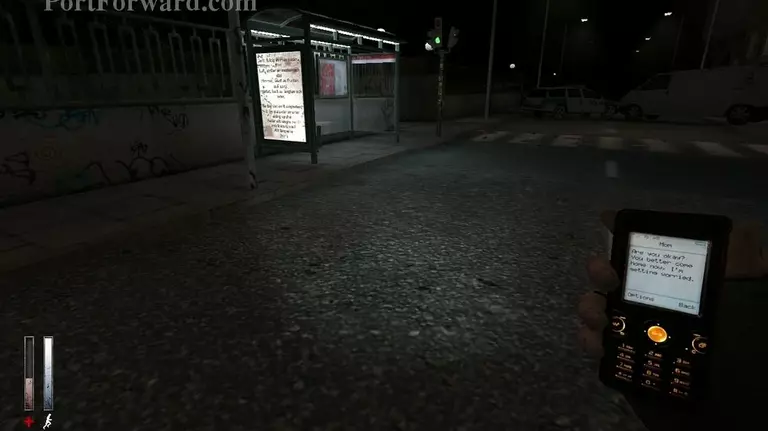
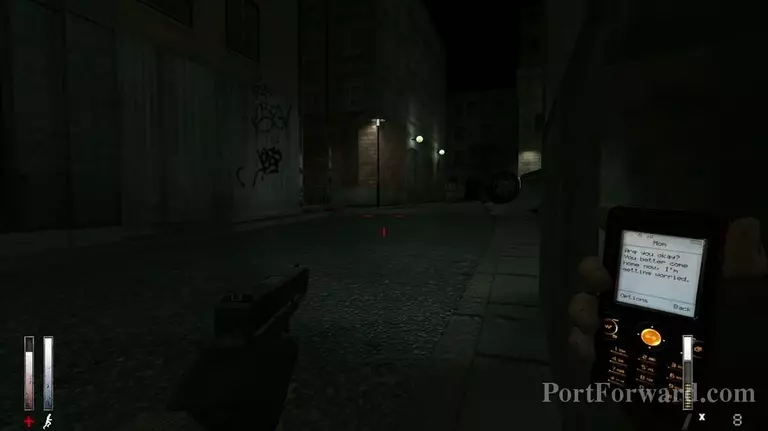
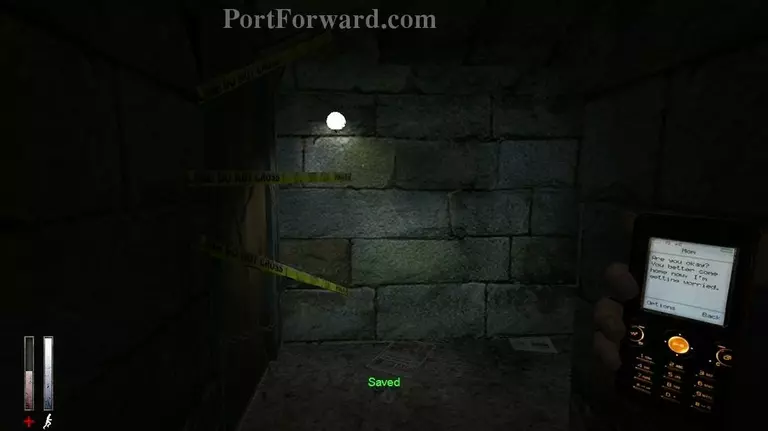
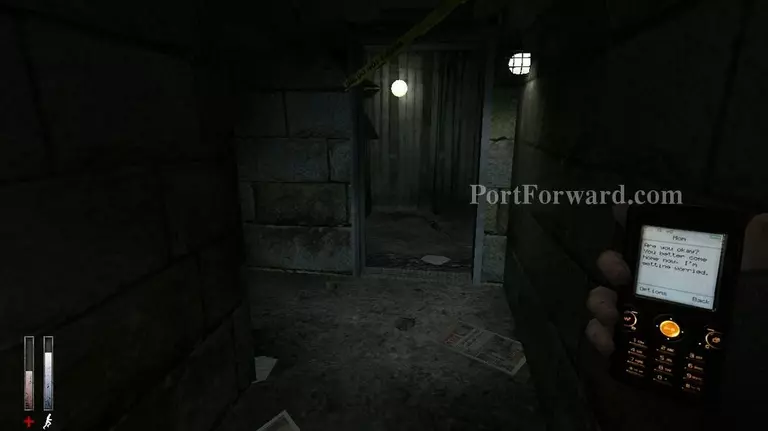
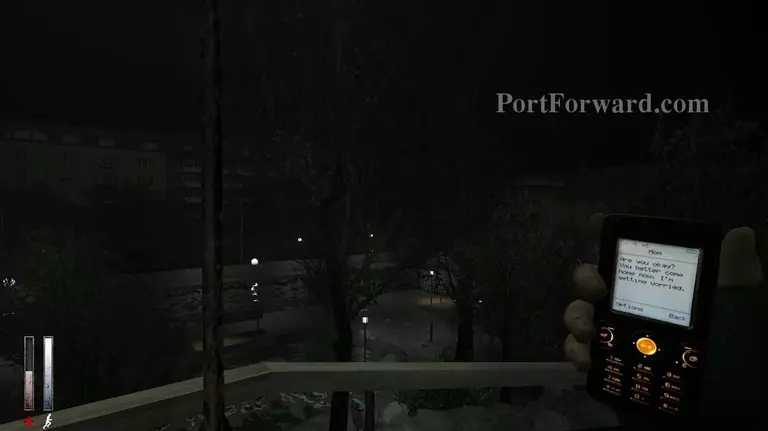
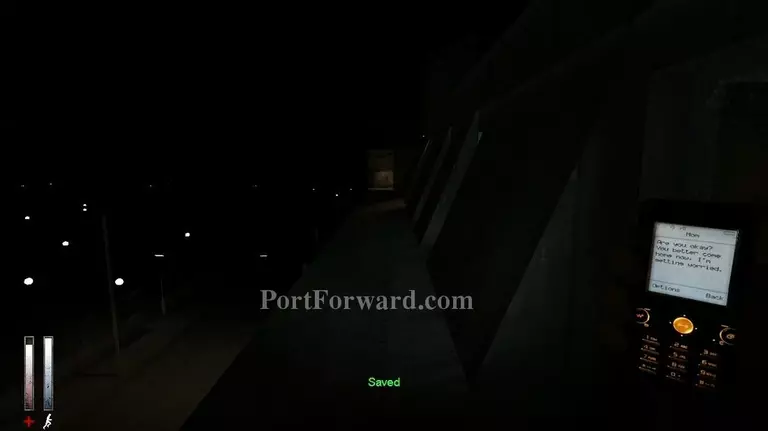
Someone is calling us...
911!
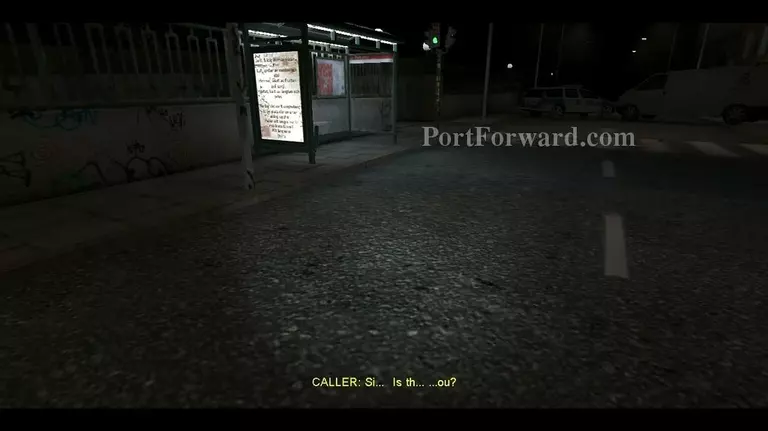
I guess not.
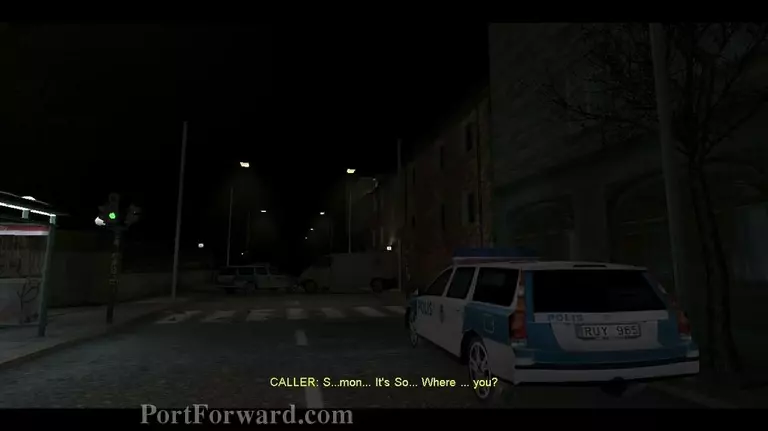
Spoiler: The person calling us is just one the roof above us, the call should be going through.
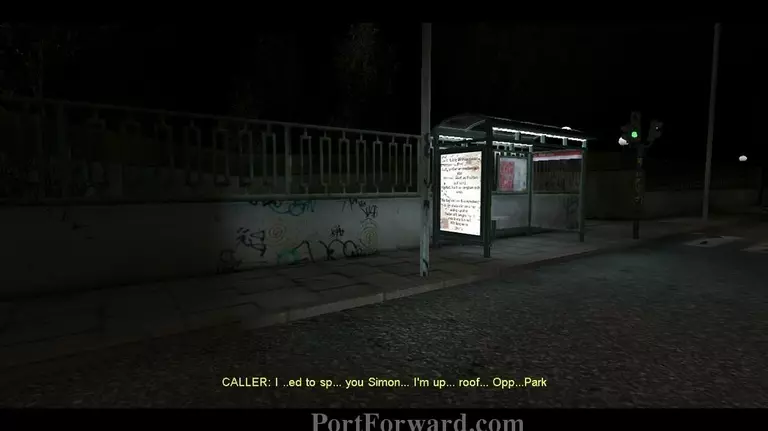
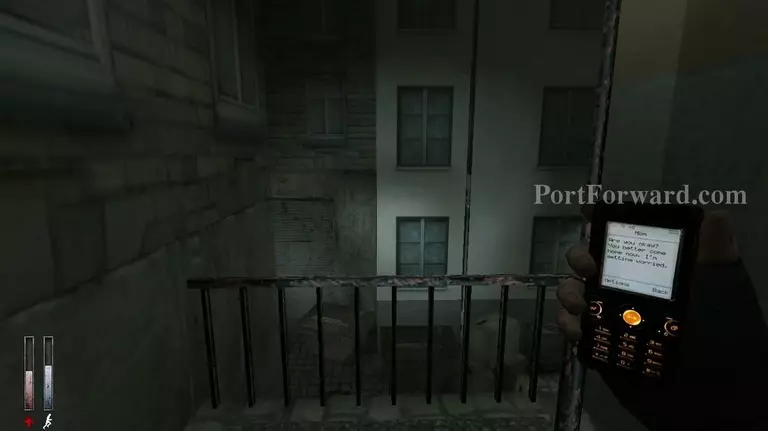
New Objective: Get on the roof.
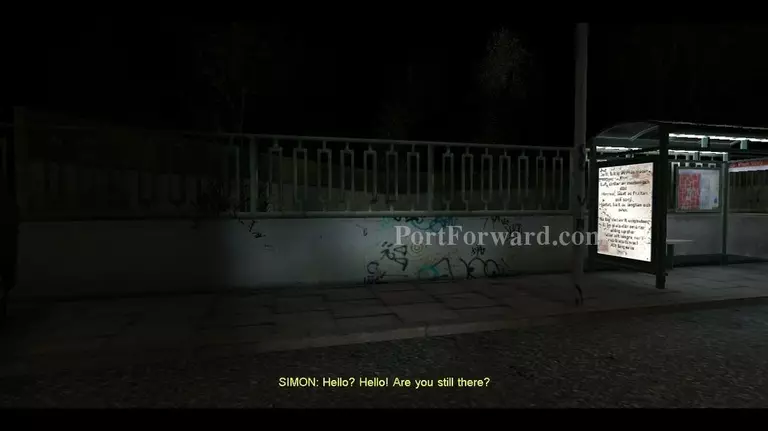
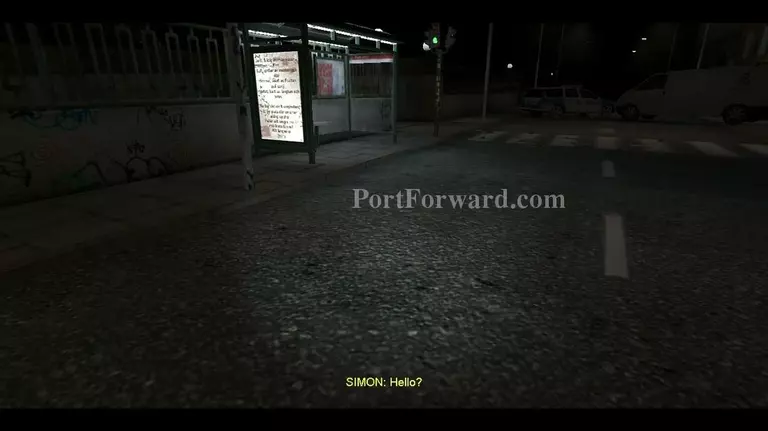
The call drops.
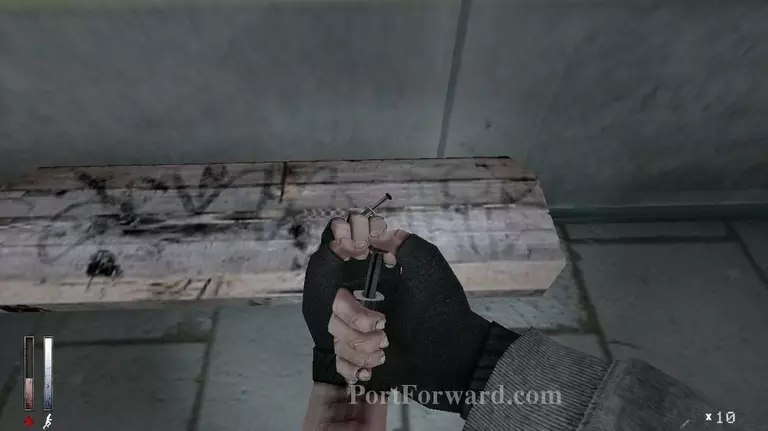
I have the max amount of syringes so I use one.
EWW Simon, holy shit man! Is that infected?
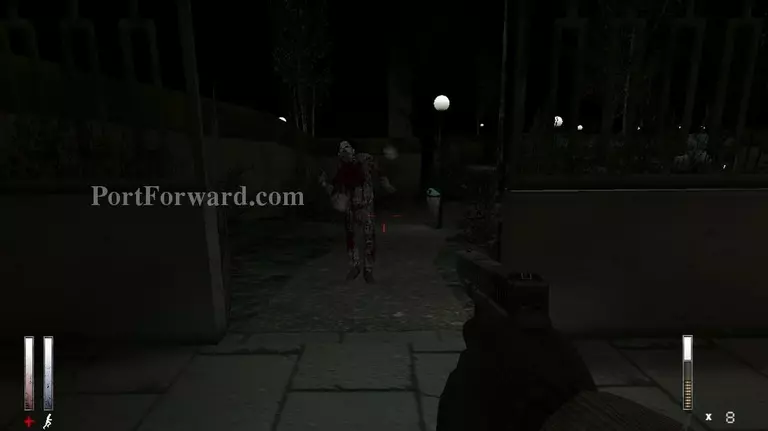
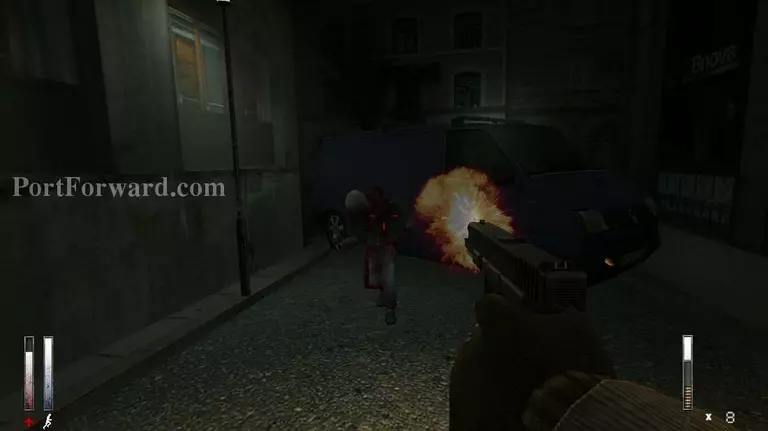
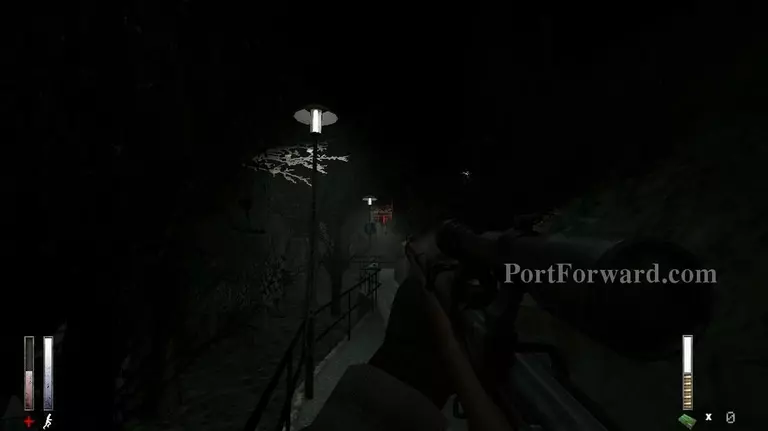
There is a lot of Slowers in the Gardens, so try to lure them out and shoot them from the gate.
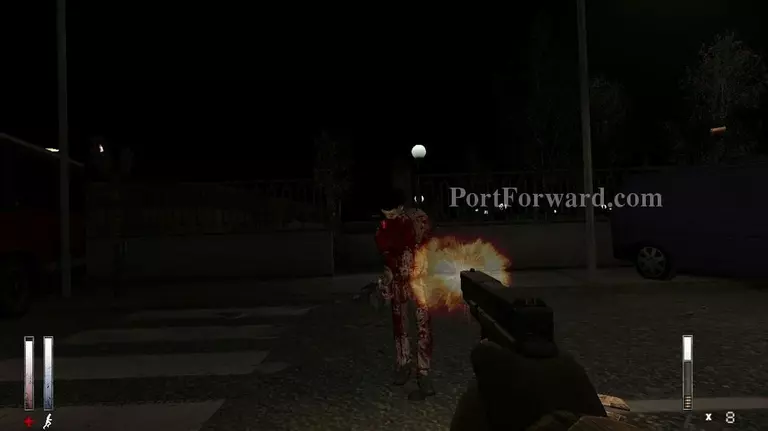
There is like, 8 Slowers in here and the game may lag a bit depending on your machine.
Well what do you know? The doors are locked! What a surprise. I need a Jill Sandwich.

There is a shovel and a map of the area; the map shows different areas you can dig for ammo.
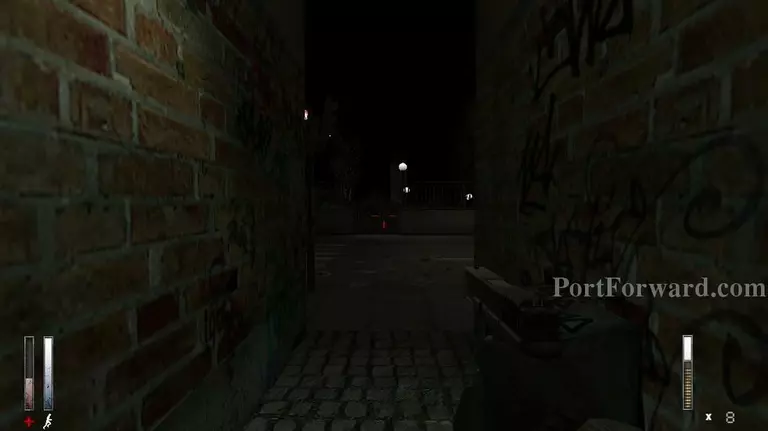
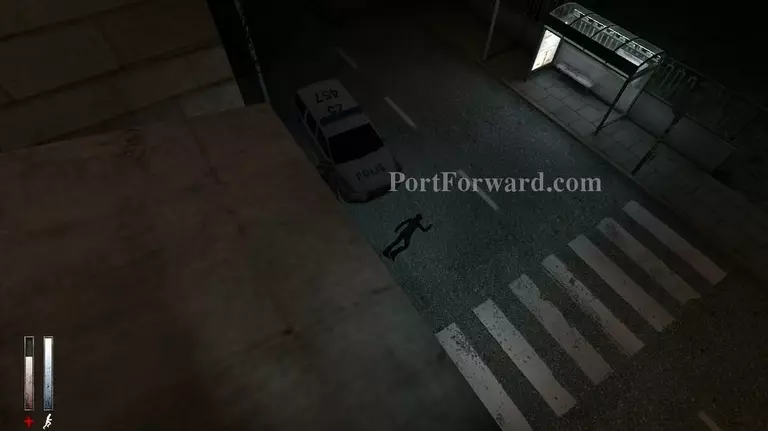
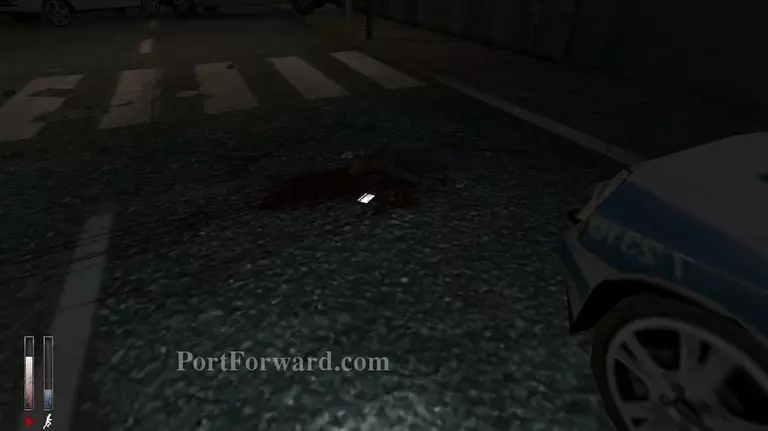
The key is found behind the bus stop.
Once you get into the building you can finally get up on the roof.
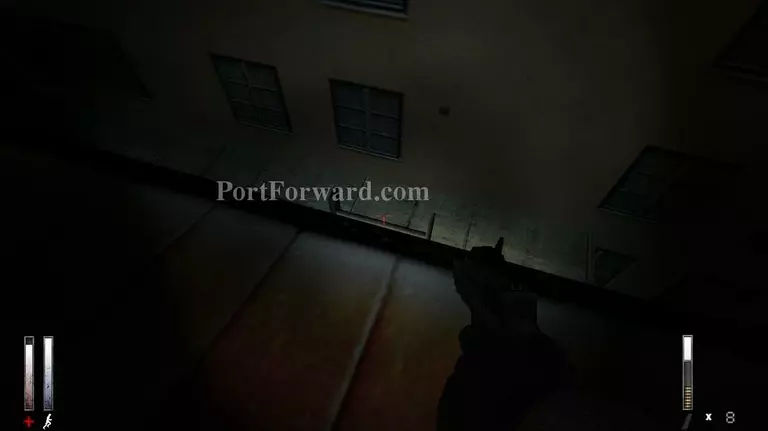
There is some M16 ammo down to the left.

Once you get to the highest part of the roof, the longest and most drawn out cutscenes of the game triggers. It is so very awkwardly acted, and on this 15 year old game engine it isn't any better. Let me some it up in 5 screenshots.
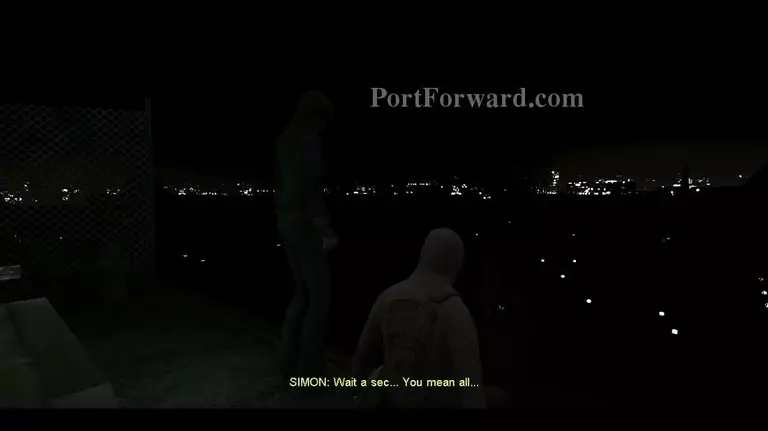
1
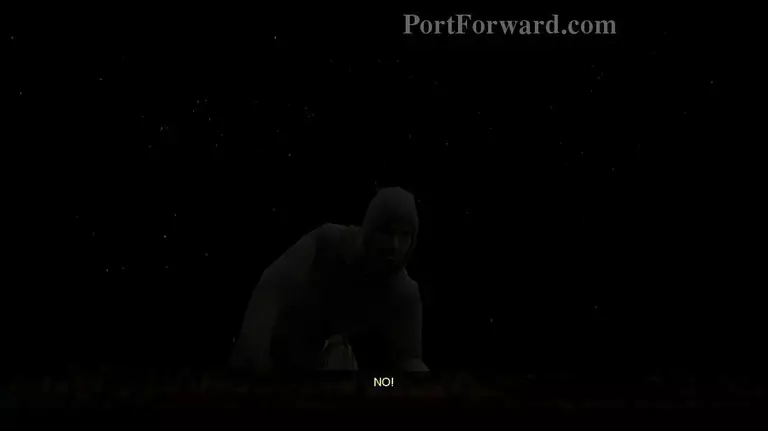
2
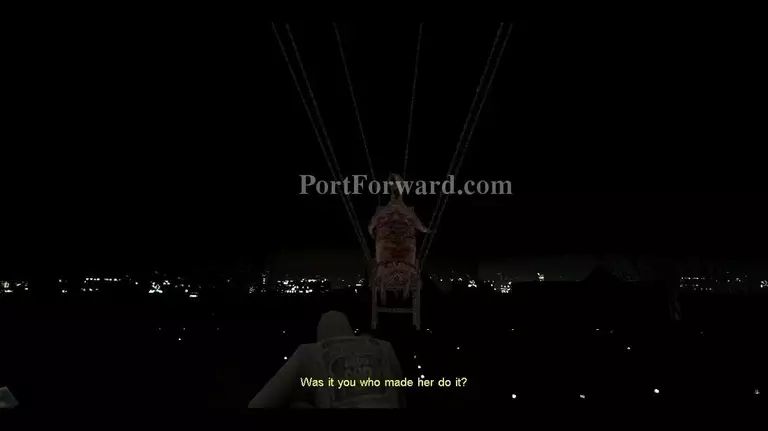
3

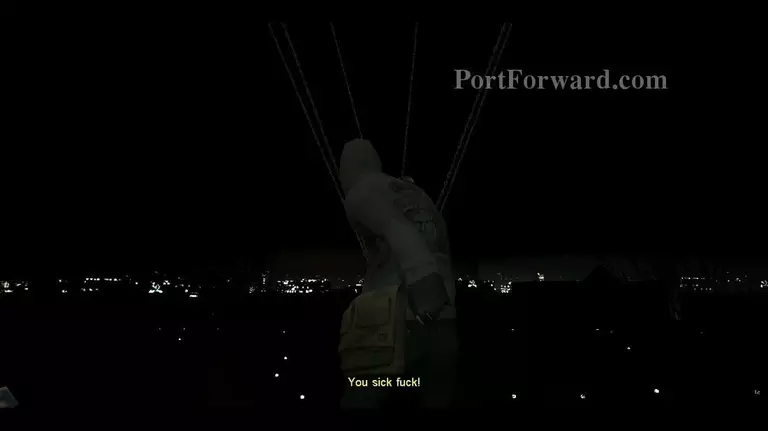
4
5
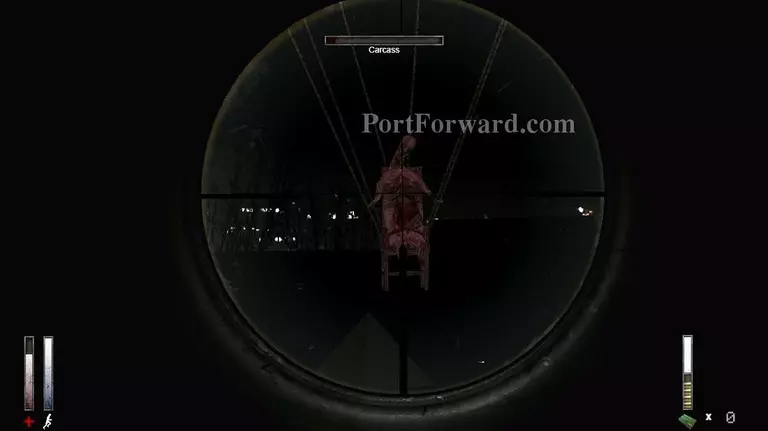
Anyway, the Hunting Rifle does absolutely incredable amounts of damage to Carcass. You can acually excape this fight by jumping down to where the window was when you first got up to the roof, but it changes the ending to the game. I'm going for the best singleplayer ending.
:c
Well... there is the card for the TL Trading building....
More Cry of Fear Walkthroughs
This Cry of Fear walkthrough is divided into 10 total pages.


