
This Dungeon Defenders walkthrough is divided into 13 total pages.
You can jump to nearby pages of the game using the links above.
11. Endless Spires
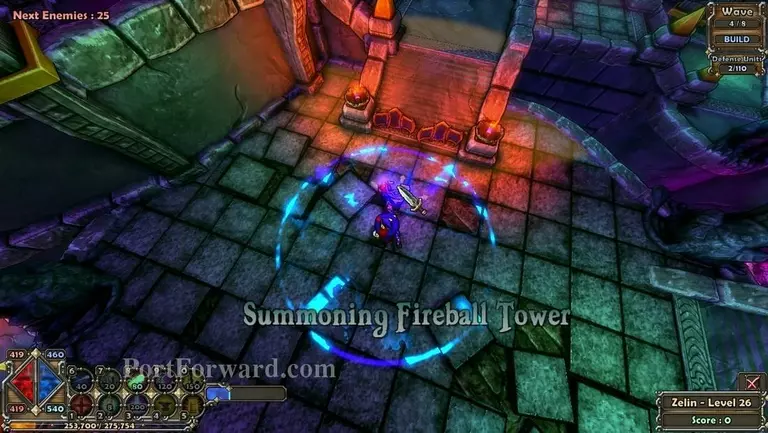
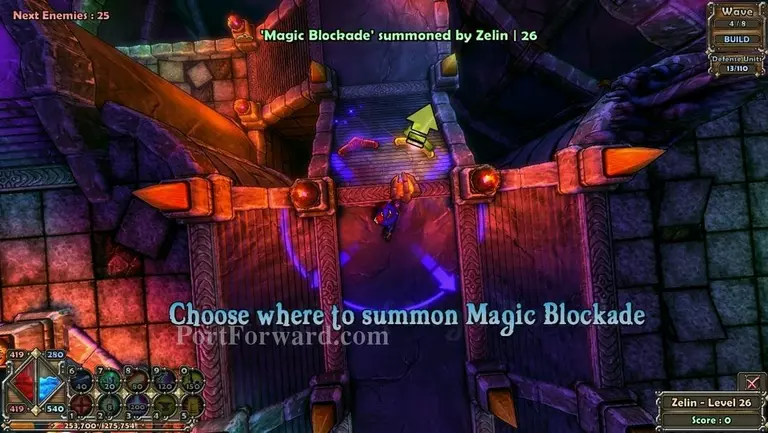
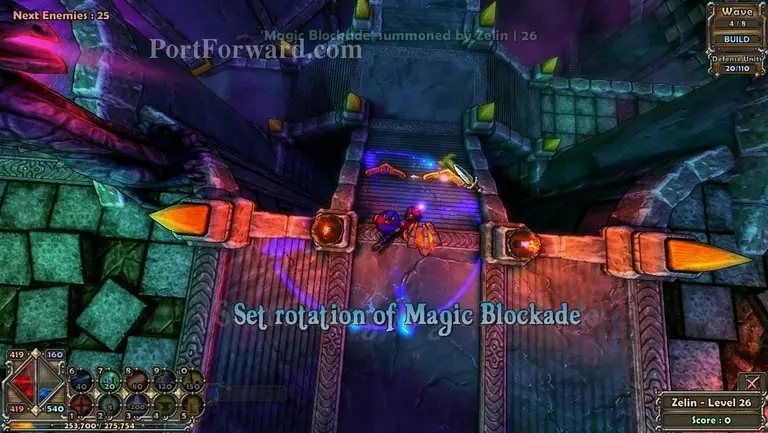
Start off with 2 blockades and a fireball tower over to here.
Another set of the same towers here.
And another one on the opposite side.
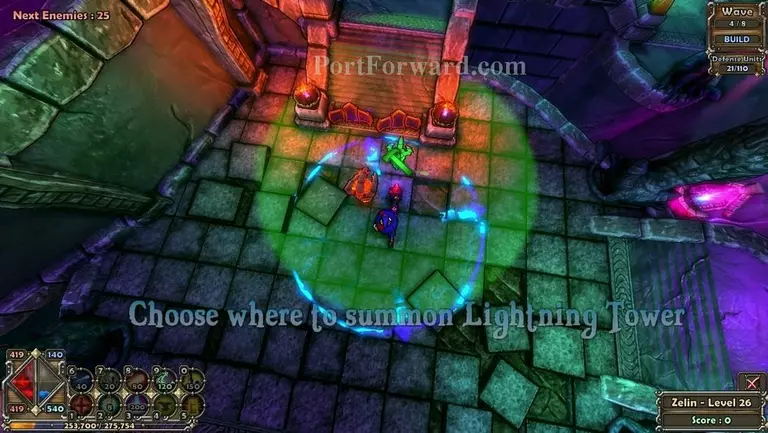
Had 140 mana left so i built a lightning tower over here.
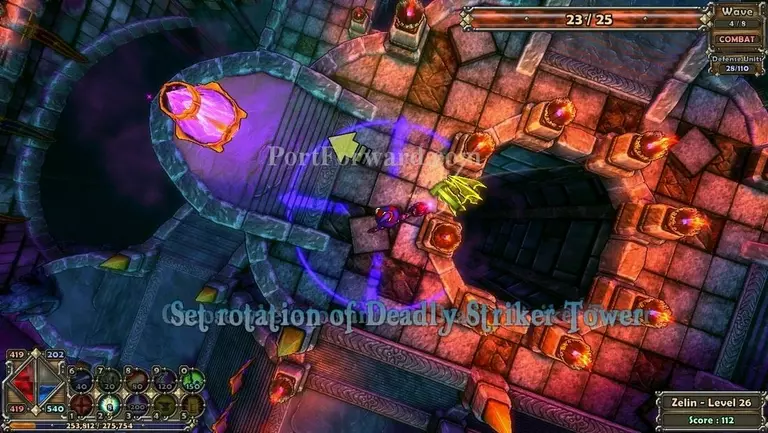
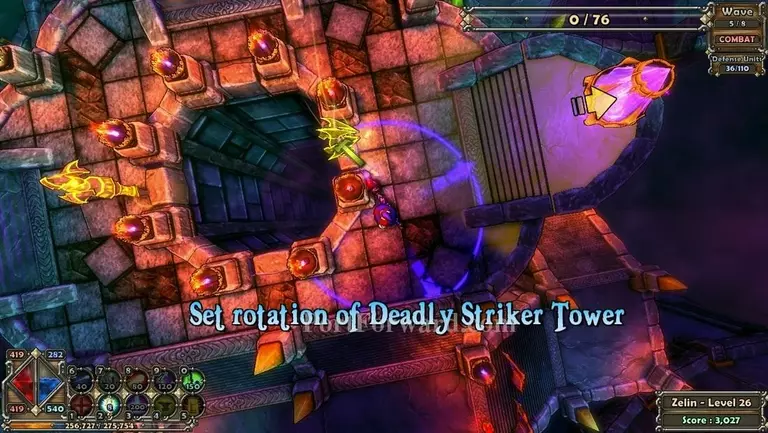
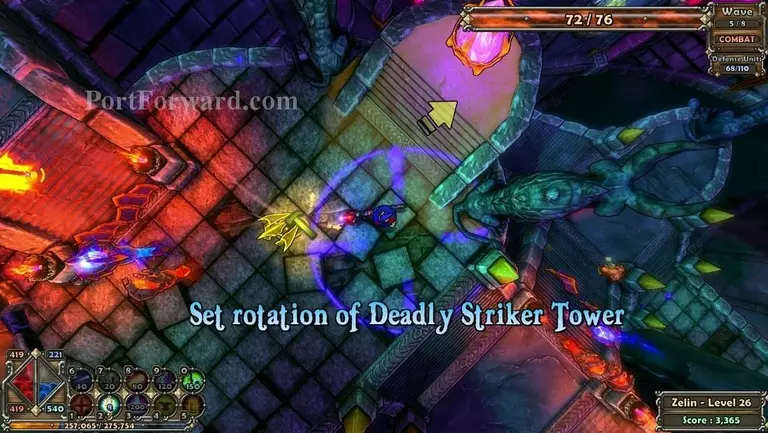
When you have the mana, build a DST over here facing the crystal.
And another one on the other side.
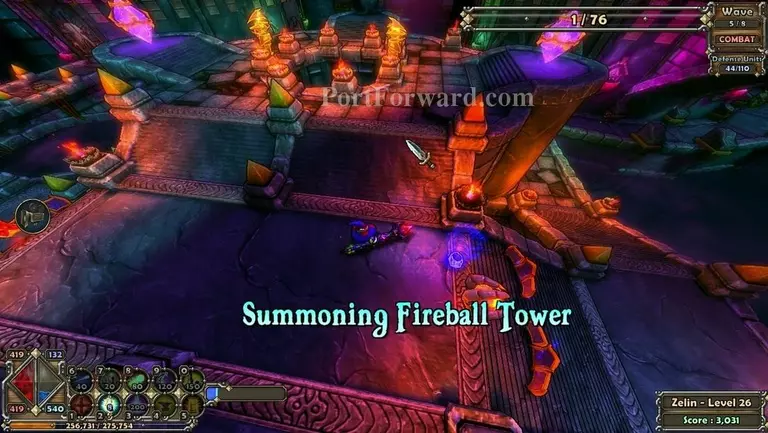
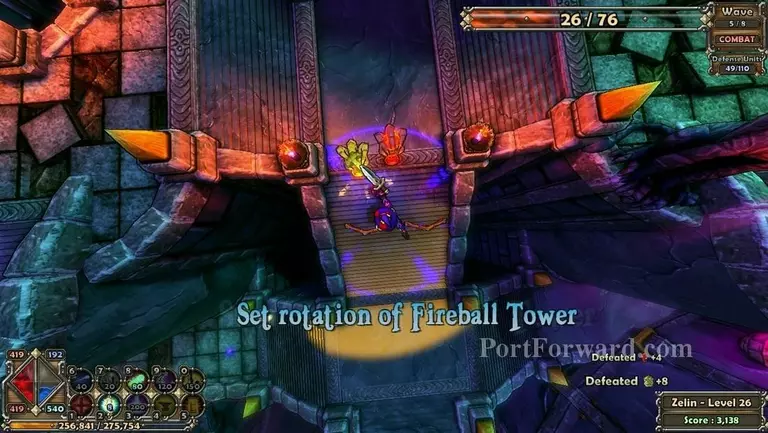
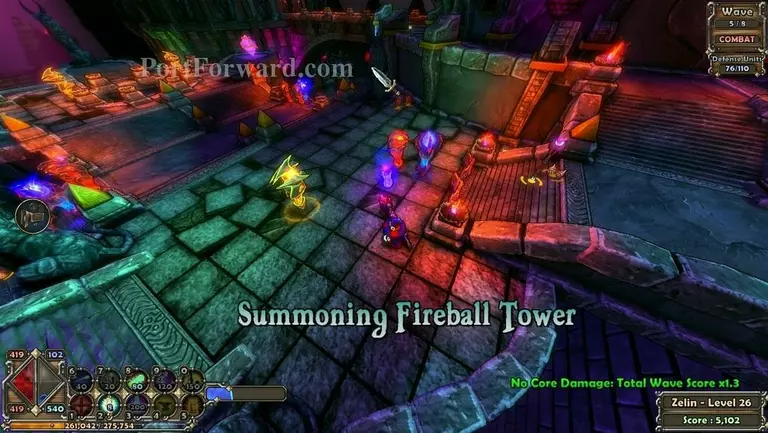
Make a second fireball tower on the stairs.
Another one on the other side.

A lightning tower to support the 2 fireball towers.

And one on the other side.
Make a third DST to face the third crystal.
Another fireball tower at this possition.
A lightning tower to support this side.
And a second lightning tower over here.

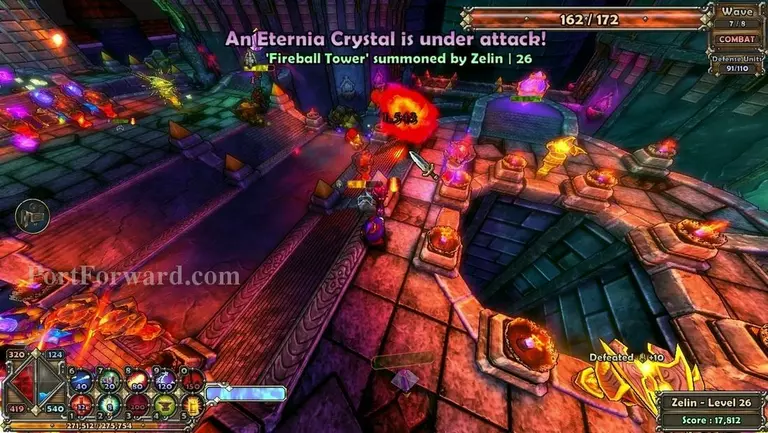
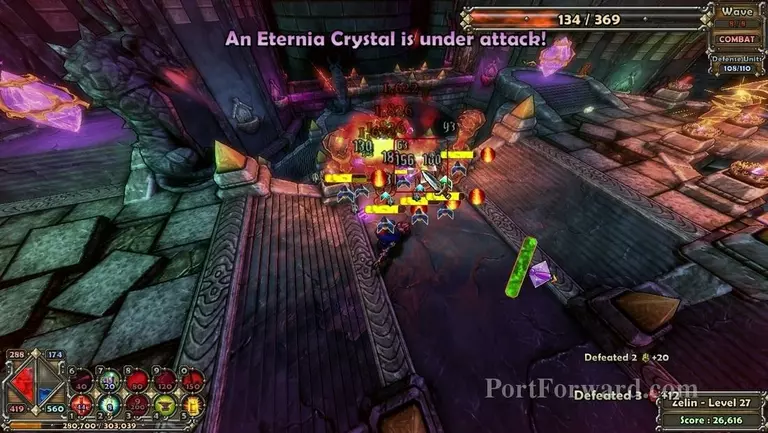
These ogres are a lot stronger than the ones you faced (as you will see in a moment). Just make sure to be there and repair EVERYTHING you can while using your ability with the hotkey of 2.

Second last wave, this one has two ogres though, one is the usual blue and the other one is orange.
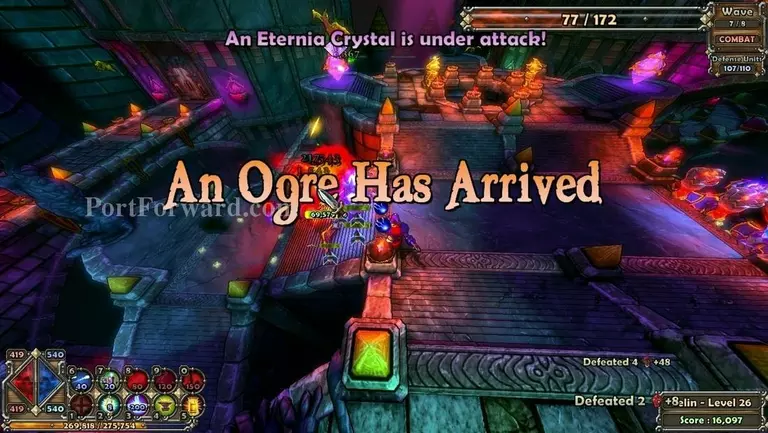
Problem is, the orange ogre has A LOT of health and will take him a long time to kill.
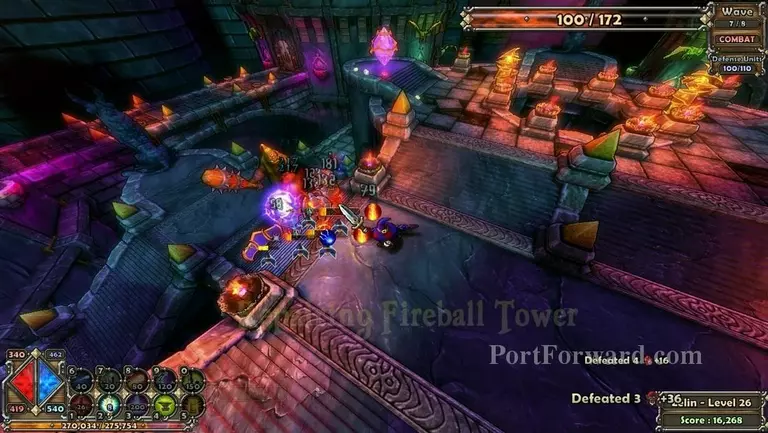
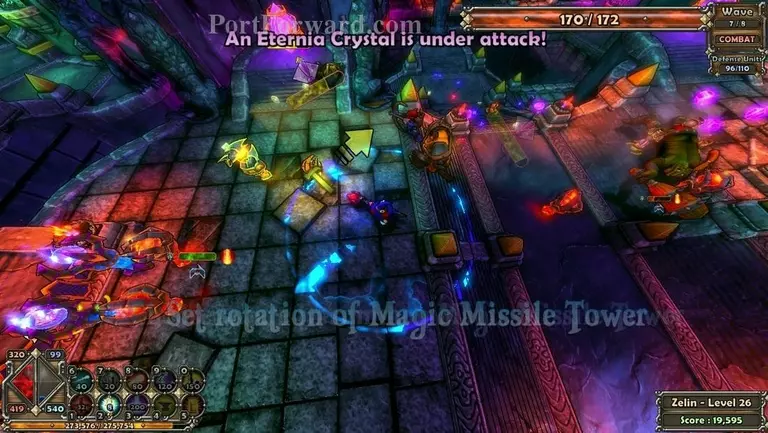
He even managed to...
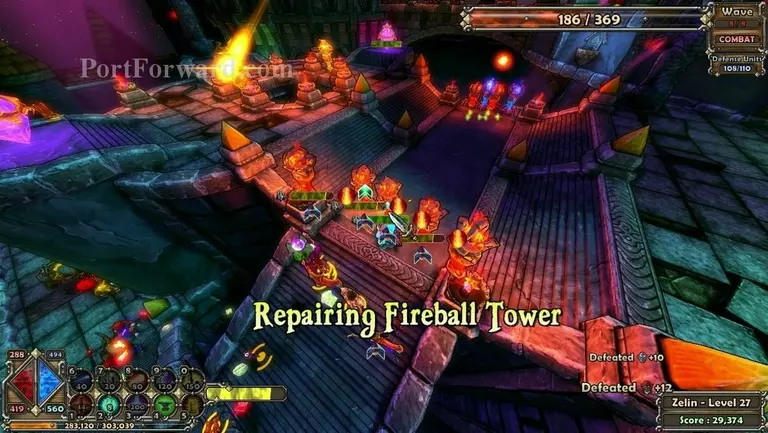
...destroy all the blockades and towers i had at that spot. I had to improvise. I built a lightning tower in his way.
While he was busy with it, i built a fireball tower over there.
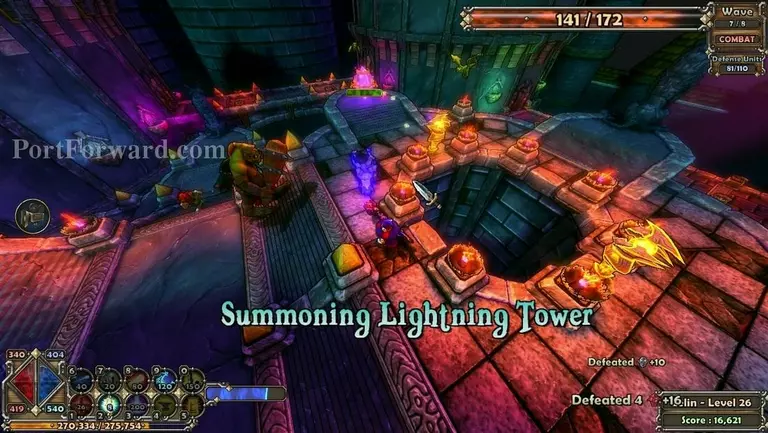
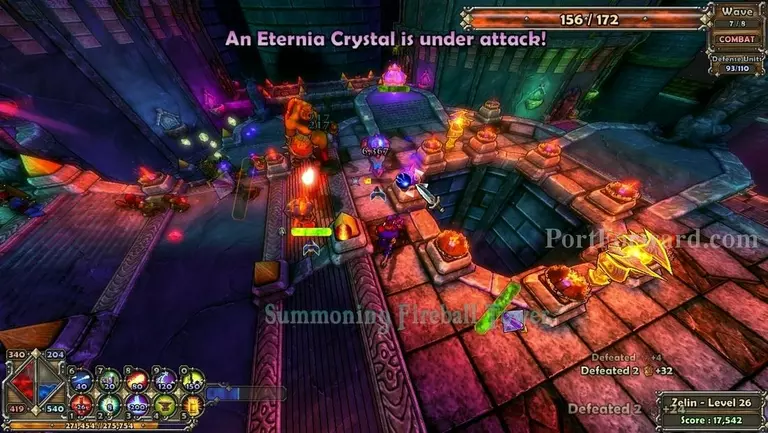
Then i built a second fireball tower and i managed to defeat him. The mobs have been attacking the crystal in the meantime though.
I built an MMT just to destroy them asap.
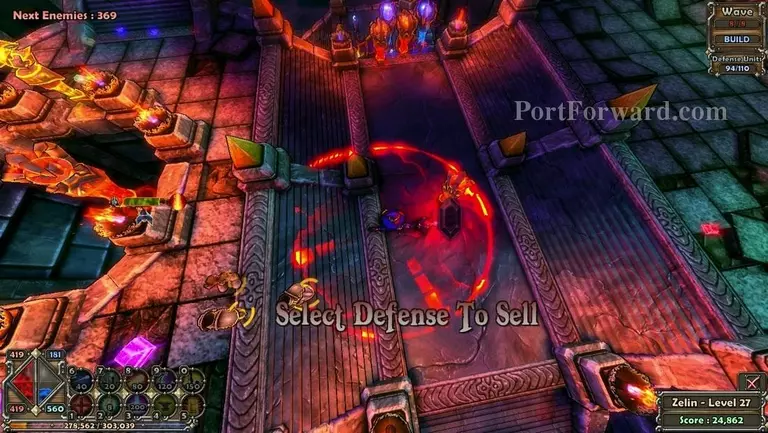
I sold all the towers i made in my desperate attempt to defend the crystals.
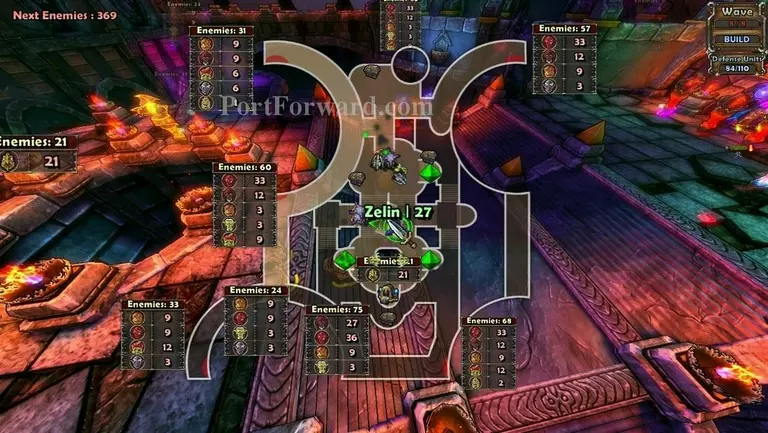
I checked on the map where the ogres would spawn.

And i got ready for the bastards. I recommend fireball towers against them, since they have the advantage of having a long ranged heavy attack.
This was the moment of truth and my last stand.
Sadly, the ogres were of no match to the mighty fireball spam. Cheap tactics, but i don't think anything else would've been better.

It wasn't over though, i noticed the other side was getting demolished just like the last time.
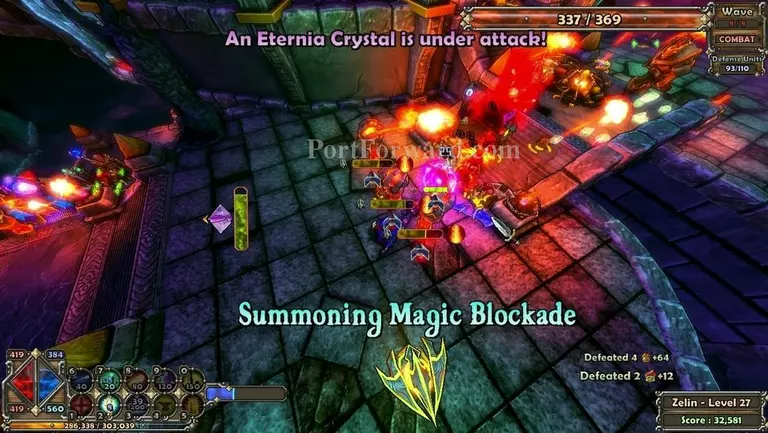
I tried repairing and summoning additional towers, and i was able to make it in the end.
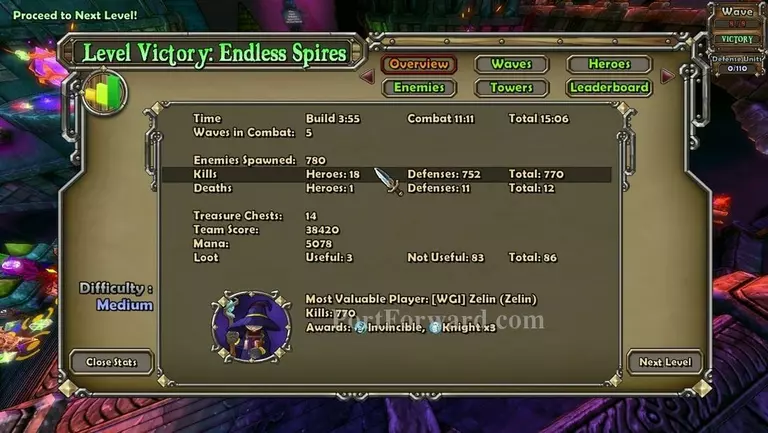
That's it for the mission.
More Dungeon Defenders Walkthroughs
This Dungeon Defenders walkthrough is divided into 13 total pages.


