This Halo 3 walkthrough is divided into 24 total pages.
You can jump to nearby pages of the game using the links above.
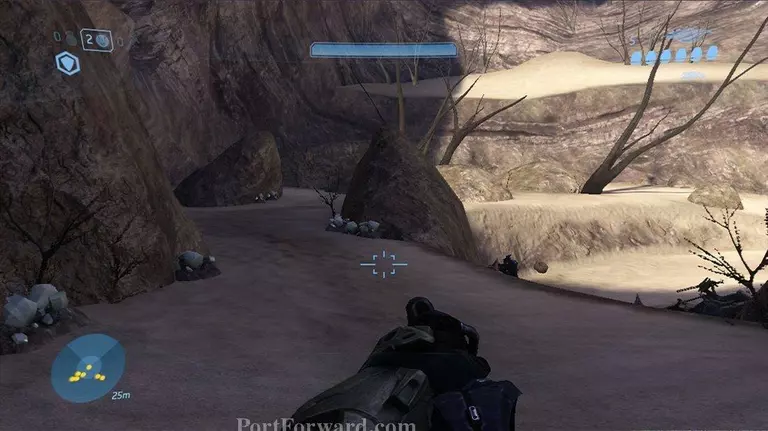
Refuge - Installation 00
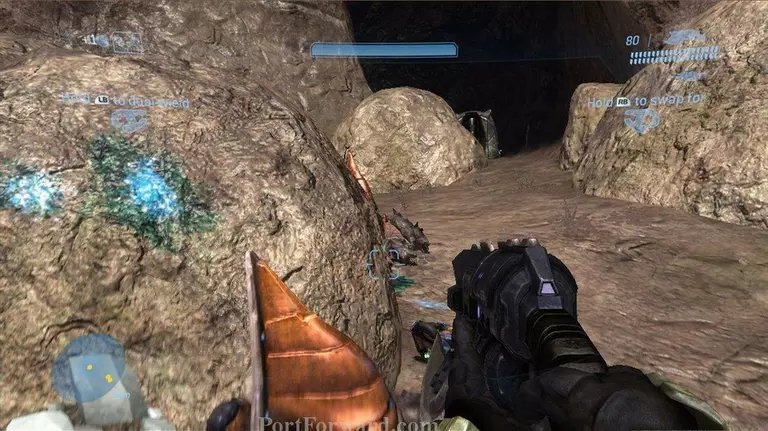
Go through the looped rock.

Just follow the marines, they will lead you to where you need to go. You will get to a structure.
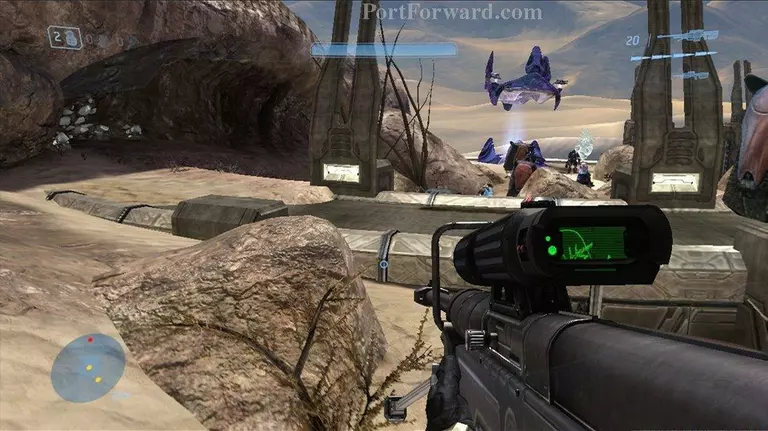
Kill the covenant forces here. Go towards the cliff and turn left.
Head in to the cave. You will be at another structure when you leave the cave.
Once every covenant is dead here, two hunters drop in to play.

Straight ahead from where you entered is the path out of here. Follow the path up the hill to the left.
At the top of hill to the right is a cave.
Drop down to the area below.
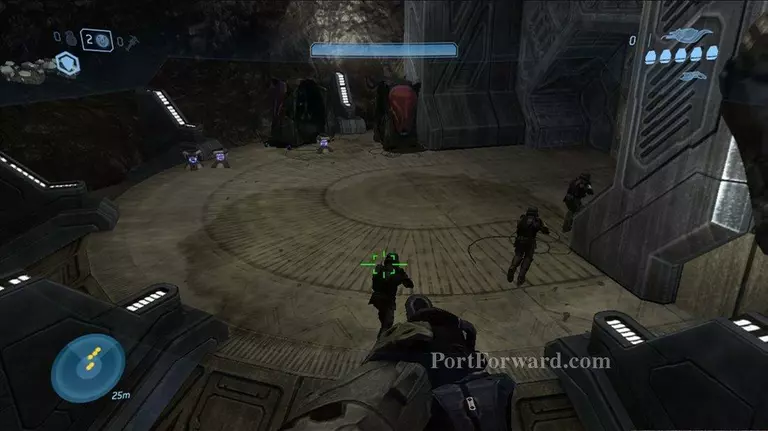
The door to the right is where you are headed.
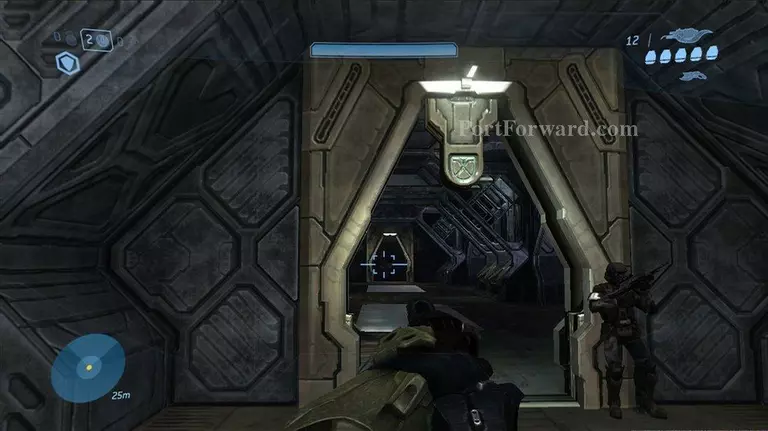
Follow this hallway to a door that opens for you.
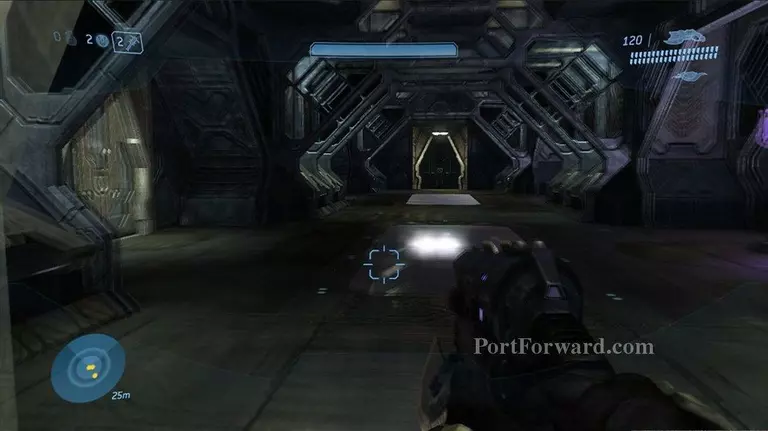
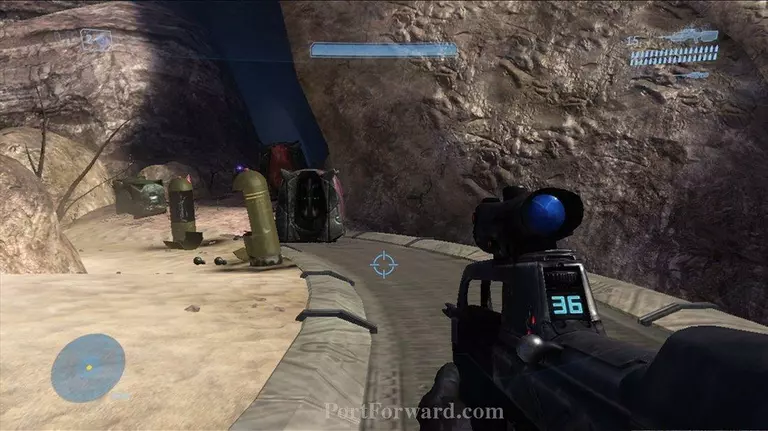
Once outside go to the left and follow the ramp down.
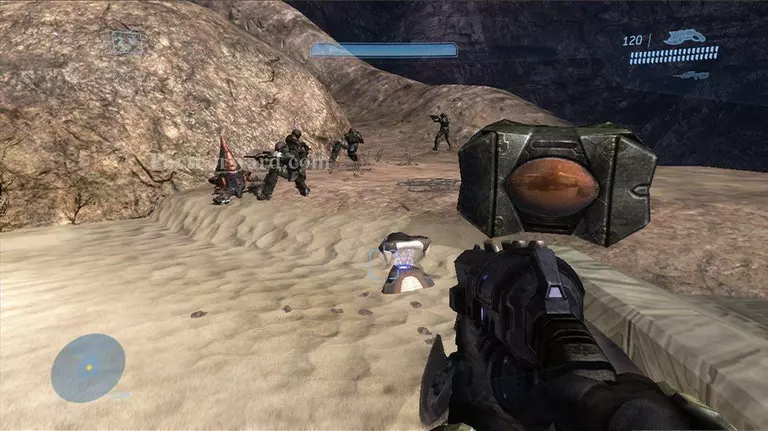
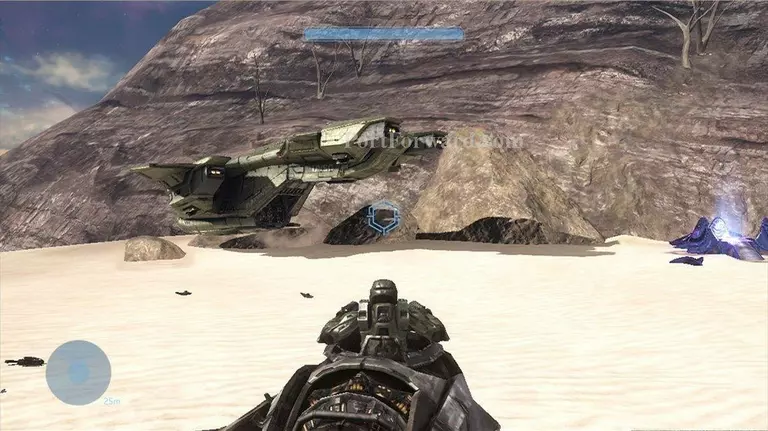
There are some covenant forces around this downed pelican.
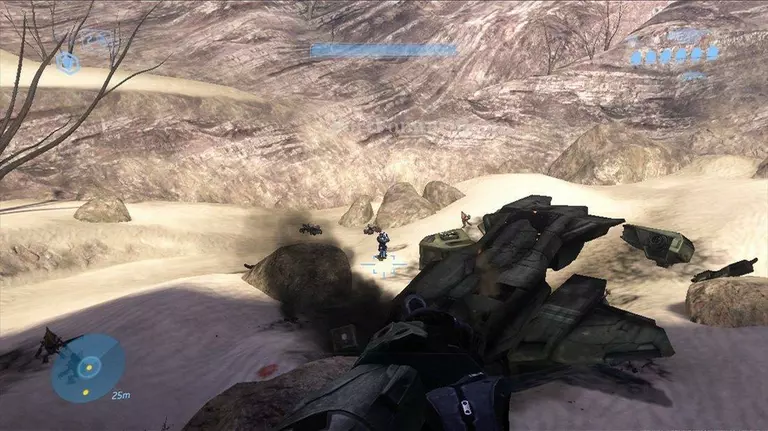
After the grunts and brutes are dead, some more brutes show up on the prowlers.
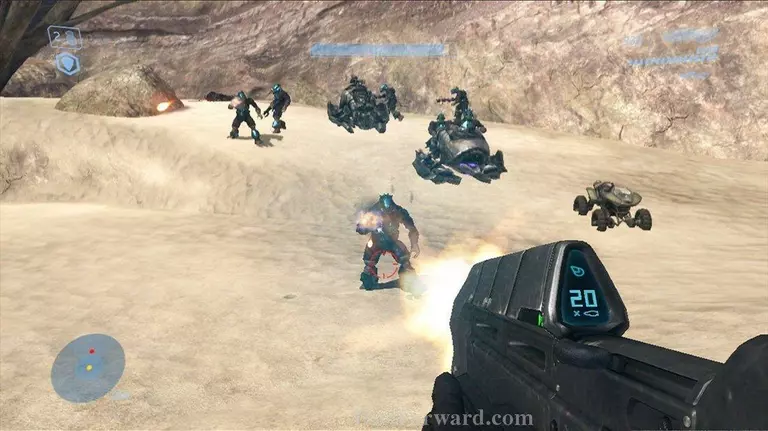
When the brutes are dead, climb on the vehicle of your choice.
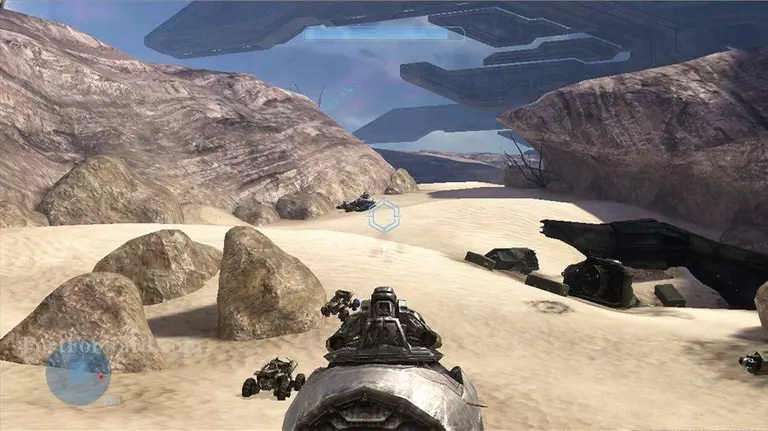
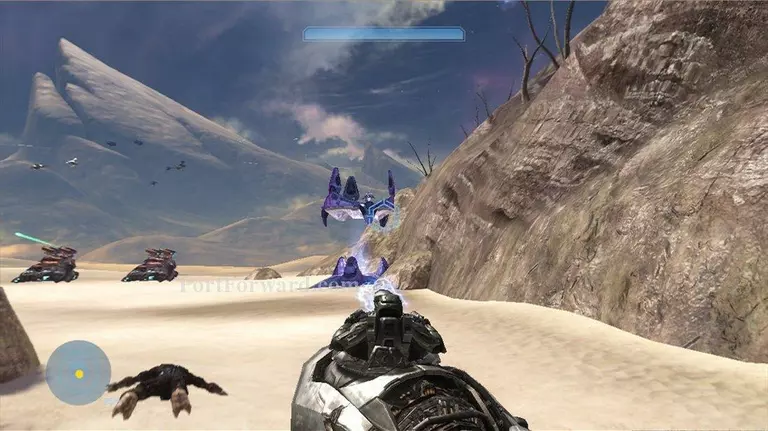
Go over the dunes to the right and you will see a crashed ship. Covenant forces are around that ship.
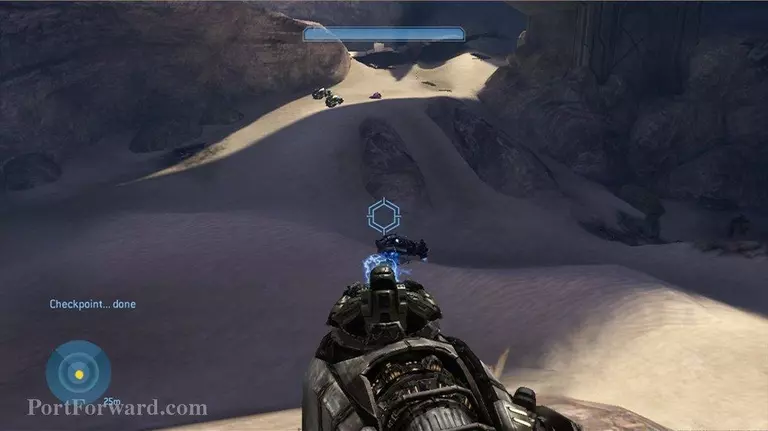
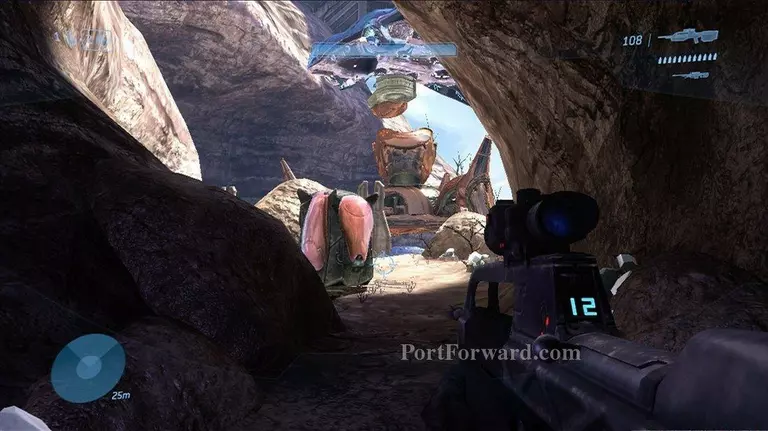
Then go around the right side of the ship. Follow this gorge to a downed covenant ship. There are more grunts here.

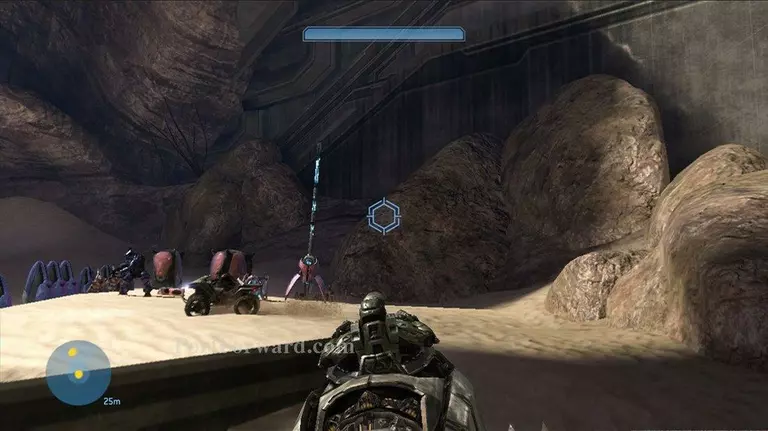
Follow the gorge past the covenant ship and you will arrive at a structure. There are those cycles and up the hill by the bridge, some grunts and brutes.
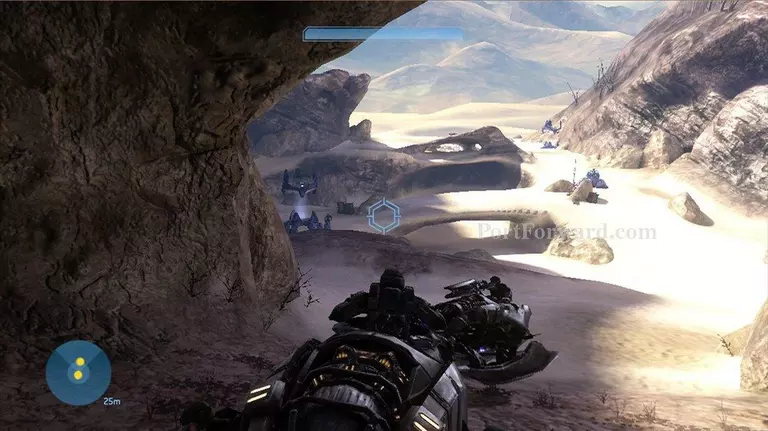
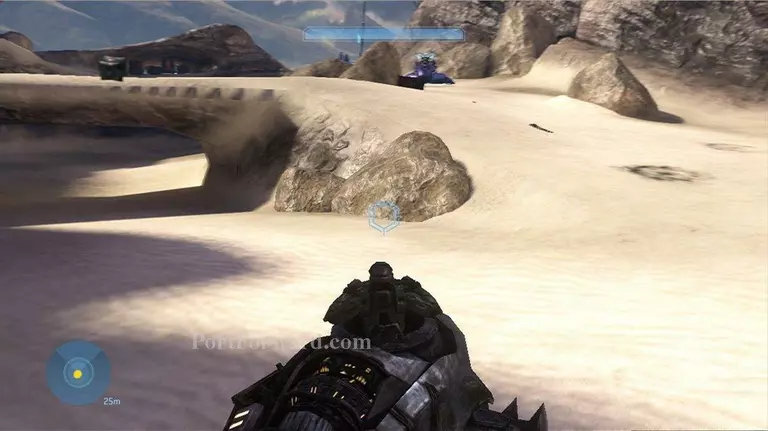
Once the area is clear to the right of this structure, is another gorge. Follow this gorge to a covenant outpost.

Once the outpost is cleared there is a cave to the right of where you came in.

In the next area is a sniper tower, some ground troops, and a wraith.
When the area is clear, go up the ramp on the right side of area.
At the top of this hill is another sniper tower, some more ground troops, and two AA wraiths.
Kill everything here. Your primary targets should be the two wraiths. After the covenant forces are dead, a pelican will arrive.
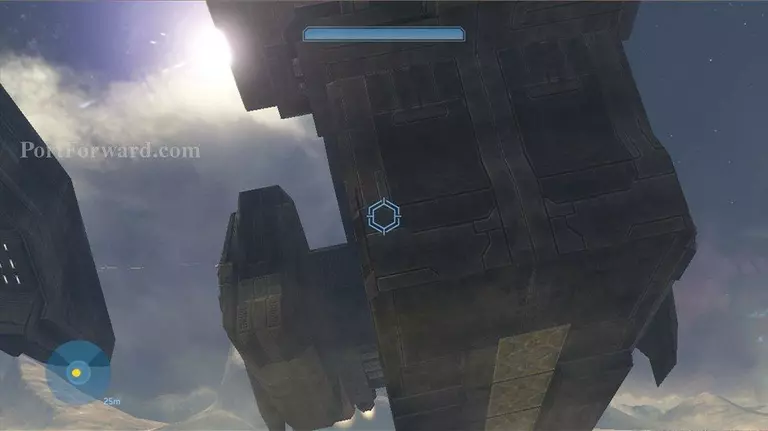
Then a much bigger ship arrives.
More Halo 3 Walkthroughs
This Halo 3 walkthrough is divided into 24 total pages.