This Hitman: Contracts walkthrough is divided into 13 total pages.
You can jump to nearby pages of the game using the links above.
11 - Lee Hong Assasination

Enter the restaurant through the main door.
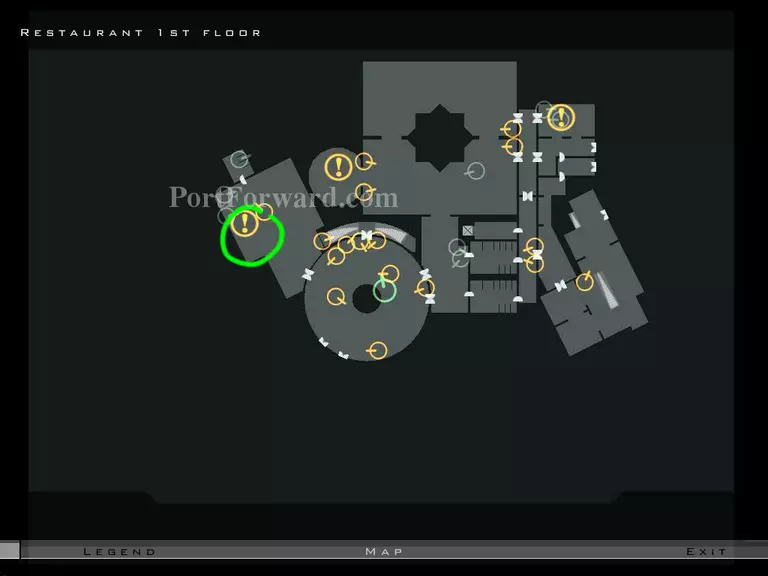
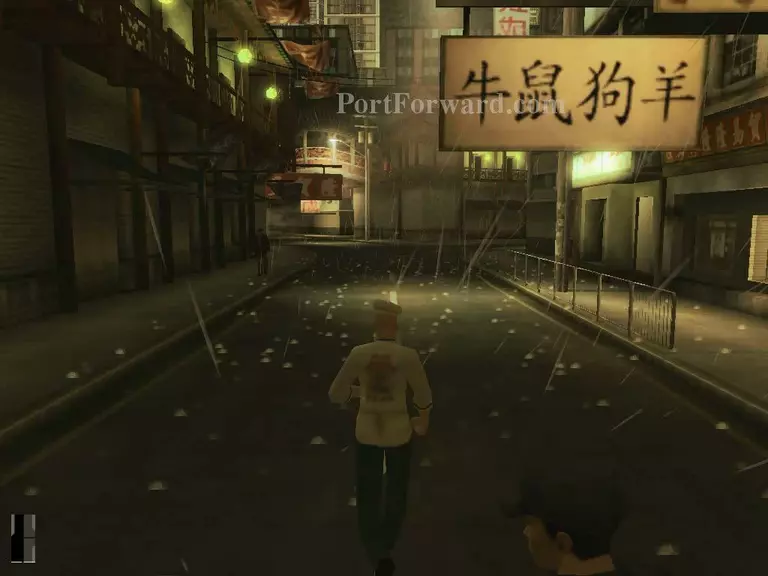
Go to this location.

Talk to bartender. He'll give you the pass to the girl.

Behind the bar, there's a laxative. Take it.
Then, head here.
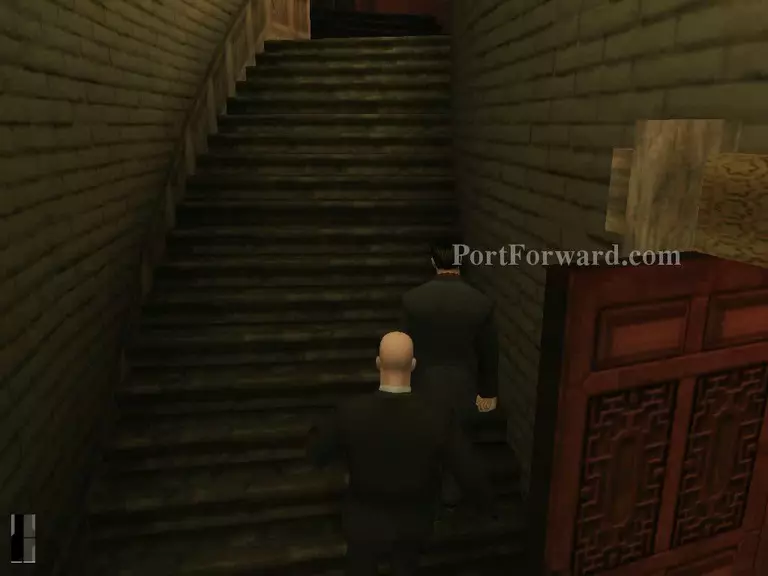
The guard will bring you to the location.
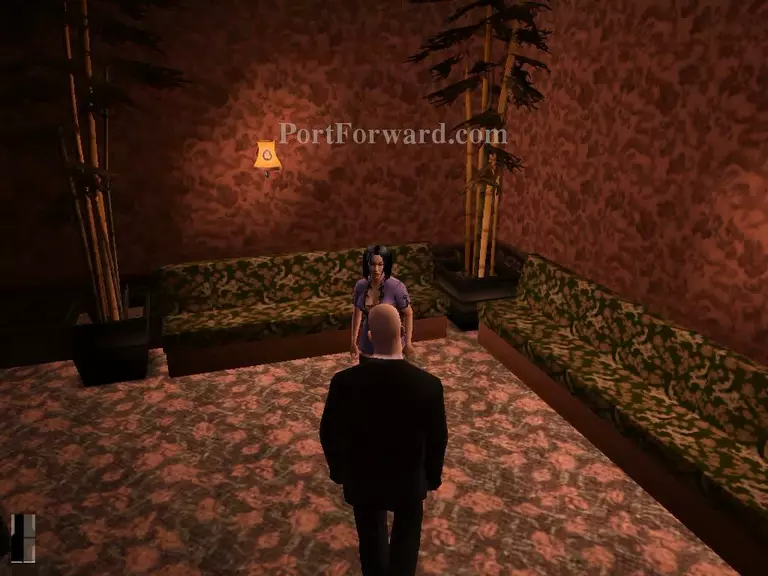
The girl have the safe combination. She'll bring you to her room.
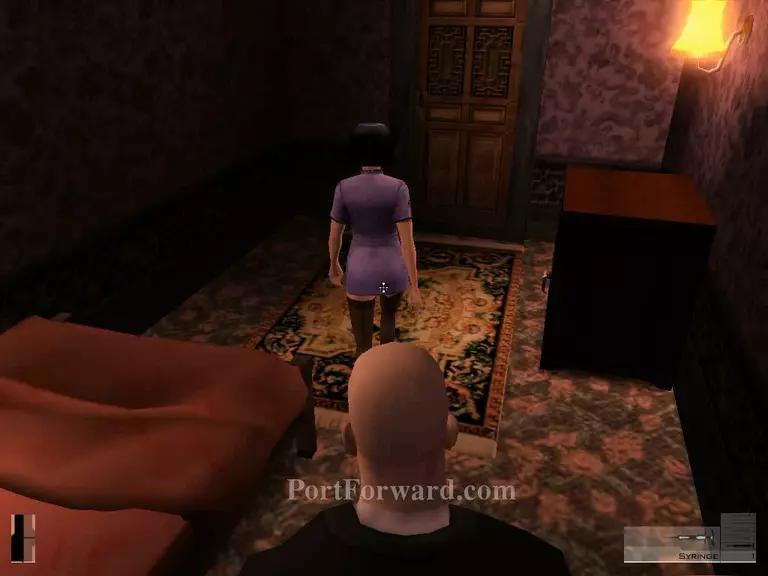
Without she even knowing, take out your syringe and put her to sleep.
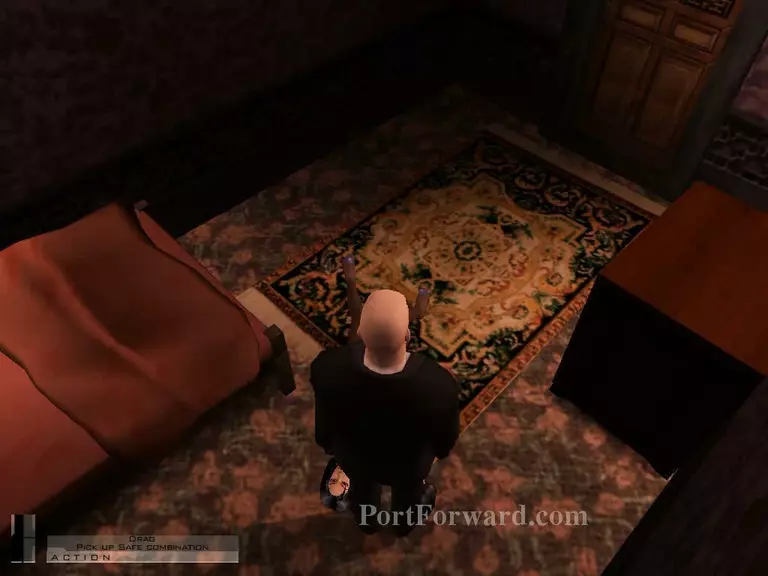
Pick up the safe combination from her.

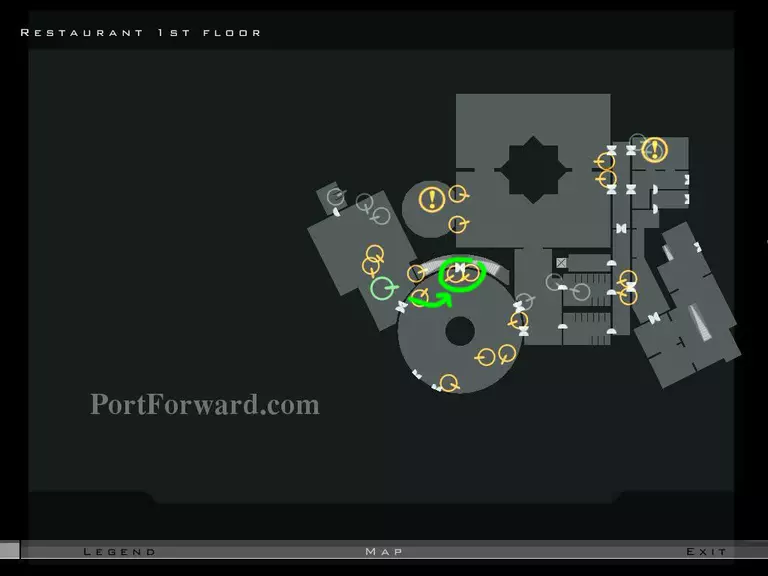
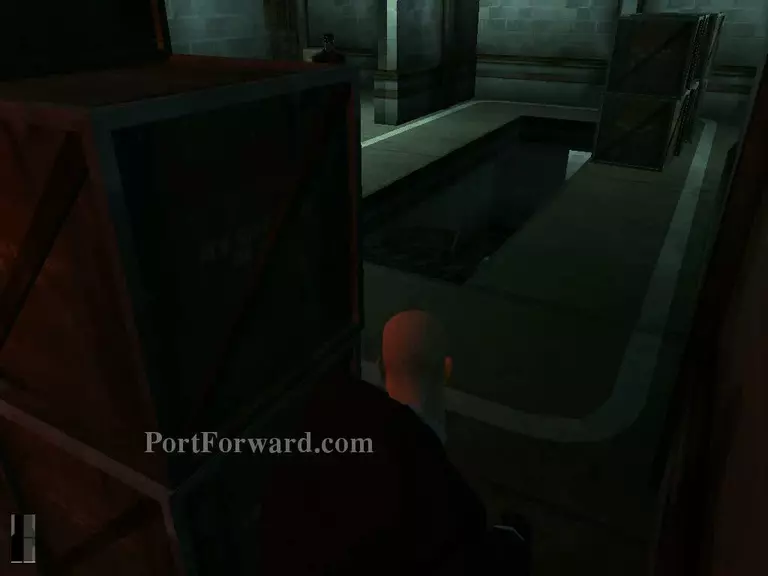
Get out from her room through the back door. Turn left and keep going.

Dont stop until the end of path.
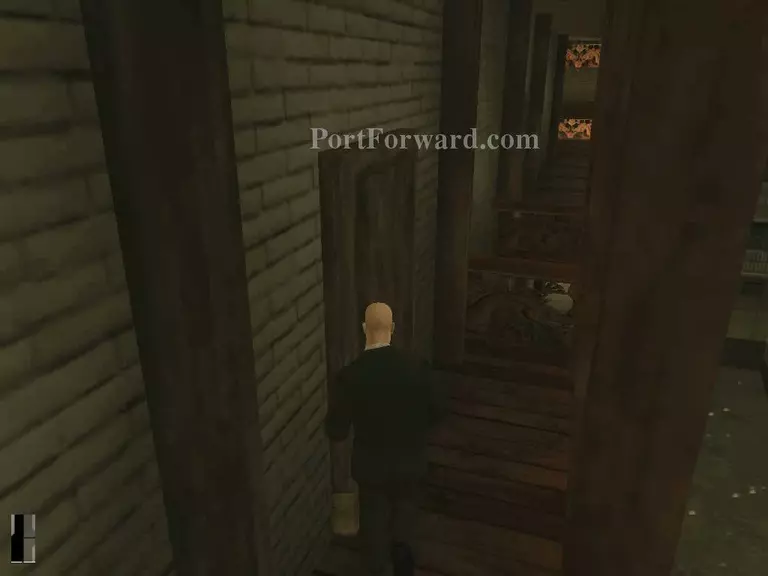
There's a room at the end. Dont jump to another side.

Open the safe and take the mission item.
Now, go back here.
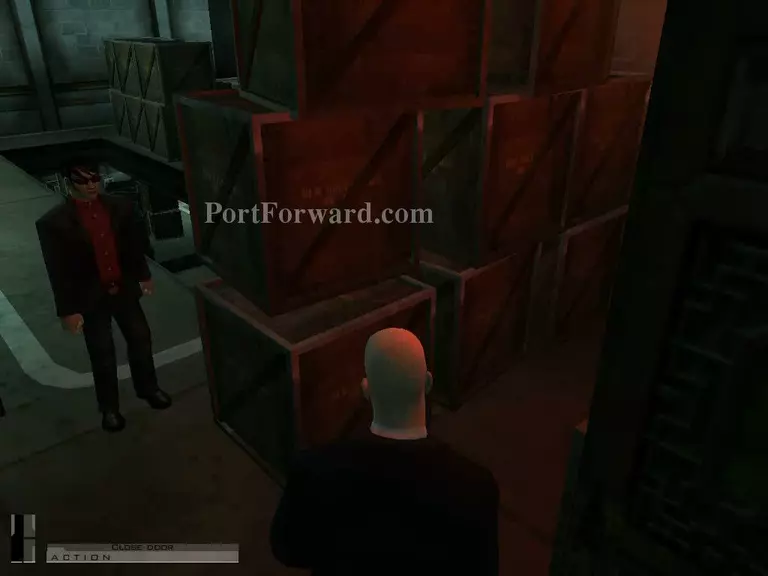
Sneak around the boxes so that the guards doesnt stop you.
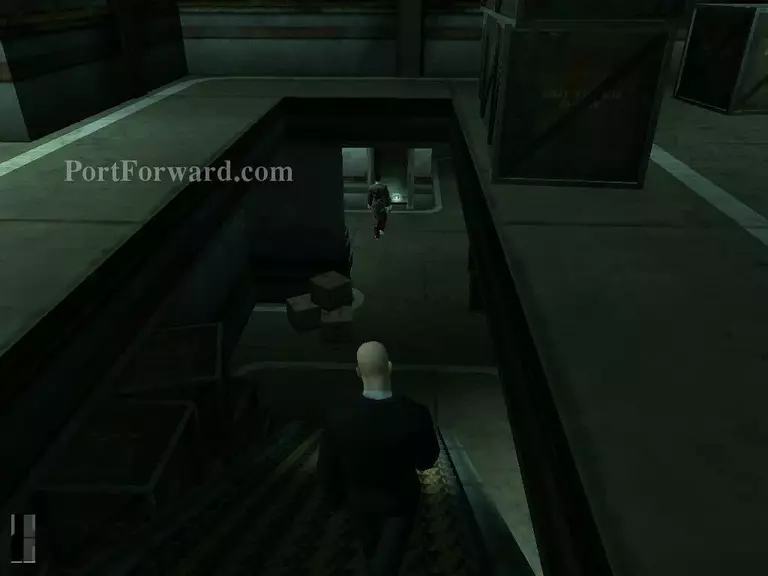
You may need to kill guard in front to avoid detection.
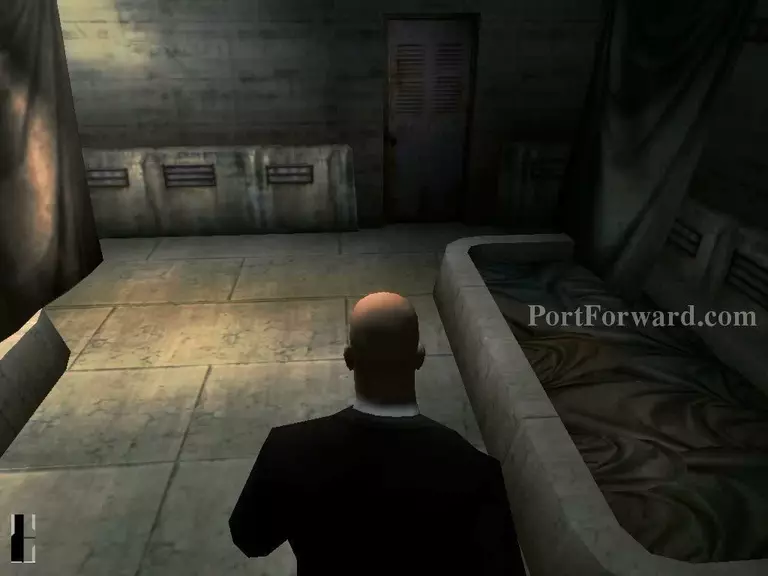
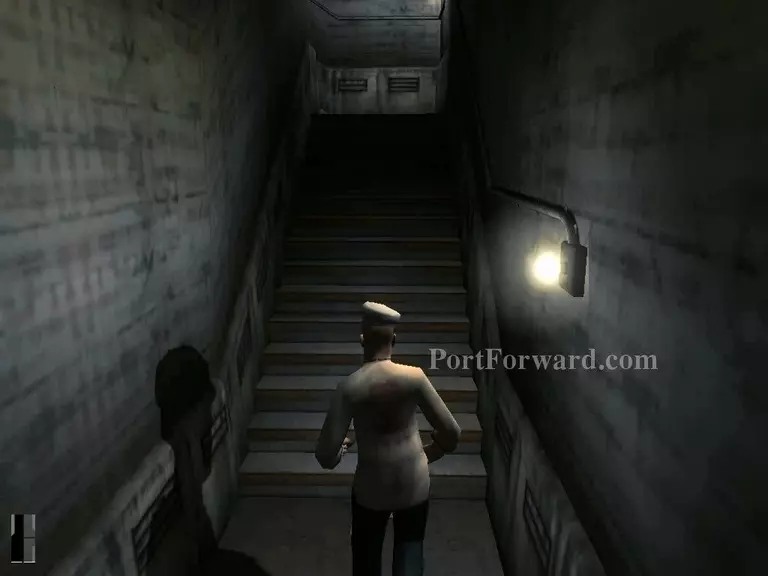
Once you reached at the basement, enter the first door in front.
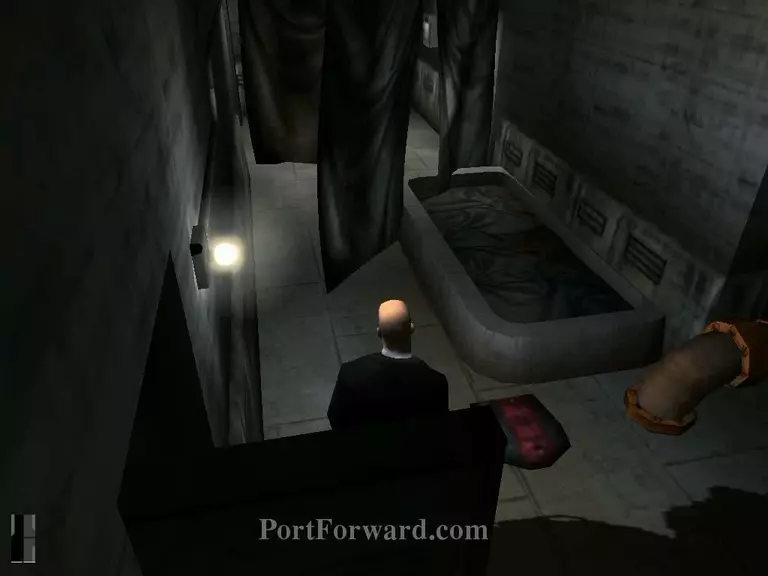
Turn left and go through the hanging clothes. Not far away from it, there's a chef/waiter clothes. Take it.
Then, head back to the 1st floor.
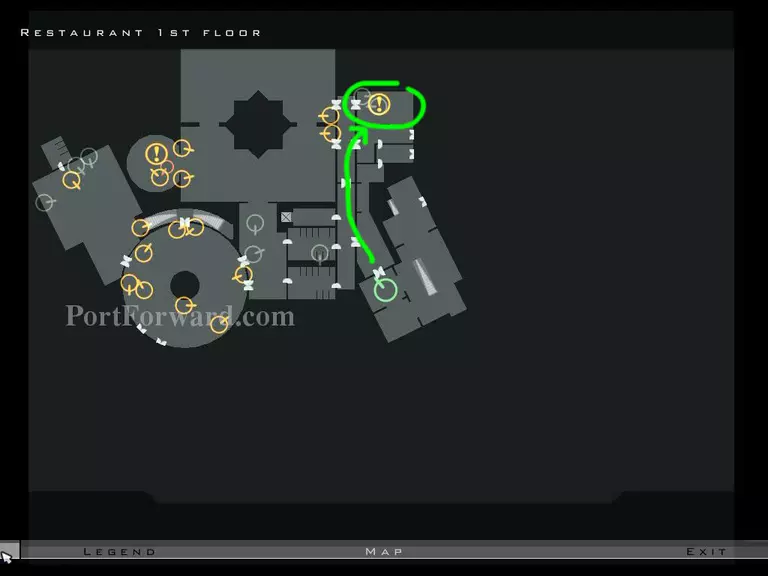
Go to the kitchen as shown in the picture.

Put laxative inside the soup.

Bring the soup to the target location.
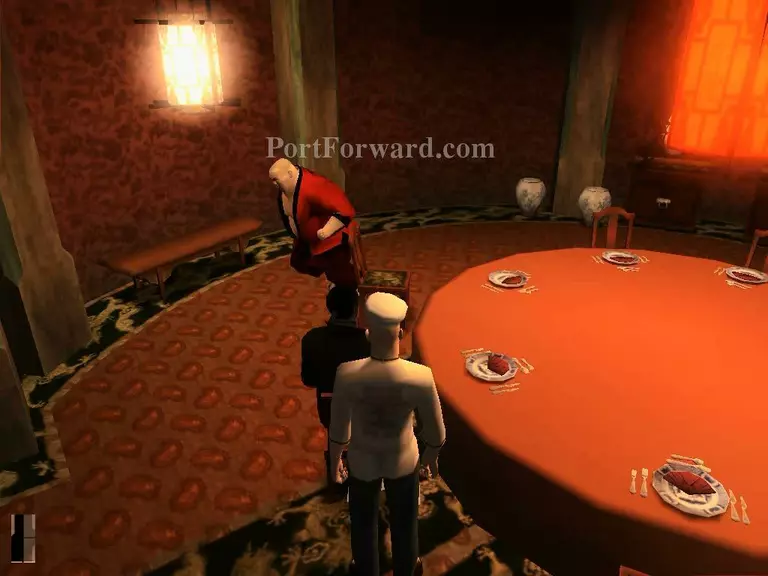
Wait until the fat a$$ run to the toilet.
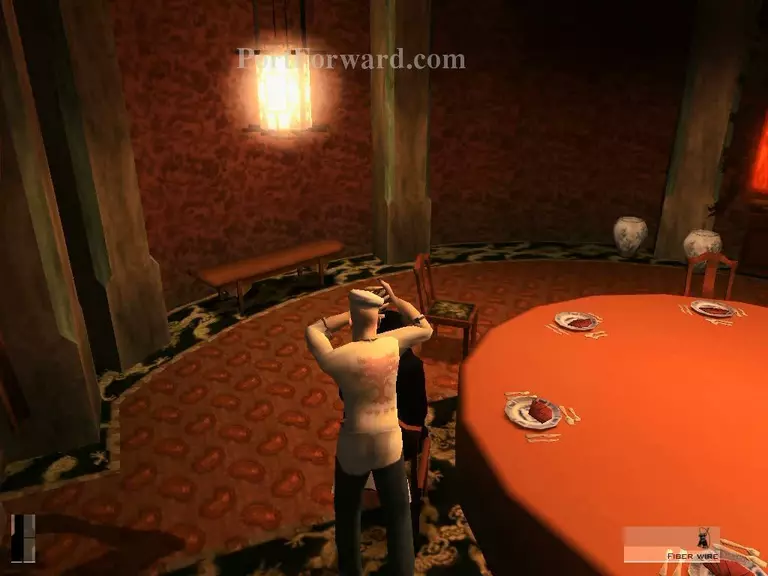
Quickly, take out your fiber wire and kill the target at the same place. After that, keep you weapon and get out from here.
Now you're safe to go to the exit point. -end-
More Hitman: Contracts Walkthroughs
This Hitman: Contracts walkthrough is divided into 13 total pages.