Hitman: Contracts Walkthrough 6 - Deadly Cargo

September 12, 2016 (Last Updated: ) | Reading Time: 3 minutes

This Hitman: Contracts walkthrough is divided into 13 total pages.

You can jump to nearby pages of the game using the links above.

6 - Deadly Cargo

Hitman: Contracts Walkthrough - Hitman Contracts 104

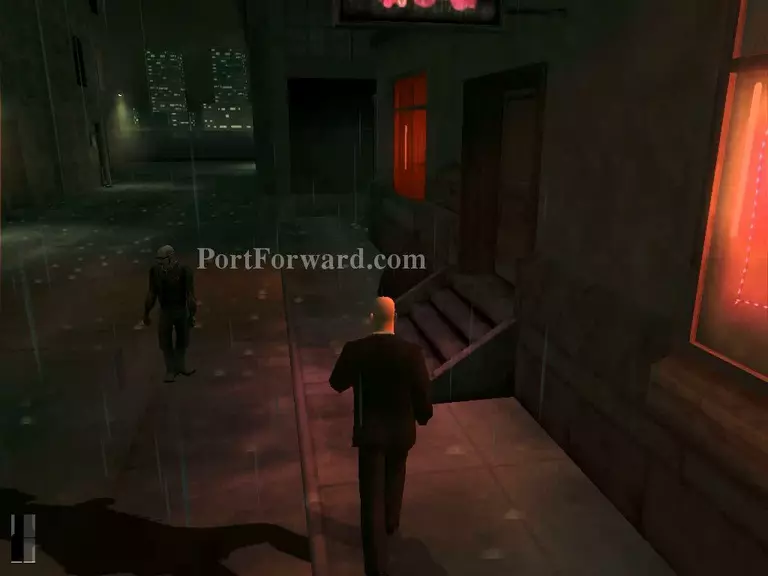
Firstly, enter the strip club.

Hitman: Contracts Walkthrough - Hitman Contracts 105

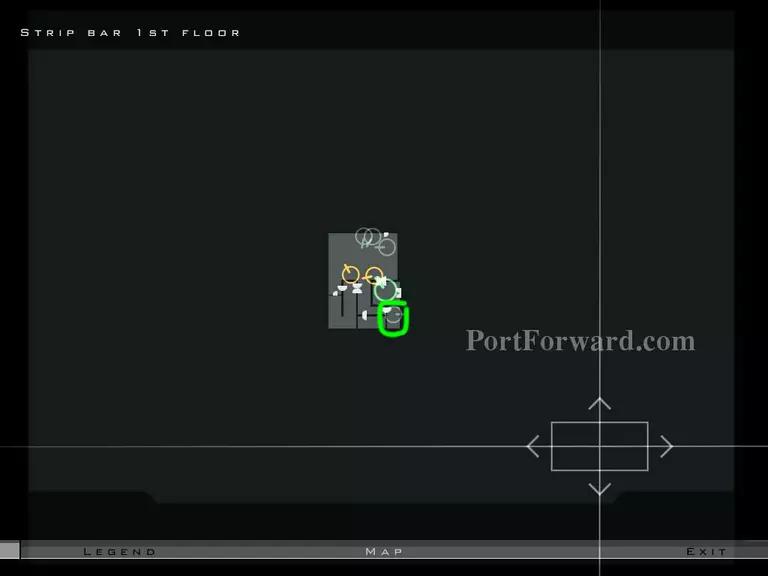
Go to this room and talk to that girl for extra service.

Hitman: Contracts Walkthrough - Hitman Contracts 106

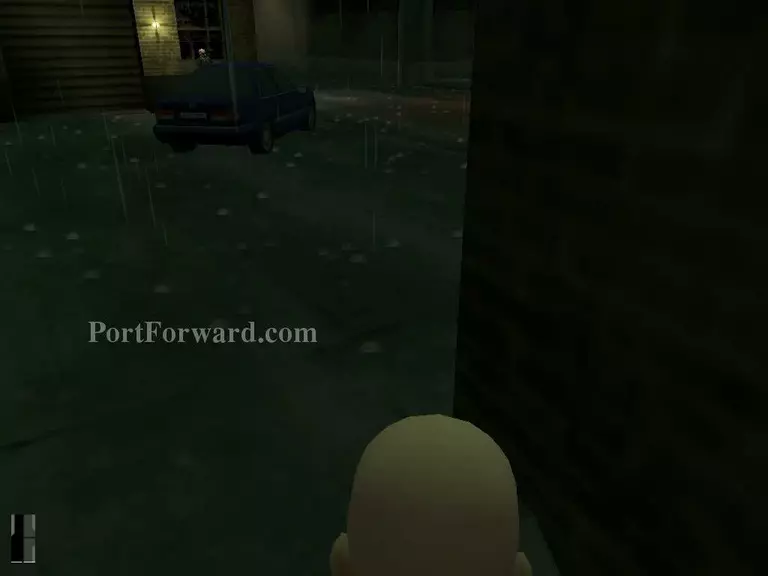
Go back outside. Wait for the girl to do her job.

Hitman: Contracts Walkthrough - Hitman Contracts 107

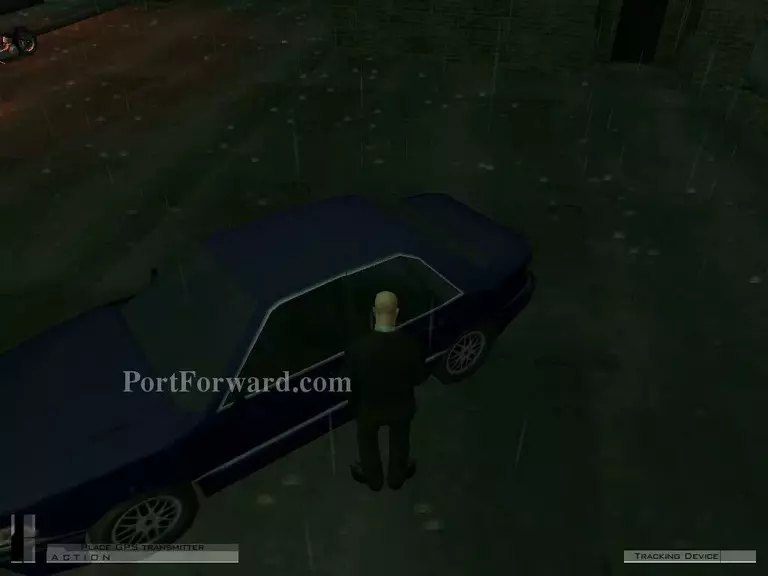
When the line is clear, place the GPS transmitter at the car.

Hitman: Contracts Walkthrough - Hitman Contracts 108

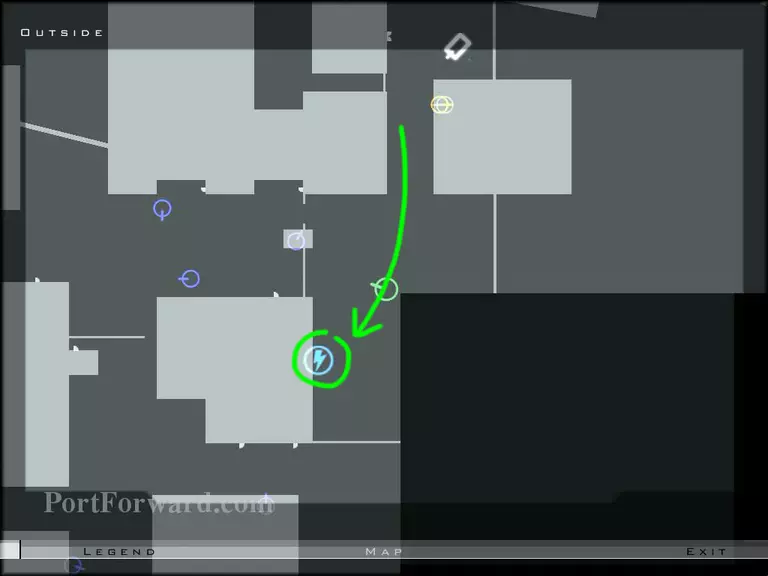
Head to the power generator.

Hitman: Contracts Walkthrough - Hitman Contracts 109

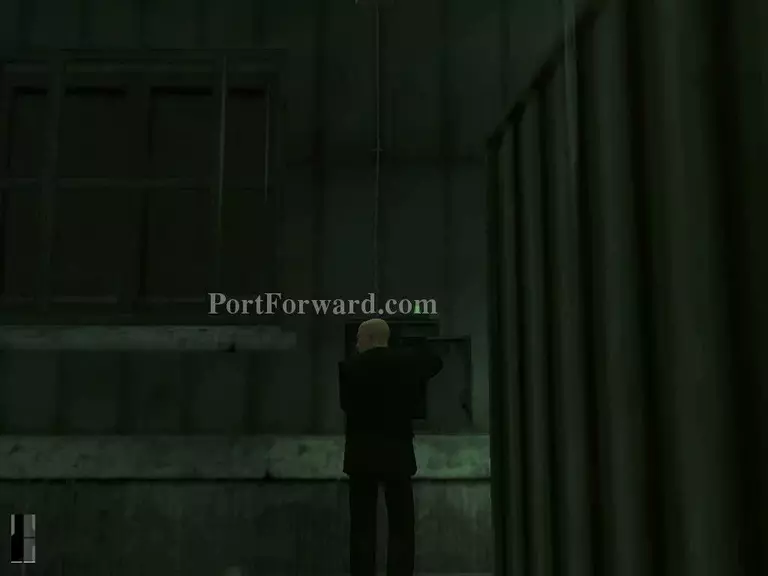
And cut the TV signal.

Hitman: Contracts Walkthrough - Hitman Contracts 110

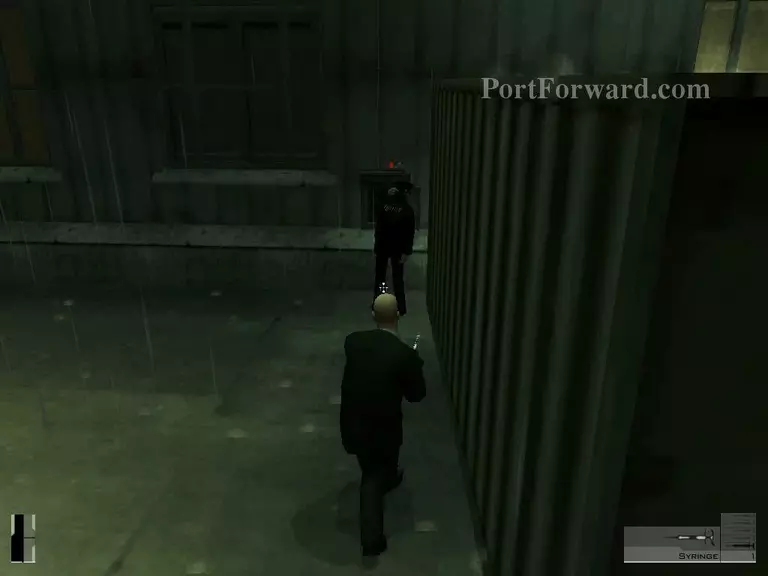
Syringe this police guy and take his clothes. No need to hide his body because you've to be quick.

Hitman: Contracts Walkthrough - Hitman Contracts 111

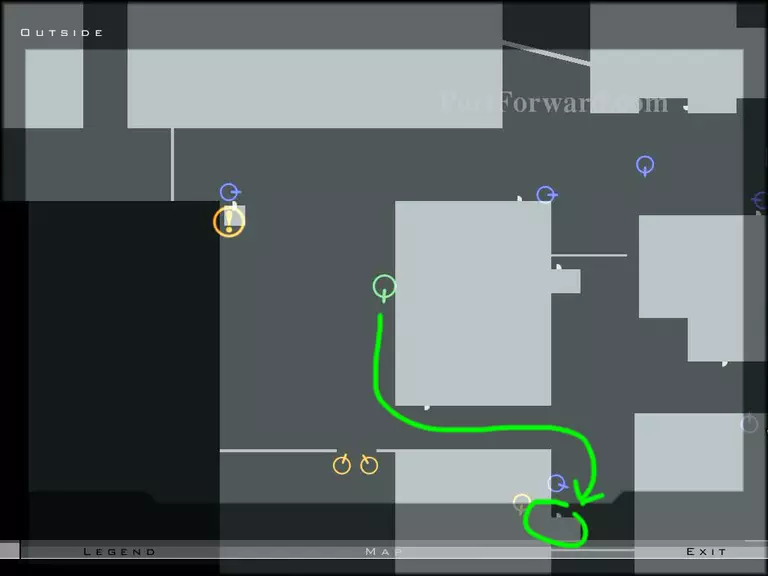
Enter the building through the door shown in the picture.

Hitman: Contracts Walkthrough - Hitman Contracts 112

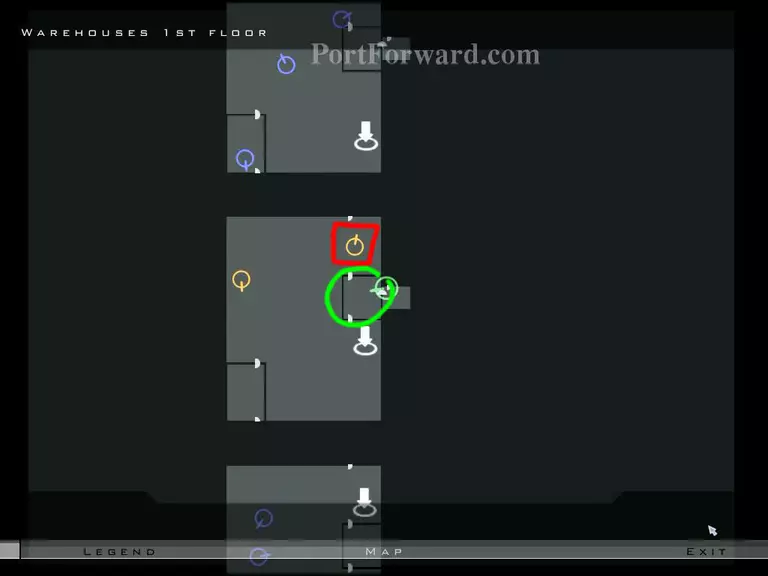
The enemy (red) will enter the room (green). So be prepared to kill this guy for his clothes.

Hitman: Contracts Walkthrough - Hitman Contracts 113

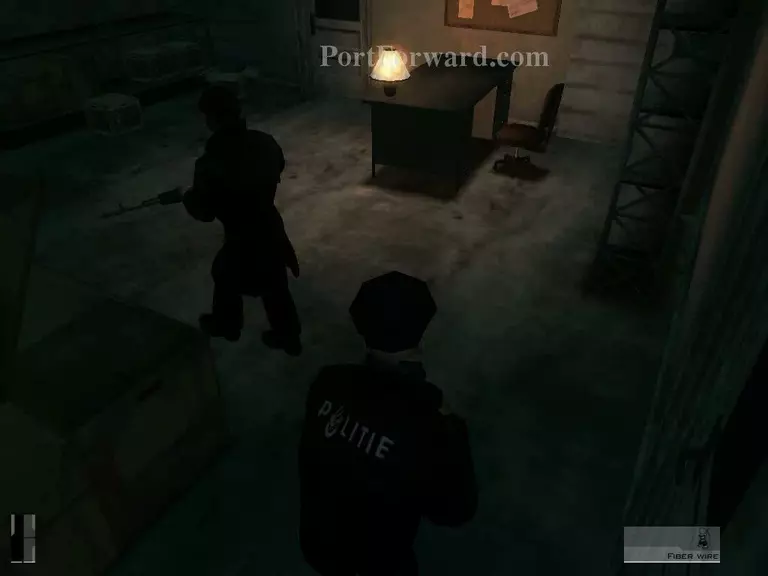
Hide behind door, the classic way.

Hitman: Contracts Walkthrough - Hitman Contracts 114

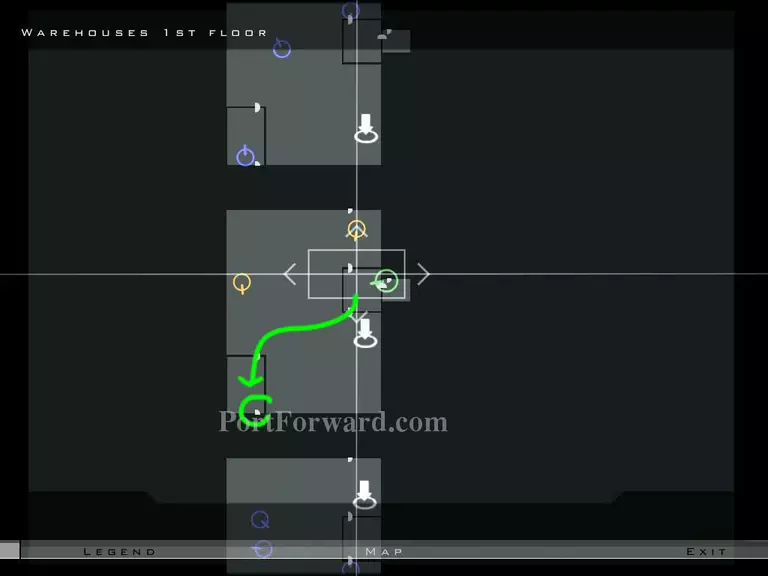
Then, you should exit through this door because using the main door could blow your disguise. Dont forget to hide his body to somewhere safe.

Hitman: Contracts Walkthrough - Hitman Contracts 115

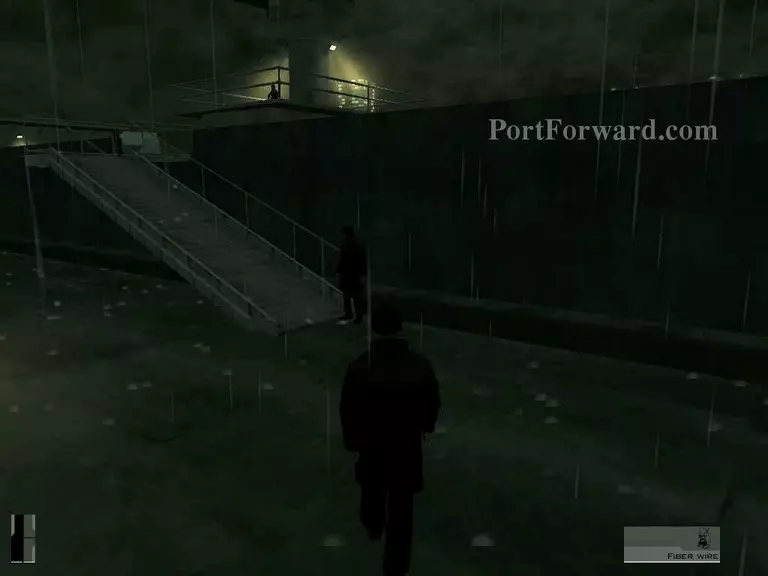
Enter the ship like normal.

Hitman: Contracts Walkthrough - Hitman Contracts 116

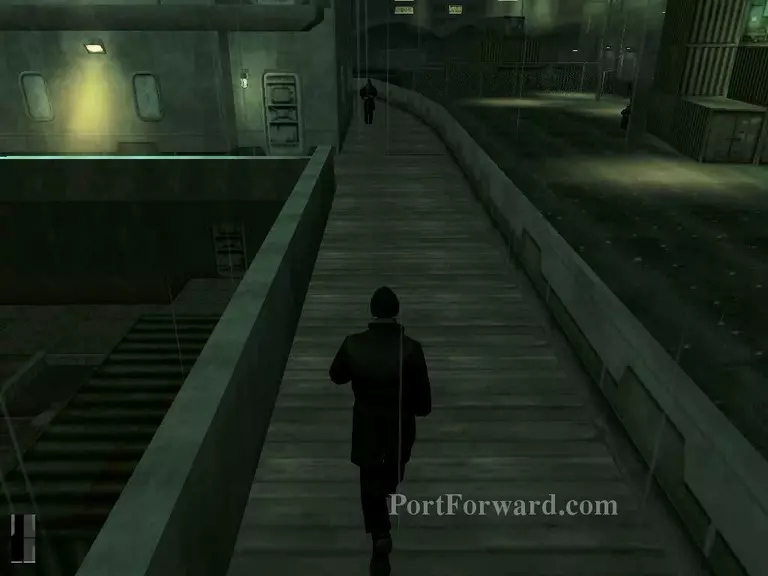
Then, enter the first doon on your left.

Hitman: Contracts Walkthrough - Hitman Contracts 117

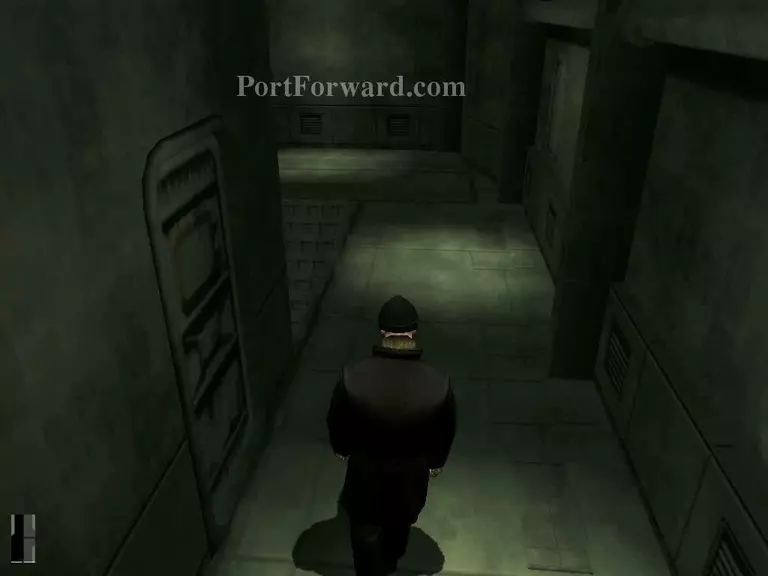
Use the stairs to go down one level.

Hitman: Contracts Walkthrough - Hitman Contracts 118

Just jump down through the hole to the container section.

Hitman: Contracts Walkthrough - Hitman Contracts 119

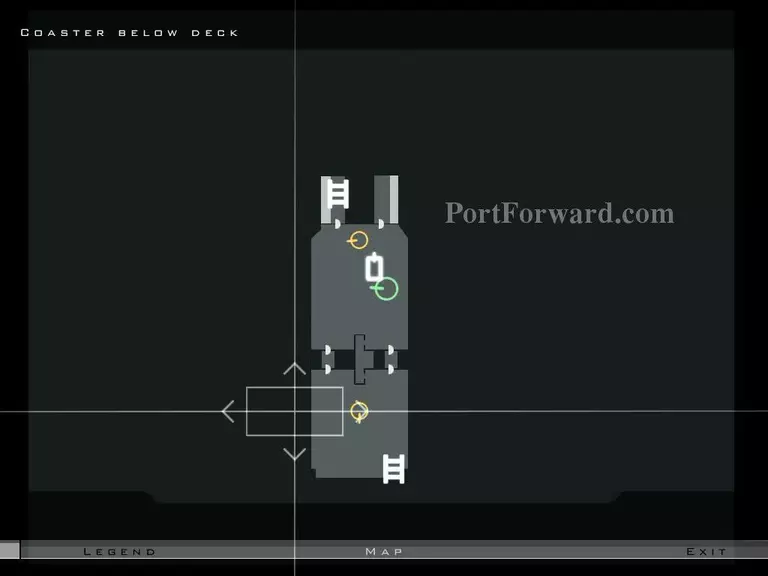
The car that contains the bomb can be easily detected using the map. Simply, find the car in the container and disable the bomb.

Hitman: Contracts Walkthrough - Hitman Contracts 120

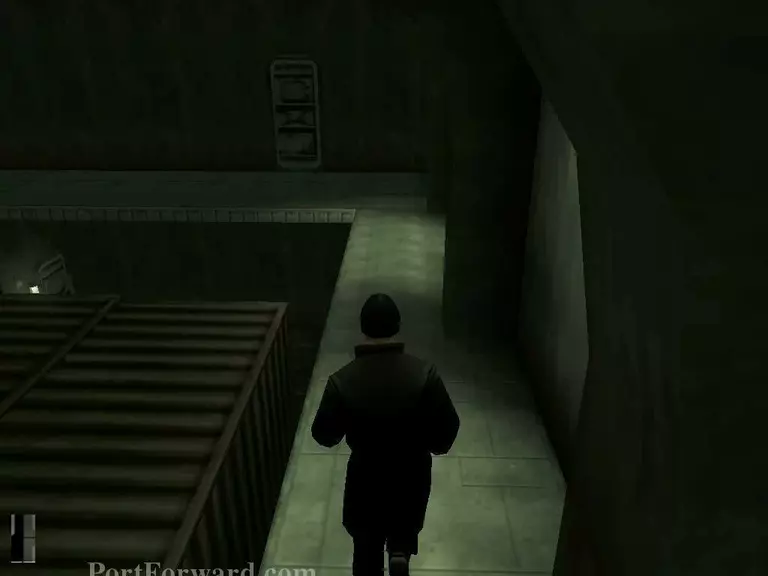
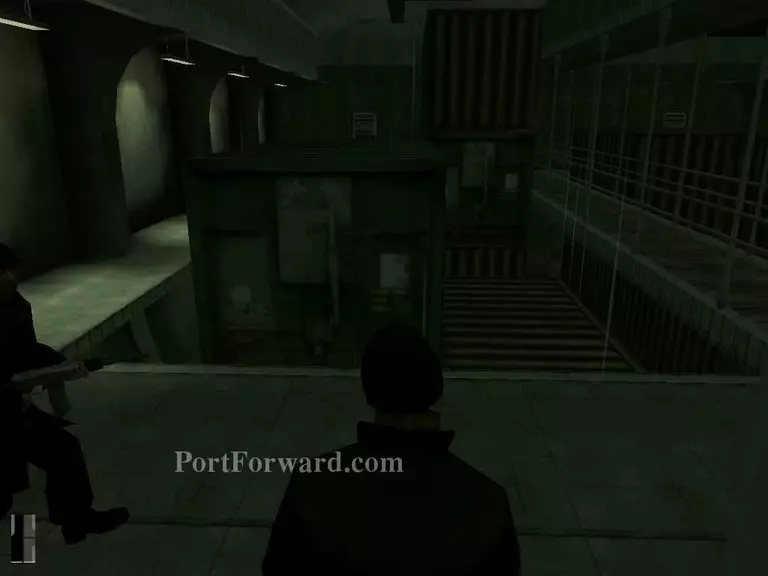
Then, go up one level from the stairs you came.

Hitman: Contracts Walkthrough - Hitman Contracts 121

Open the map and your target should be around here somewhere.

Hitman: Contracts Walkthrough - Hitman Contracts 122

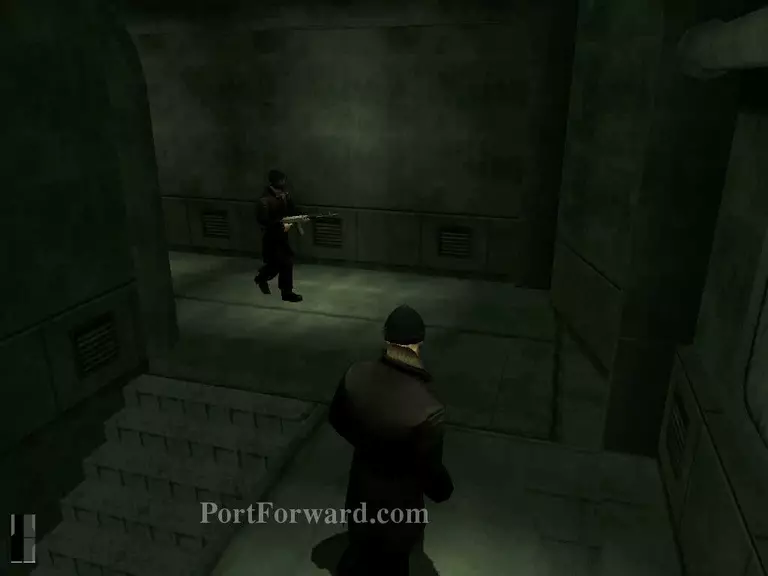
IF no guards around and he's alone. Just kill him.

Hitman: Contracts Walkthrough - Hitman Contracts 123

Quickly, exit from this ship. Guards will notice the body.

Hitman: Contracts Walkthrough - Hitman Contracts 124

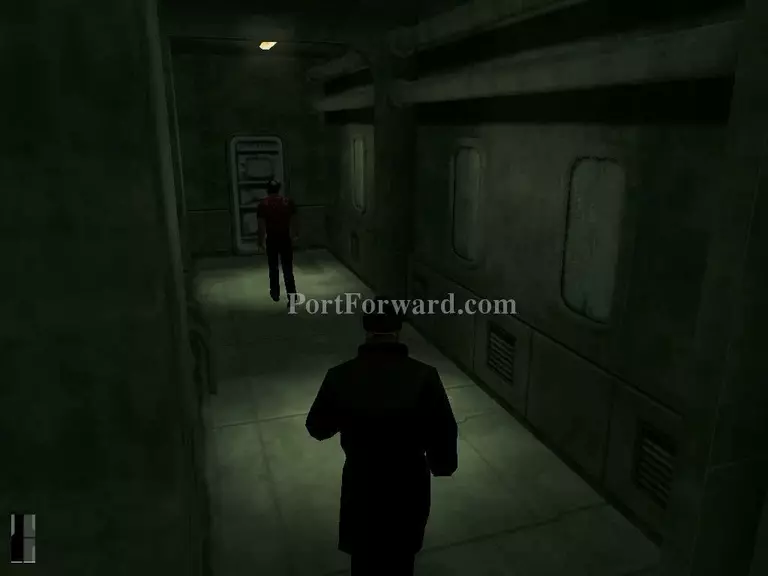
You can also exit the ship from the path at the containers.

Hitman: Contracts Walkthrough - Hitman Contracts 125

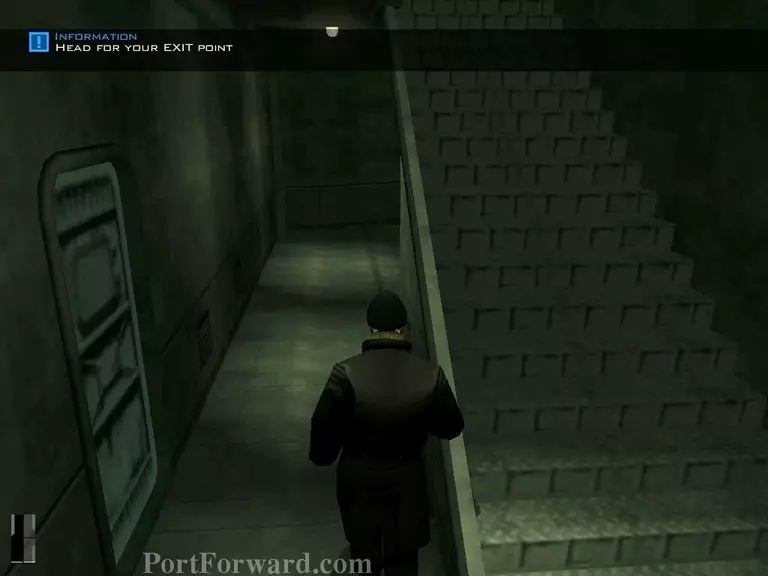
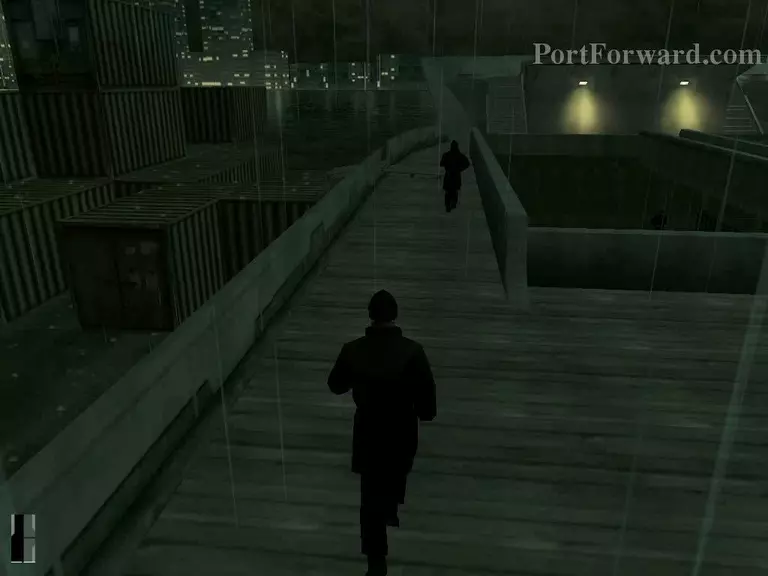
Change back to police clothes and head to the exit point.

Hitman: Contracts Walkthrough - Hitman Contracts 126

Use any shortcut as possible to make it quick.

Hitman: Contracts Walkthrough - Hitman Contracts 127

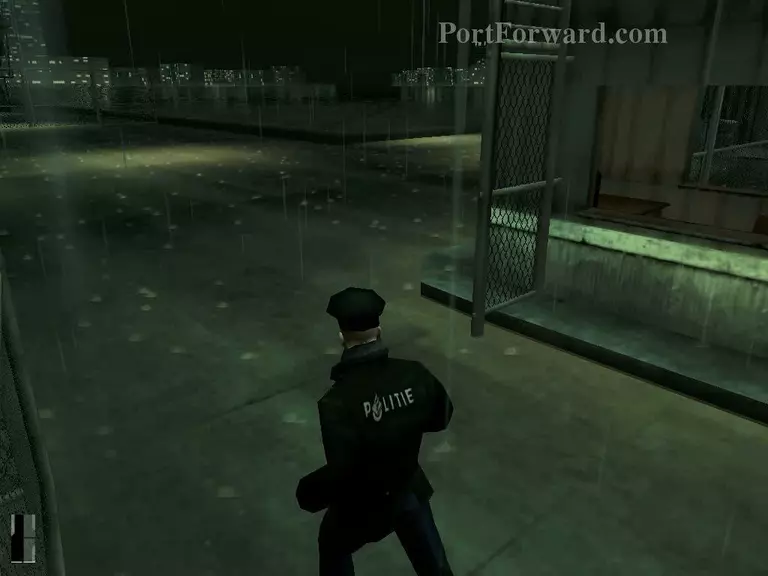
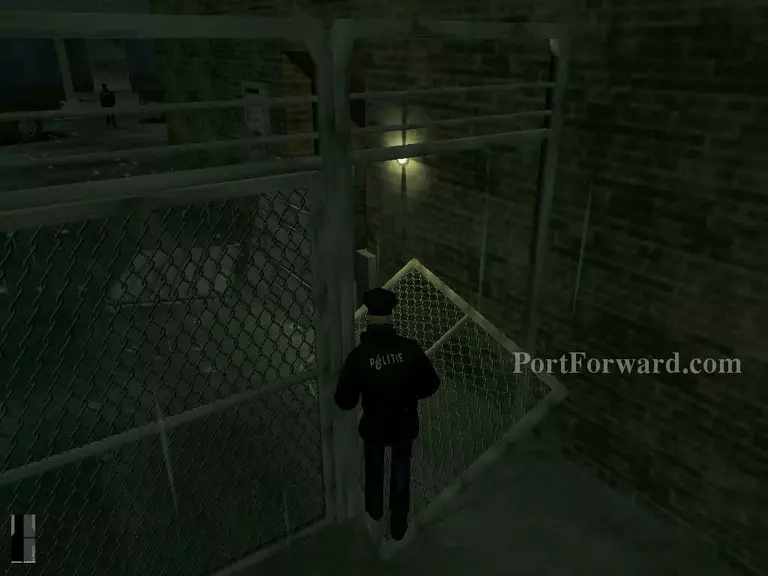
Because the policeman you knocked out before can awake at anytime soon. If you fast enough you can avoid that. Else, you have to sneak here to pass through this gate.

Hitman: Contracts Walkthrough - Hitman Contracts 128

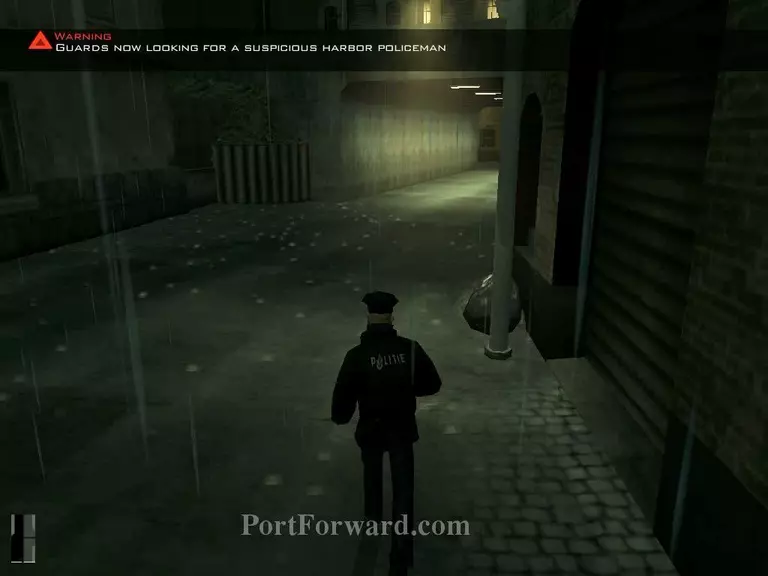
You're doing fine if the situation like this. You're one step away from the exit point while the police are looking for you. -end-

More Hitman: Contracts Walkthroughs

This Hitman: Contracts walkthrough is divided into 13 total pages.

More From Portforward