
This Ninja Gaiden 2 walkthrough is divided into 7 total pages.
You can jump to nearby pages of the game using the links above.
Act IV
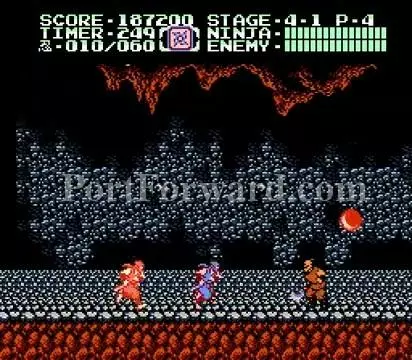
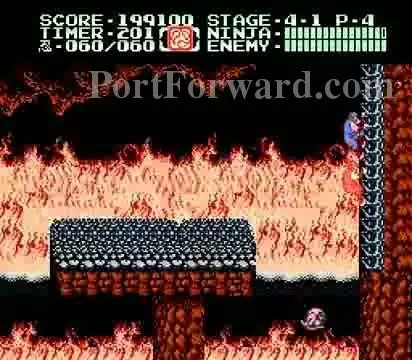
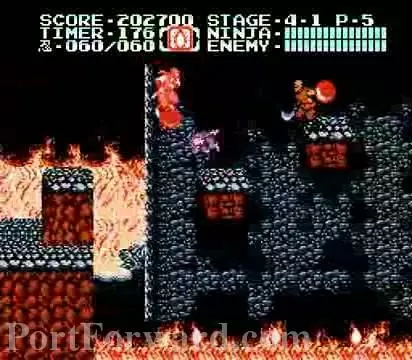
4-1: Everything looks calm for now until...
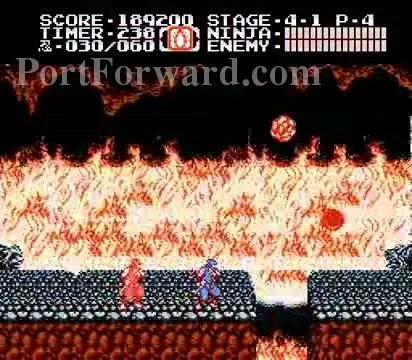
the background turns into an inferno. Lava balls pop out of the fire pit and explode in several directions.
The walking eyes can be a problem. Duck and take them out before they start jumping around.
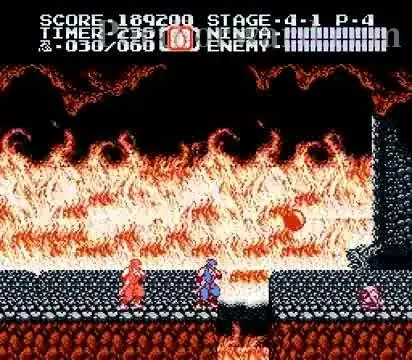
Let the lava ball do its buisness before going up this wall.
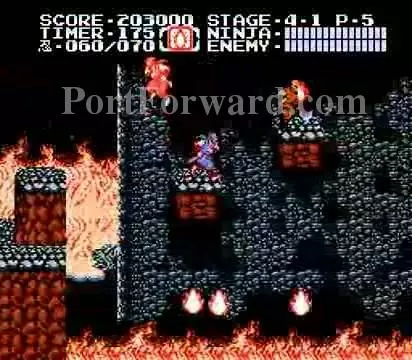
Climb up the ladder to the next area.
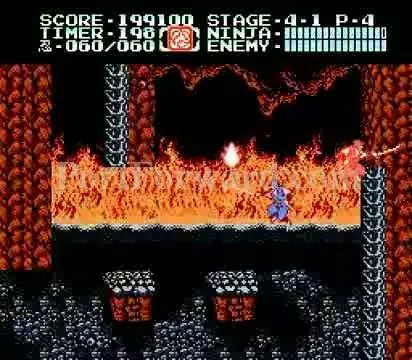
Before going up, take out the live fireballs.
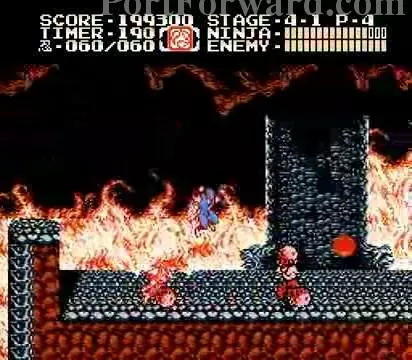
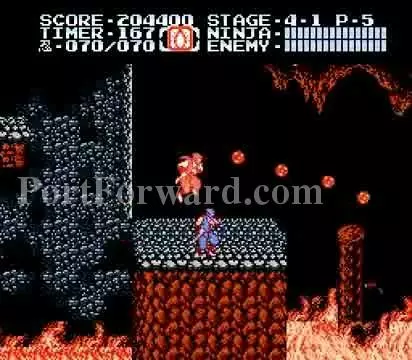
Avoid the rocks and kill the enemy throwing them.
Get this potion if you need the energy.
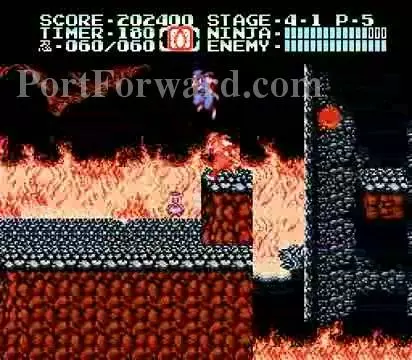
There is a scroll in this orb.
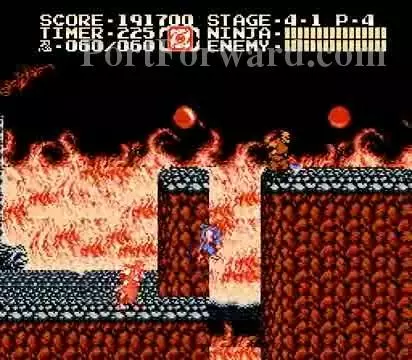
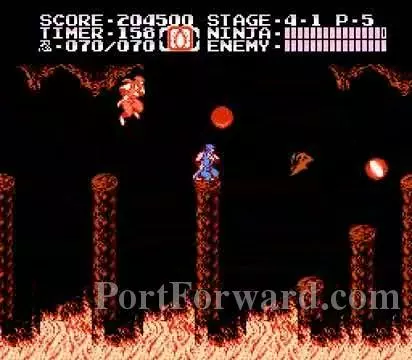
Beware of the flames coming from below.
Get ready to move across small narrow platforms.

The bats can be a nuisance.
The vampire bats are even worse as they behave like hawks.
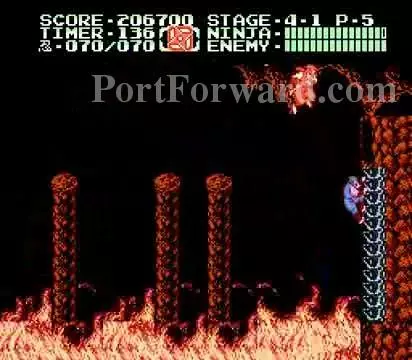
This ladder takes you out of this hellhole.
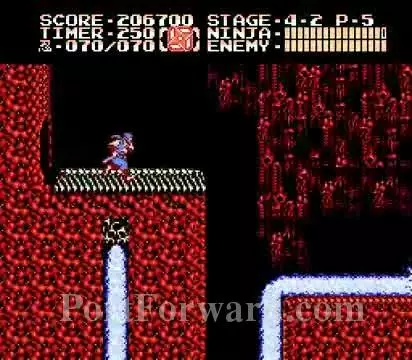
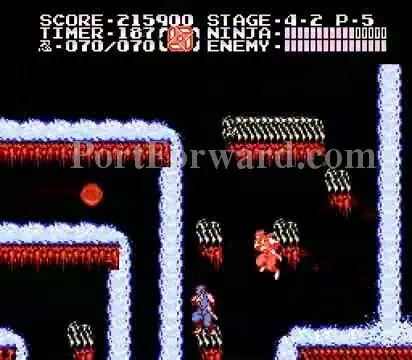
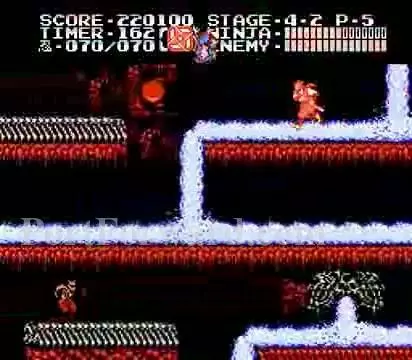
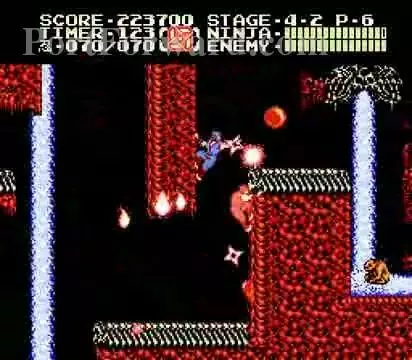
4-2: Glad that hellhole is overwith. Now it time to get cooler.
The water flow will push you in the direction it is flowing if you are on the ground.
Slide down this wall and trow a Windmill Throwing Star to kill the enemy.
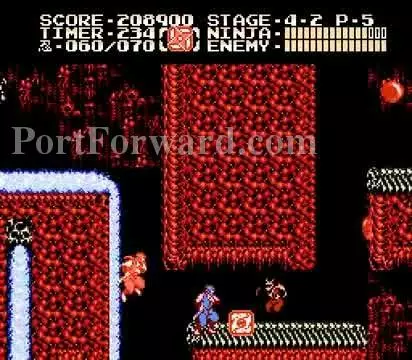
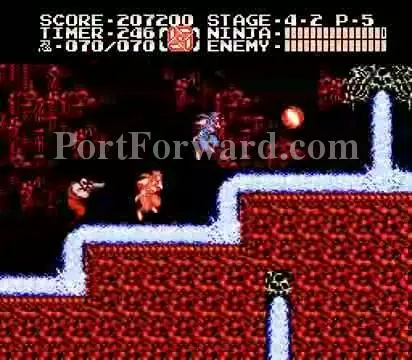
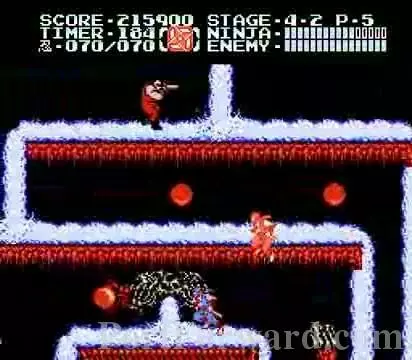
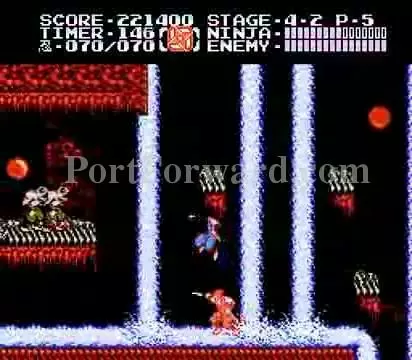
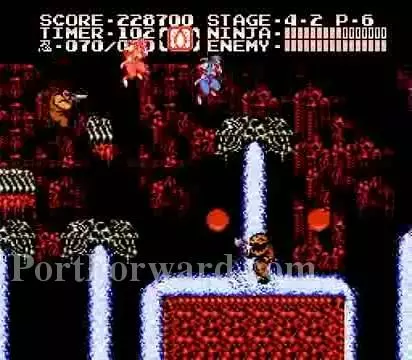
Jump across the pit and take out this guy quickly.
Wait for the enemies to turn away before jumping onto their platform and killing them.
Some will come from behind and try to ambush you.
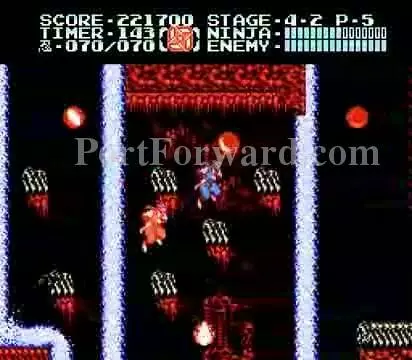
Climb down the ladder to the next area.
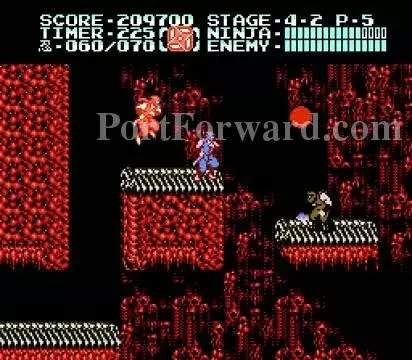
Take careful steps as you head to the left.
You are trying to navigate back and forth to the top.
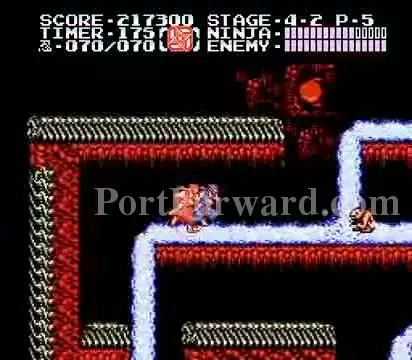
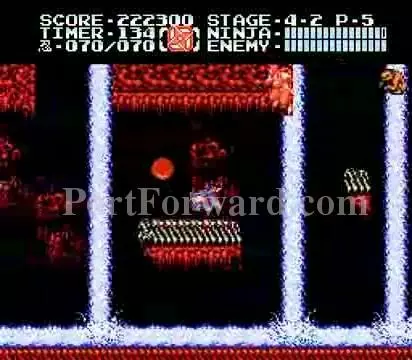
Approach this enemy slowly and slash it as it approaches. It functions like the walking eye. You probably remember a similar enemy in the first game.
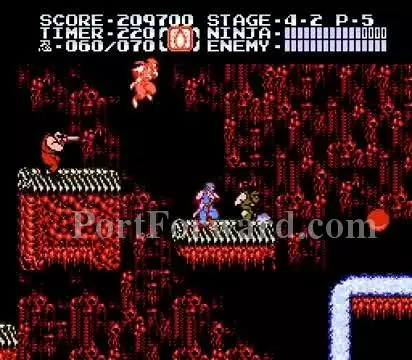
At the top, be careful not to fall.
One mistimed jump can send you to a lower floor.

Climb down to the next spot.
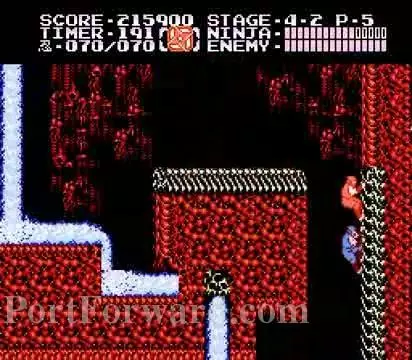
Some more small steps you need to take to get to this platform.
The small flames chase you as well.
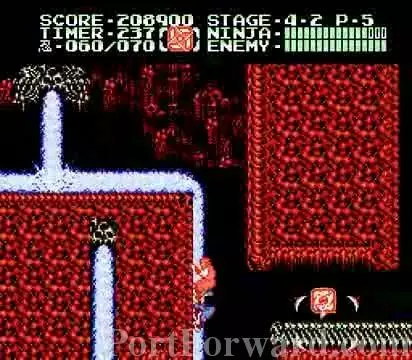
The 1-up is in this orb. If you climb back up to the previous area and come back down, the 1-up returns so you can max out your lives if you have time.
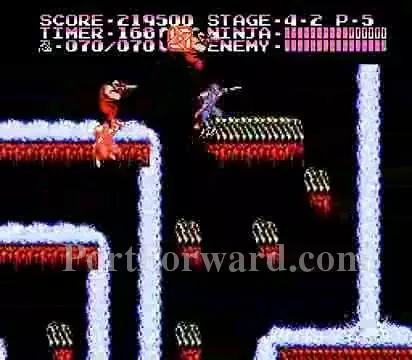
Use the Windmill Throwing Star to hit enemy through the walls to make it safer for you.
Another enemy from the first game. He attacks like before. Chucking axes at you.
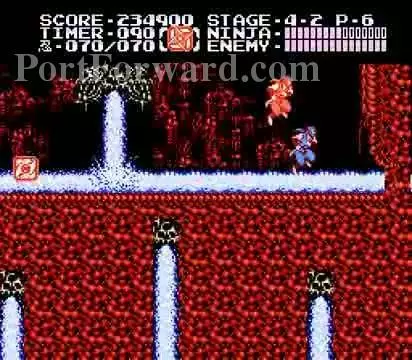
Off to face the next boss.
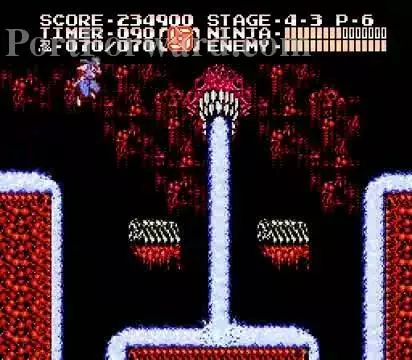
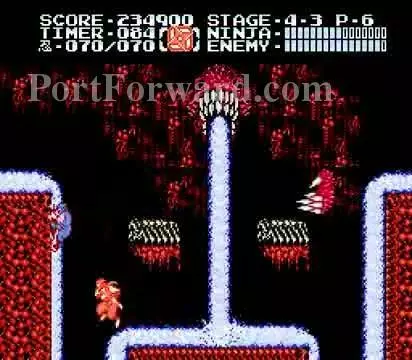
4-3: The fourth boss is Naga Sotuva
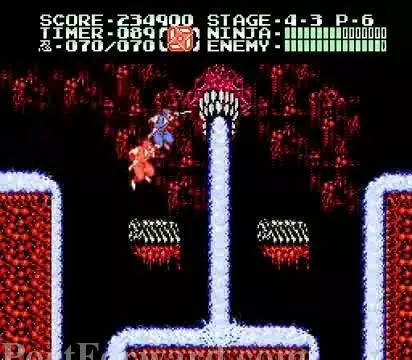
Leap forward and slash him in the head.
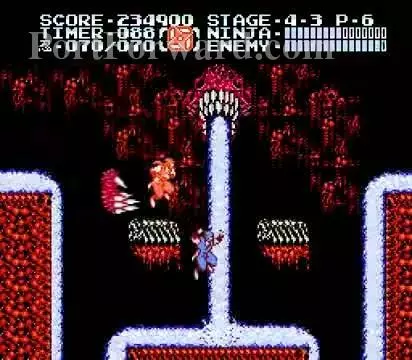
Avoid the claw swipe that Naga Sotuva does.
It will move as far as just below his head...
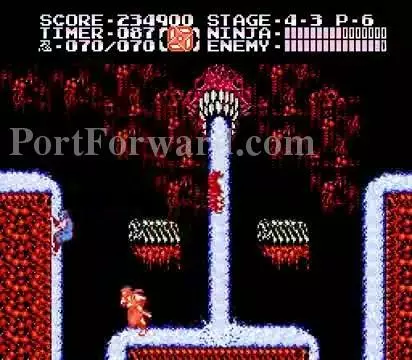
It will return back.
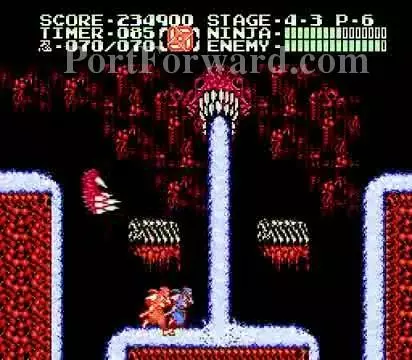
Then the other claw will attack. The pattern repeats.
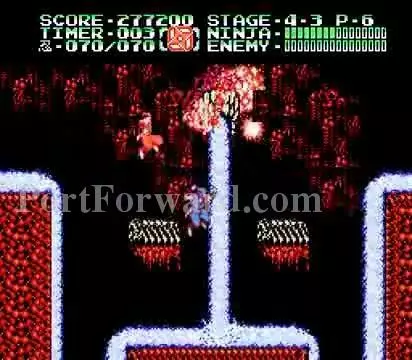
Naga Sotuva defeated.
More Ninja Gaiden 2 Walkthroughs
This Ninja Gaiden 2 walkthrough is divided into 7 total pages.


