This The Bureau: XCOM Declassified walkthrough is divided into 17 total pages.
You can jump to nearby pages of the game using the links above.
Operation: Longsword
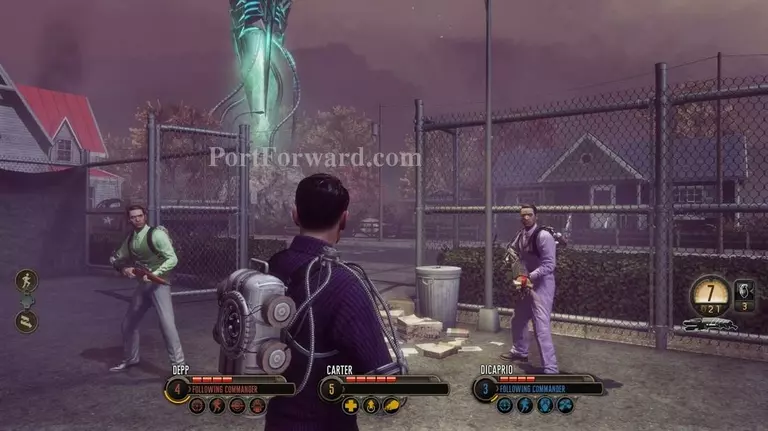
You'll be dropped down on a tennis court.
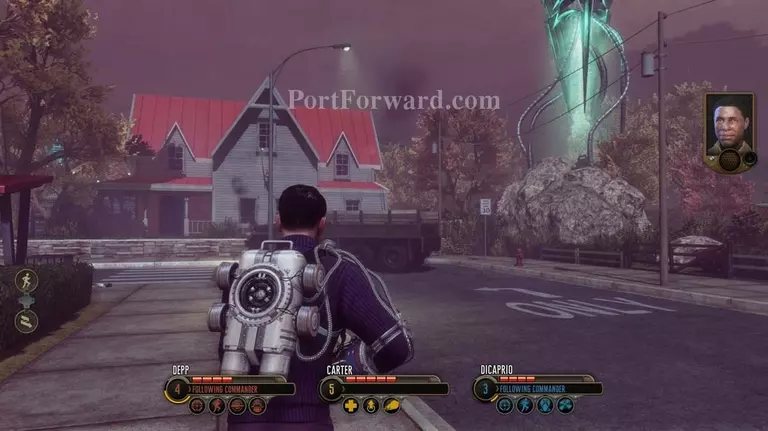
Head to the left outside the gate ahead of you.
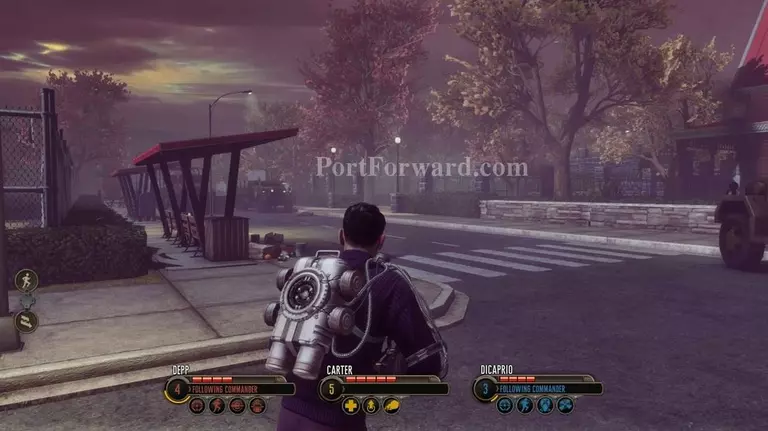
Take another left at the next bend in the road.
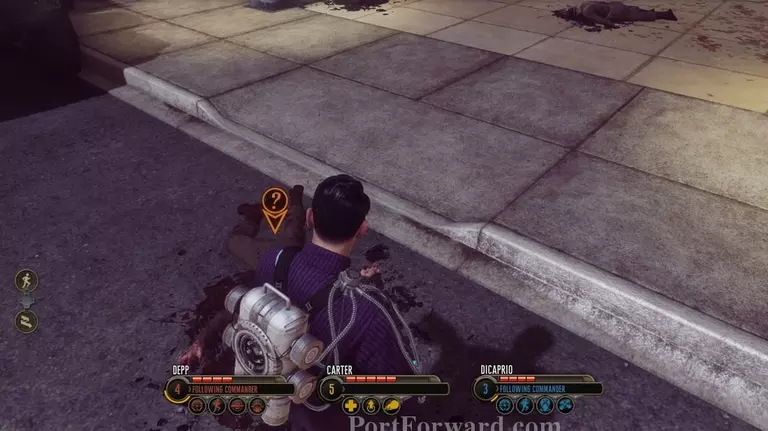
At the end of the road is several dead soldiers. There is an examination point on one of them you can use.
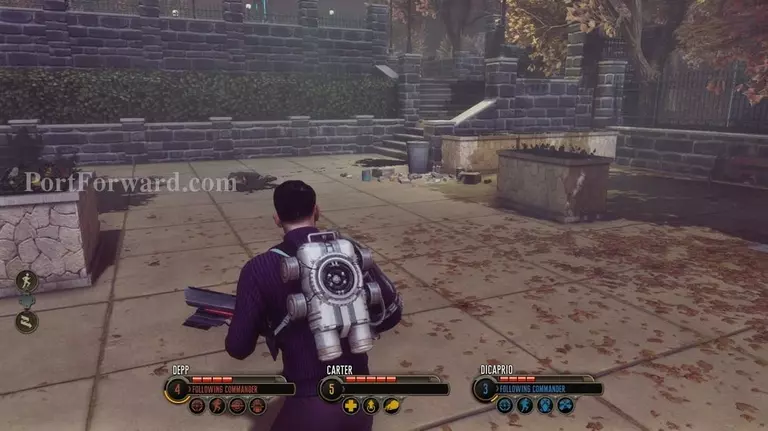
When you are done with that head to the right towards the stairway in the back.
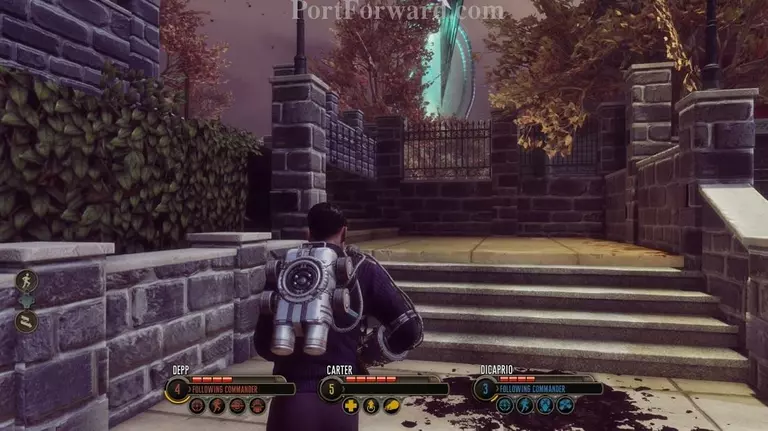
Head up and to the left. Be careful, though, as there are enemies ahead.
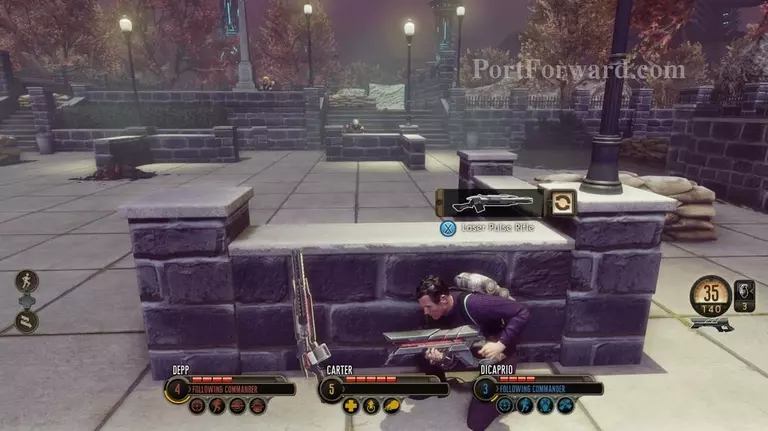
Take cover at the nearest wall and pick up the weapon there. It's a new one.
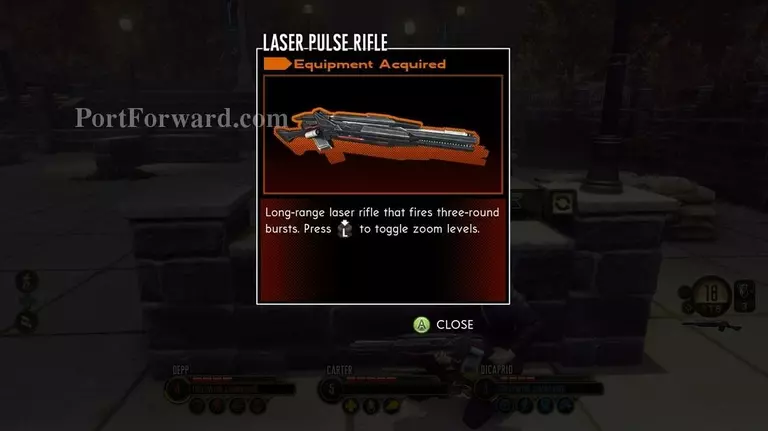
This is my favorite gun, as it's the alien equivalent of a M14, however it runs out of ammo fairly quickly so be careful and pick your targets wisely if you use it.
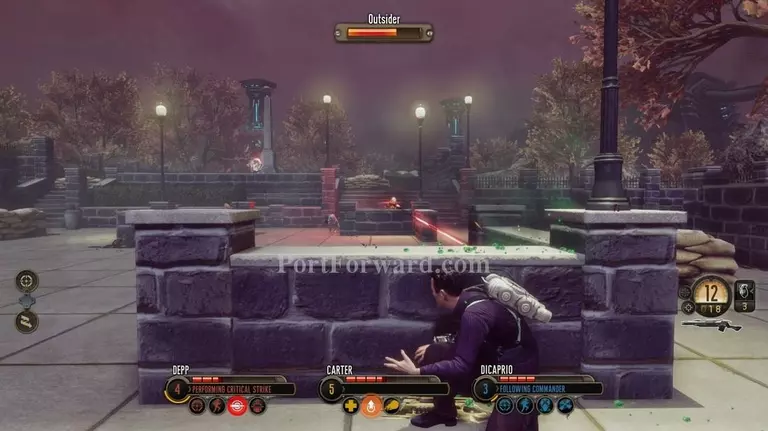
Take out any enemies in the area being sure to watch out for any outsider commanders or elites.
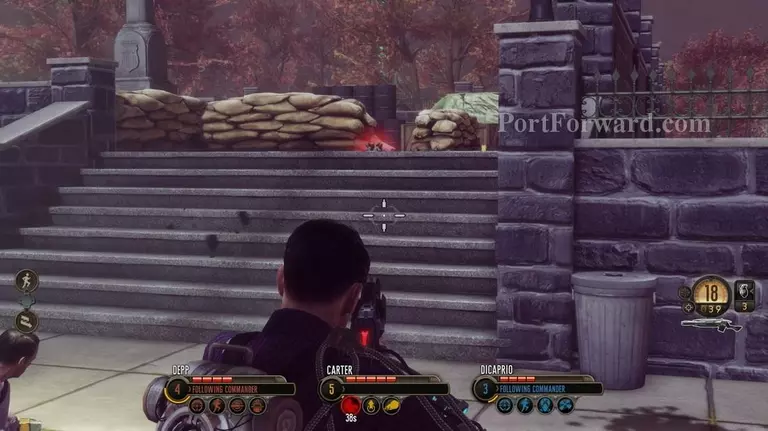
Head towards the stairs when it's clear, but be careful. This area is mined so shoot the mines to be able to head up the stairs safely.
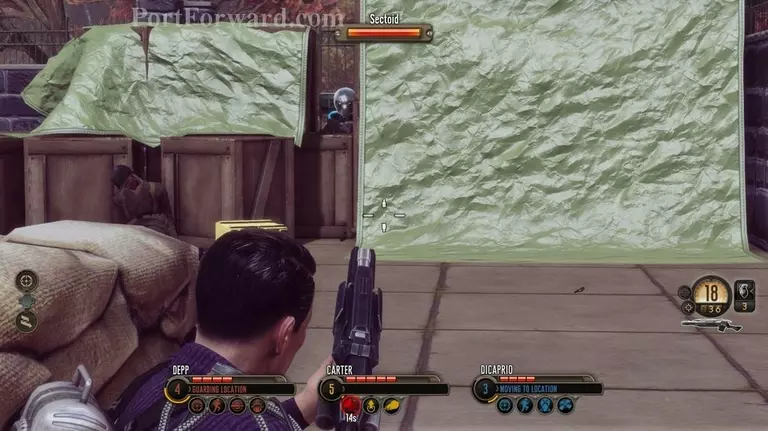
Take cover at the top of the stairs as there will be at least three more enemies up here.
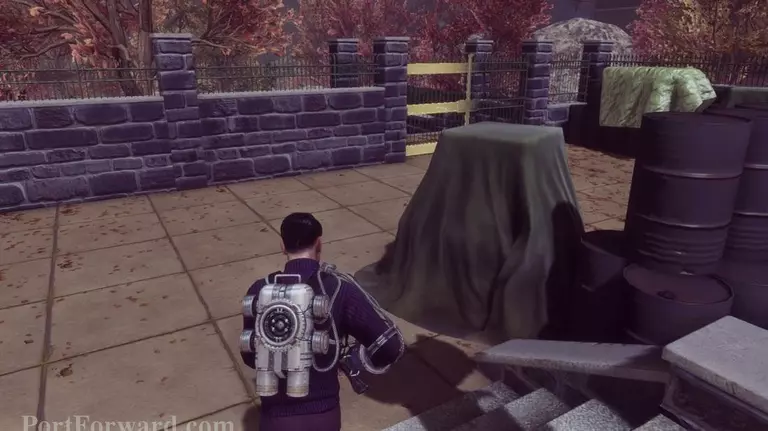
After you do that head around the statue and go through the gate around the back of the barrels.
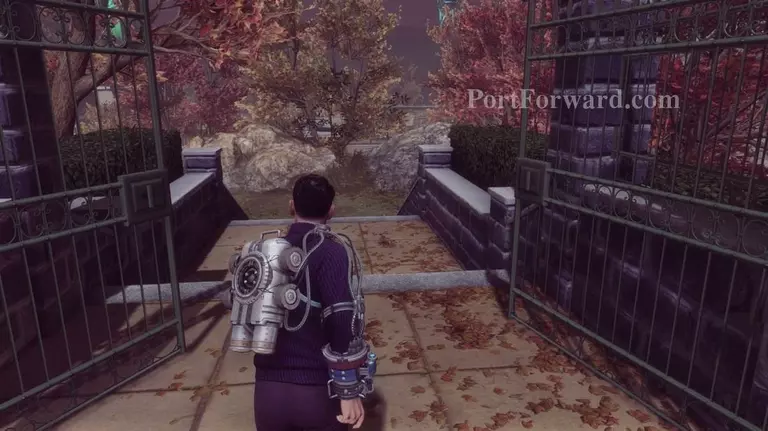
Go through the gate and down the stairs.
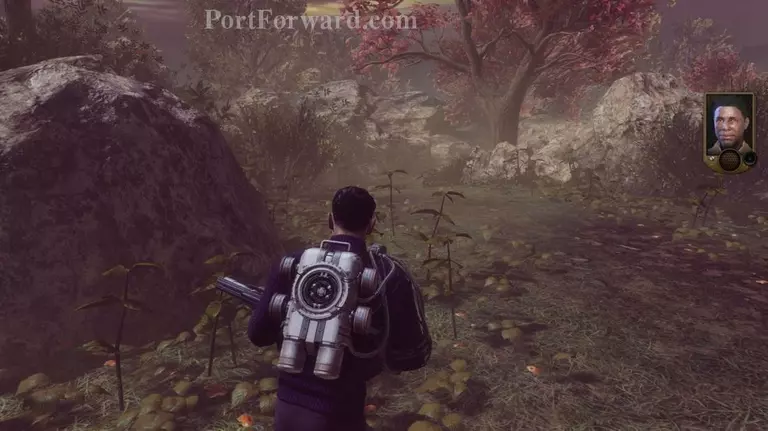
From the stairs follow the path down to the left.
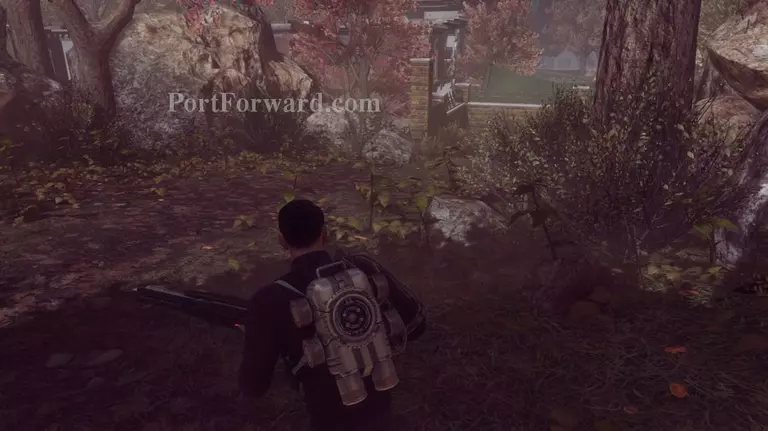
Keep following the path and you'll soon come to some more stairs.
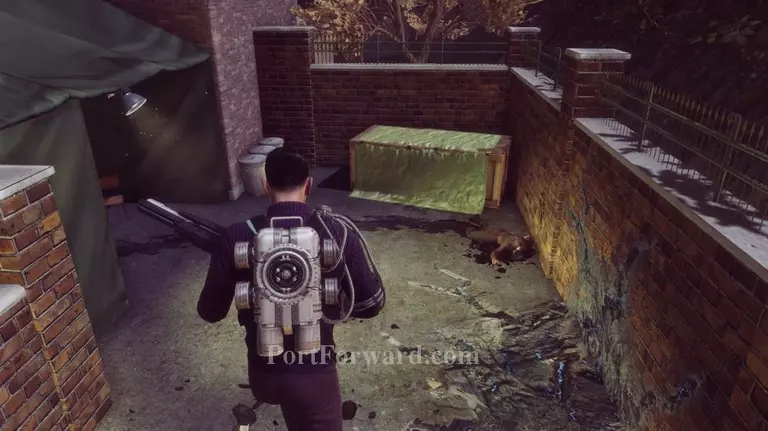
Head right down the stairs and progress forward where you'll see another dead soldier.
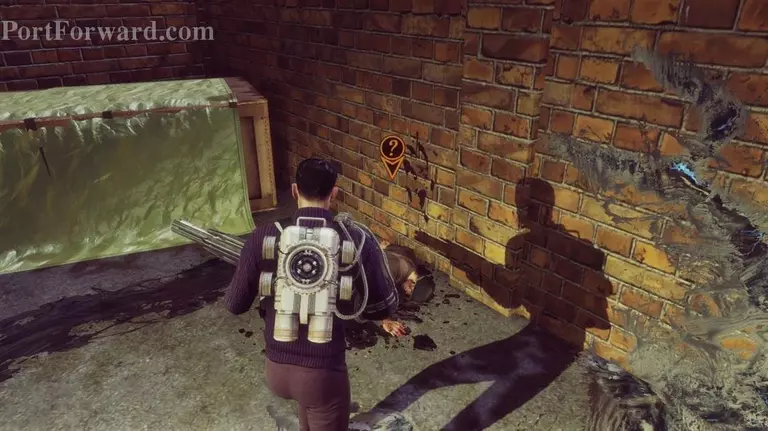
There is another examination point on the dead soldier.
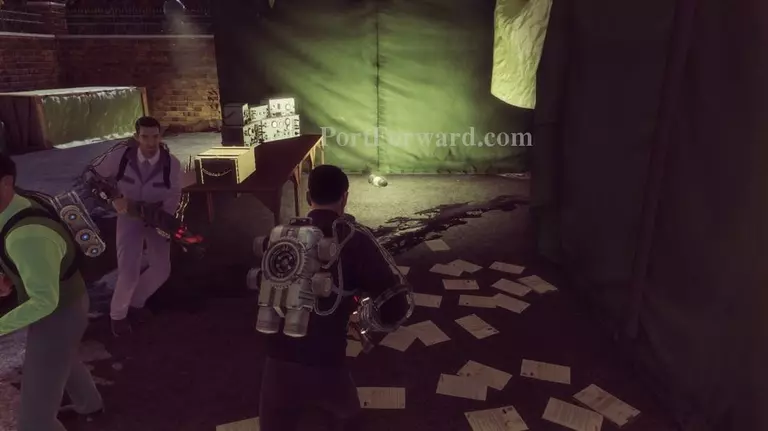
After using it you can head to the left inside the tent. Go around the table and head through the tarp in the back left.
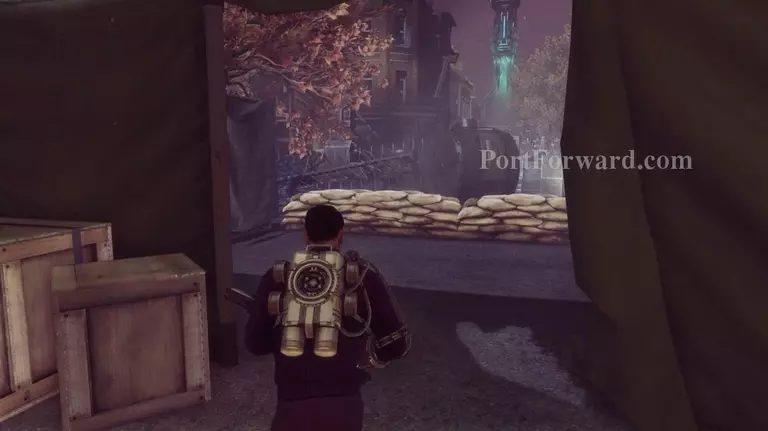
Head out the tent opening on the far right side. There are more enemies ahead, though, so be careful.
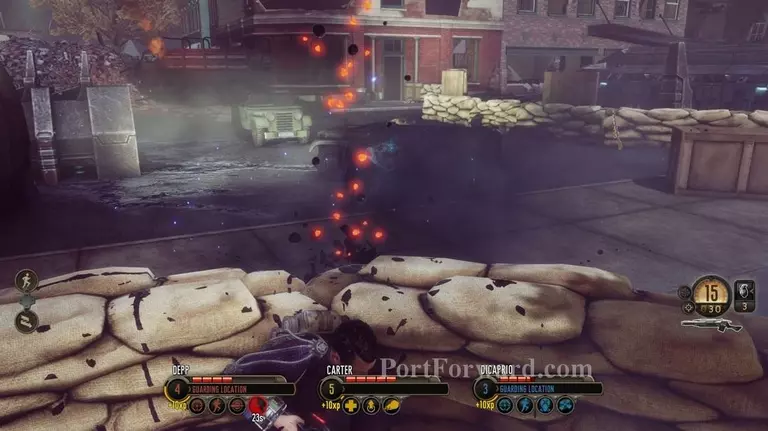
Get into cover and take out any enemies in the way.
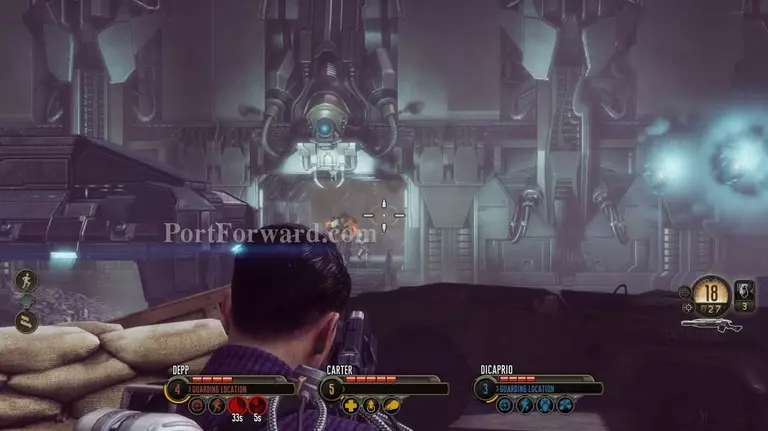
After you take out these enemies more will arrive from the far right. Most importantly you should take out that Muton ASAP.
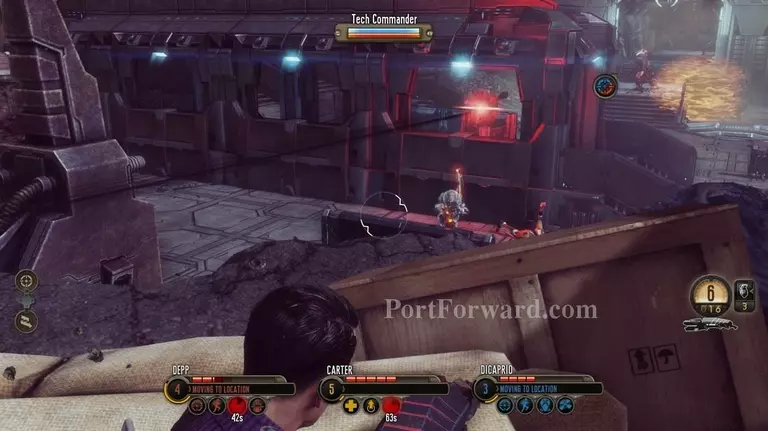
There is also a gun turret to watch out for so take out the Tech Commander and then the turret (the Tech Commander can conjour shield barriers so it's best to take him out before the turret).
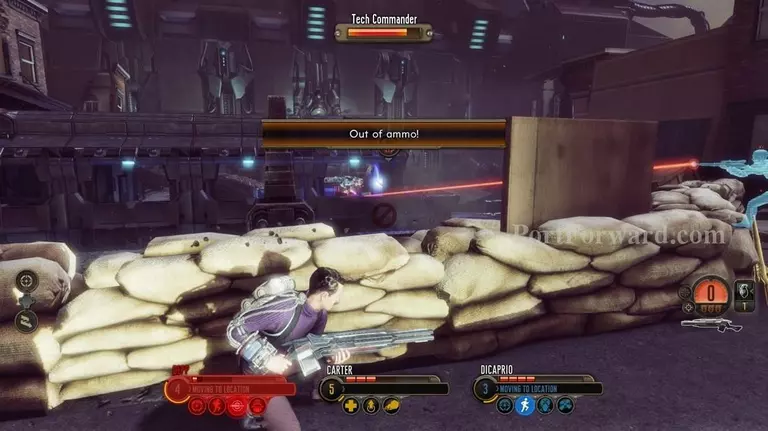
Be careful with your ammo here. I had some trouble and ended up running out of ammo so switch out weapons if you have to and look around if you need ammo.
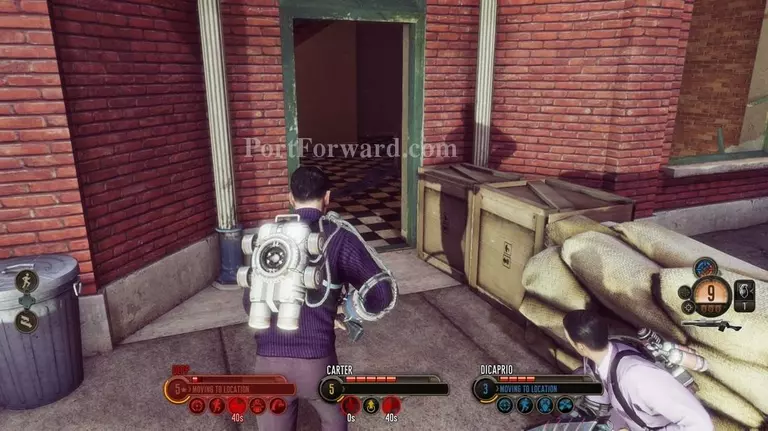
Once every alien you can see is dead head through the door on the left side.
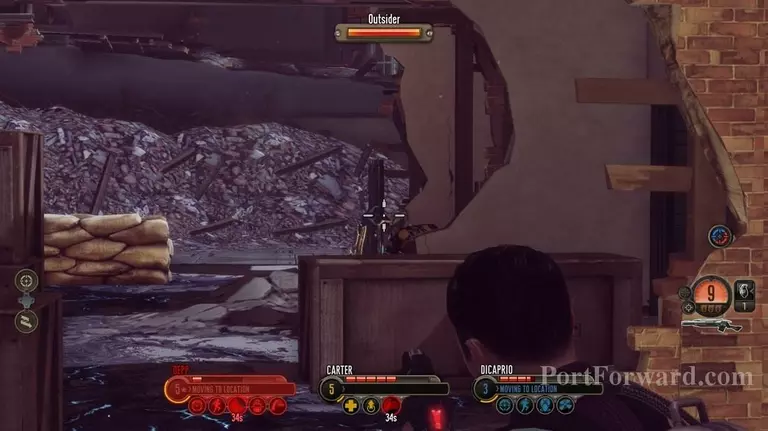
Take cover behind some boxes on the right as there is at least one enemy Outsider in here.
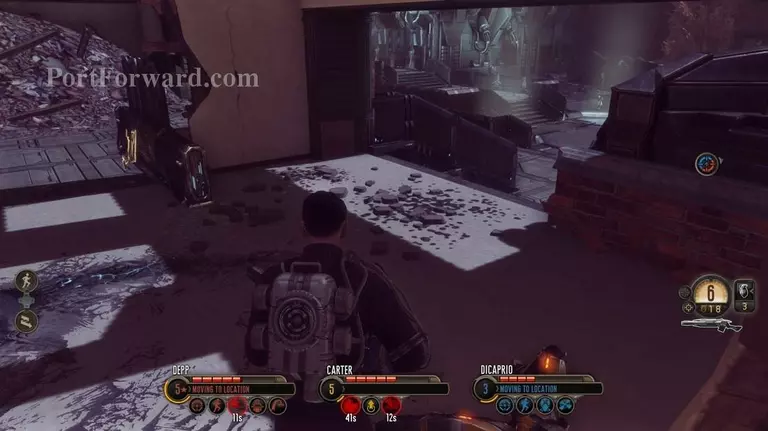
Then head through the building to the right and out the destroyed wall.
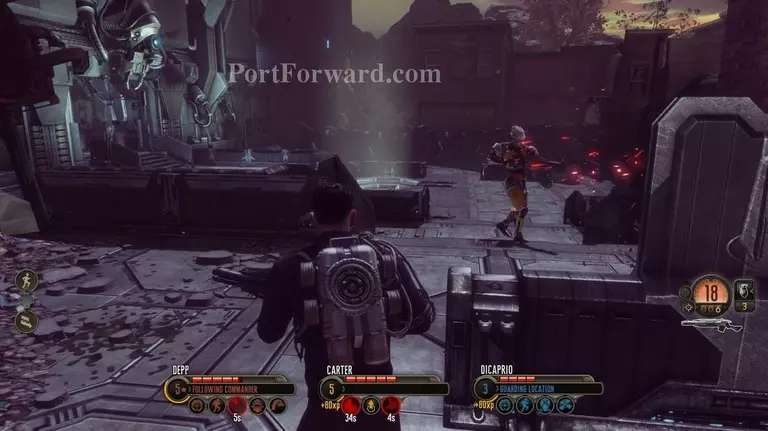
Head down the stairs and kill any enemies remaining down here (this is where enemies came from earlier).
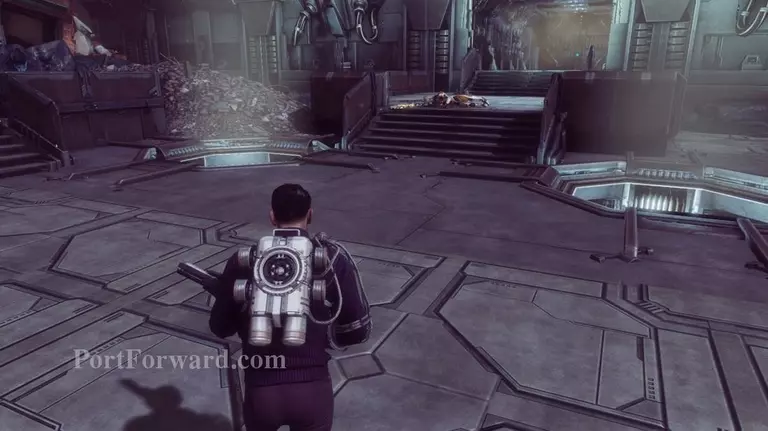
Then head to the far left side up the stairs.
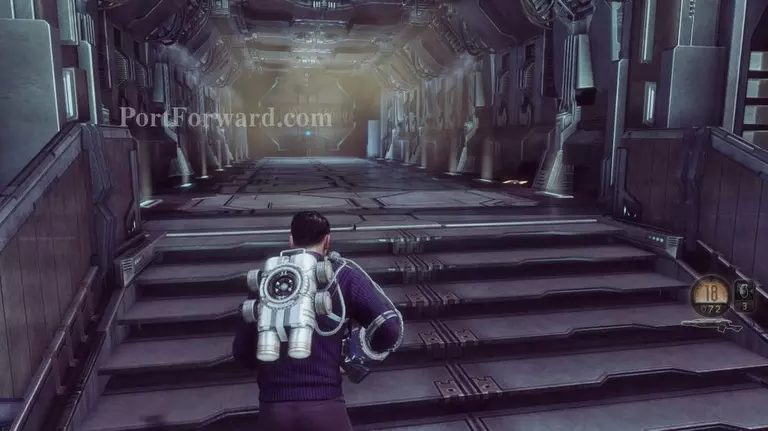
At the top of the stairs is another backpack schematic you can pick up.
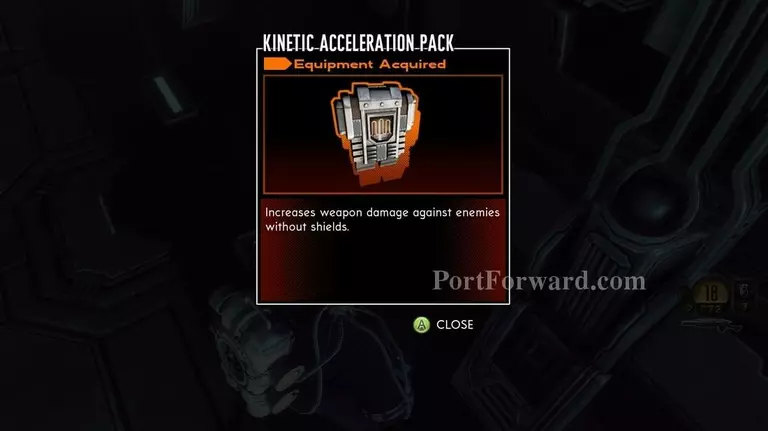
This will give you the "Kinetic Acceleration Pack" which I didn't find incredibly useful but it's something if you want to use it.
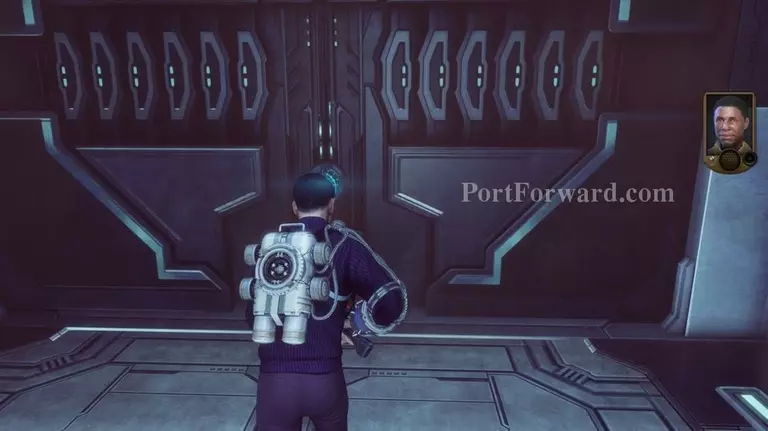
Anyway, head forward and through the door ahead.
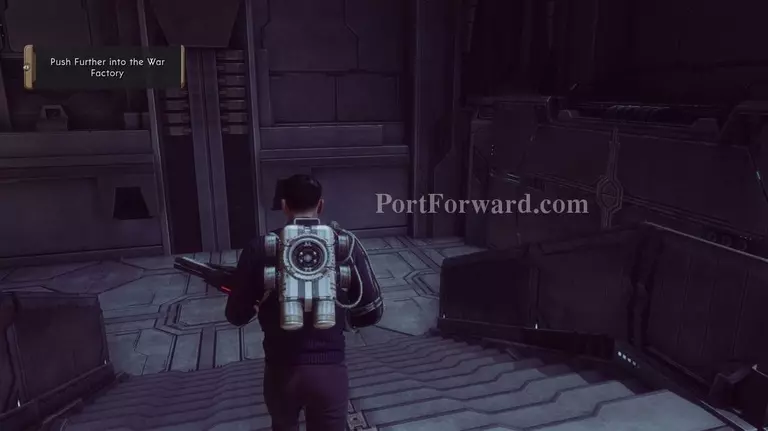
Go through the door and down the stairs.
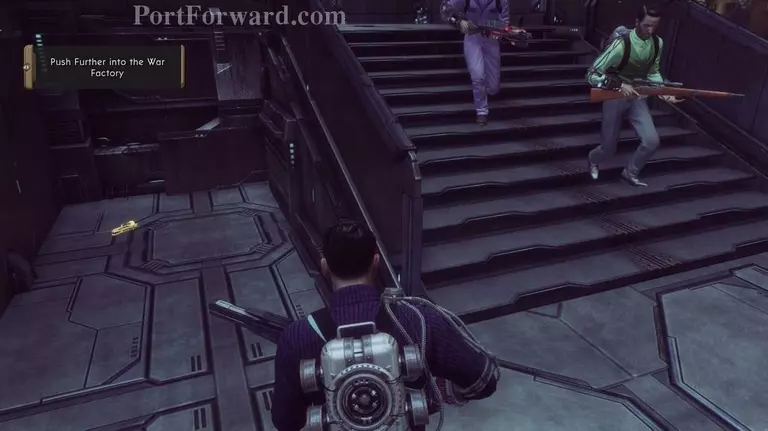
Circle around the staircase and you will find another weapon to pick up. It's another type of alien pistol.
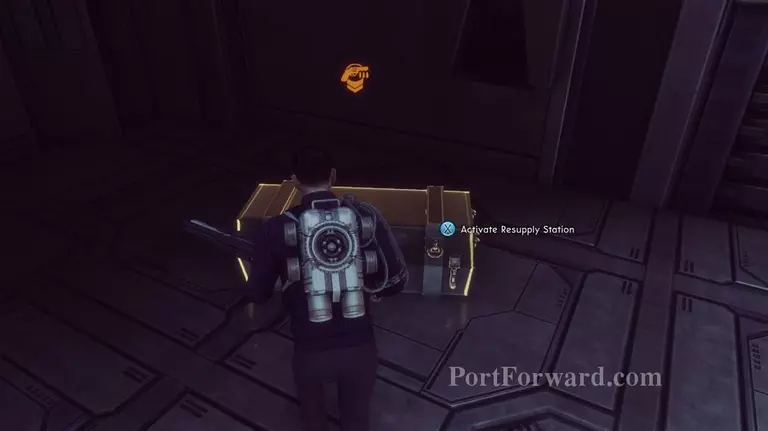
Turn around from there and you will see the resupply crate ahead of you. You can use that to restock ammo and also auto save.
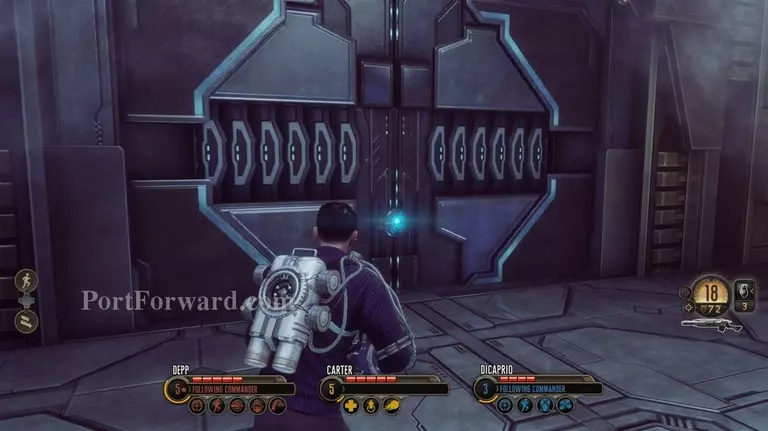
Then go through the door on your right.
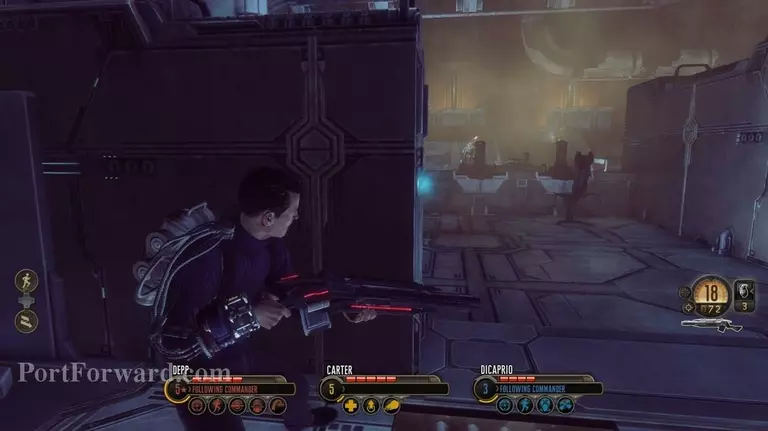
Take cover ahead in here as there will be more enemies inside.
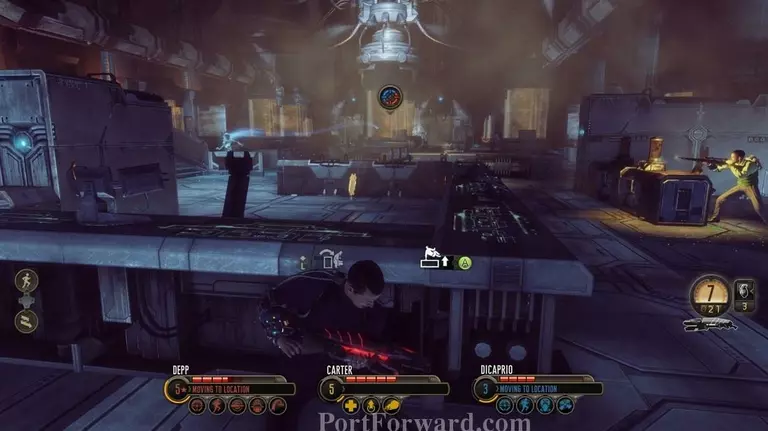
Move in and out of cover as you find openings and take out enemies ahead of you. Then head towards the stairs on the top left.
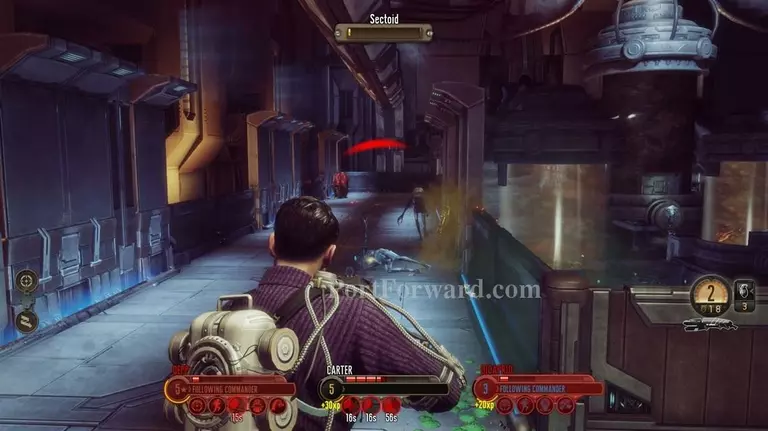
Take out enemies up here as well and head to the far side of it.
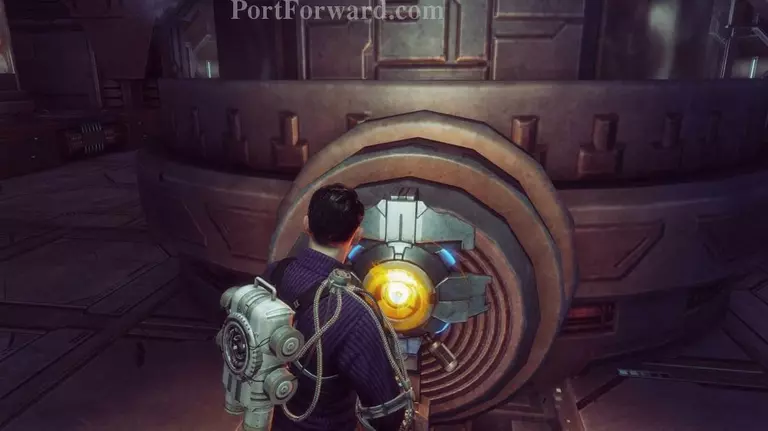
After you've taken out all the enemies hit the switch in the center of the room- to the right of the alcove you used to flank the enemy aliens.
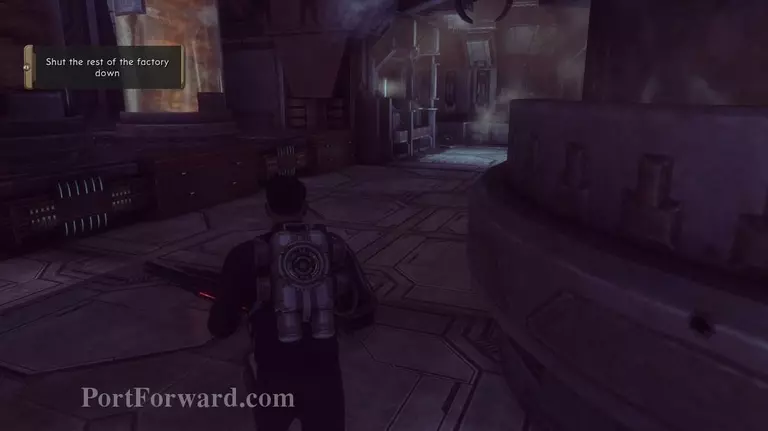
Then head around the pillar the switch is on and to the right.
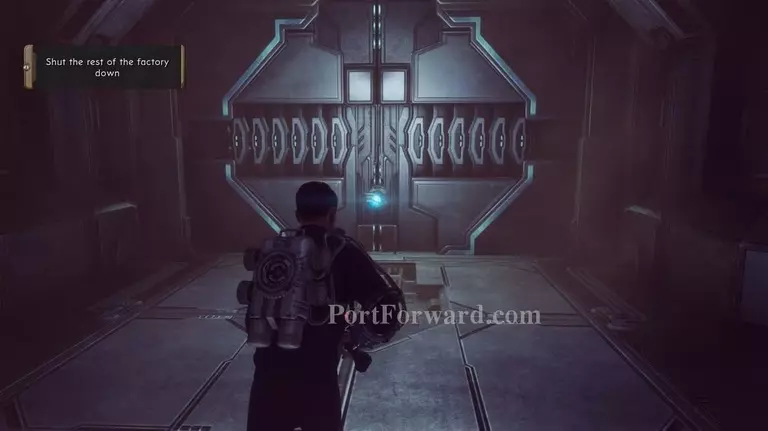
Go through the door at the end.
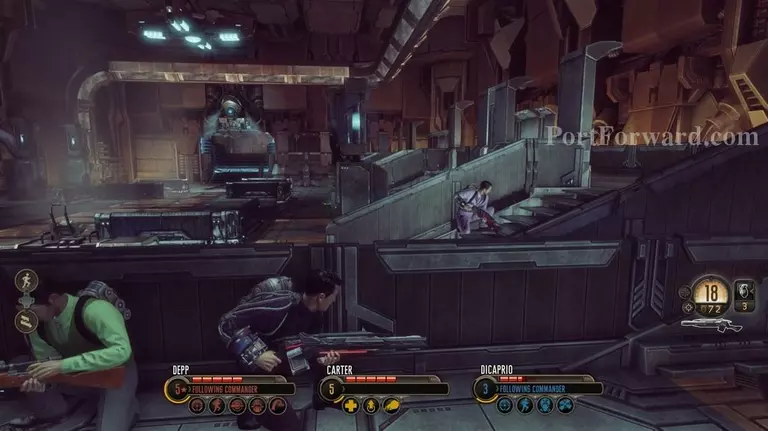
Get behind cover again as there is more enemies ahead.
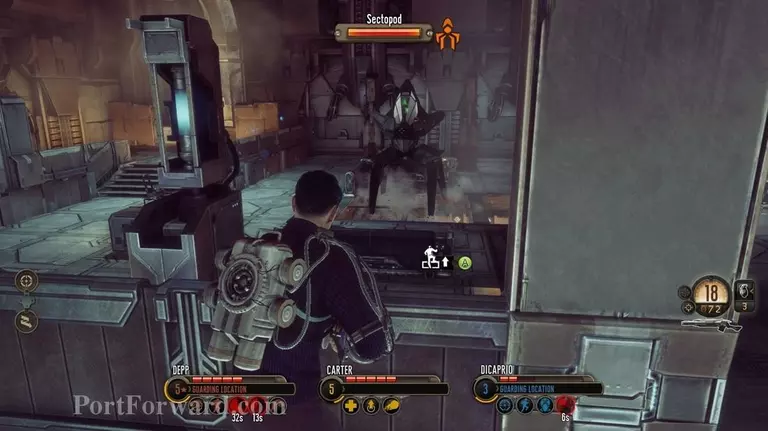
You will also have to contend with another Sectopod.
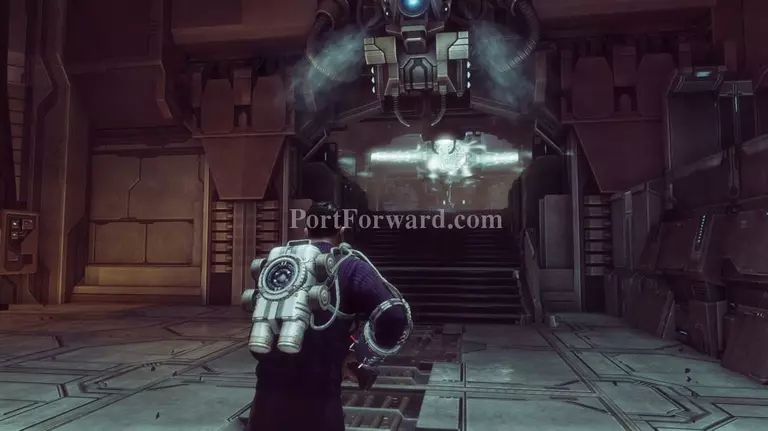
When the room is clear head up the stairs ahead at the far side of the room.
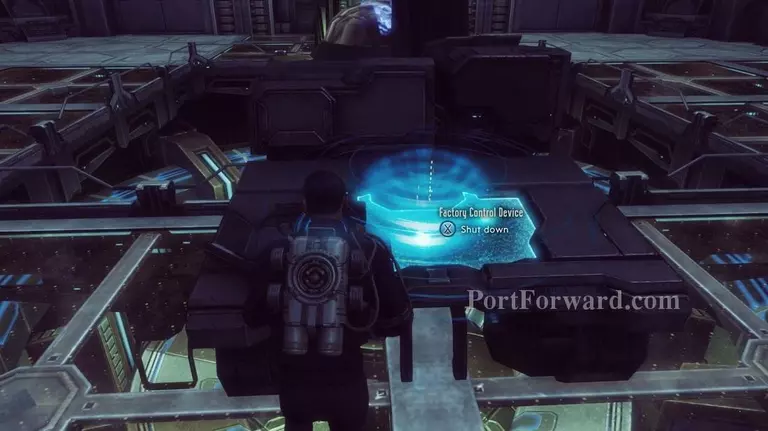
Use the factory control device to shut the base down and complete your mission.
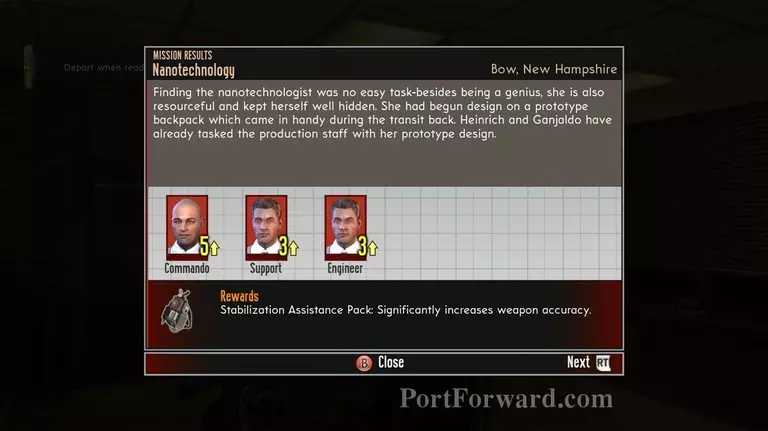
When you return to the base your Dispatch mission will be completed.
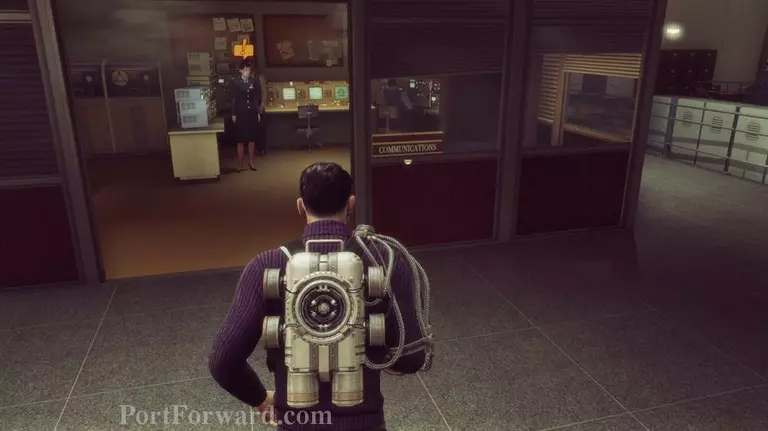
Head to the other room opposite your office.
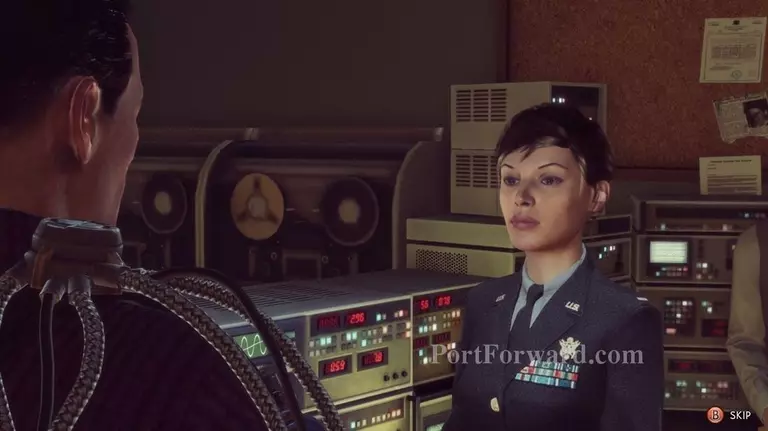
Talk to Chulski to start the Vendetta investigation. This will give you some insight into why Angela wants to kill Axis.
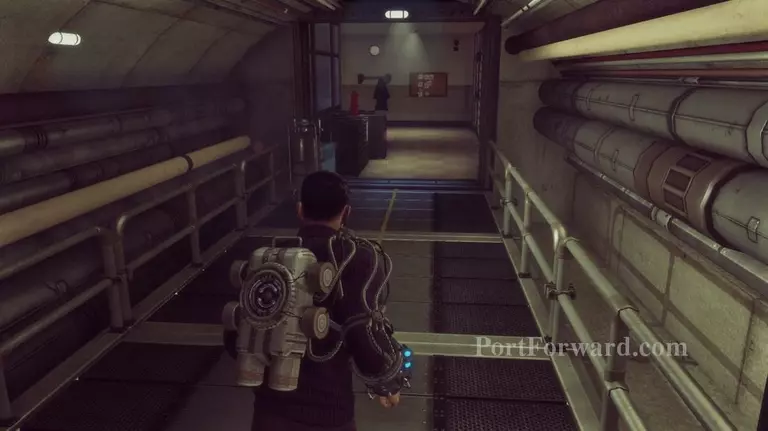
Head to engineering through the crossway.
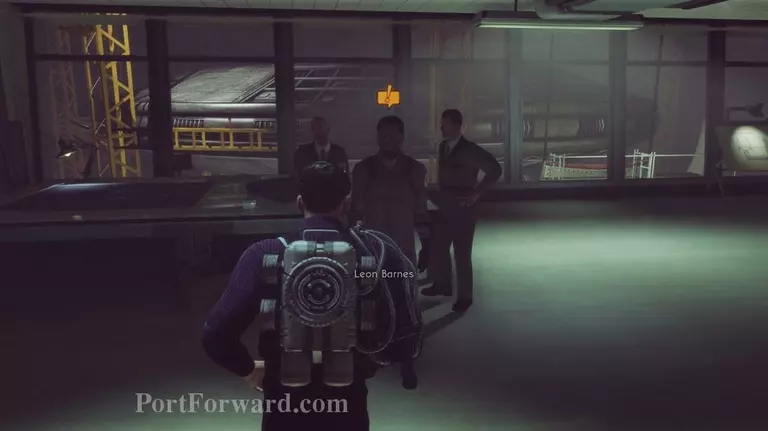
You can talk to Barnes.
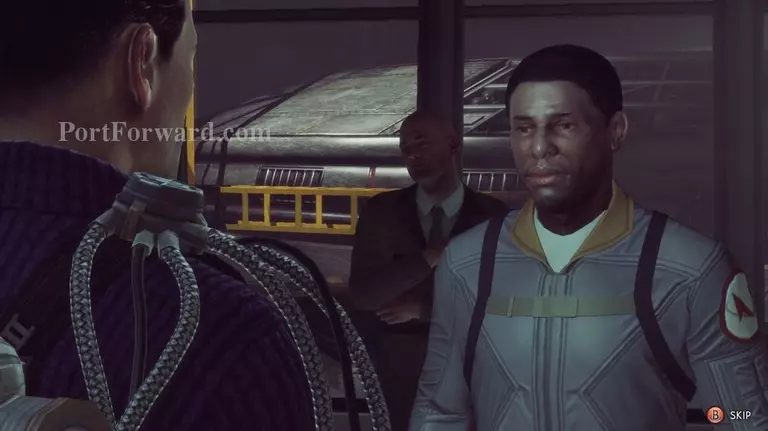
Even though there is a ! over his head I didn't get a mission from this but talk to him about everything.
Then head back out to the crossway.
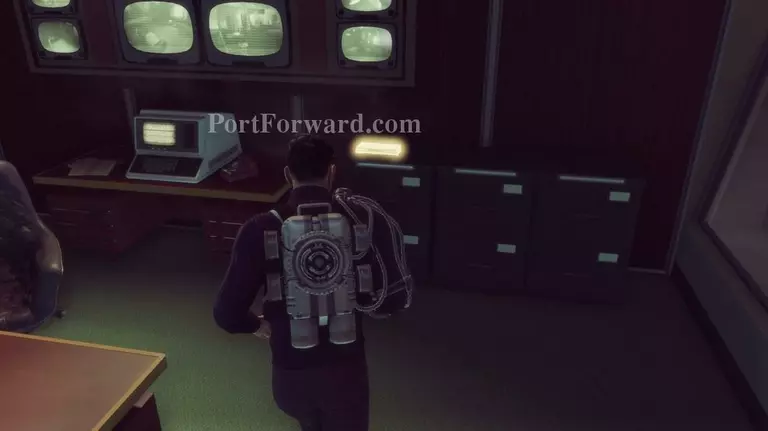
Side note: There is also a note in Faulke's office that is glowing you can read. I don't know if it's one you have (sometimes they will glow again even though you already read it and I'm not sure if this one was covered yet).
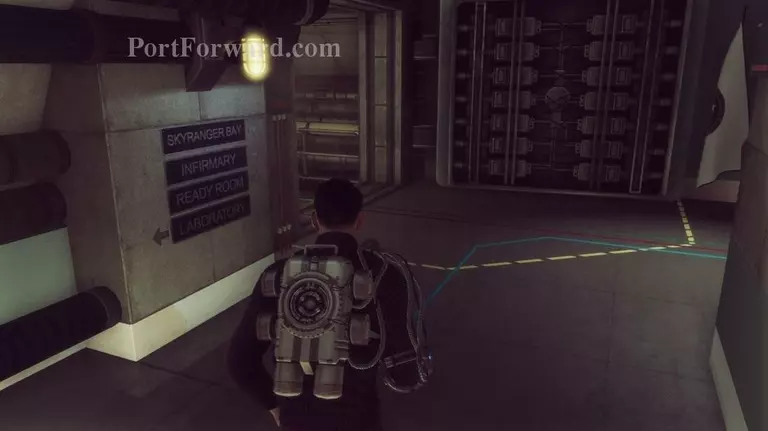
Anyway, when you're done with that head back through the crossway to the ready room (which is on the left down the hall and to the left again).
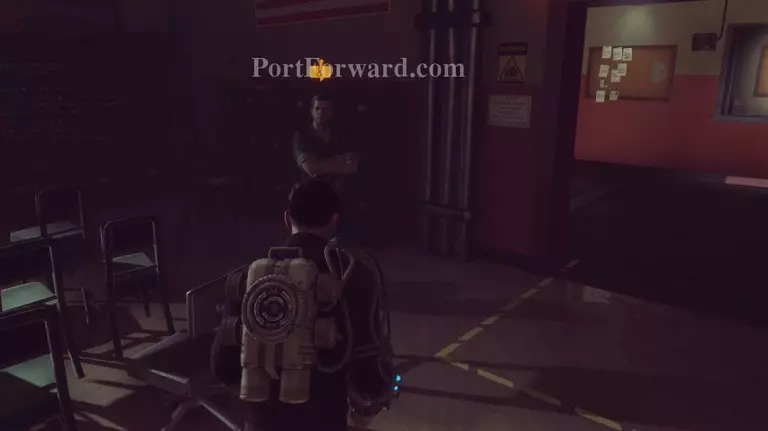
In the ready room you can talk to Percy now.
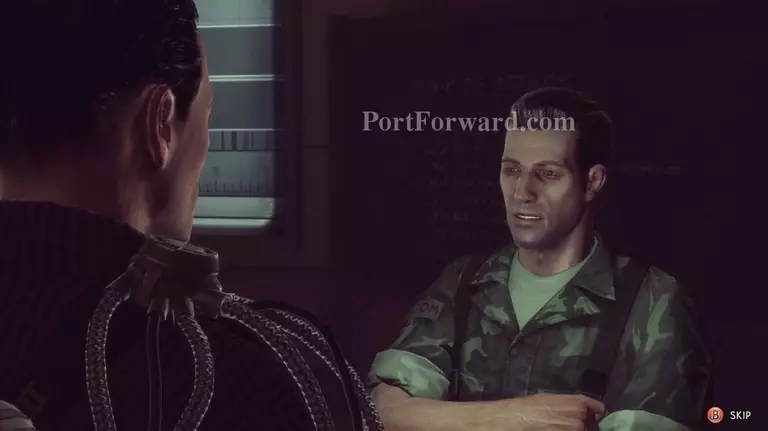
Percy tells you that Angela has a safe hidden in her office and any info you are looking for is probably there.
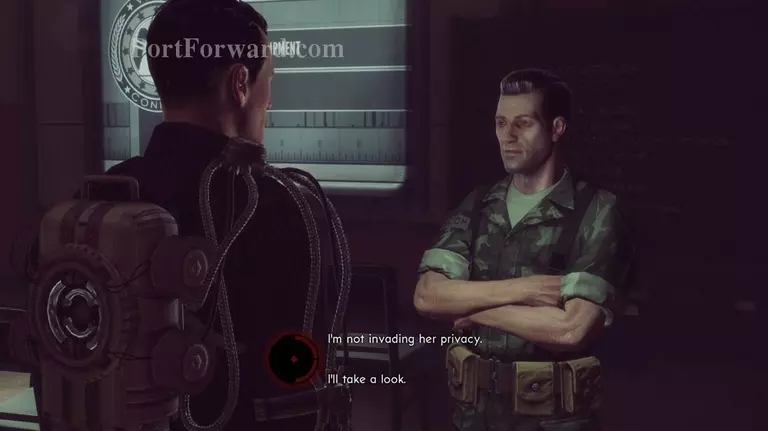
The game implies you are invading her privacy (and technically you are) so you can defend yourself if you want but if you want to finish this investigation no matter what you say you will have to do it.
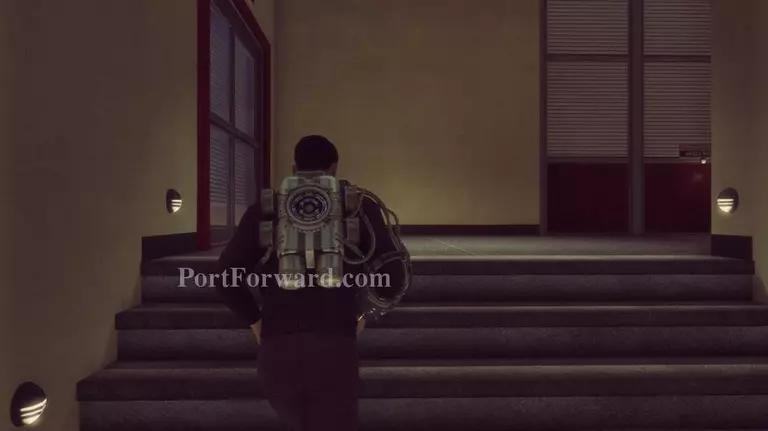
Head back to Operations and then up the stairs on the left side of the room.
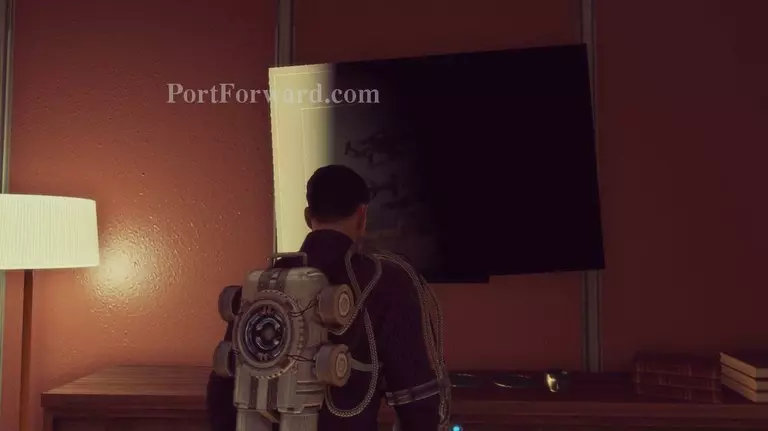
Go into Angela's office and you will see the picture is now usable.
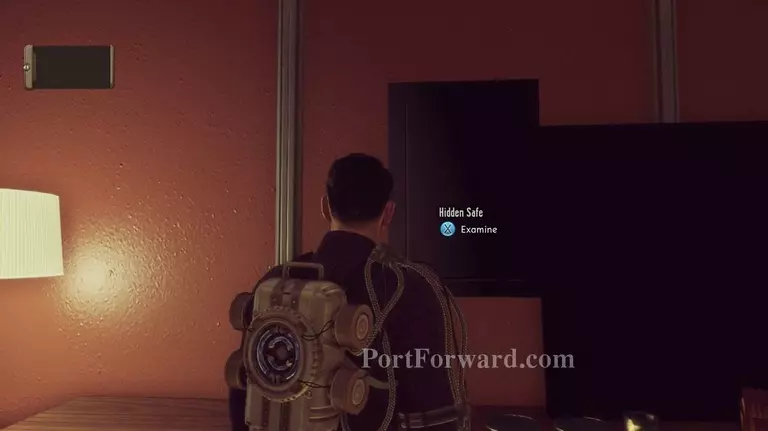
When you use it you will reveal a safe behind the picture. Examine the safe and you will update the investigation that you need to find the code to open the safe.
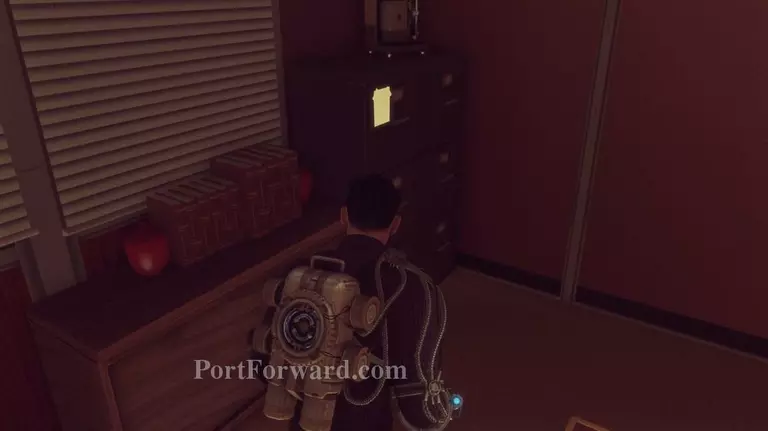
Turn around and look to the right where some file cabinets are. Look at the picture taped there and Carter will figure out the code.
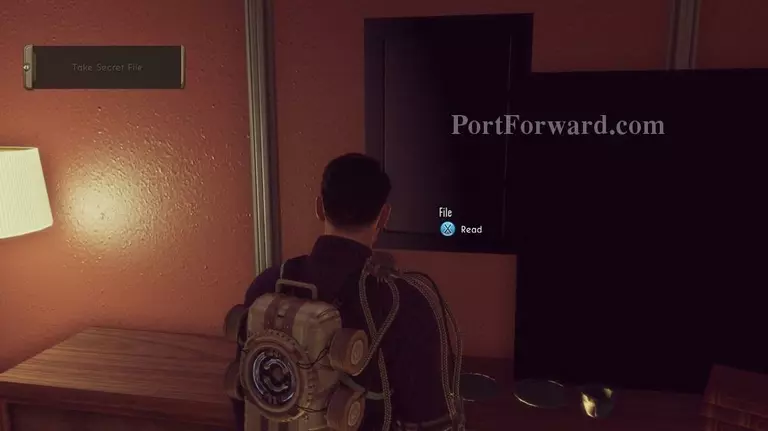
Go back to the safe and Carter will open it (you don't have to memorize the combination; he automatically opens it).
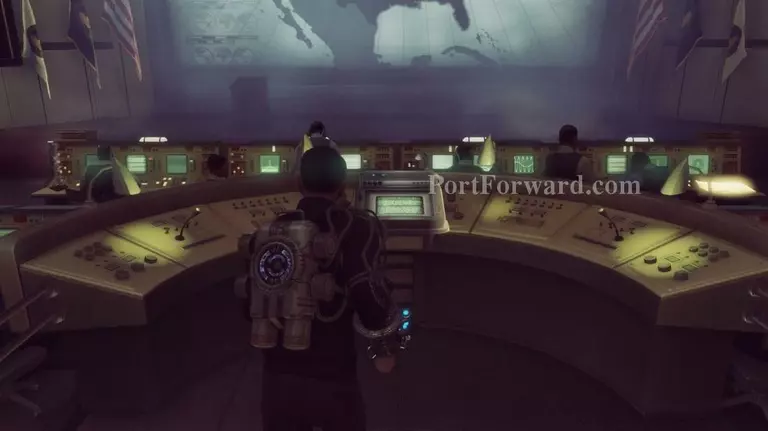
Head back down stairs and use the mission panel.
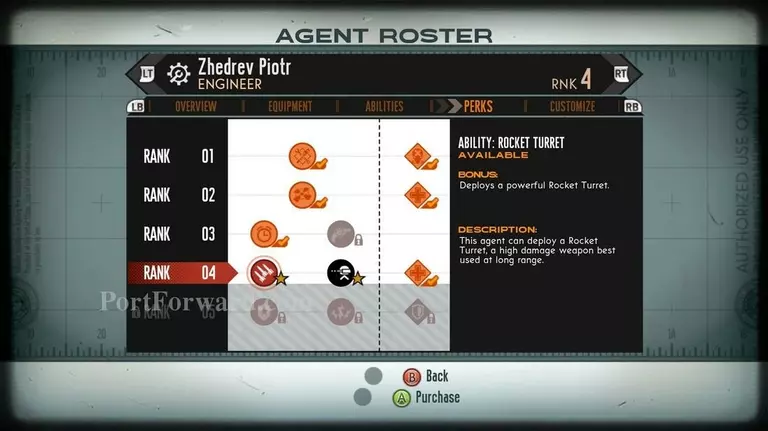
Make sure before doing anything to go through and re-equip your agents with new weapons (if they can use it and you want to) and also level up their perks.
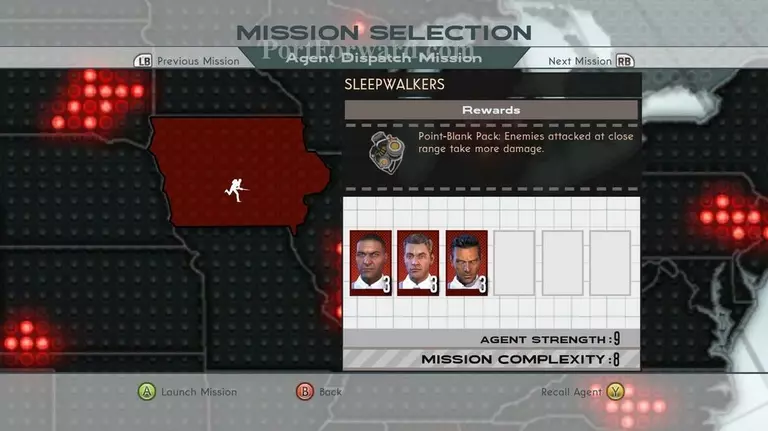
Send any lower level agents you have on the next Dispatch mission
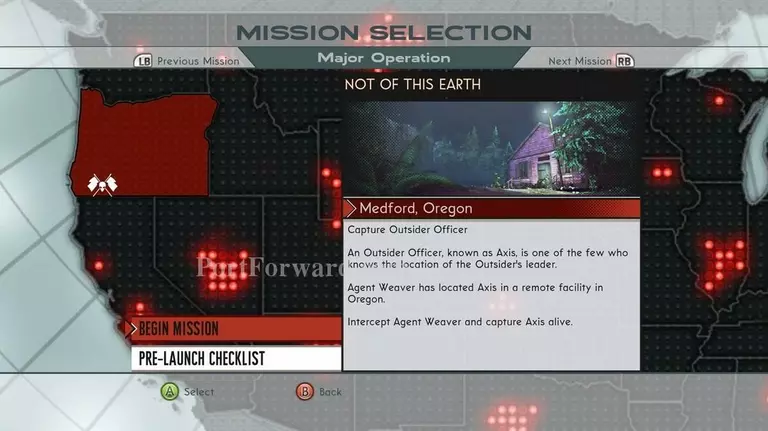
Then head to your next Major Operation- which is to find, and take captive, Axis.
More The Bureau: XCOM Declassified Walkthroughs
This The Bureau: XCOM Declassified walkthrough is divided into 17 total pages.


