This The Bureau: XCOM Declassified walkthrough is divided into 17 total pages.
You can jump to nearby pages of the game using the links above.
Operation: Guardian
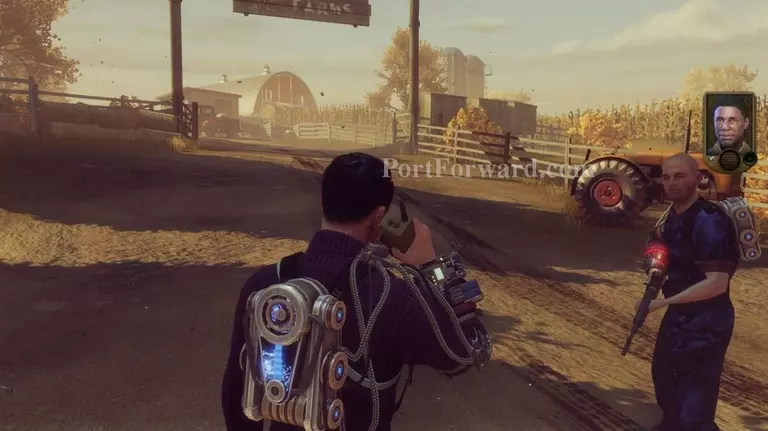
Upon landing you'll find yourself at a farm. After speaking with Barnes head forward further onto the farm.
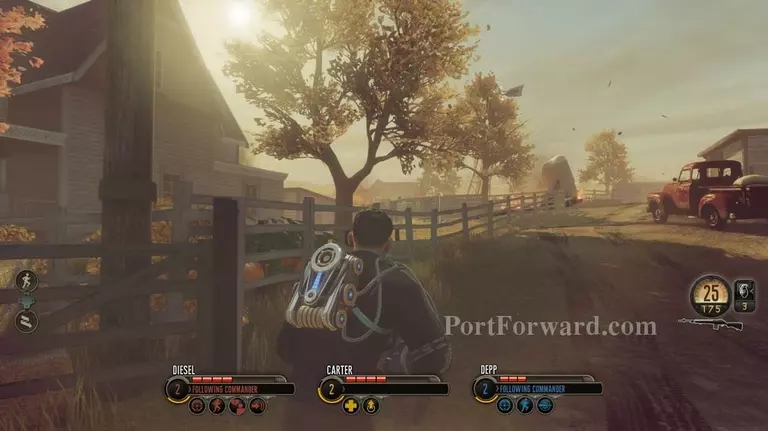
You're heading towards the area in front of the red truck just ahead.
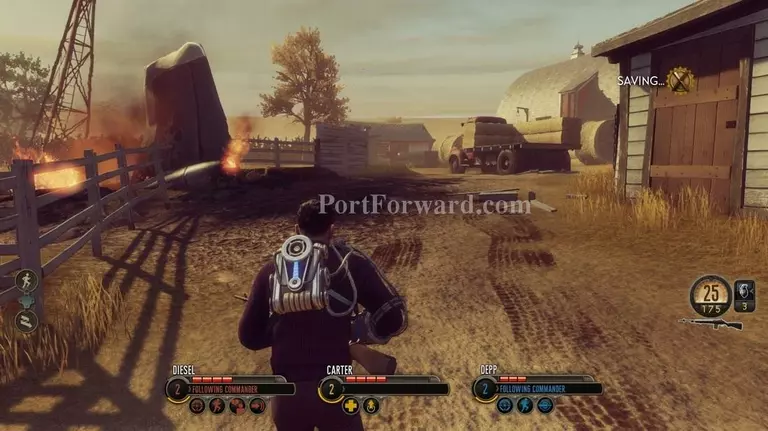
At about this point, though, be careful. There are enemies waiting ahead.
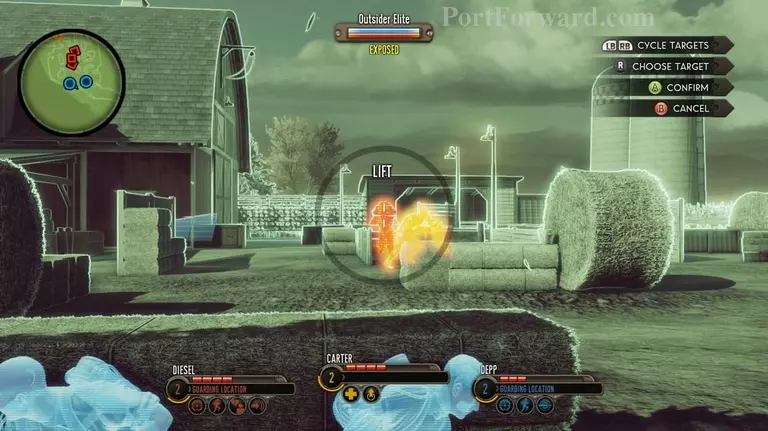
Make sure you take out the elites first.
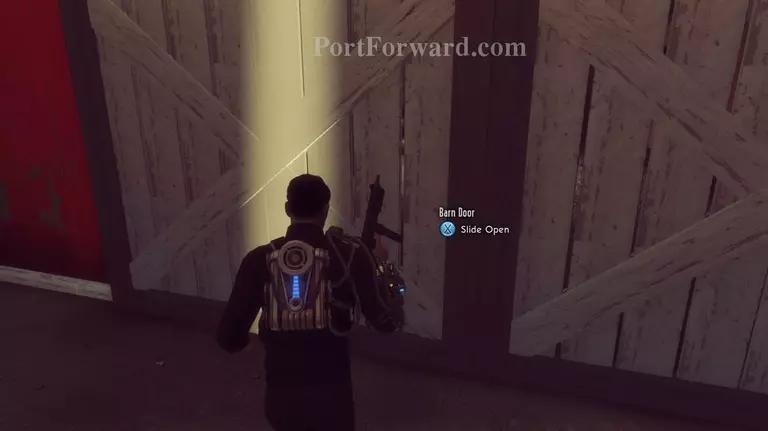
When you're done killing those aliens head all the way to the back and open the barn door.
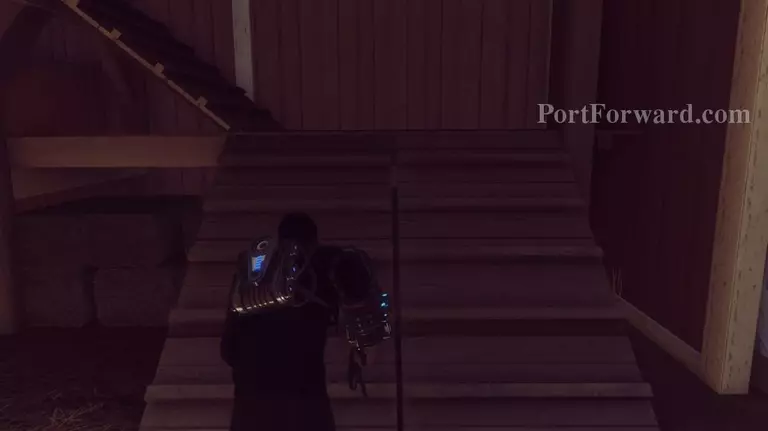
Go up the ramp on the right to get into the loft area of the barn.
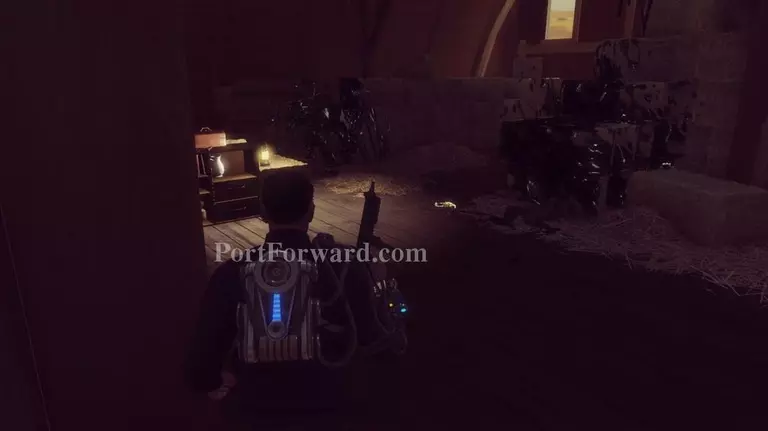
There is a new gun you can pick up in the middle of the floor here.
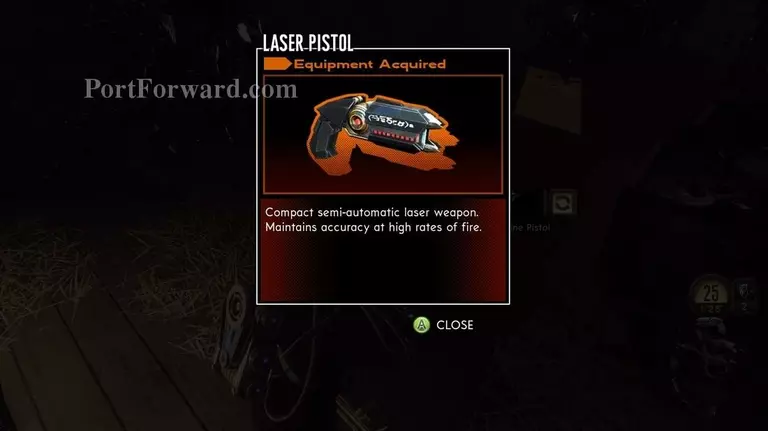
Now you have a laser pistol in your arsenal.
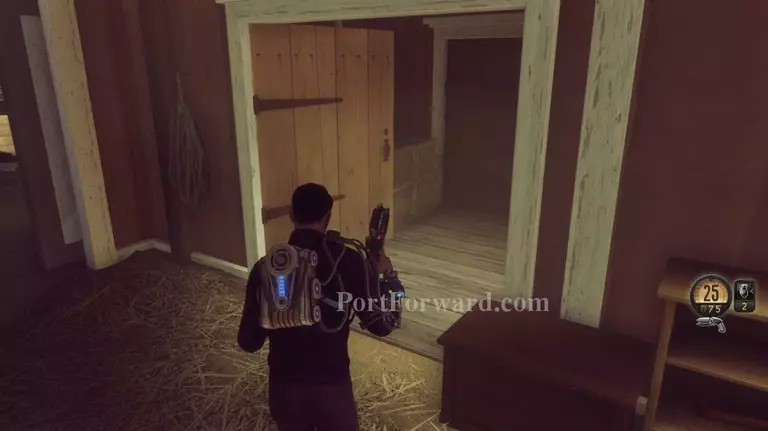
Anyway, you can head back down the ramp (there's alien ammo in the back of the first floor) and head through the door and down to the right.
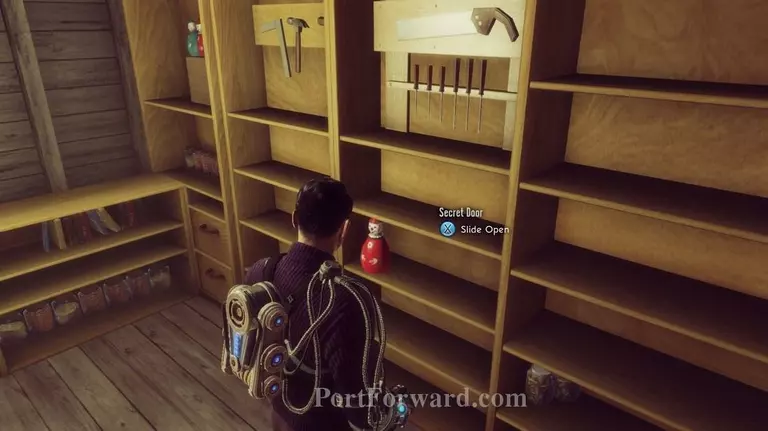
At the bottom of the stairs is a clown sitting on some shelves conspicuously. You use the clown to open the secret passage.
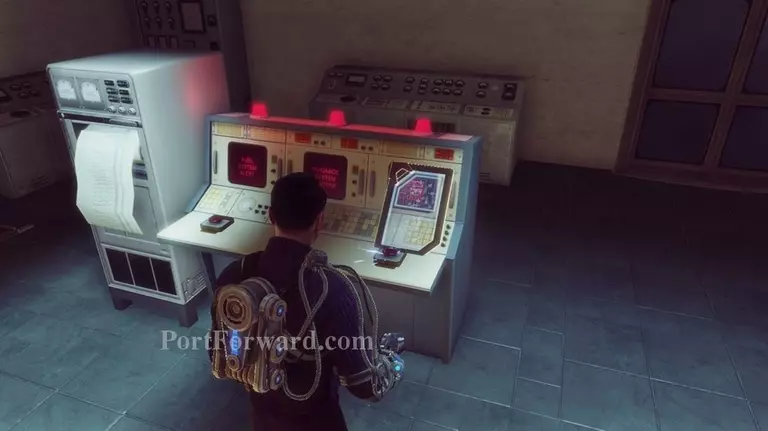
Inside there is a lot of equipment. On the panel with red buttons is another backpack schematic.
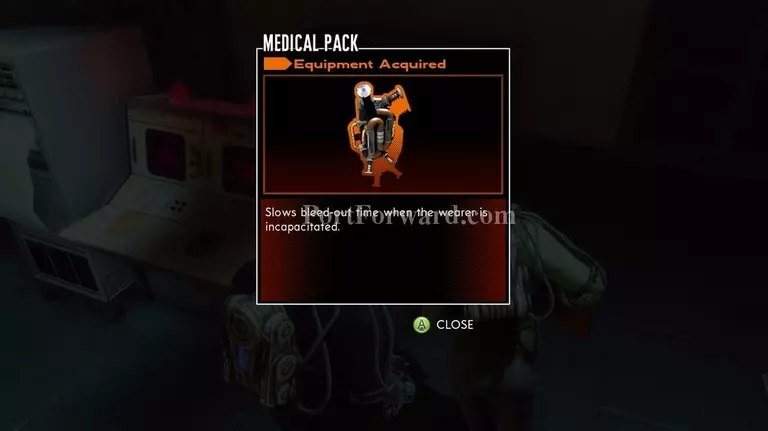
Pick it up to add the medical pack to your arsenal.
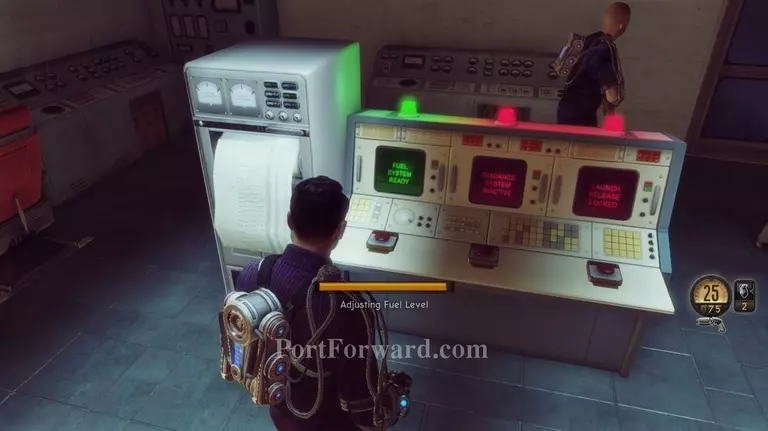
Then hold the button marked "Fuel System Inactive" to make it "Ready"
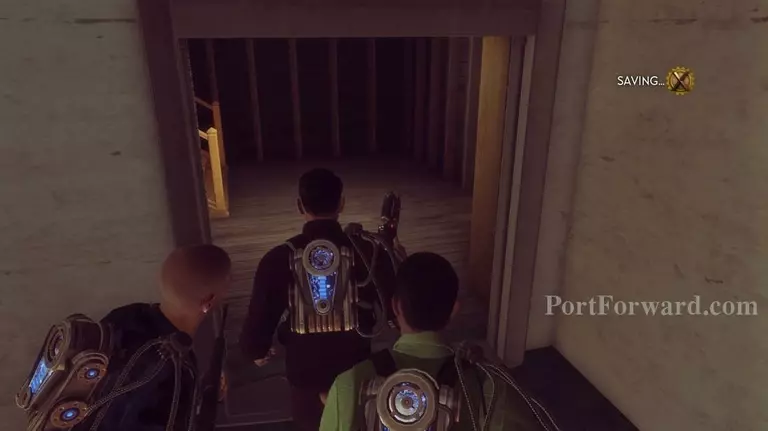
Theres a door in the back of the room that will open.
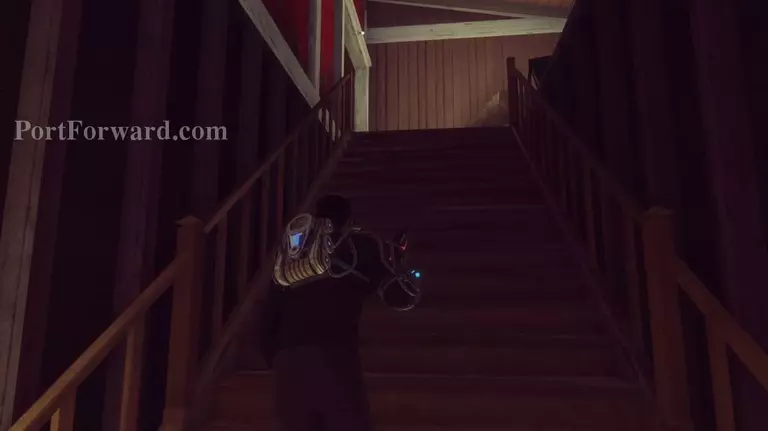
Head through and up the stairs inside on the left.
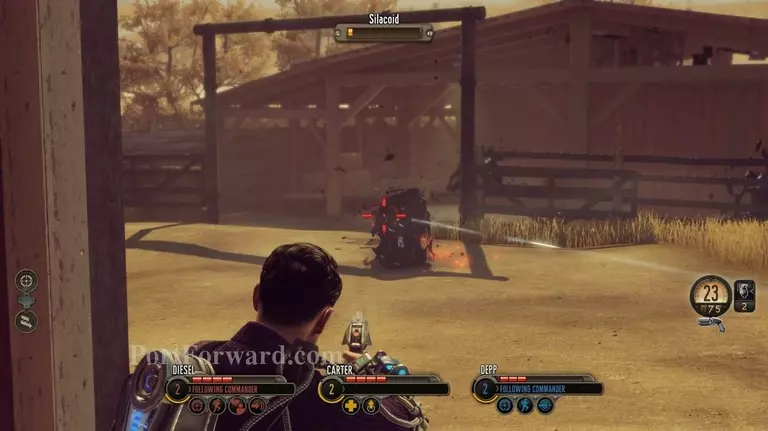
Be careful when coming out the other side as there are two Silacoids that may attack you from the stable area ahead of here.
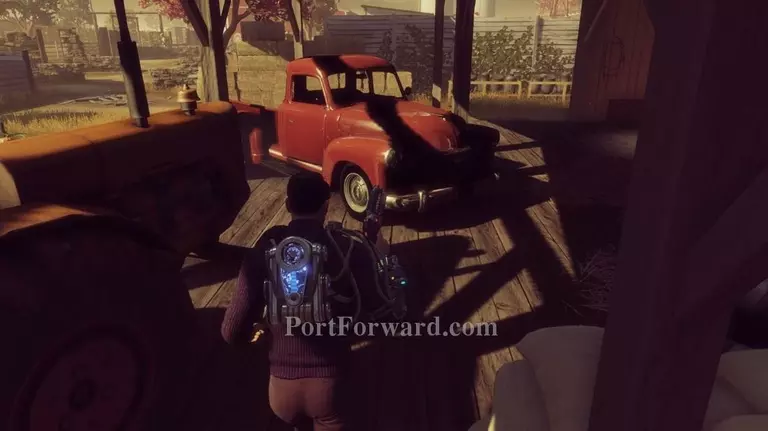
When you're done killing Silacoids head to the area they came from and past the red truck.
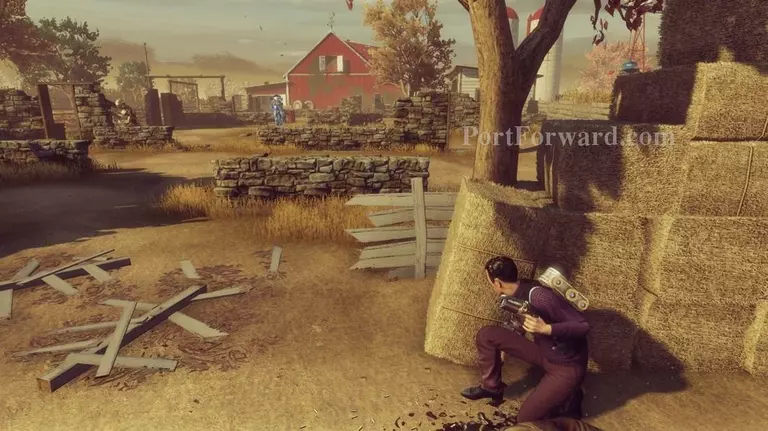
Be careful as there are more enemies over there.
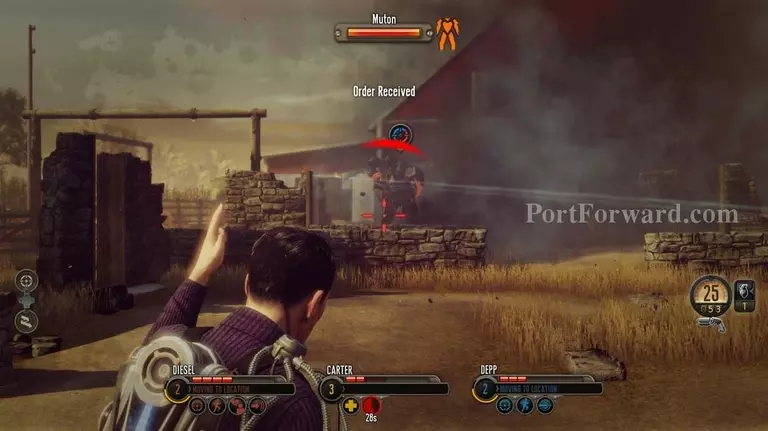
So you know, there is a muton with these guys. Make sure you take that thing down quickly.
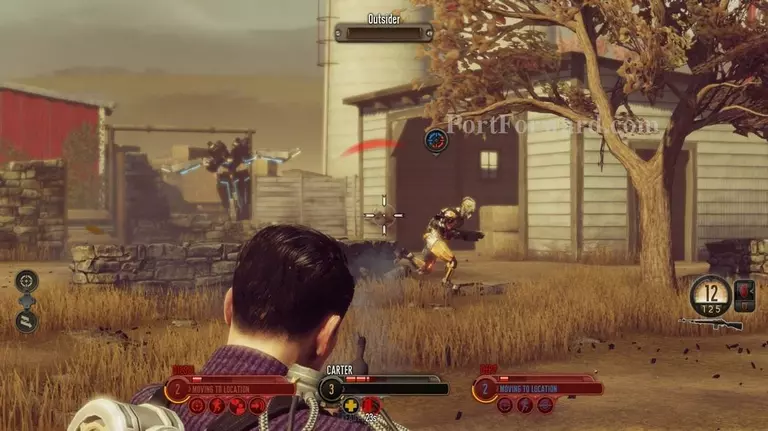
Then take out any Outsiders remaining.
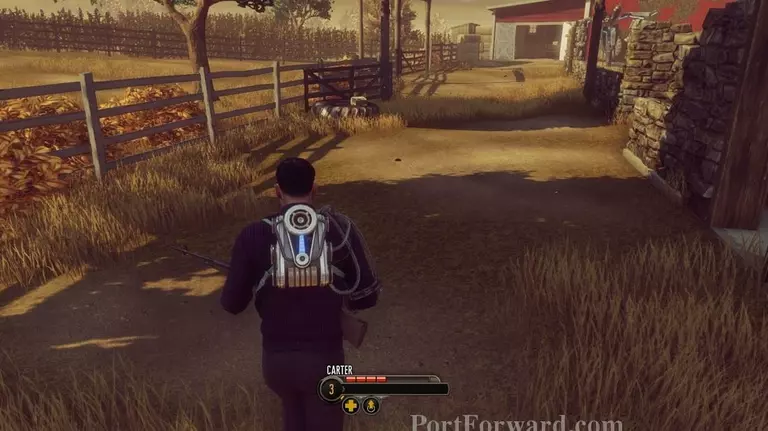
When all the enemies are dead you can head to the other side of the field.
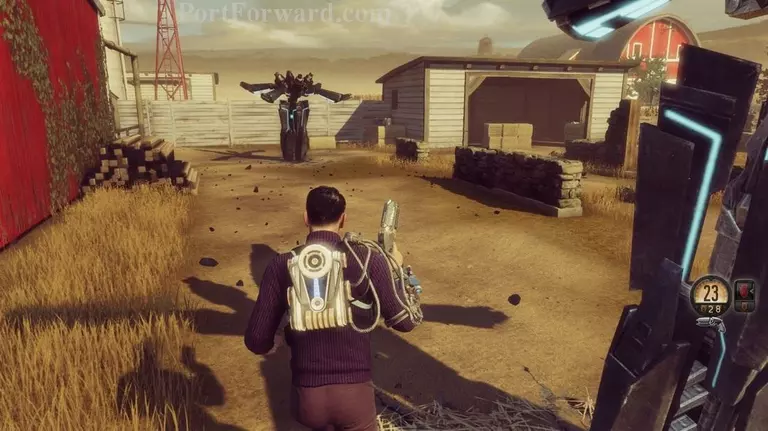
Before you go inside the barn, though, head to the right toward the shed ahead.
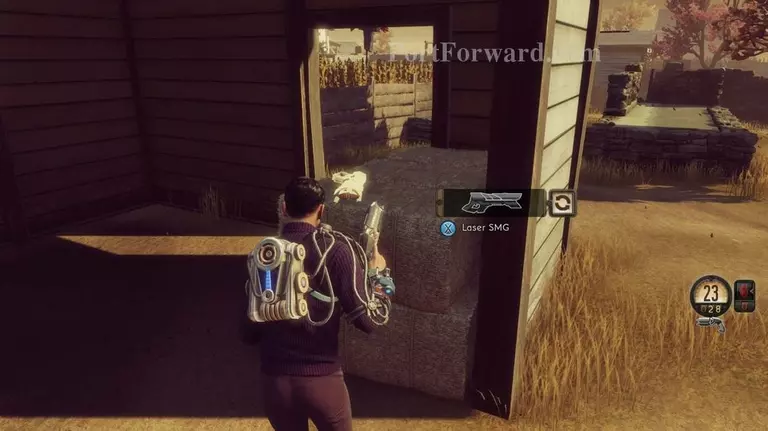
There is a laser SMG on a bale of hay
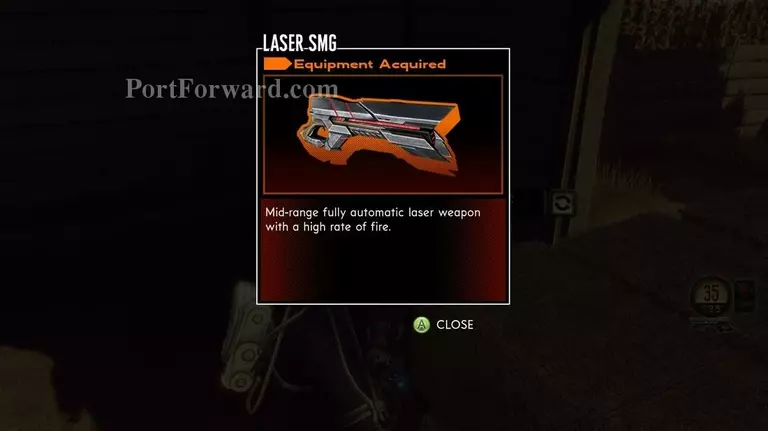
Pick it up to add it to your arsenal.
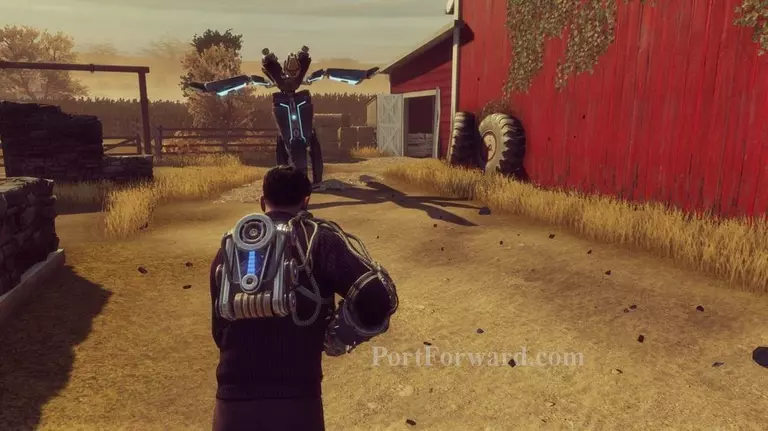
Then turn around and go into the barn on the far side of the ranch.
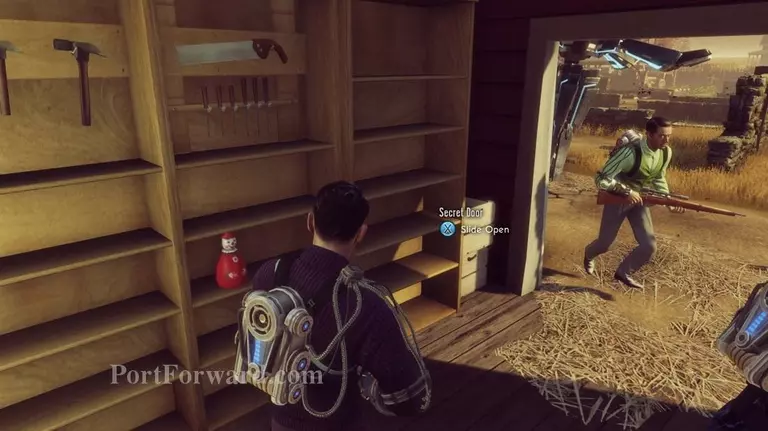
Use the clown on a shelf inside to open the next secret passage.
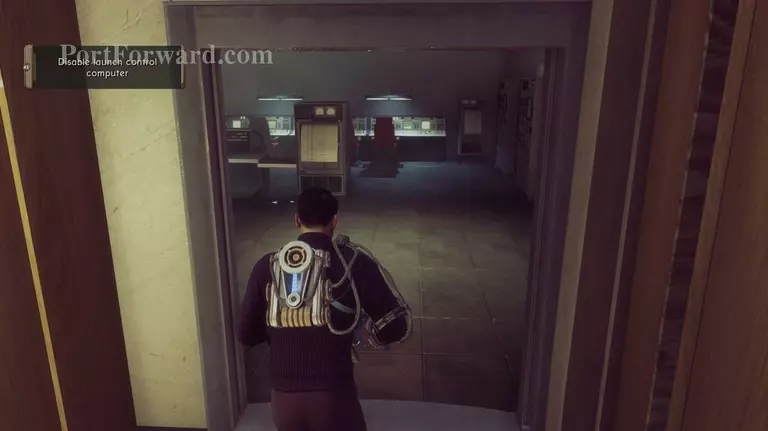
Head inside where there is more equipment, but go to the left.
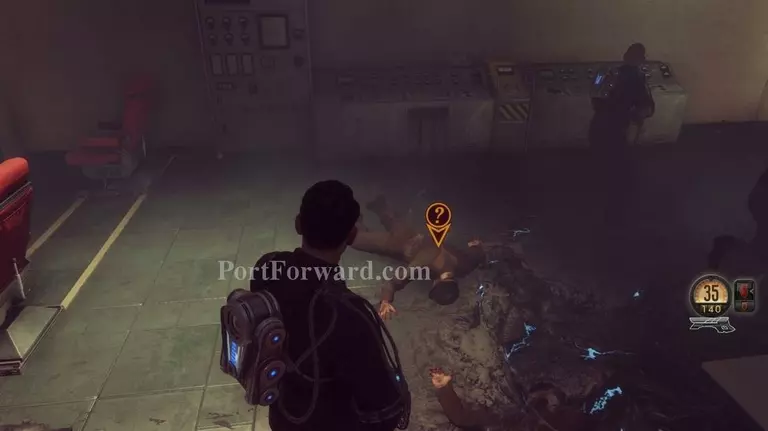
There is another examination point on the left (where some dead soldiers are on the floor).
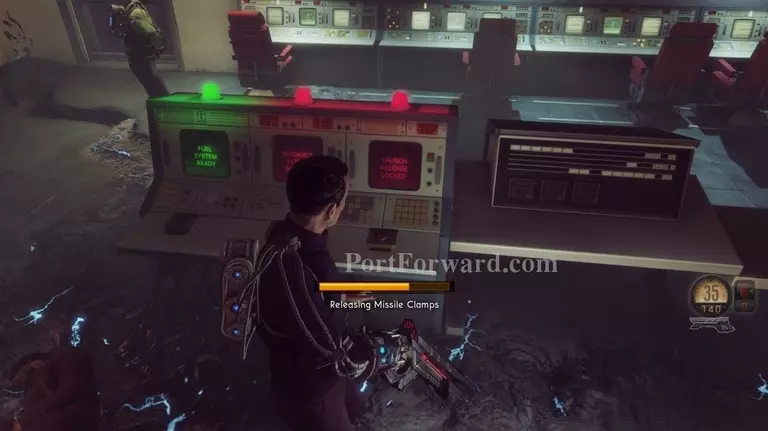
After you do that directly next to this is another panel of red and green buttons. Hold the button down for "Launch Release Locked"
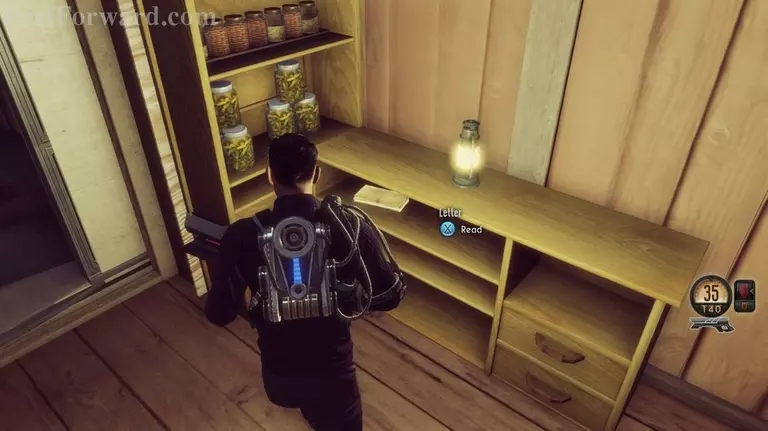
Go out the door just ahead and to the left side of this panel. On a shelf on the left (in this small hallway) is a letter you can read.
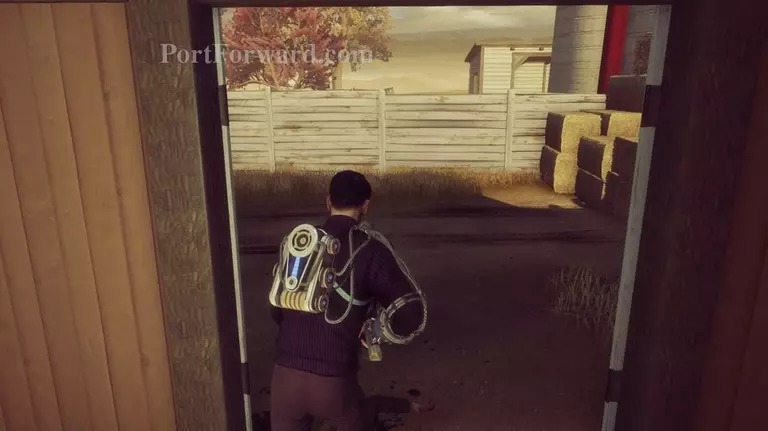
Then head outside and to the left.
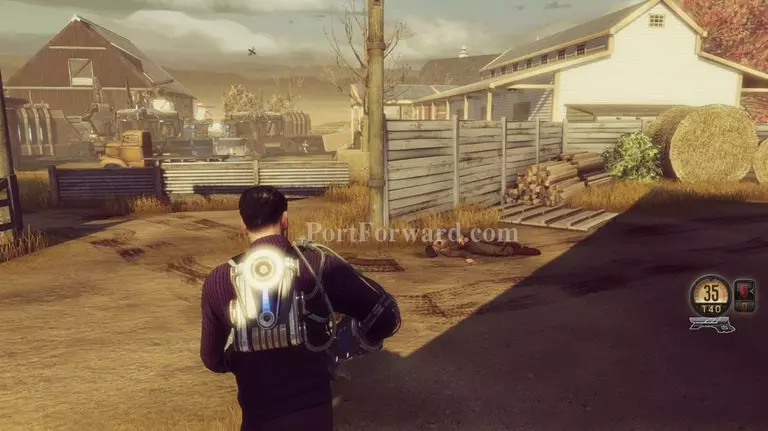
Just ahead is more enemies so run into cover. If you're quick you may be able to do this without alerting them yet.
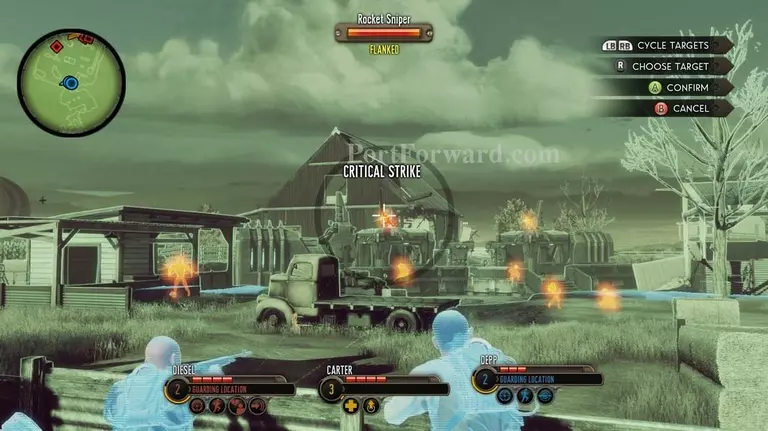
Be careful of the snipers on the roof in the back.
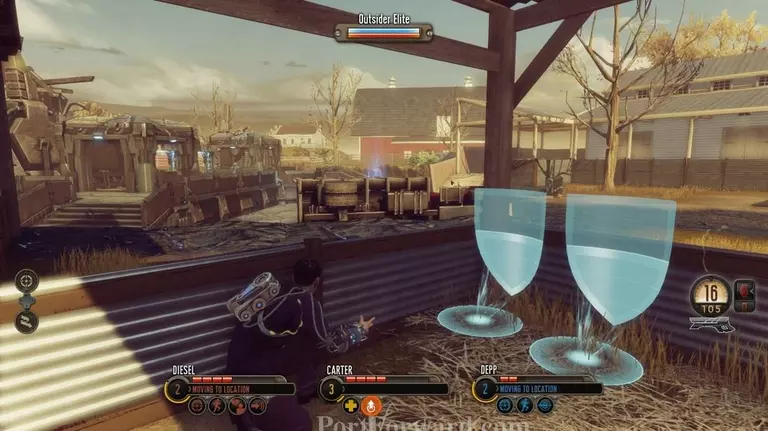
If needed you can also push to the left side and there is some cover on the left (and right) flanks that help make taking out the enemy easier.
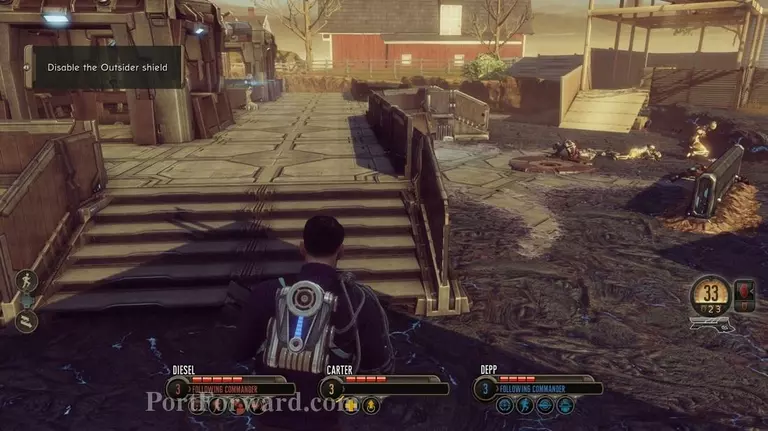
When all the enemies are dead head up into the central area of the base towards a door that is in the back.
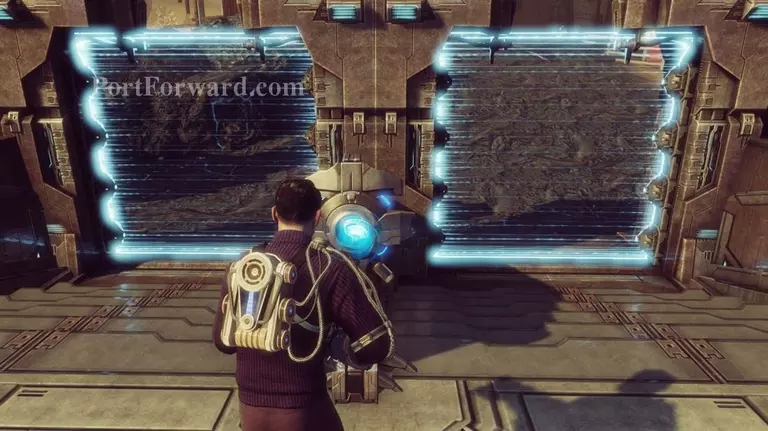
Hit the button. It doesn't work, though, so quickly take cover.
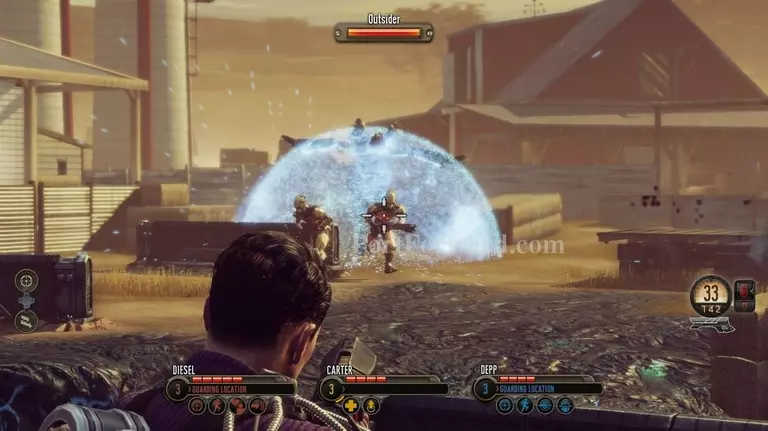
More enemies will attack you from the other side this time.
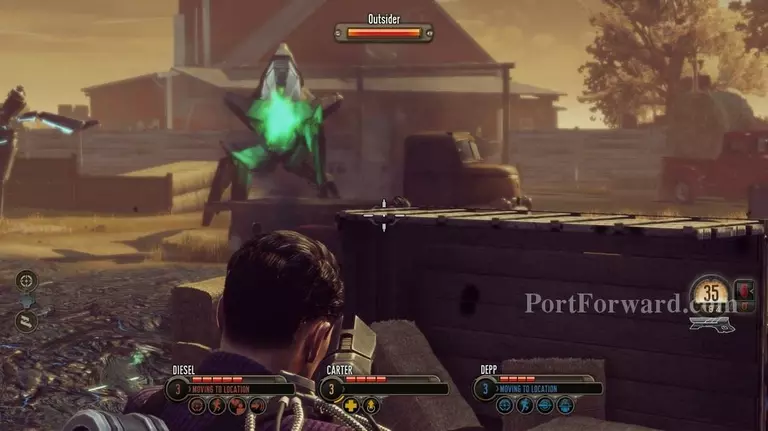
You also get attacked by a Sectopod. Remeber to break the glass frame first to make it easier to take it down.
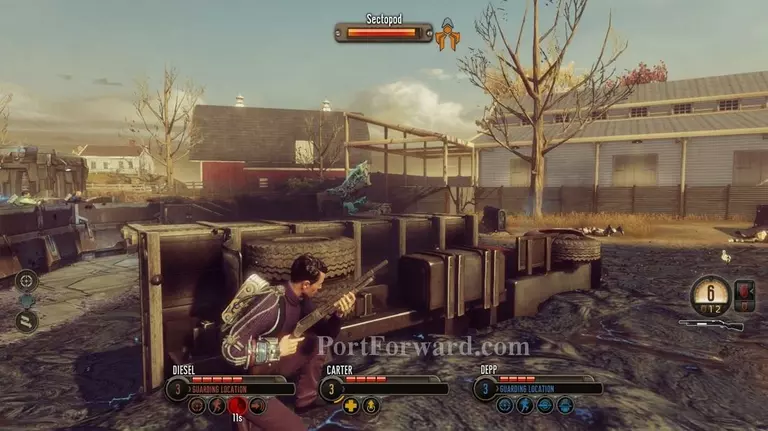
Make good use of flanking it's position as well.
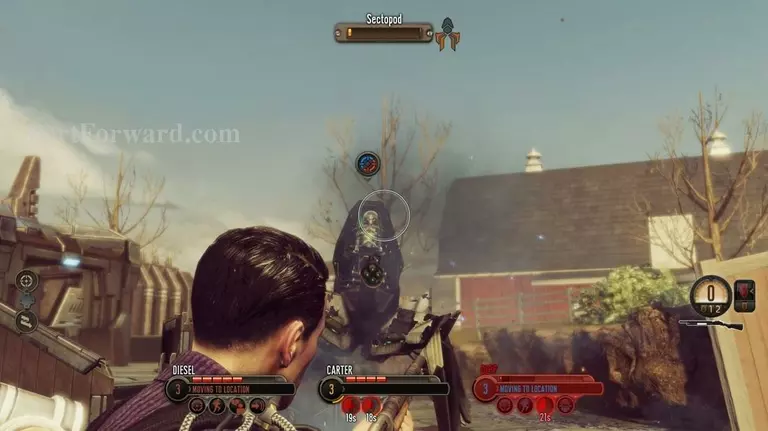
When the glass is broken it's fairly simple to take it down.
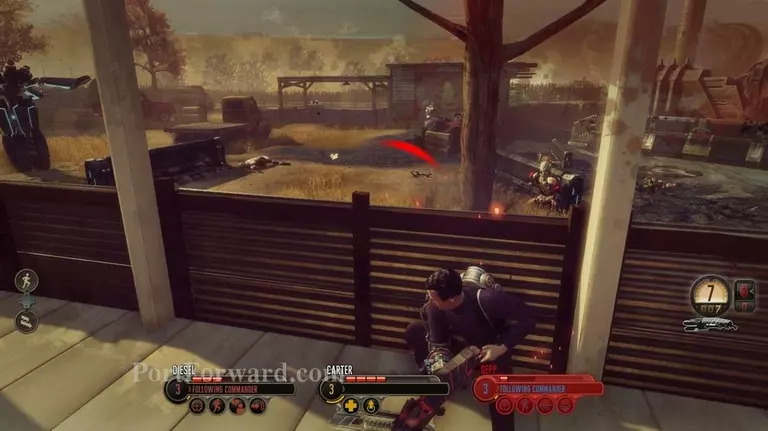
There will still be more enemies that drop down on you so make sure to utilize cover.
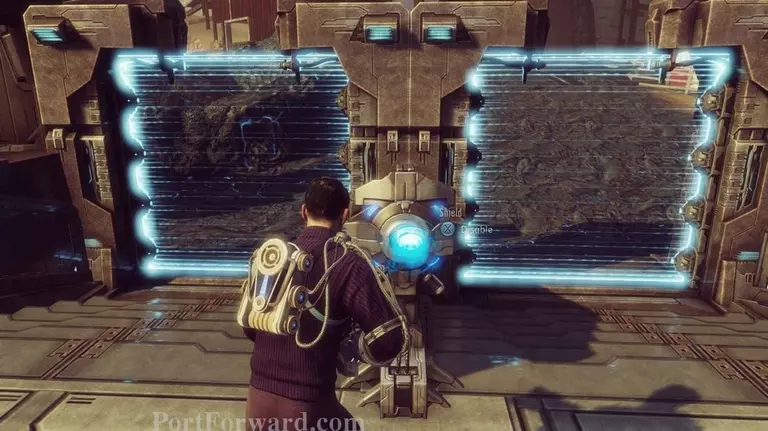
When all the Outsider enemies are dead go back and hit the button again.
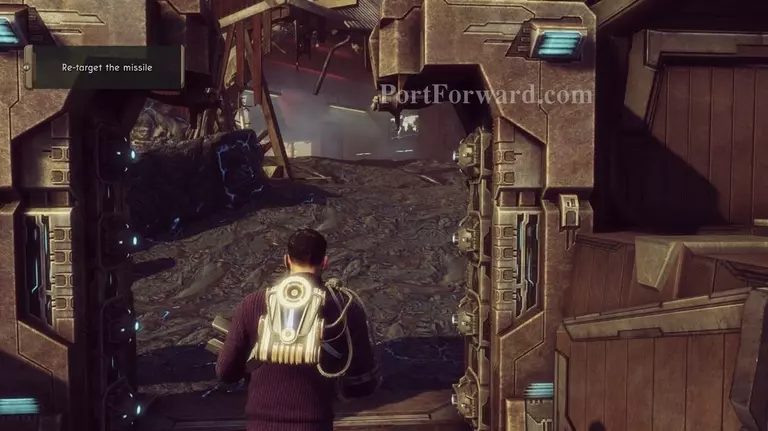
Then head into the door way.
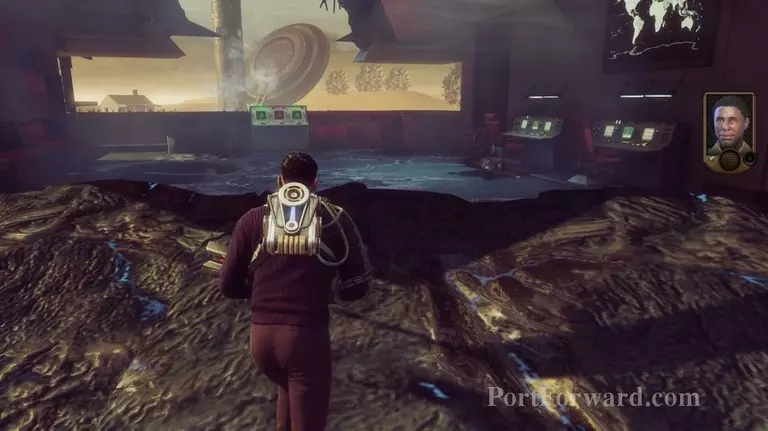
You're heading to that button panel ahead to hit the last button.
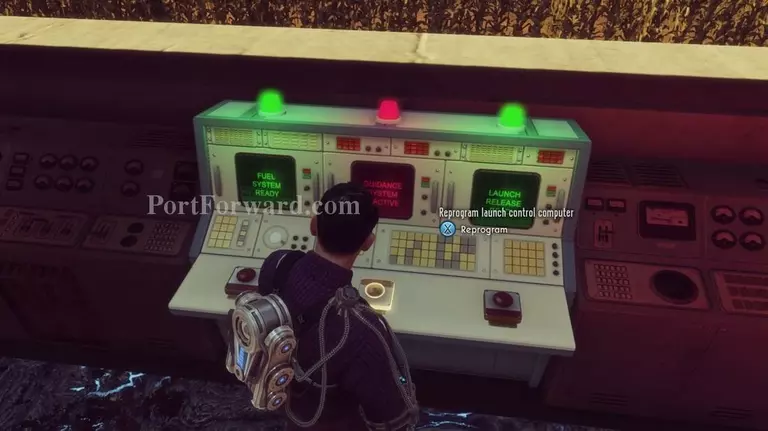
Hold the button down and Barnes gives a coordinate to safely launch the Nuke without harming anyone.

Off it goes.
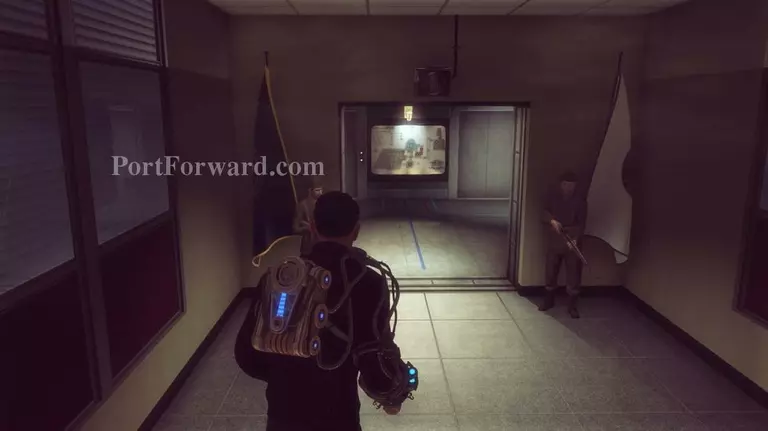
After returning to the base the cross section is open again so head in there.
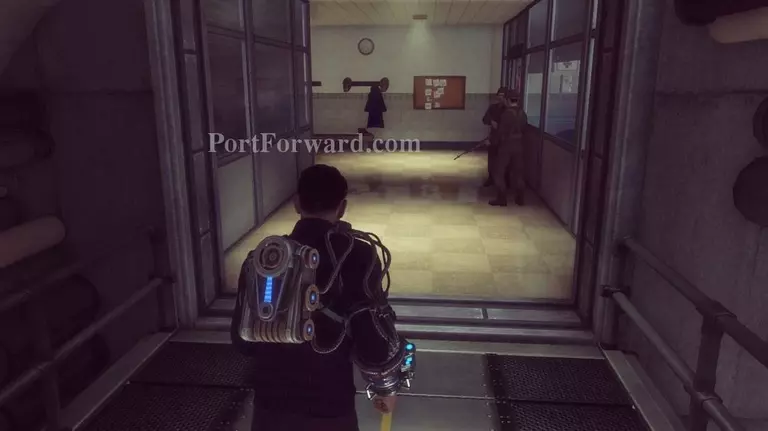
Then head to the left (this lead towards engineering).
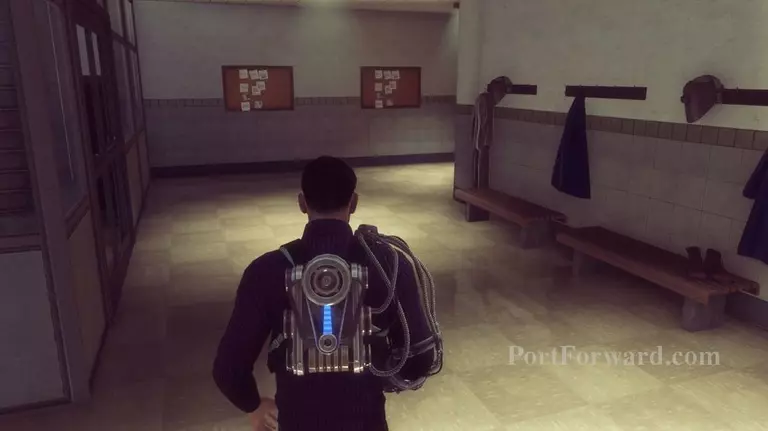
Take a left at the first turn
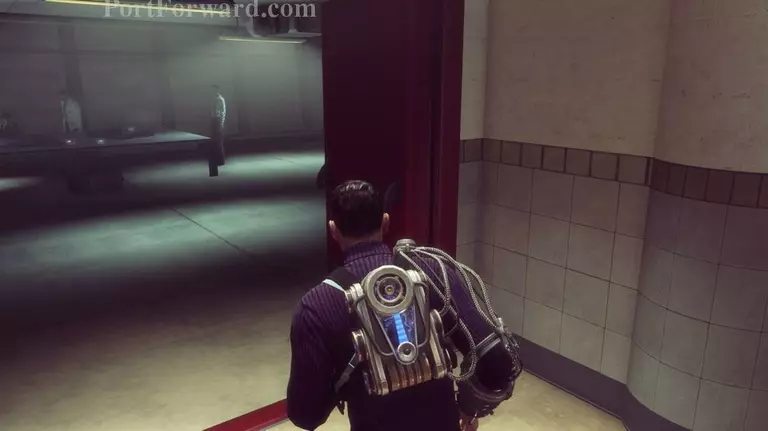
Then take a right and head inside the engineering bay.
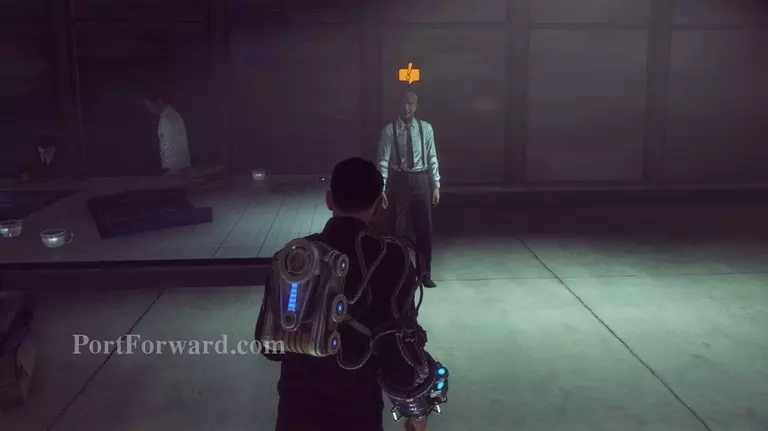
You need to talk to Faulke in here.
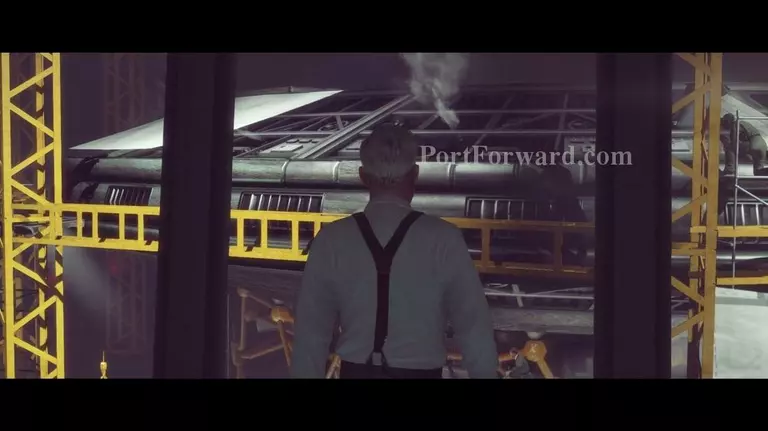
He tells you a few things but you are also shown the UFO they are working on (it's called "Avenger")
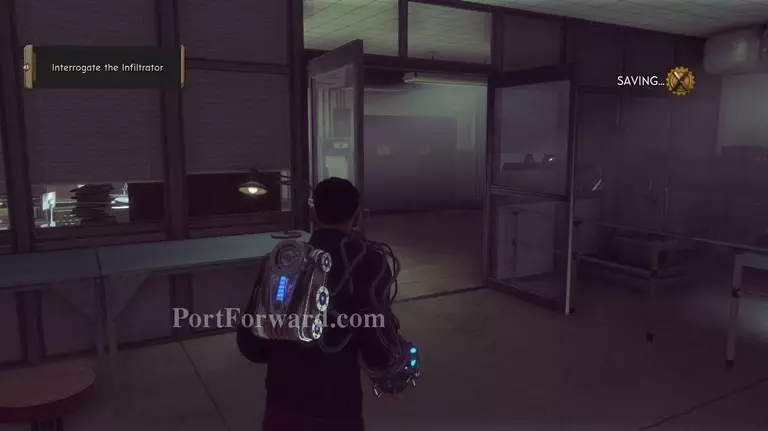
When you are done talking to Faulke head to the right inside the room over there.
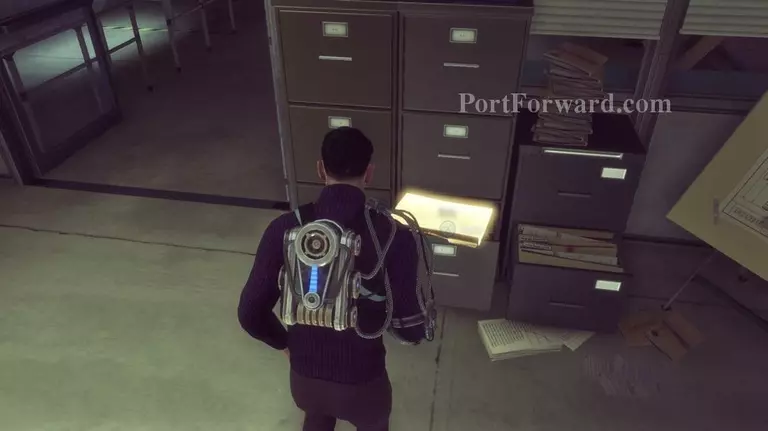
Theres a folder sitting on a filing cabinte to the left in here.
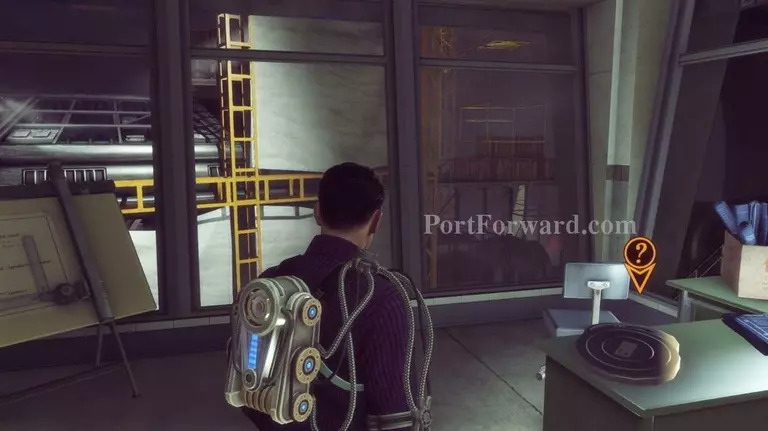
There is also another reel to reel you can listen to on the desk in here.
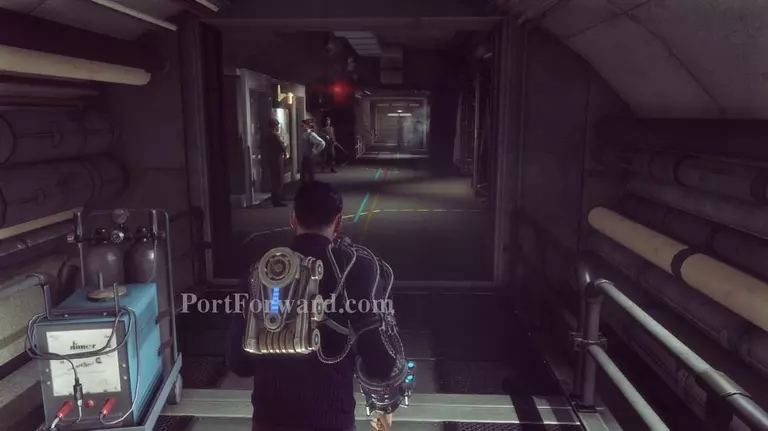
Head back out and into the cross section again when you're done in there.
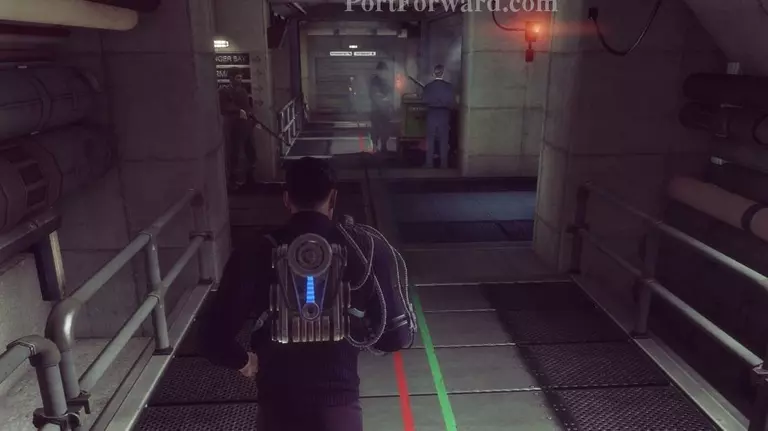
Keep heading straight towards the skyranger hangar
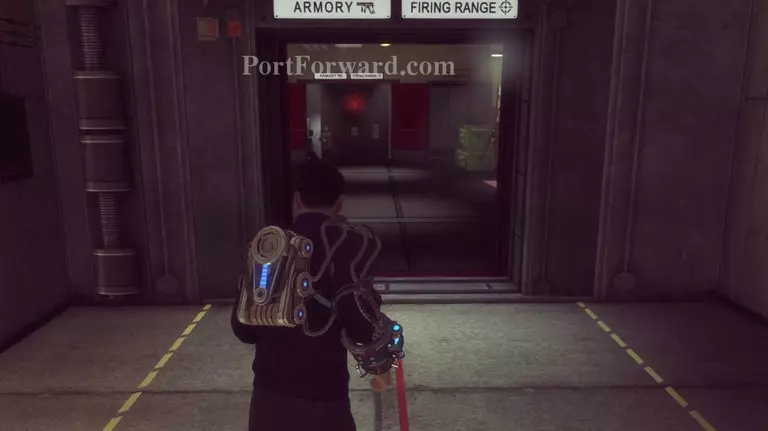
Then take a left into the armory
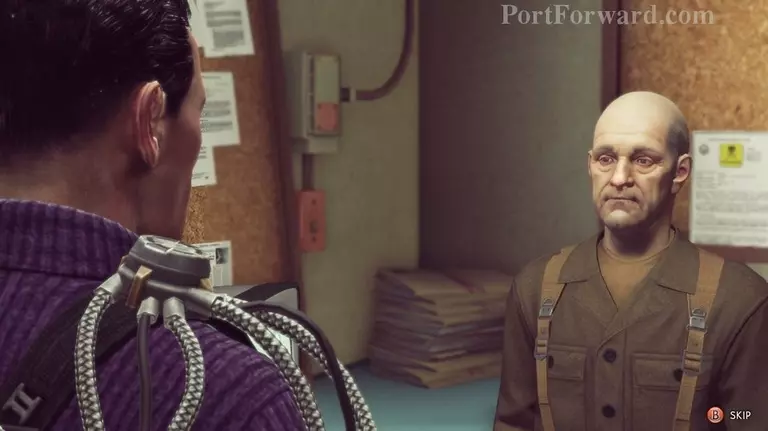
Talk to the armorer (he has some new dialogue)
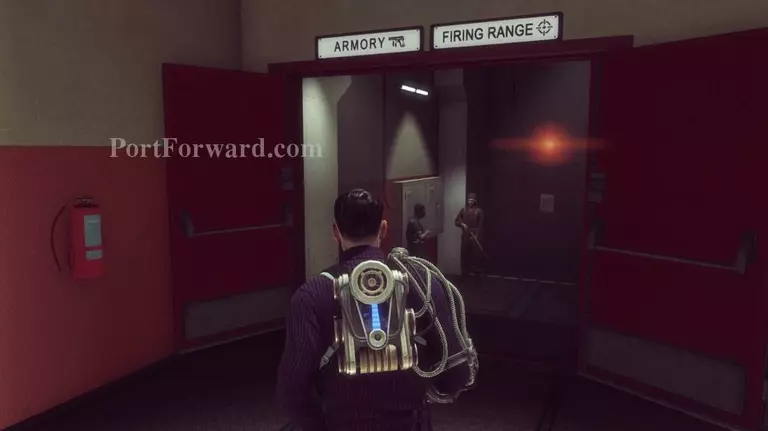
When thats done head down into the firing range area
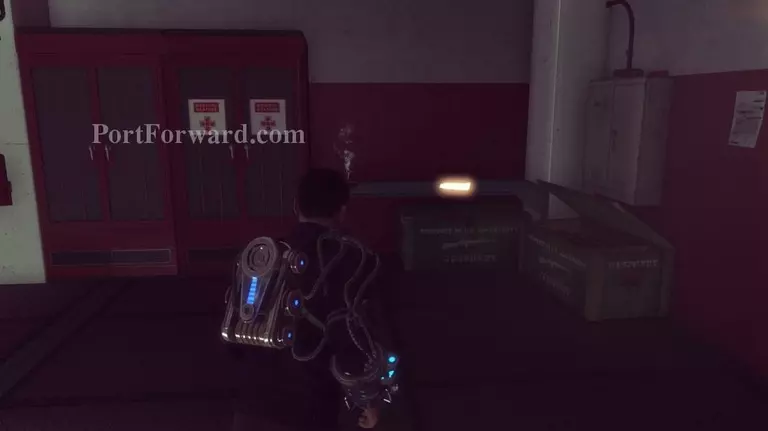
In the back of the room, on a table in the back, is another note you can read
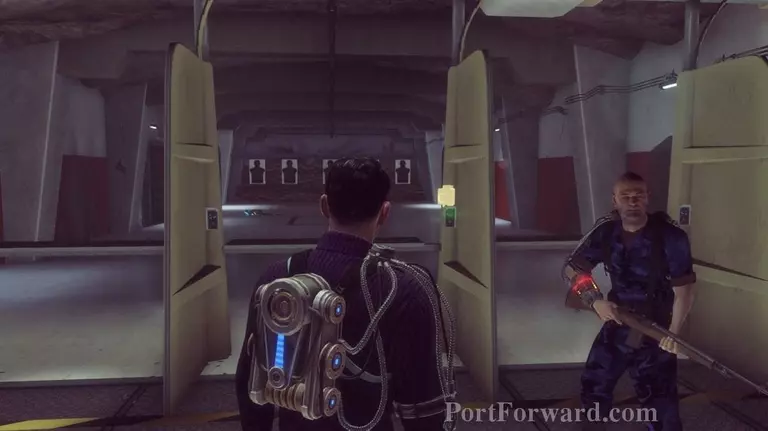
You can also take the opportunity to practice with your weapon, if you want (this doesn't waste bullets), but this doesn't really serve any other purpose.
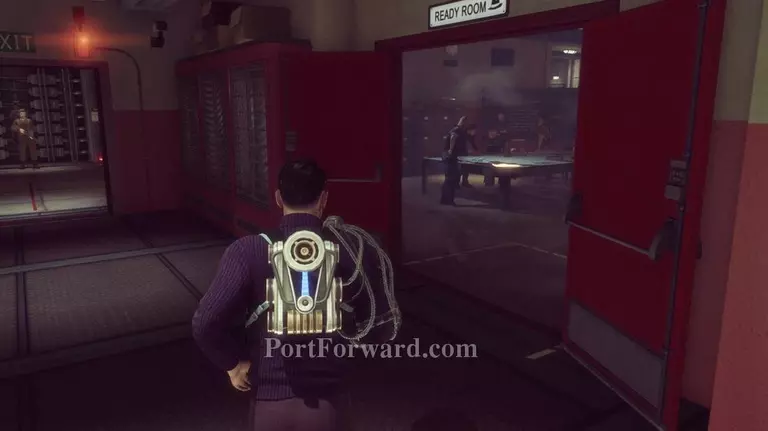
Anyway, head back out and into the ready room on the right
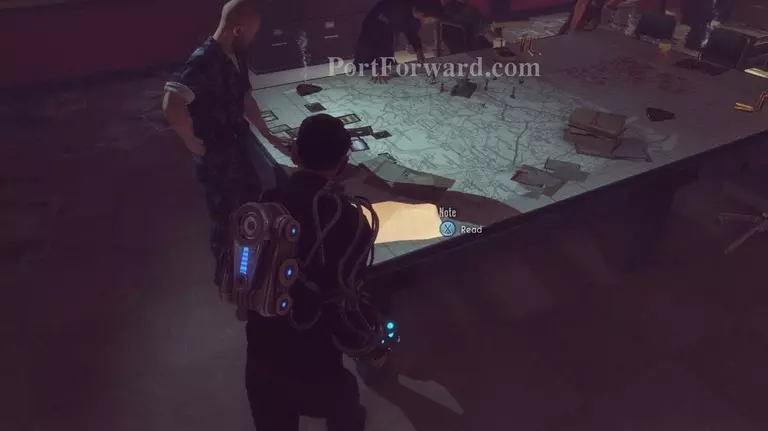
You can read the note on the table (on the left of entering).
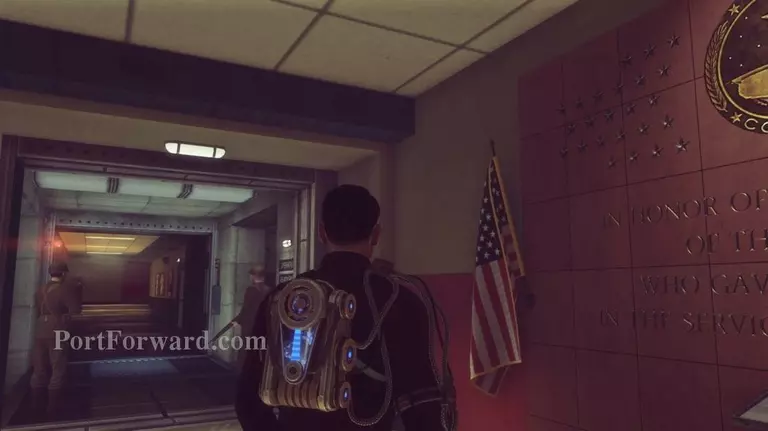
There's also a wall honoring any soldiers that die in the field on the wall in the back of the ready room. Then head to the left out the door (keep going straight).
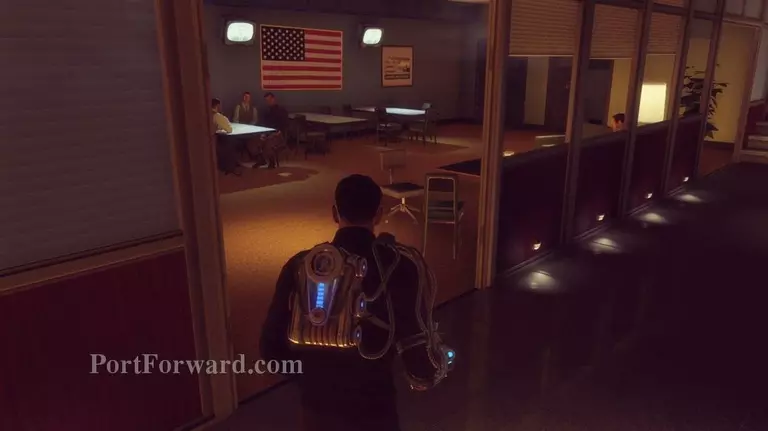
Make your way into the lounge, but stay to the left side
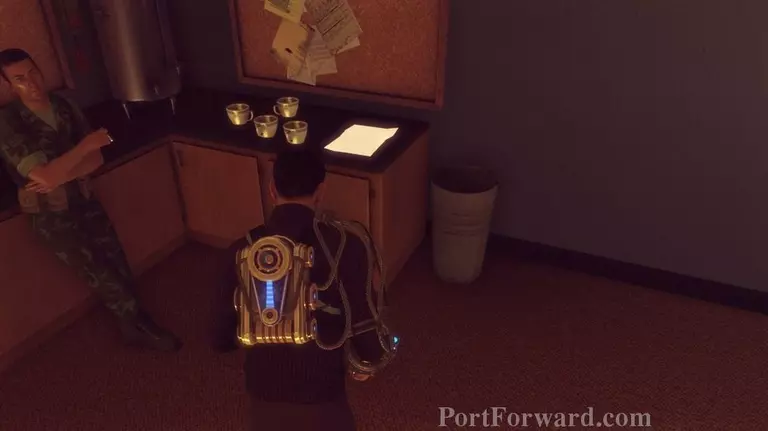
There's another note you can read on the counter in the kitchen here.
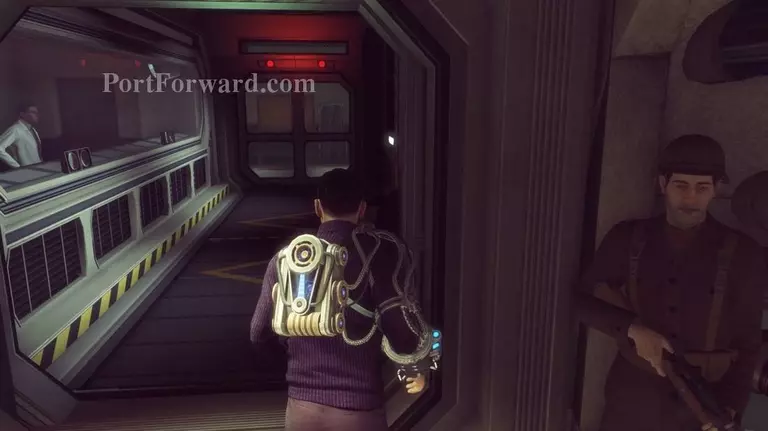
After that head back to the cross section and go to the lab area (if you take the steps to the left of the lounge, then go right into the central doors from Operations then go around to the decontamination room).
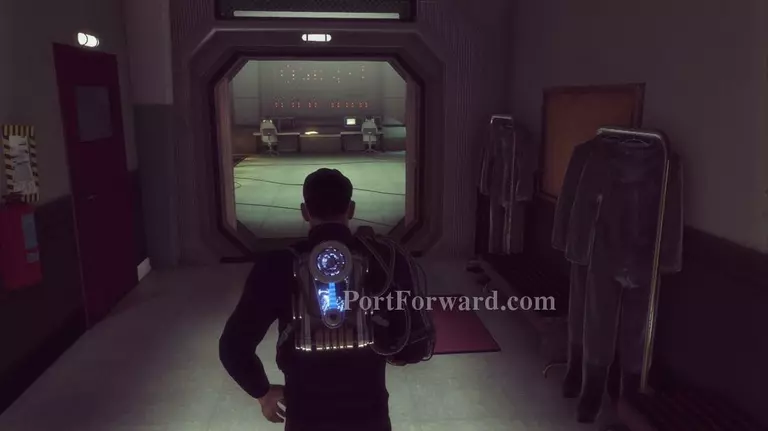
Take a left out of the decon room
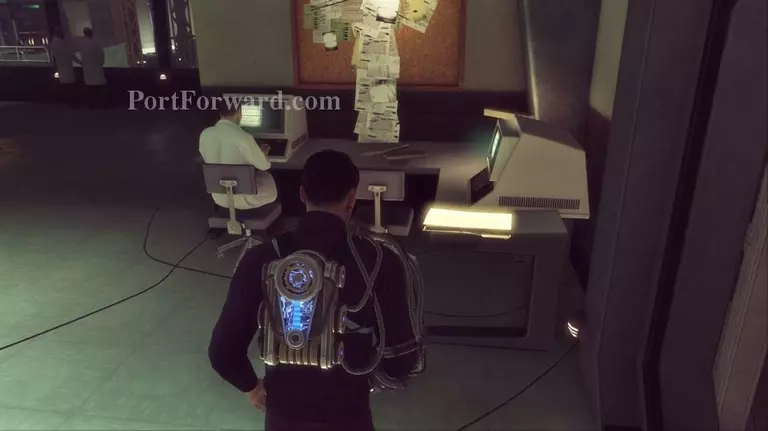
Theres a folder you can read on the table here (on the right side).
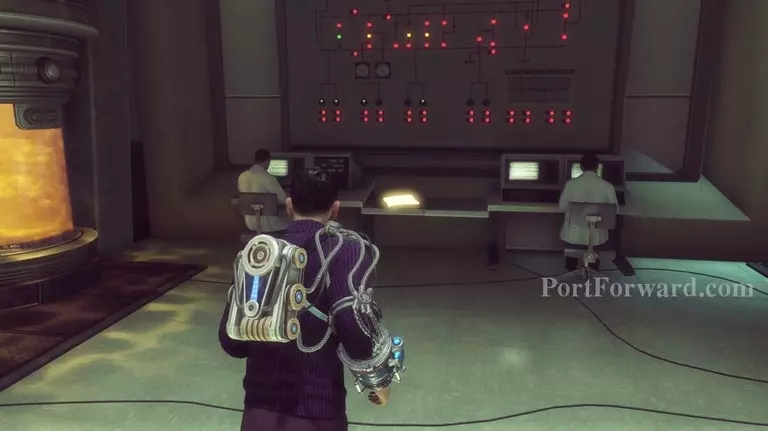
Theres another one you can read at the far side of the room.
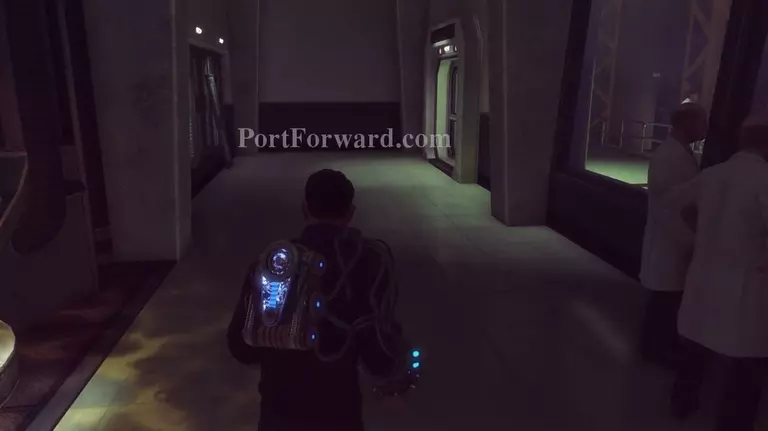
When you are done reading those head to the right and then at the fork head left and go through the door
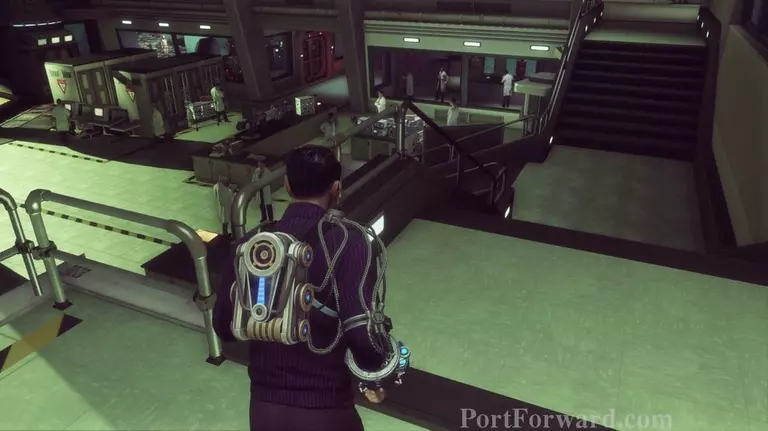
Through the door head down the stairs and go left.
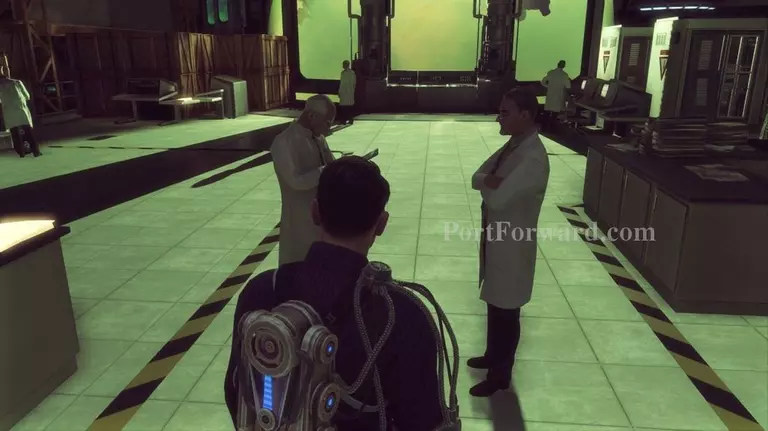
Dr. Weir and Dr. Heinrich are arguing down here.
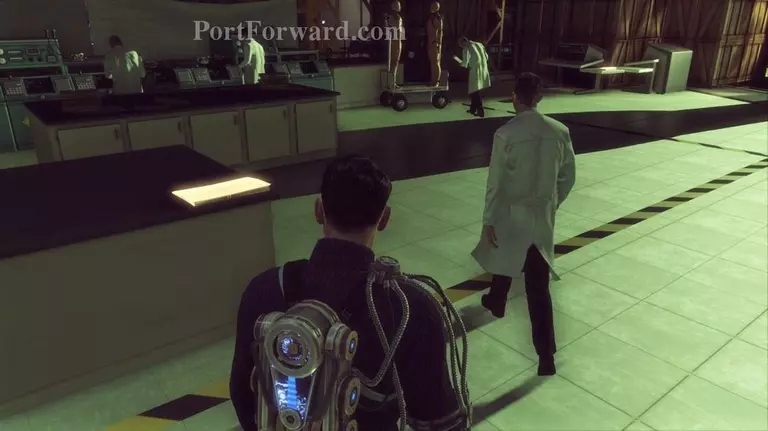
When they are done Dr. Weir shows you around the lab. Use this chance to read the folder on the counter on the left right there. Dr. Weir also talks about this areas purpose.
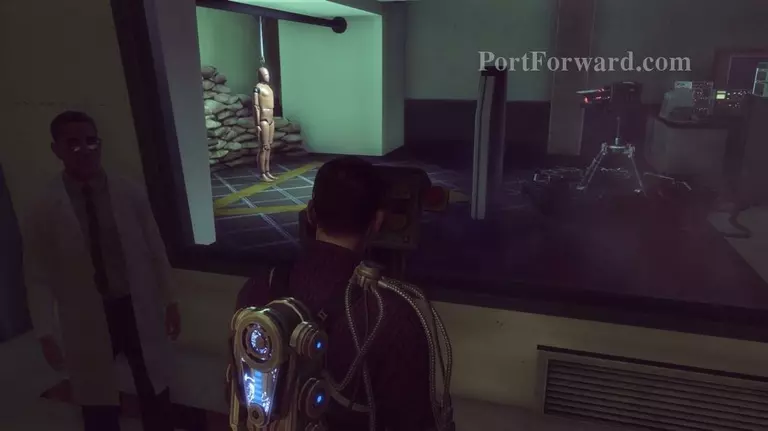
If are following Dr. Weir he'll next go to the area on the right of the lab where they are experimenting with force lift and tell you how you can lift your own turrets if they are behind a wall they cant otherwise shoot around.
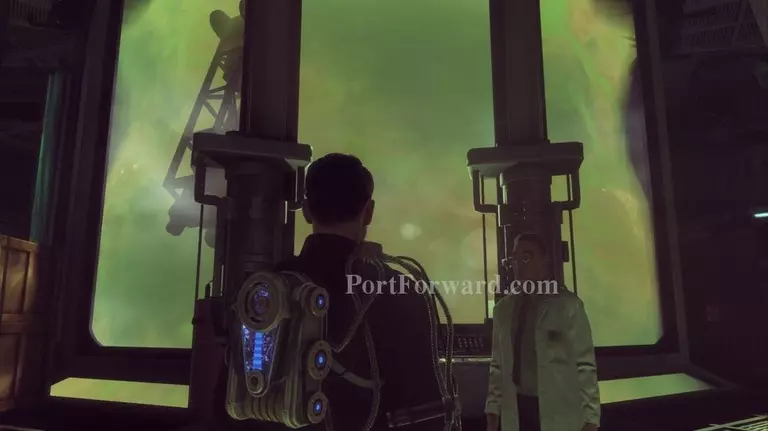
Next he goes in front of a big window covering some kind of elerium tank.
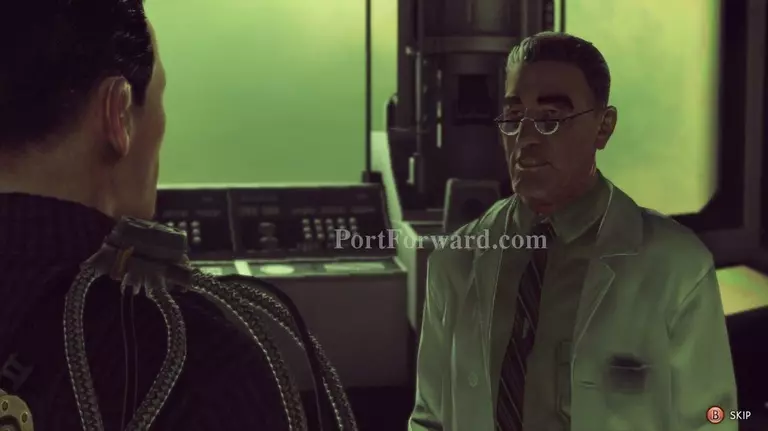
When Dr. Weir is done showing you around you can talk to him. He has several new things to talk about.
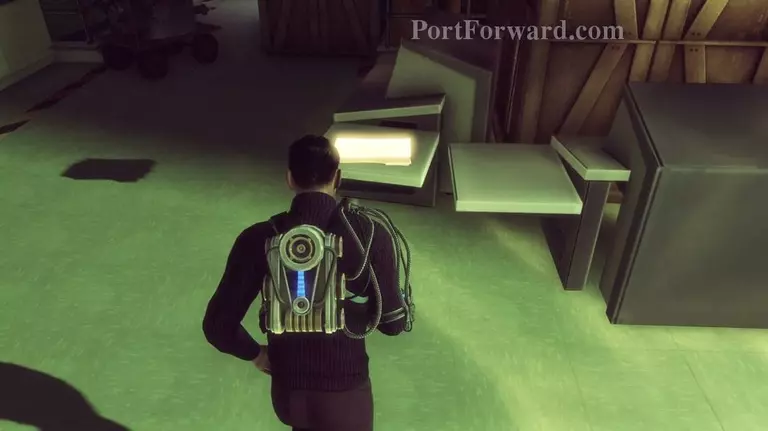
After you talk to him if you turn around there is a folder on a table a little to the left of Dr Weir.
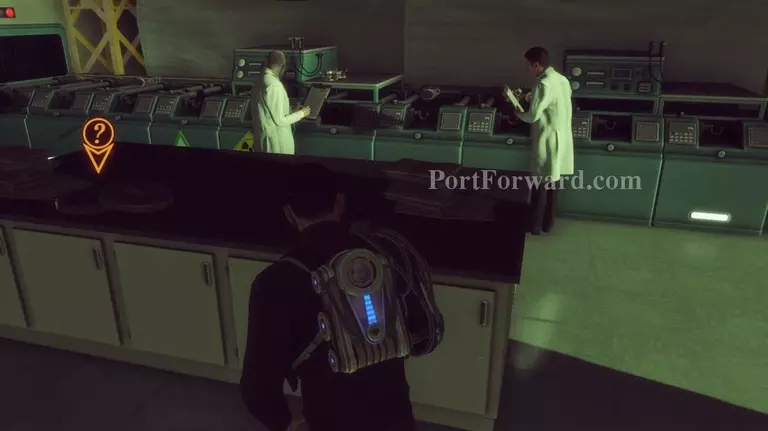
From there turn around and go over to a table in the center of the testing area to listen to another reel to reel.
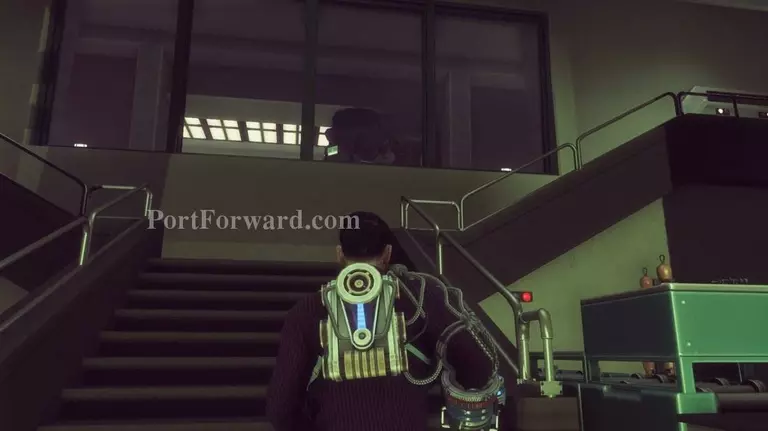
Then head back up the stairs and this time go to the left.
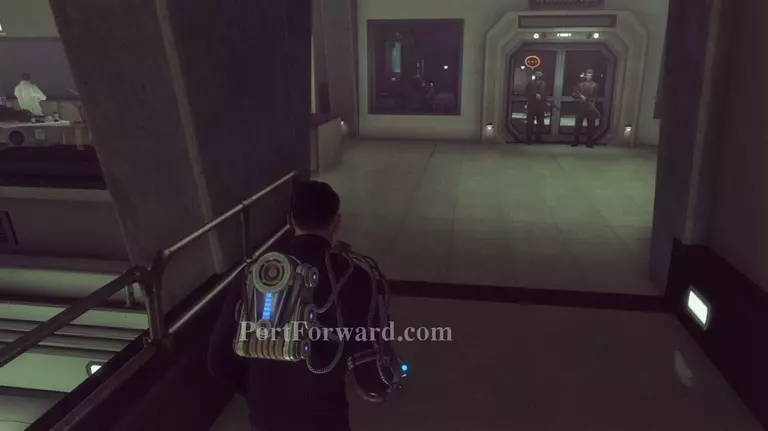
Head inside the lab and go to the left
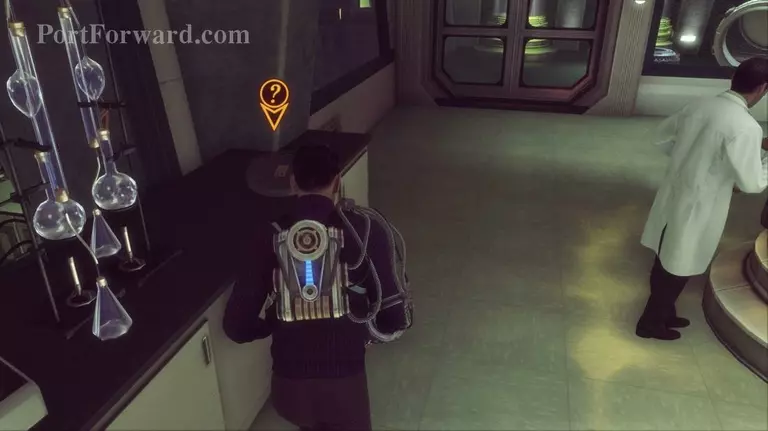
On a counter on the left (at the end) is a reel to reel you can listen to about Dr. Heinrich.
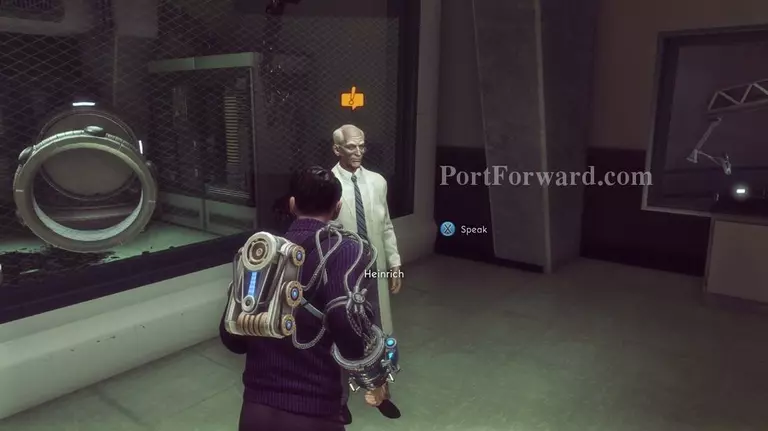
From there head over to Dr. Heinrich in the back.
He has an investigastion mission for you. Some Silacoids have gotten out and he wants you to eliminate them before they cause a panic.
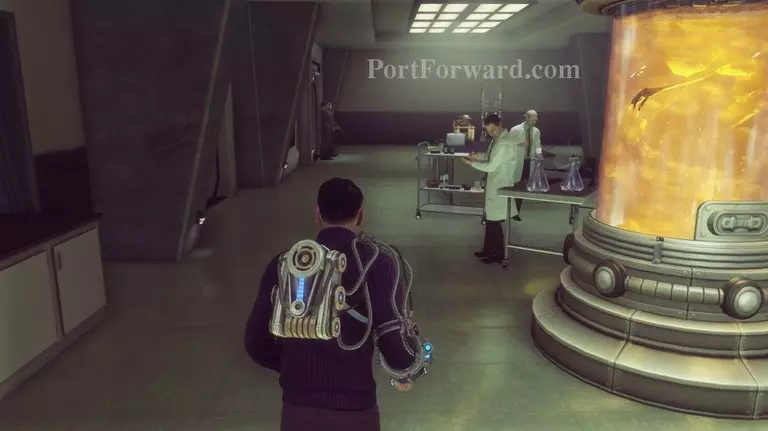
After talking to Dr. Heinrich turn around and go towards the door all the way in the back left.
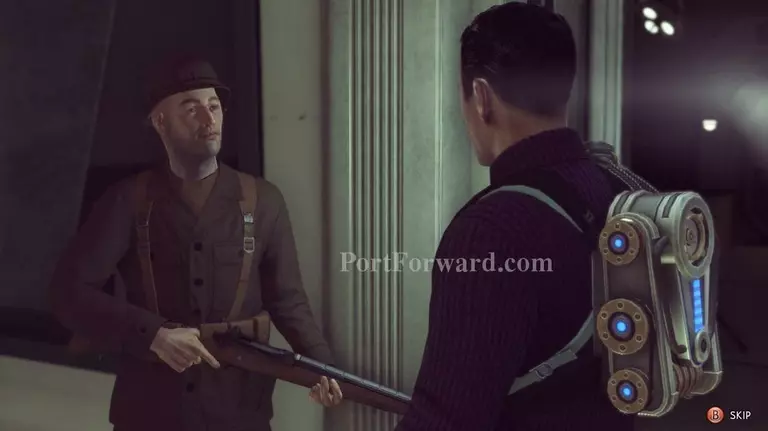
Before heading inside talk to the guard on the left.
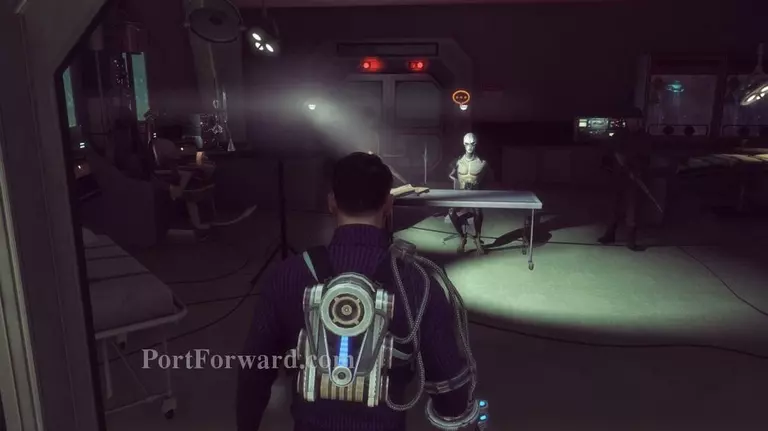
Then after you talk to him head inside to talk to the Infiltrator.
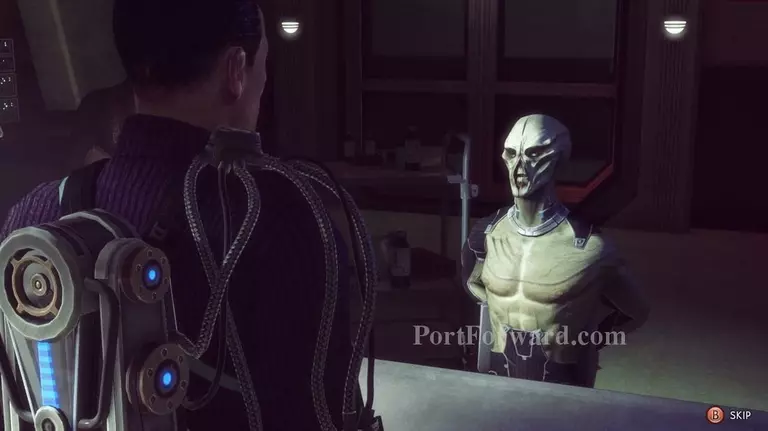
This interrogation has several options. I do not know if it matters what you say or not. I do know that when I did it I was able to get the Infiltrator to cooperate with me.
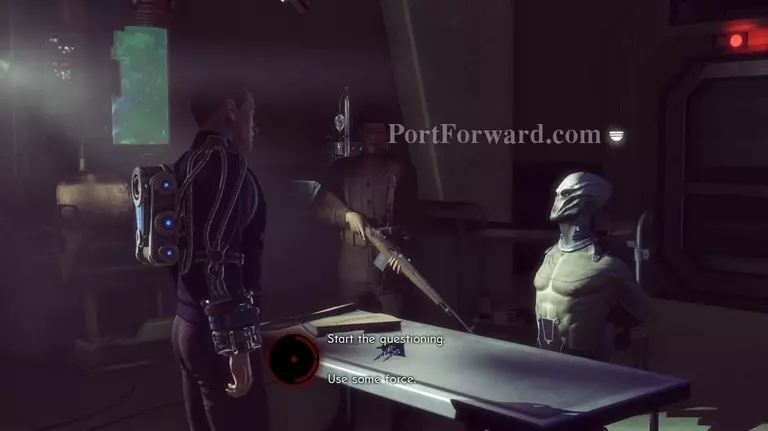
Choose "Start the questioning."
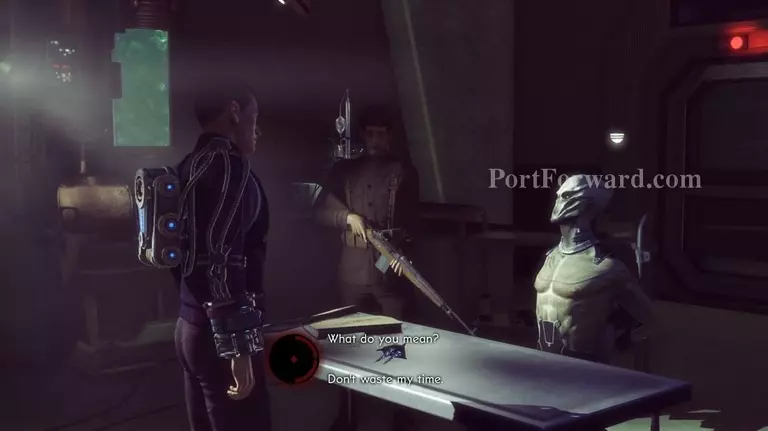
Then choose "What do you mean?"
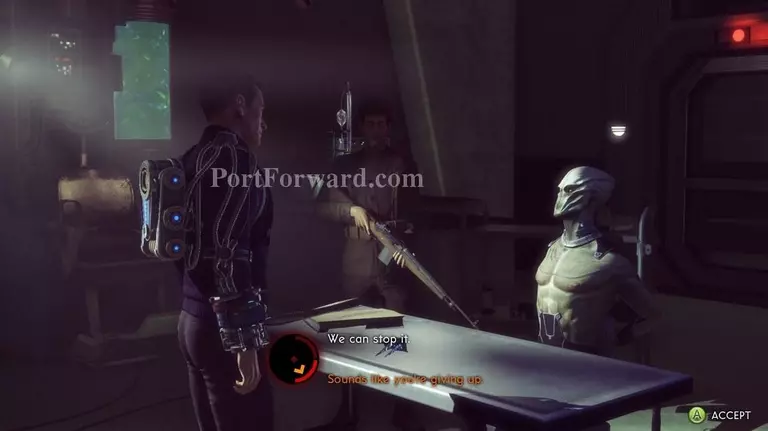
Now, to mix things up, select "Sounds like you're giving up." He seems cooperative enough, to me, and gives you some info that is useful on how to counter the invasion.
Head back out of the room and to the left.
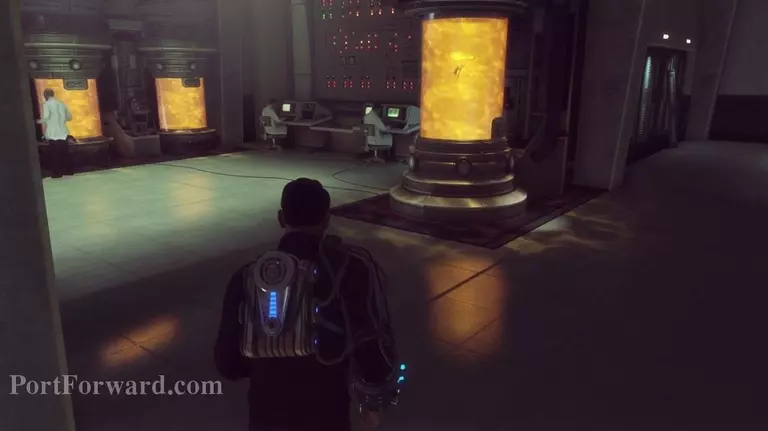
Go through the door and around the left corner.
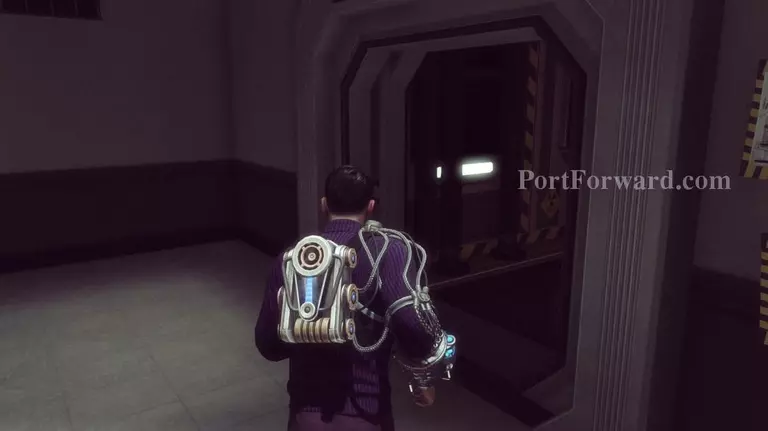
Head back through the decon room
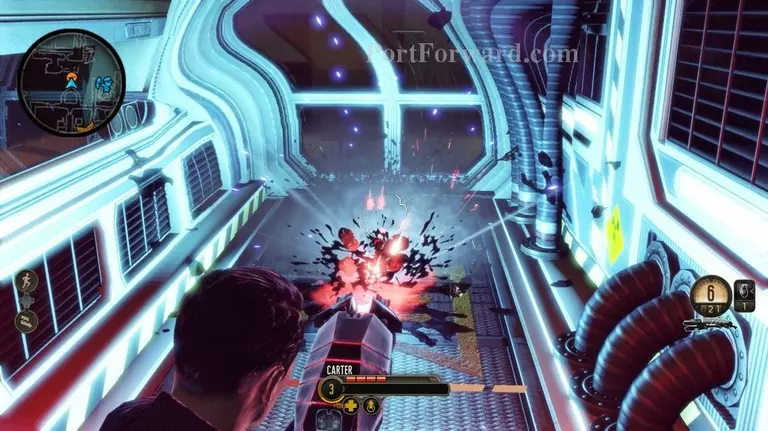
While it's attempting to decontaminate you a loose Silacoid pops out of the decon system and attacks you. Kill it!
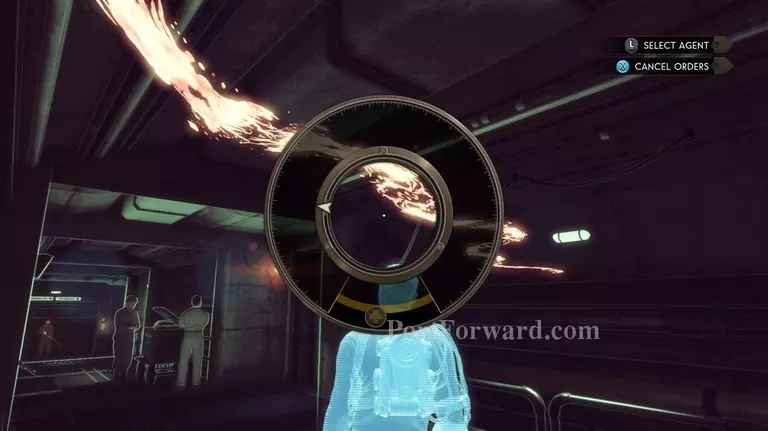
If you turn on your battle focus you can see a slug trail heading to the bathroom in the lounge.
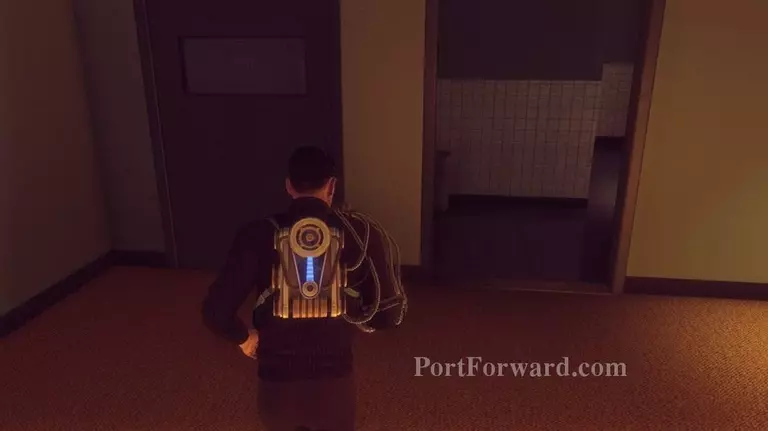
So, head to the bathroom in the lounge room.
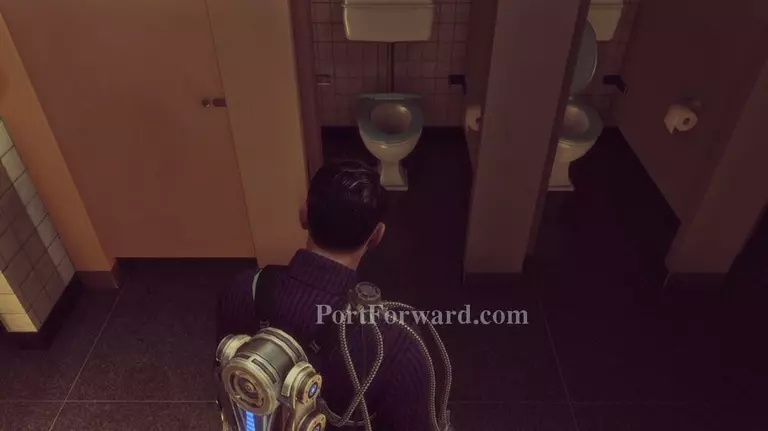
The Silacoid will pop out of the toilet. Make sure you kill it.
Then head back out and go up the stairs on the left of the lounge. img(218090); Keep left and go up the stairs that go up to Angela's office but stay left. img(218091); Head inside the door that's on the left side of the stair case. You can open it for this investigation. img(218092); Take a right up the ramp and read the note on the desk where the soldier is. img(218093); After reading that aim and kill any Silacoids around you. img(218094); There may be a few down the stairs ahead of you as well. I think there's actually four down here. img(218095); After taking care of the Silacoids go back out of that area and go to Angela's office. She has some new dialogue related to your interrogation with the Infiltrator. img(218096); After talking to her go across the hall into Faulke's office. img(218097); Talk to Faulke about all his new dialogue. img(218098); Then head back out and down the stairs. img(218099); Head to the Mission map in the central operations area. img(218100); You will be introduced to dispatch missions which are basically just missions to send your idle agents on that will allow them to level even though they don't go with you on main missions. img(218101); Before we do that I recommend checking your current agents gear. You can equip them with any new weapons you have as well as checking to make sure their perks are up to date and leveled. img(218102); I also recommend you fill all the empty slots with new agents now. You can choose the types of agents you hire. img(218103); Their background (which determines their level 1 ability) img(218104); Set their equipment img(218105); Change name and clothes color img(218106); And set their face. img(218107); It's not super customizable, but it's enough. When the agent is how you want it go ahead and recruit. img(218108); Now you have a bunch more agents that are level 1 and kind of feel useless. No worries. There are now dispatch missions on your mission map. Select the "Gearing up" dispatch mission. img(218109); Now select agents from those available so that their combined level equals the mission complexity at the bottom. img(218110); For this mission, since these agents are all level 1, you will send 5 agents out. Don't worry, though, unless you have a problem with losing agents while you're in the field, this shouldn't be a big problem. img(218111); After you finish dispatching those agents out (there is another dispatch but you dont have high enough levelled agents to do it yet). So, choose the Minor Operation "Operation Grifter." You may notice this is the other mission from earlier when we chose to stop the nuclear bomb launch first.
More The Bureau: XCOM Declassified Walkthroughs
This The Bureau: XCOM Declassified walkthrough is divided into 17 total pages.


