This The Bureau: XCOM Declassified walkthrough is divided into 17 total pages.
You can jump to nearby pages of the game using the links above.
Signal from Beyond
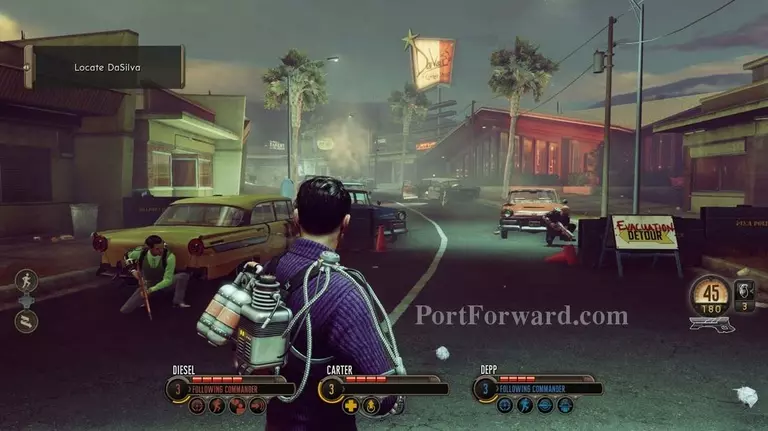
You'll drop down on another small town road. There aren't any enemies here so head forward.
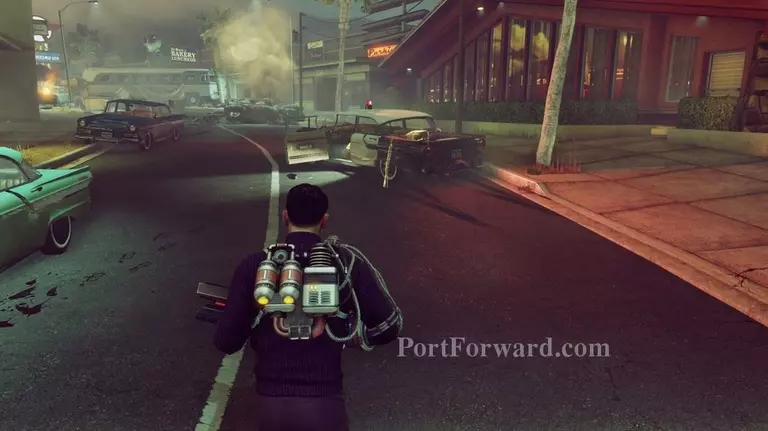
Keep heading down the road past the diner. There isn't anything in the parking lot but there is some ammo laying around here and there.
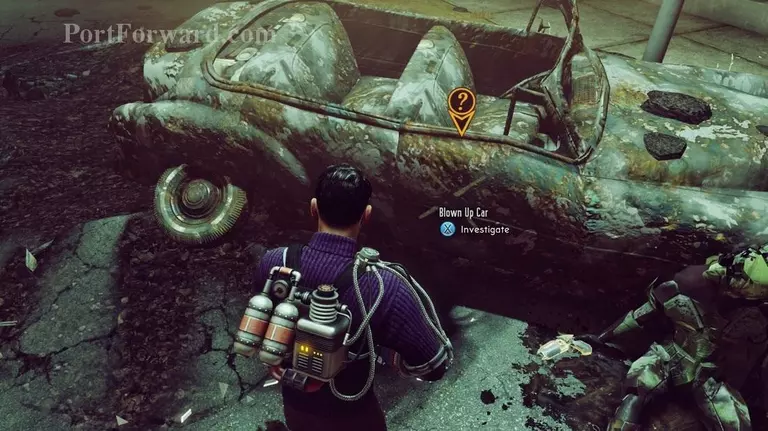
A little further down the road, past the cop car, is another examination point on a blown up car.
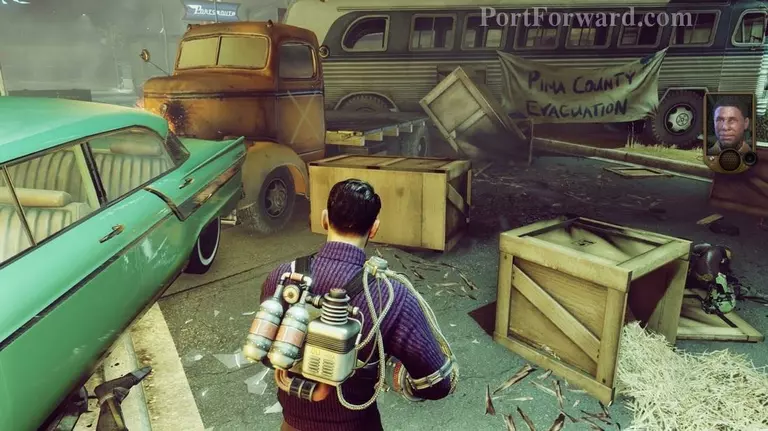
After examining that keep going forward towards the bus. You'll get a radio transmission from Barnes letting you know even though DaSilva was through here before there are still enemies around.
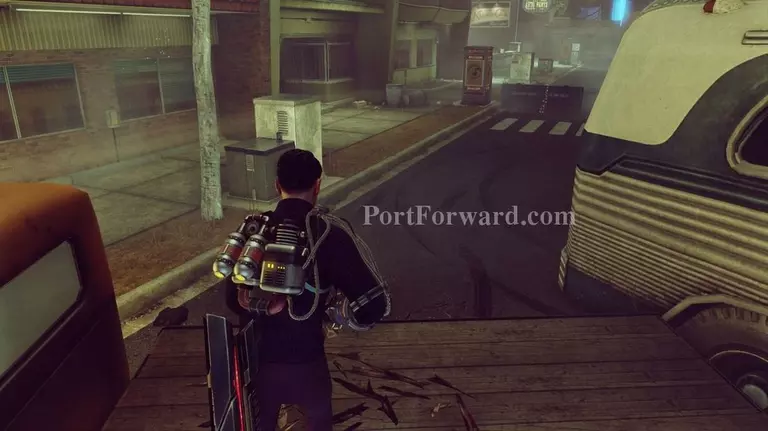
Vault over the truck next to the bus to proceed forward.
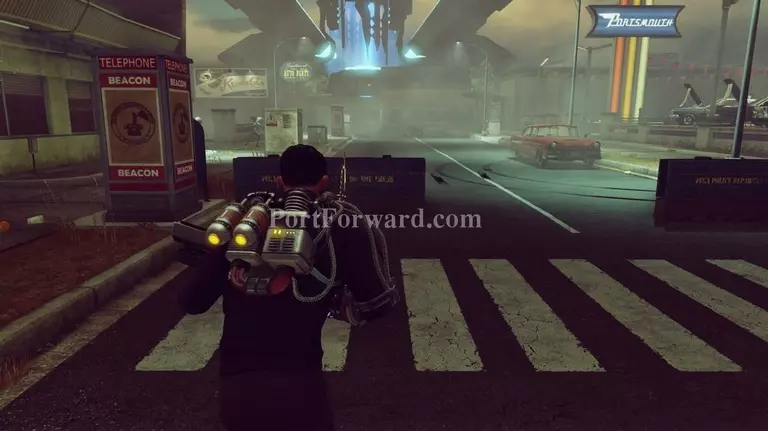
Head further down the road and take cover behind the barricades.
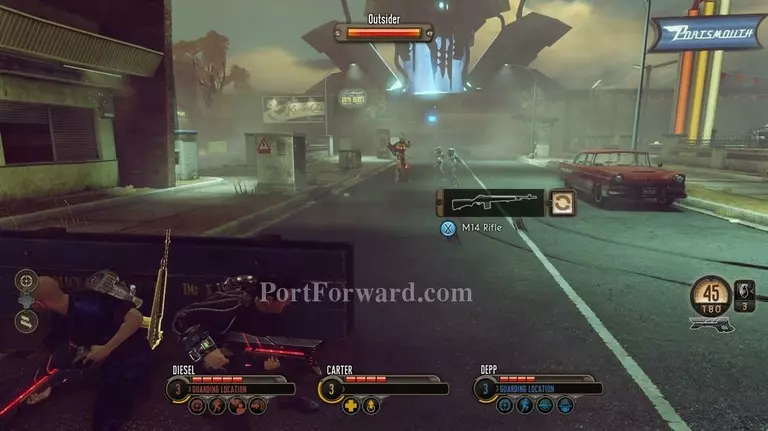
There will be enemies ahead. To start there is only three, but don't let this lull you into a false sense of confidence.
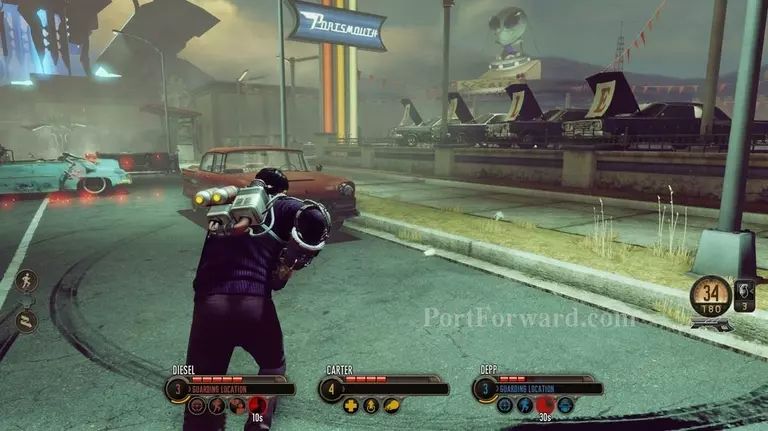
Keep heading forward as it gets clear maintaining cover behind vehicles or whatever else you can.
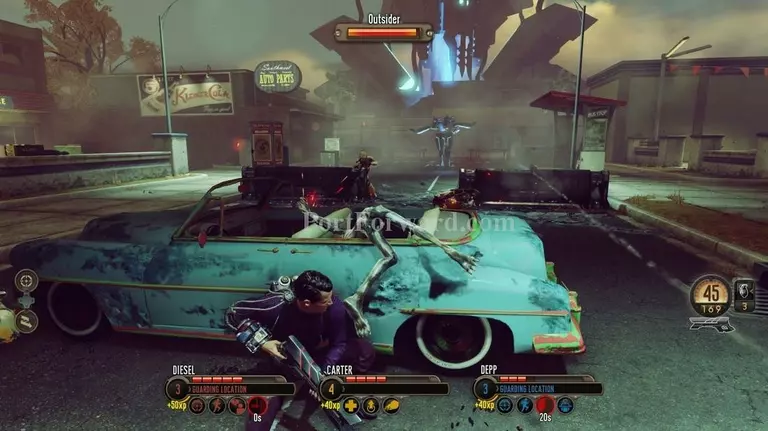
More enemies will drop in after you take out the first three.
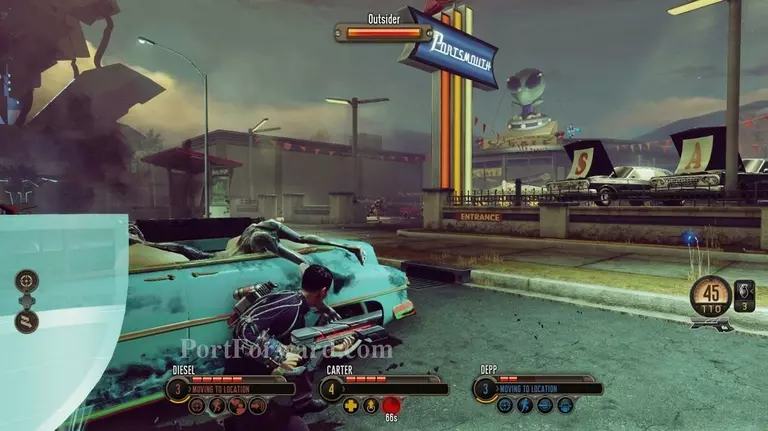
Be careful to the right, as well, as there will be more enemies inside the used car lot.
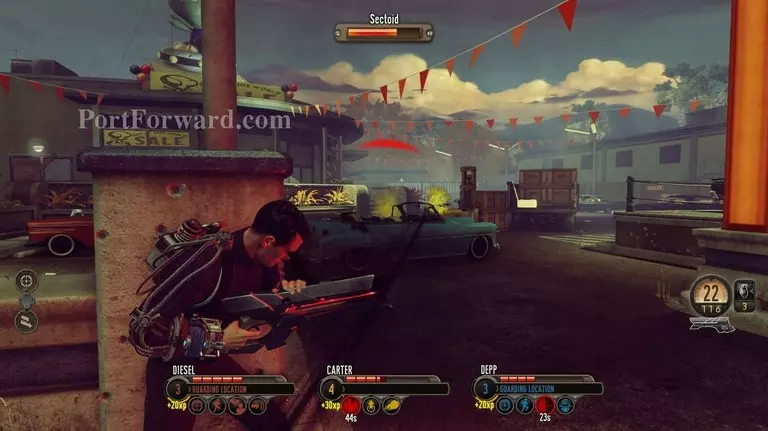
You can get decent cover behind the pillars leading into the parking lot. Just watch out for explosives and also the sniper on the roof.
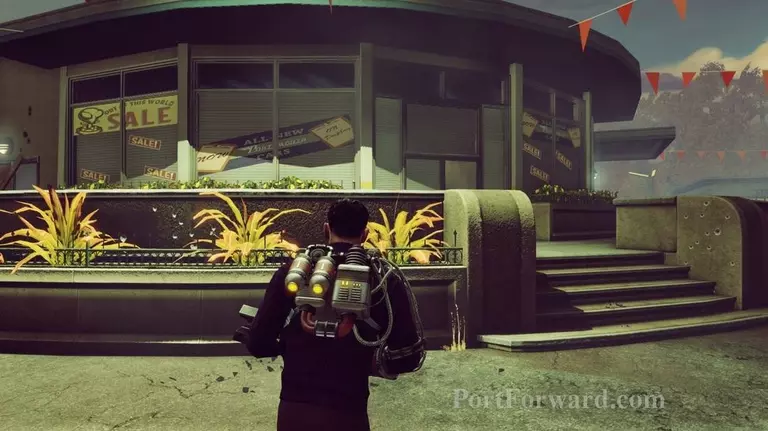
Once the area is clear head up the stairs.
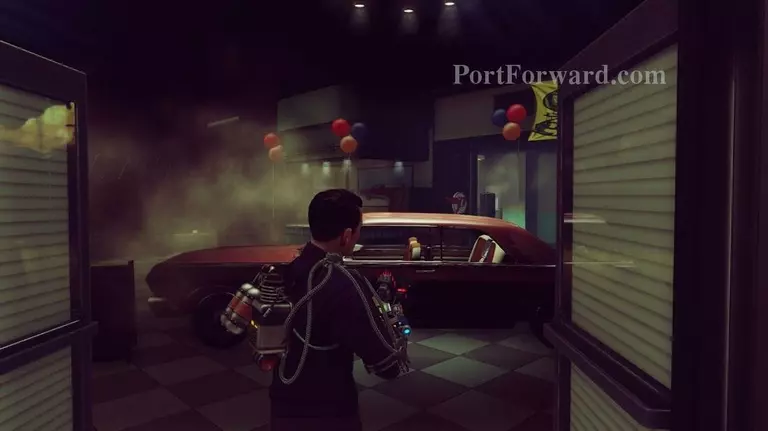
It's time to go inside the front office.
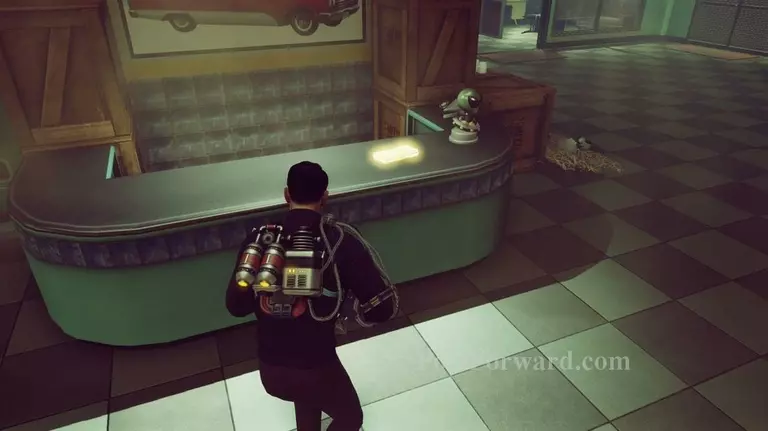
On the front desk is another note you can read.
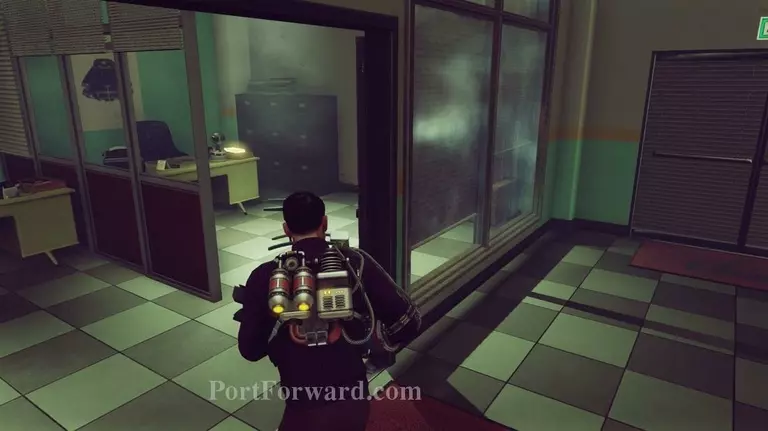
After you are done with it head to the right and into the office on the right side to read the note on the desk in there.
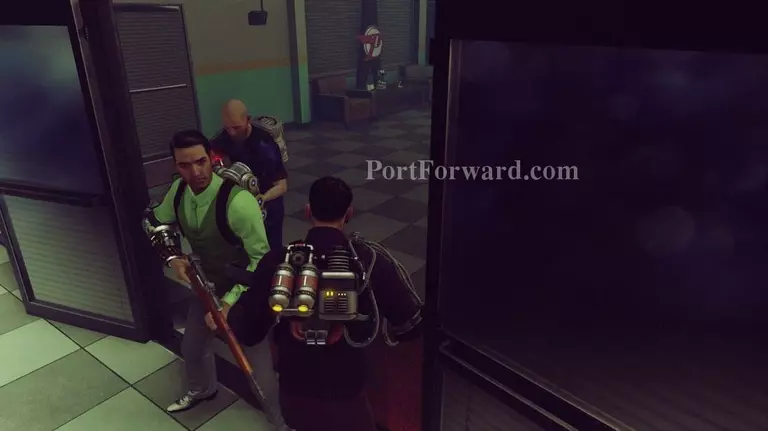
Then head back out and to the right.
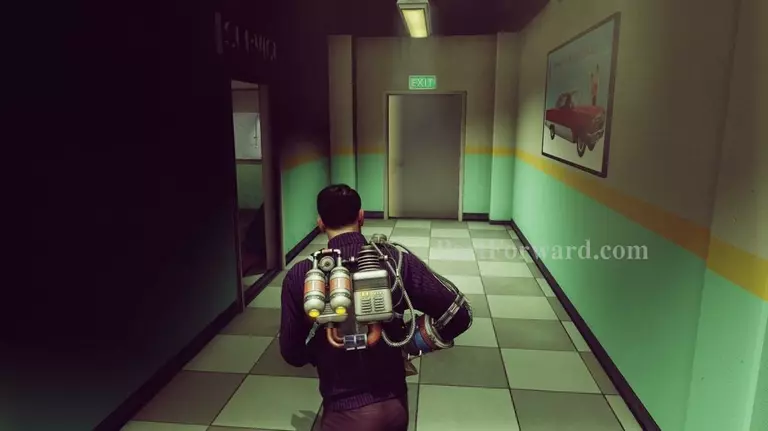
In the hallway you want to take the door on the left first.
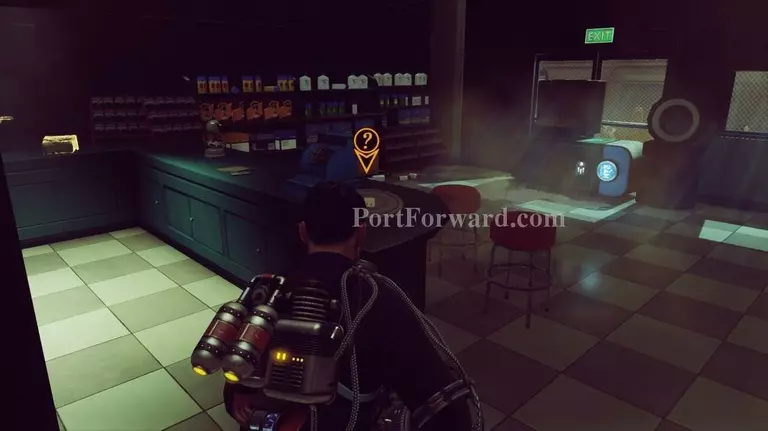
There is another reel to reel you can listen to on the counter in here.
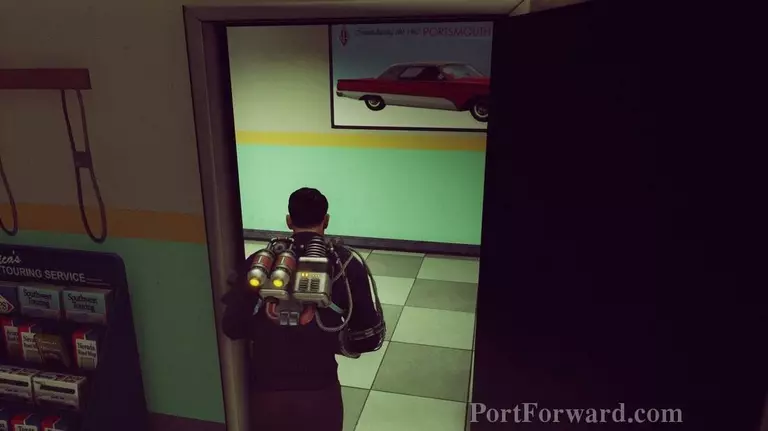
Then head back out into the hallway and to the left.
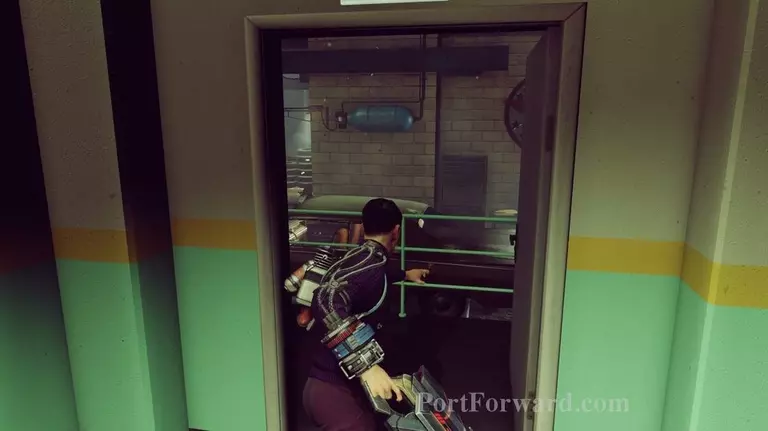
Go through the door at the end of the hall into the garage.
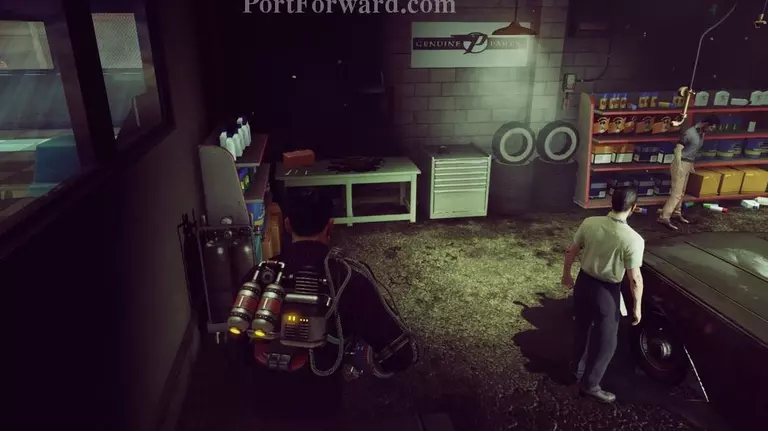
Head down the stairs on the left. There are sleep walkers here, but they are not dangerous. While you can kill them, you don't need to.
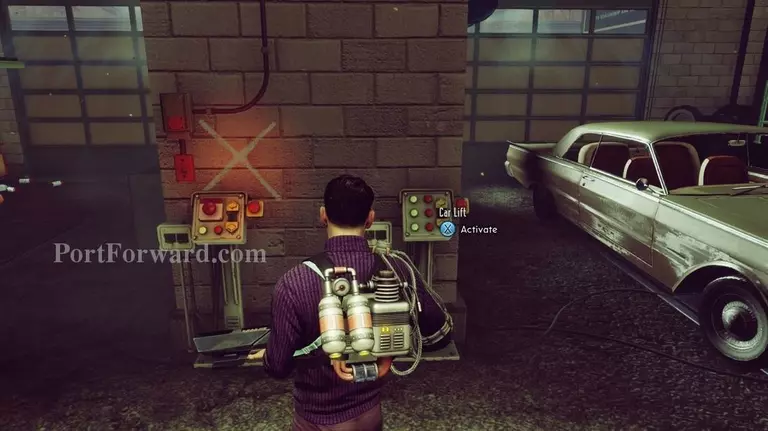
If you need ammo there is a car lift button on the right just down the stairs which lowers the car lift on the left that has ammo sitting on it.
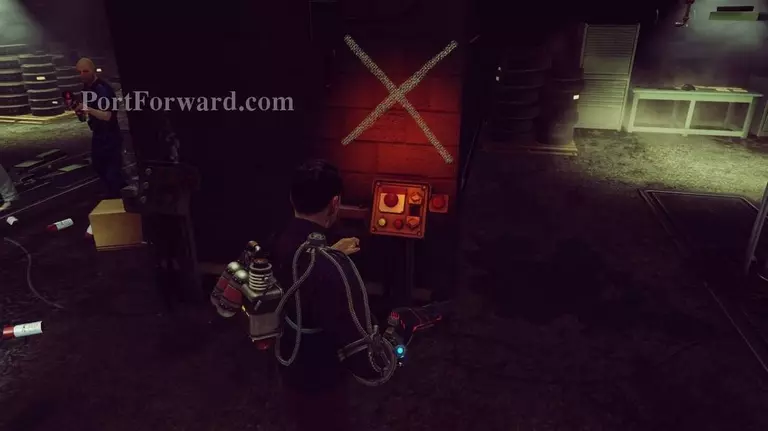
If you keep heading through the garage there is another car lift at the other end you can lower to get another backpack schematic.
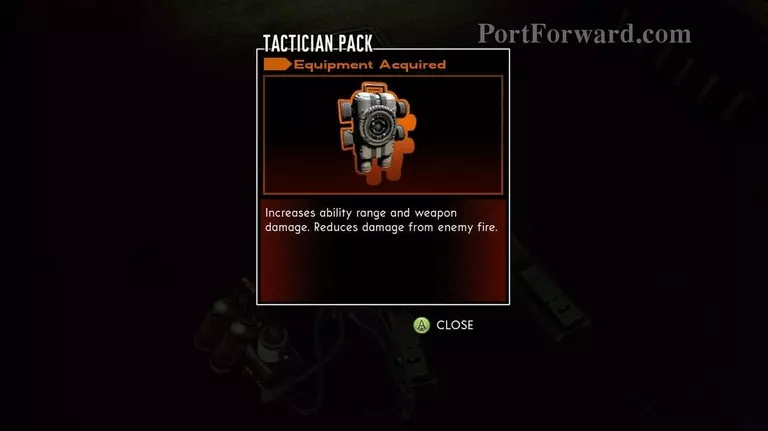
You can pick up the schematic for a "Tactician Pack."
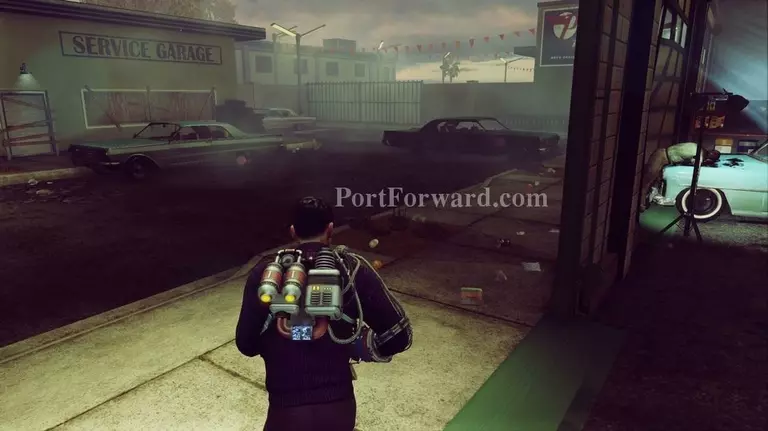
Then turn around and head out of the garage.
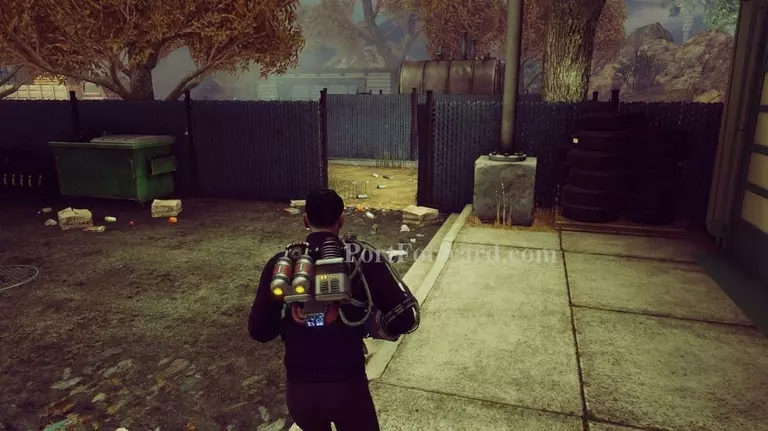
Head to the gate on the left
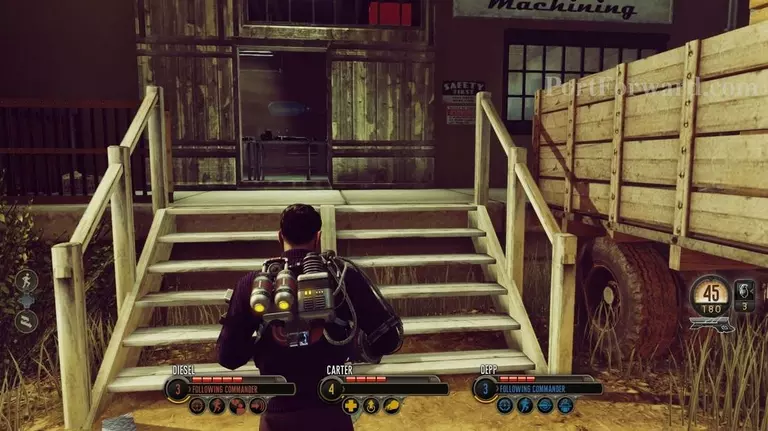
Head through the lot on the left and up the stairs into the machinist shop (there is nothing in this lot but there is some ammo in a shed on the right side of the lot if you need that).
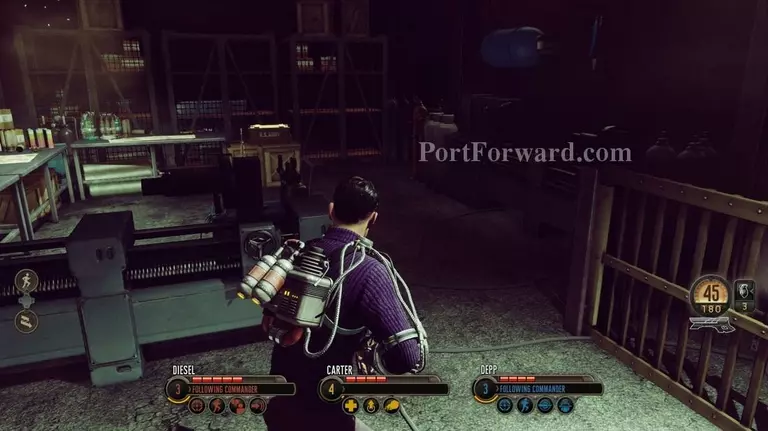
From inside the machinist workshop head around the front desk to the back.
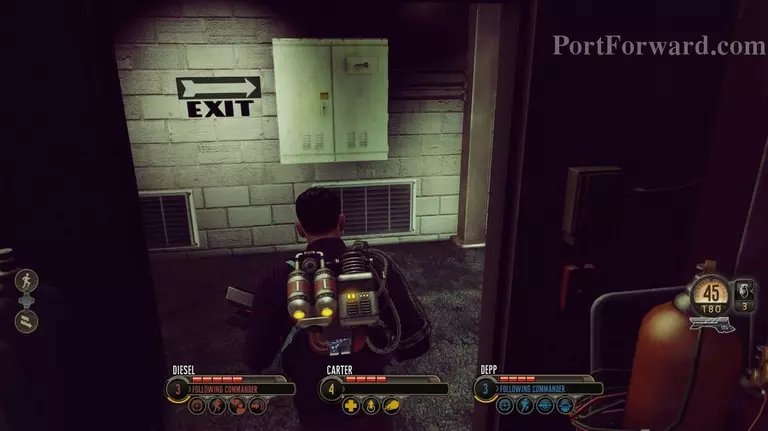
Go through the door on the right (it has an exit sign behind it).
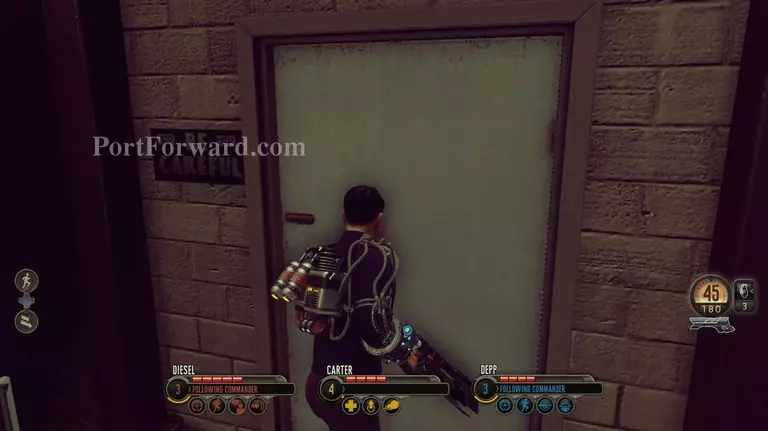
At the end of the hall go through the door.
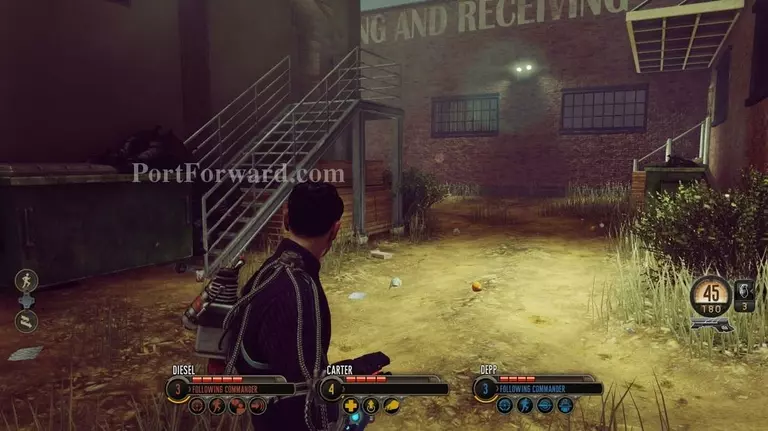
This leads out into an alley. Head down the alley and to the left.
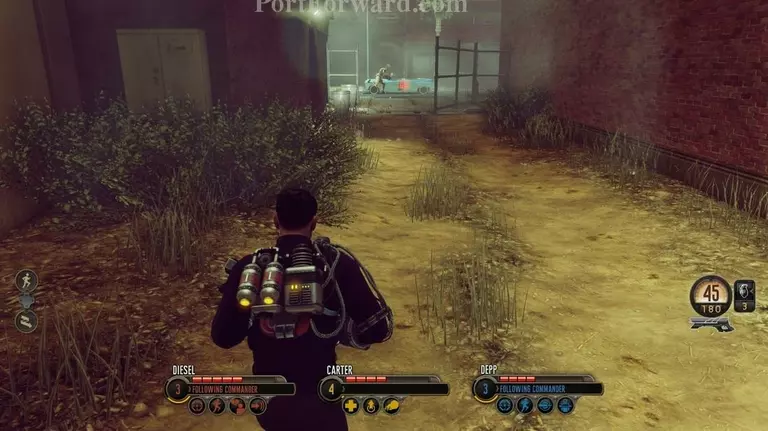
There will be some enemies ahead. As you head forward, though, a large explosion goes off. When you head through the gate another cutscene will trigger.
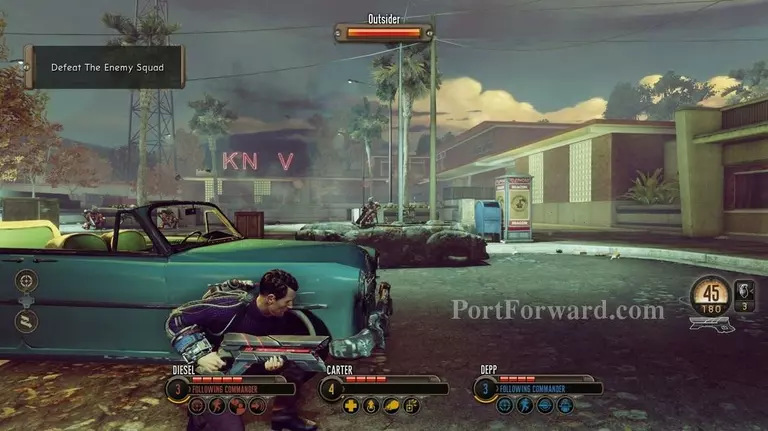
Keep going ahead and to the right and take cover as there will be more enemies by the radio station.
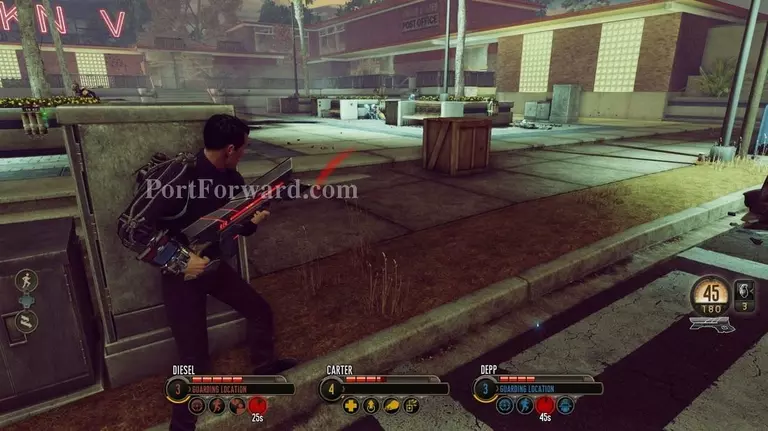
Take cover and take out enemies in the way as you head towards the radio station.
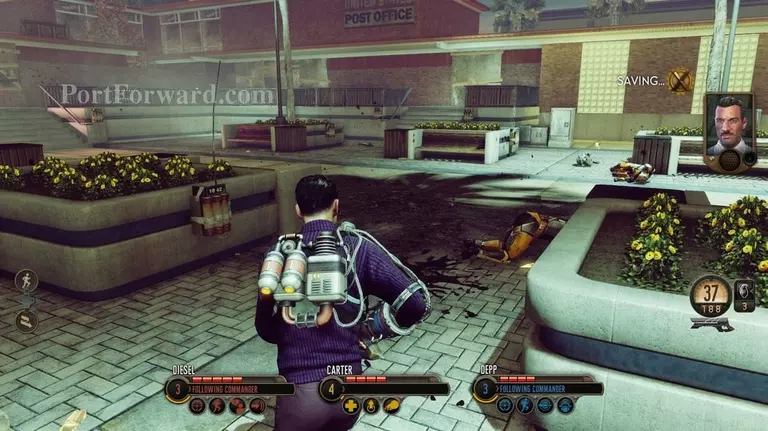
You have a new ability (temporarily) to set off explosives if you want, but I didn't need it on this part.
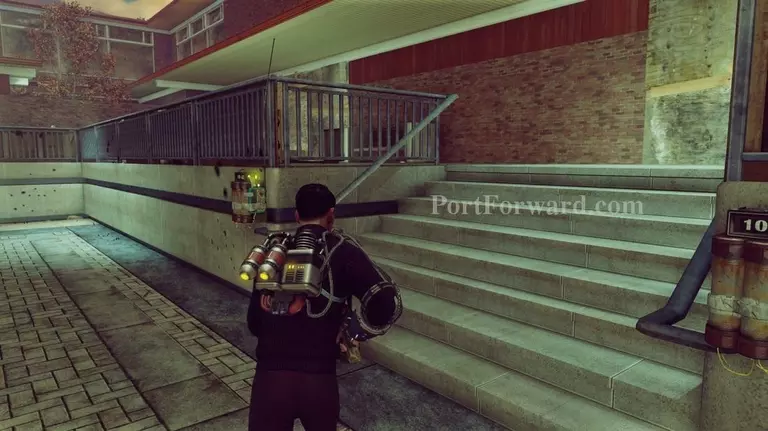
When the area is clear head up the stairs towards the entrance to trigger another cutscene.
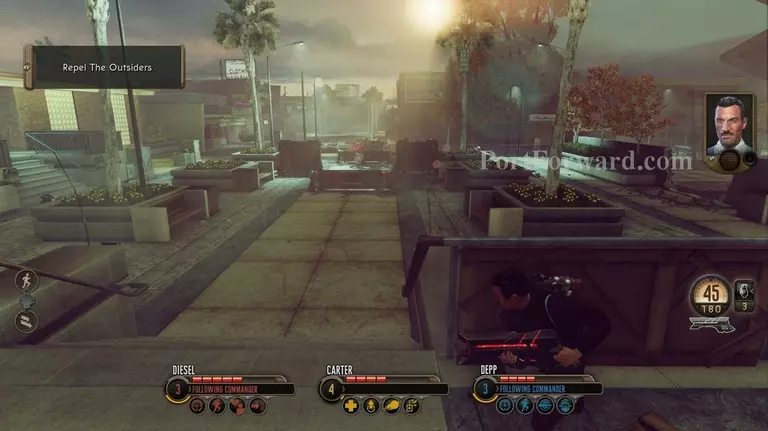
You'll need to cover the radio station as several enemies will attack.
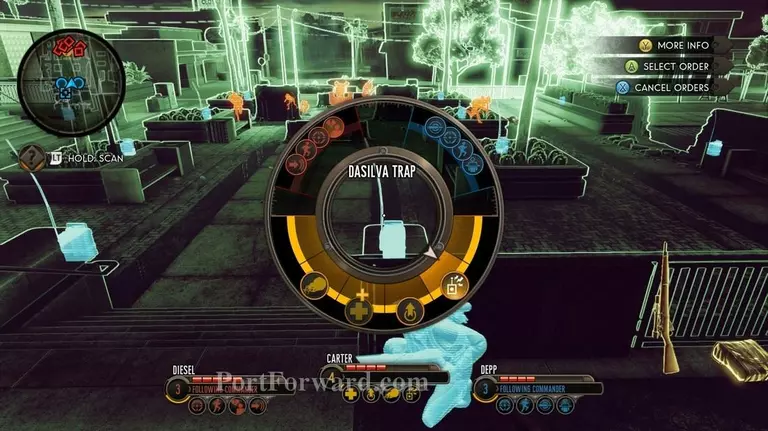
DaSilva's traps are most useful on this fight so if you get the chance you'll want to set off those explosives.
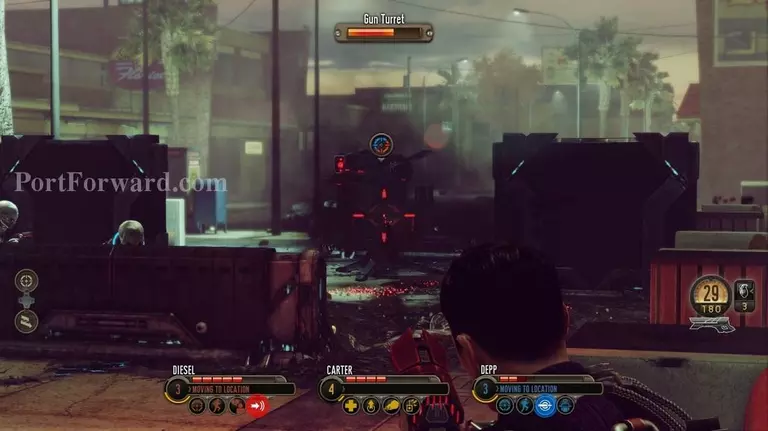
There is a turret in the rear as well, so be aware of that.
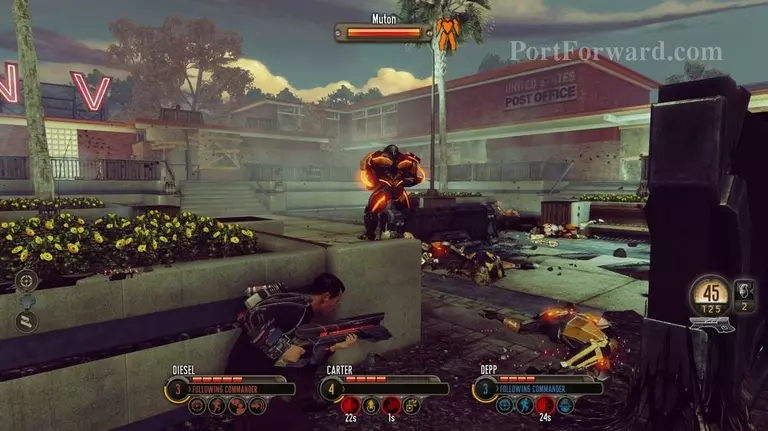
At a certain point in the fight a Muton will drop in also. This is difficult as it's a small area to move around in and the Muton is always moving towards you. Keep in cover, move around, and if you're able to use an explosive trap on it to take it down quickly.
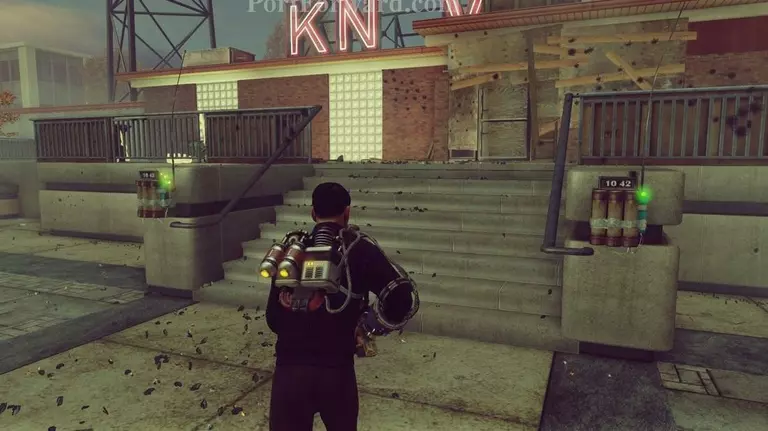
When the area is clear again head up the stairs to the radio station entrance.
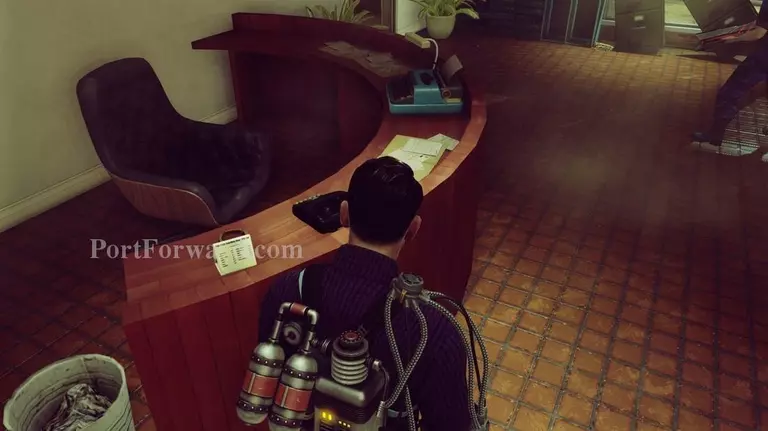
From inside head to the right from the front desk.
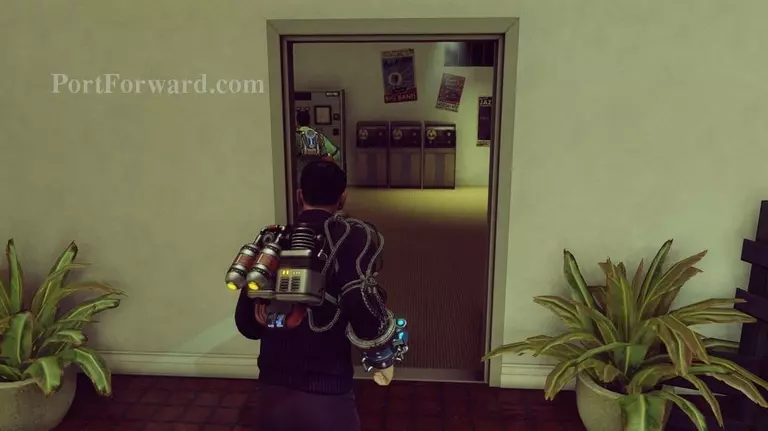
Head into the door in the back.
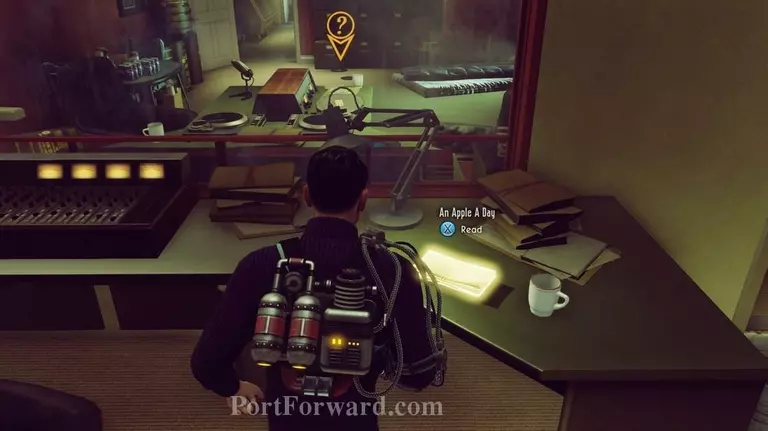
On the left side of the screening room is another note to read.
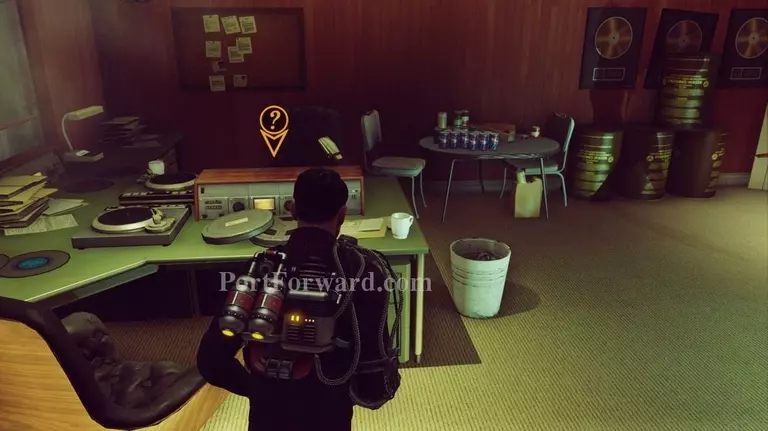
After you read that you can head into the station proper to listen to another reel to reel.
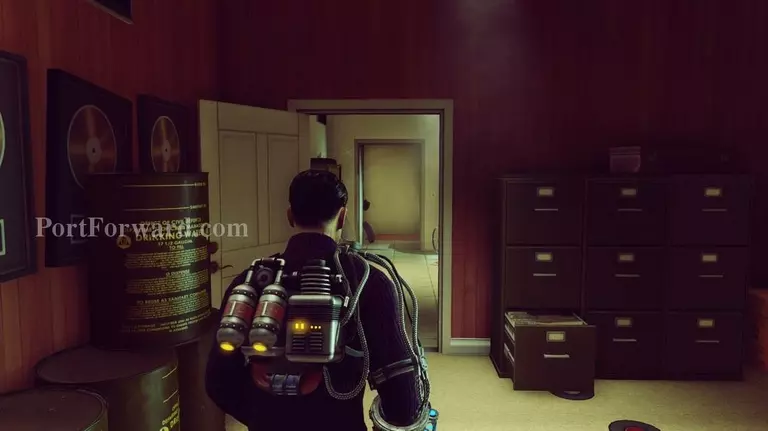
Then head to the right into the back room.

Talk to DaSilva in here. He isn't looking so hot.
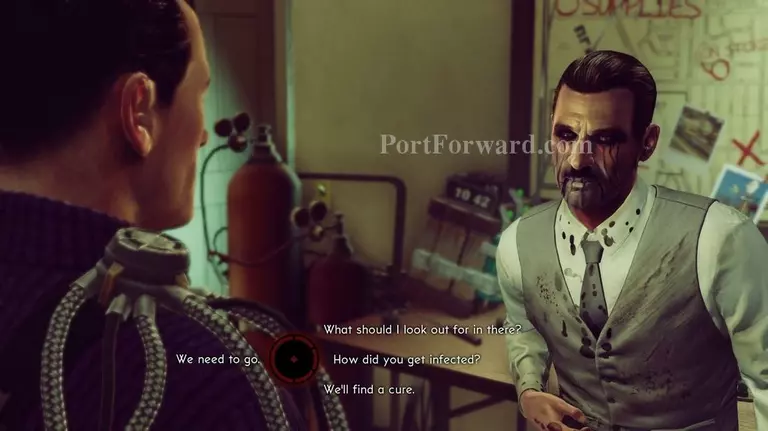
You can talk to him about a lot of things. If you want you can convince him to let the scientists experiment on him to help find a cure. Or you can agree with him and let him stay behind- it's up to you. For this walkthrough's purpose I convinced him to go back so there will be a short mission later related to that.
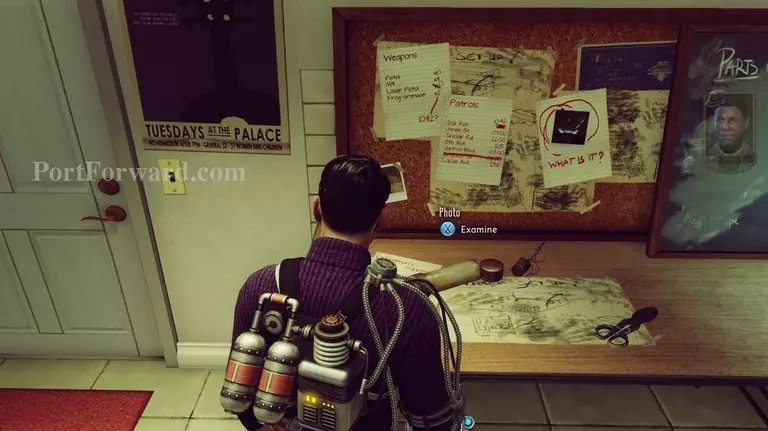
Behind you on a desk is a photo you can examine.
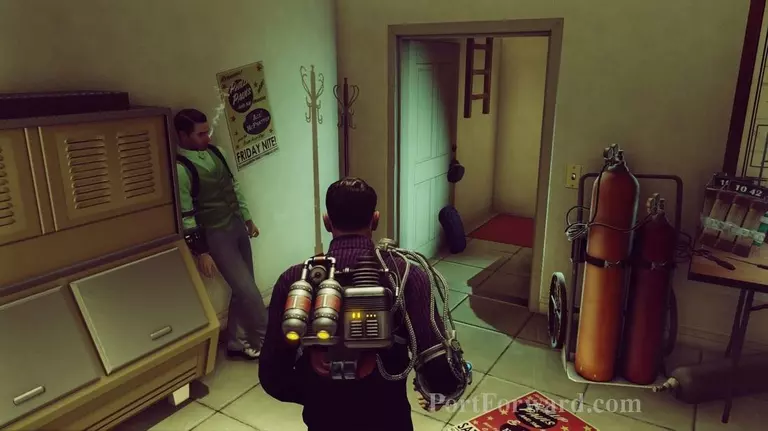
To the left of DaSilva is a small room as well.
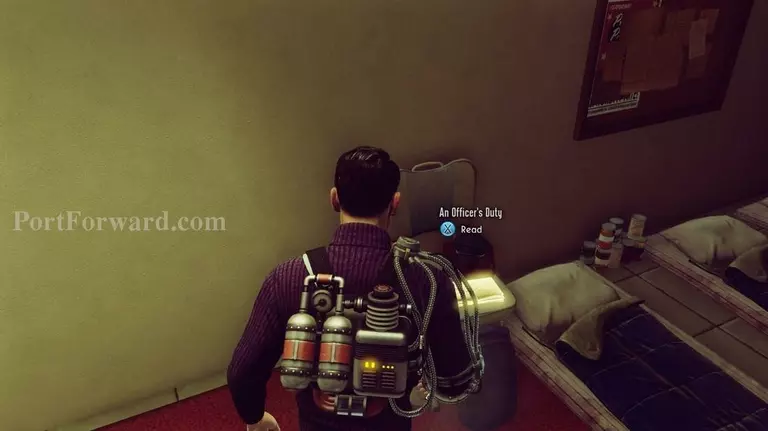
There's another note you can read on a small desk next to a bunch of sleeping bags.
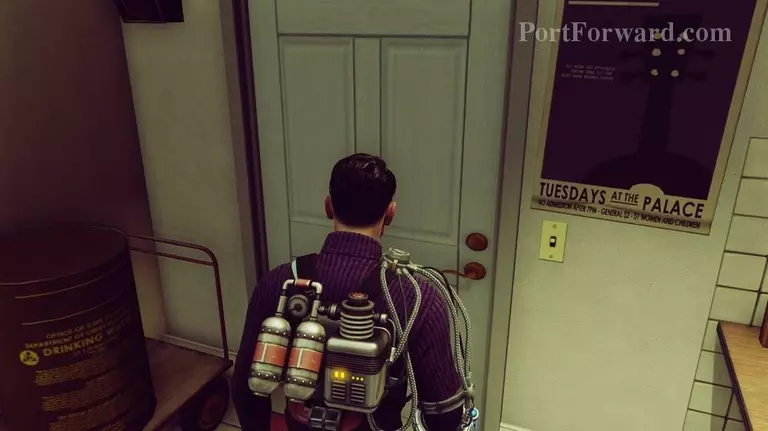
When you're done with all of that head out the door to the right of DaSilva.
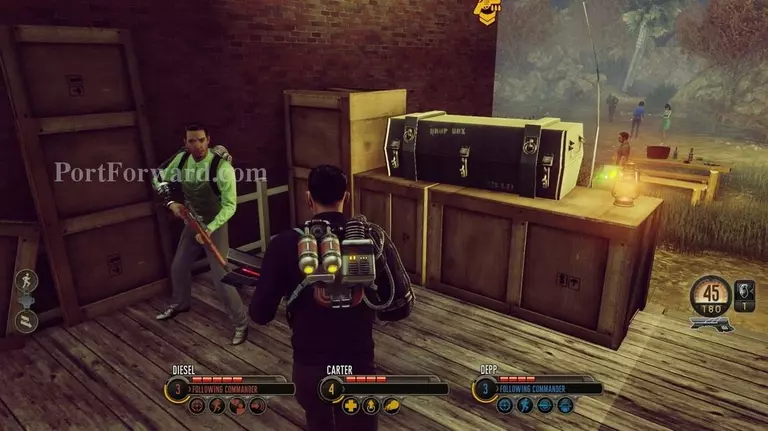
Right outside is a resupply crate if you need to restock.
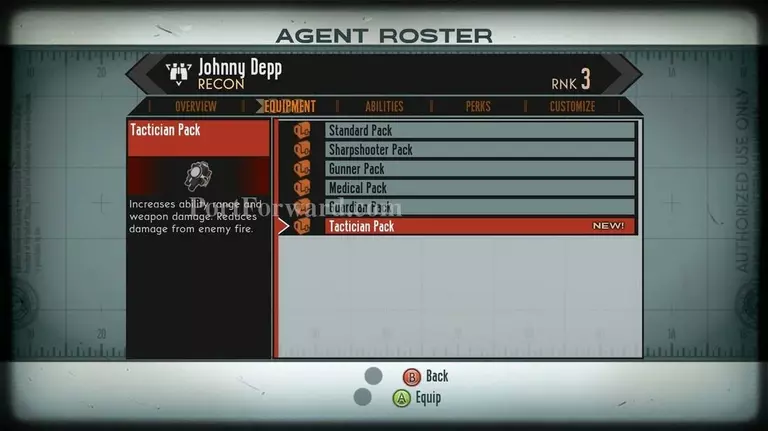
Just a reminder here: You may have new backpack schematics you can equip on your agents as well as weapons. So if you want to manage all that (it is useful to do so) you can do that from the resupply. Or just use it to auto save.
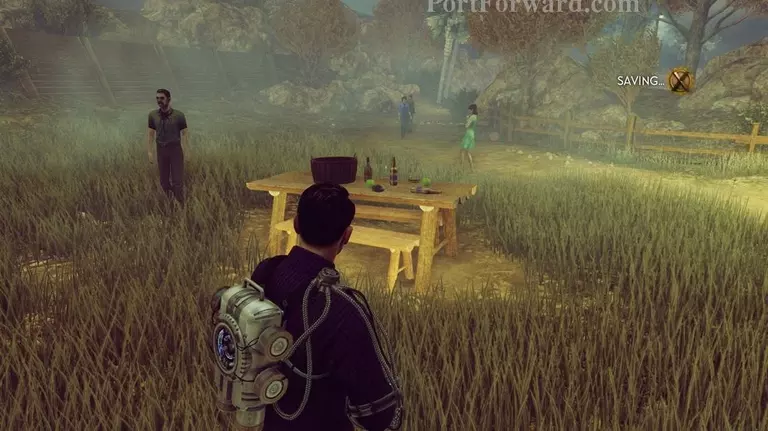
When you're done with the resupply head down the stairs ahead and go to the right.
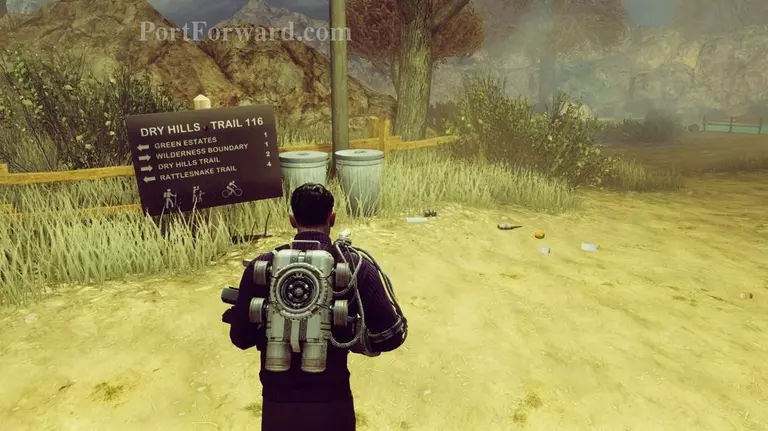
From the sign head straight a little then veer to the left (there's nothing on the right).
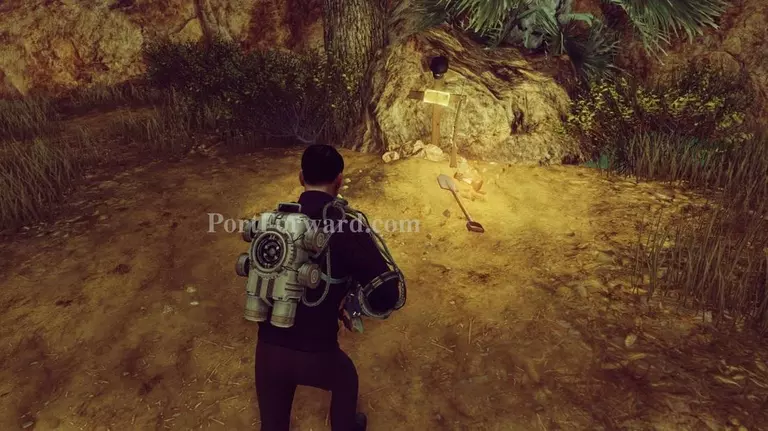
A little down the road (just past a bench with a book on it) is a small grave. There is another note you can read on it.
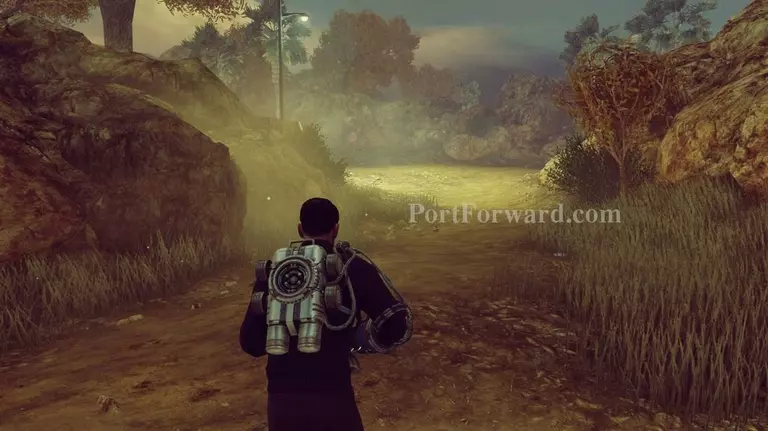
From the grave turn around and head to the right.
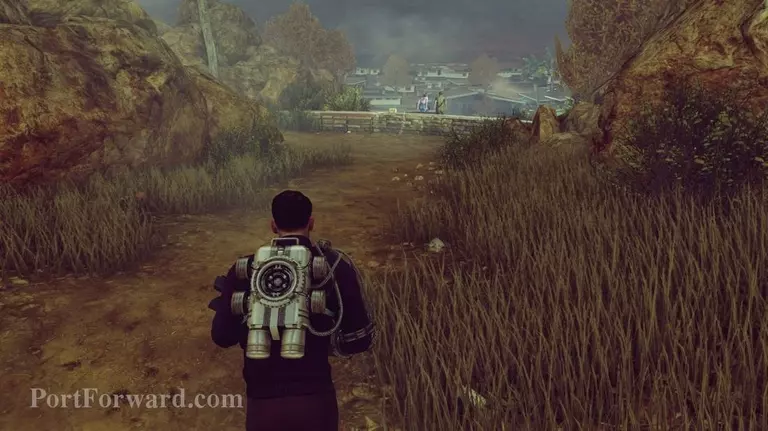
At the end of that road head to the right towards a wall.
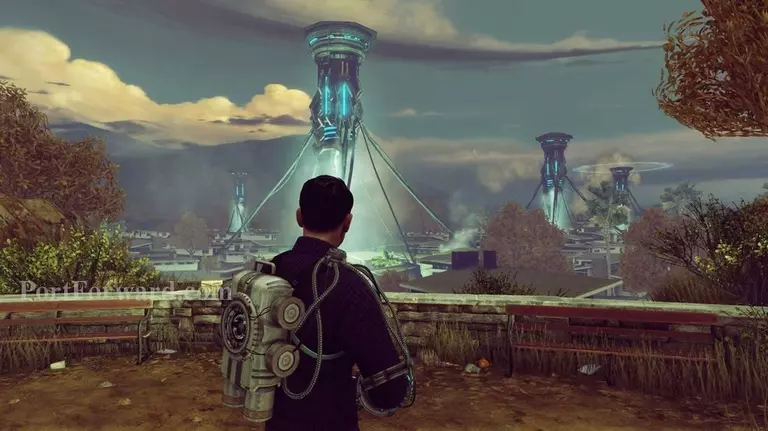
You'll see some ziggaraut looking things getting setup.
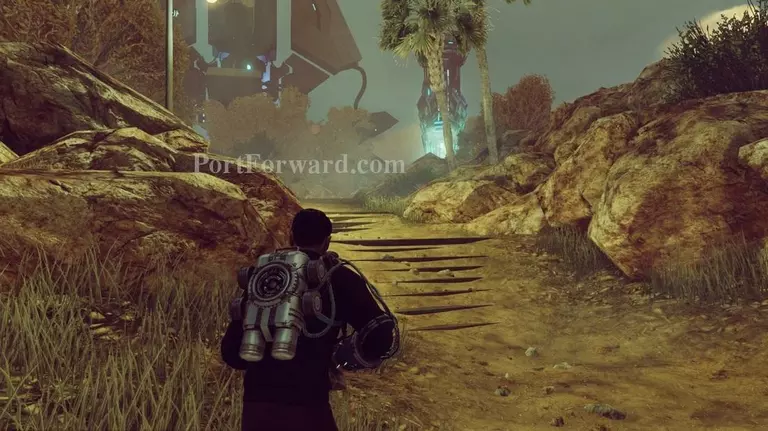
After watching that take place head to the left of that wall. Go up the stairs.
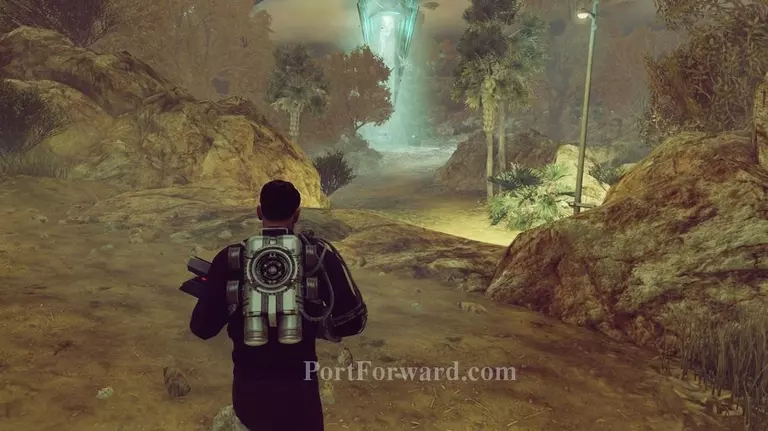
Keep heading forward and jump down.
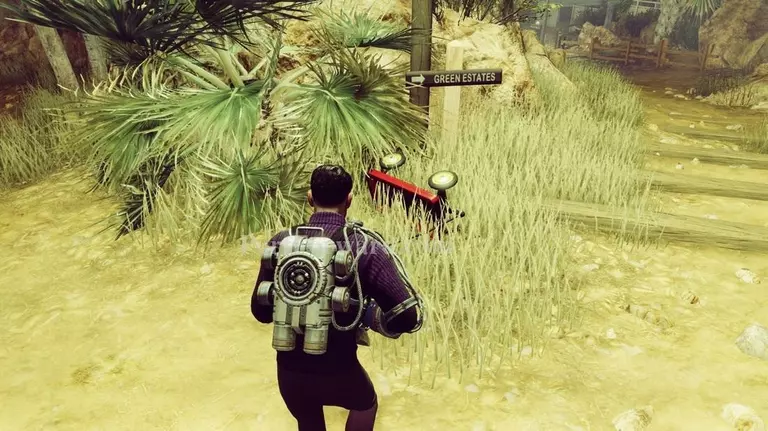
At the green estates sign head to the left instead of the right.
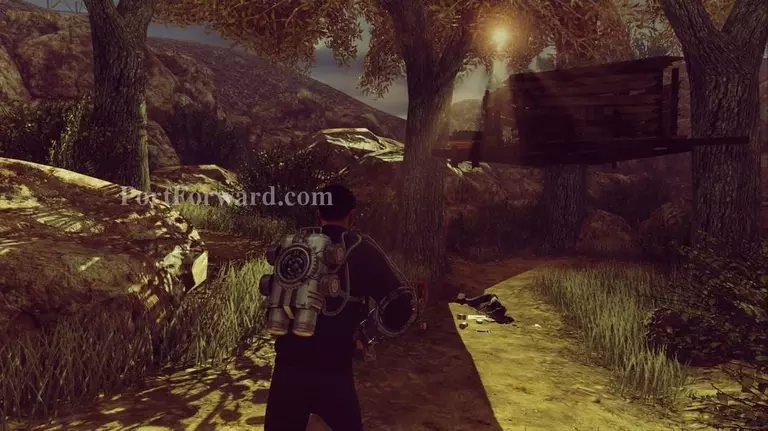
You'll see a tree house and a body of a dead woman below it.
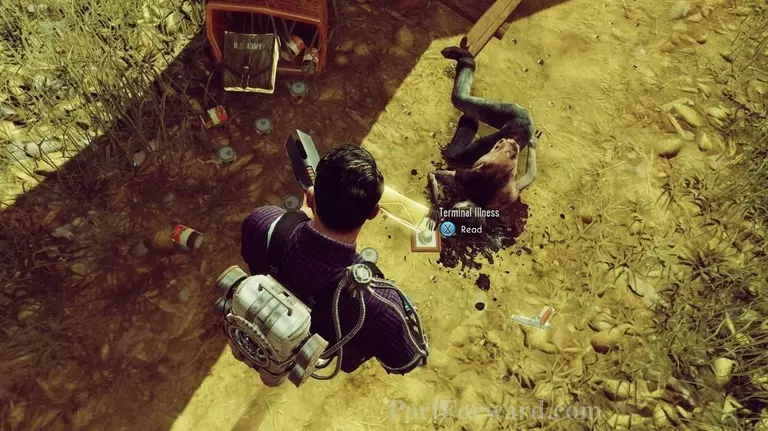
There's another note you can read next to the dead woman.
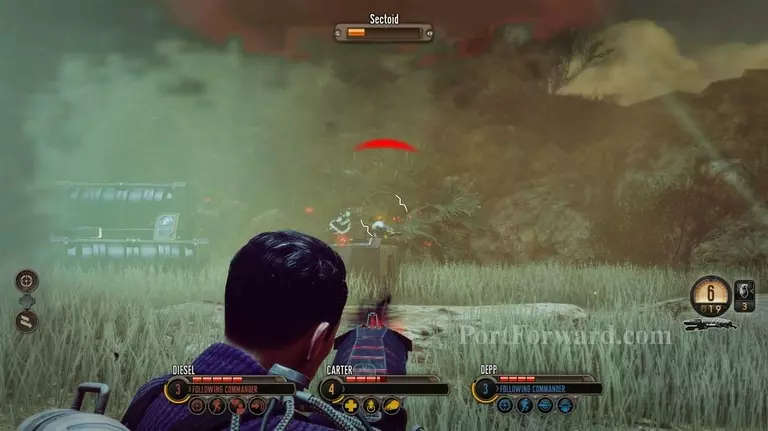
Turn around from there and be ready to kill a Sectoid. There's only one so it's not to big of a problem.
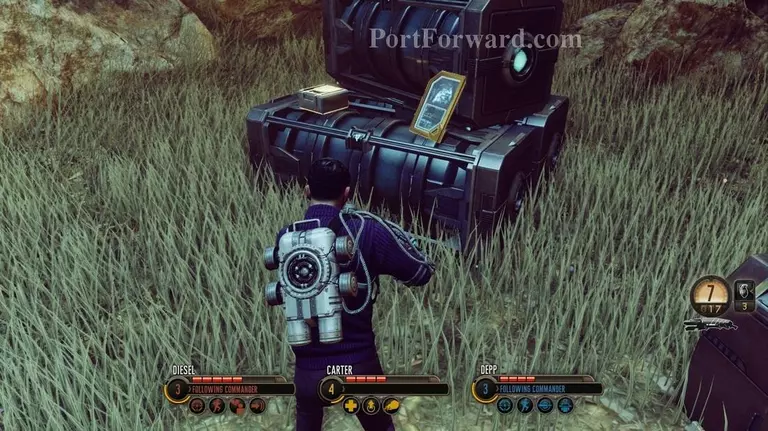
After you kill it there's another backpack schematic on a alien weapon crate on the left.
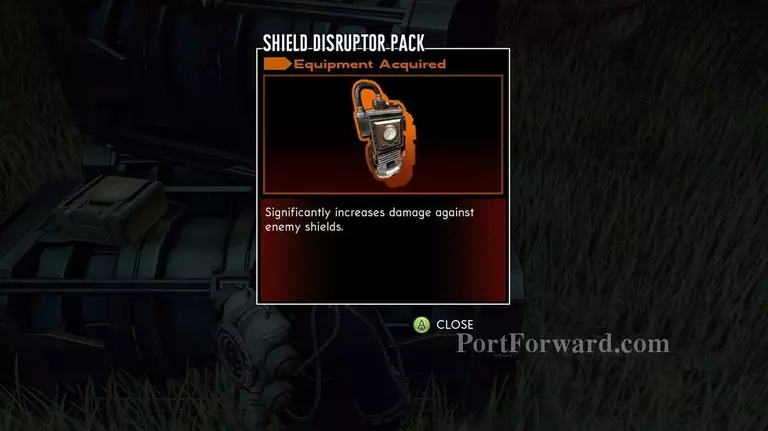
Pick it up to get a "Shield Disruptor Pack."
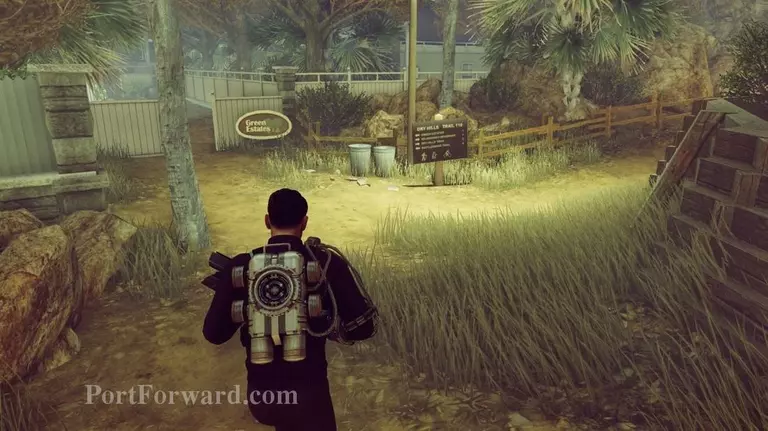
Then turn around and head forward to now go into the Green Estates.
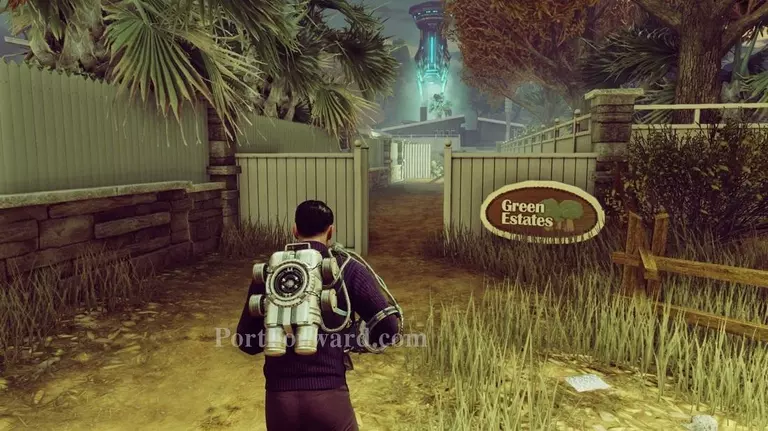
Keep going straight ahead.
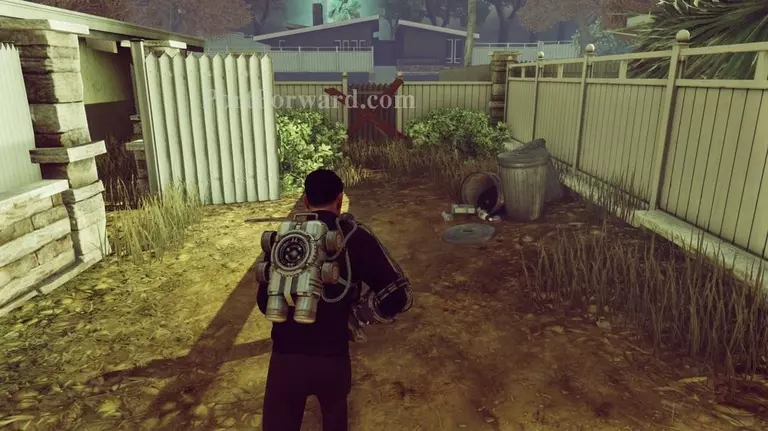
At the end of the alley head to the left.
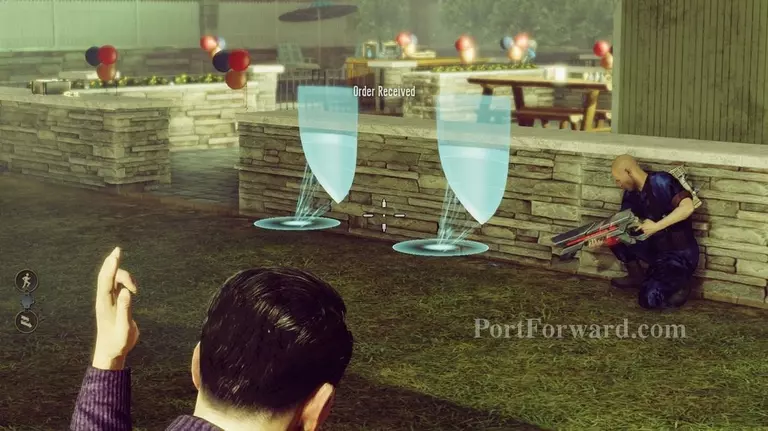
From inside the back yard head into cover as there will be more enemies ahead.
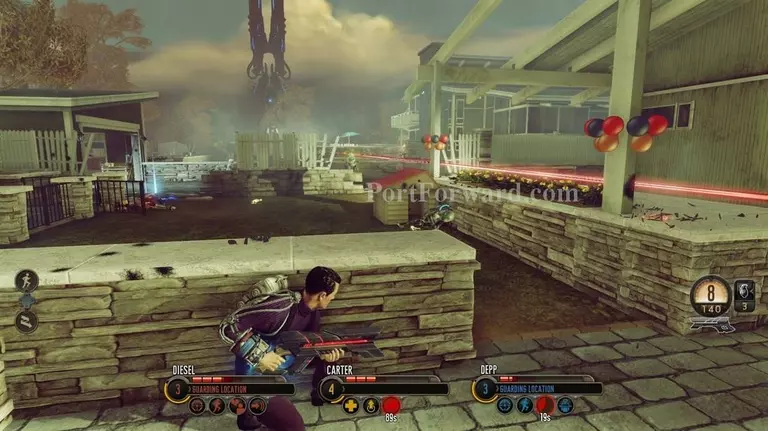
Take out any enemies in your way.
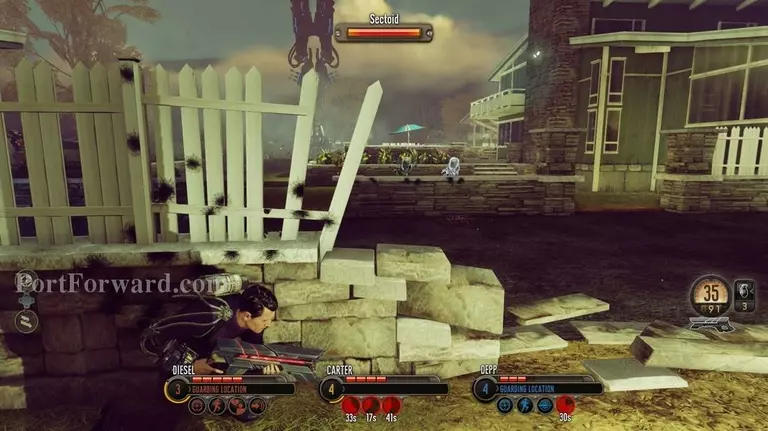
Head forward whenever it's clear.
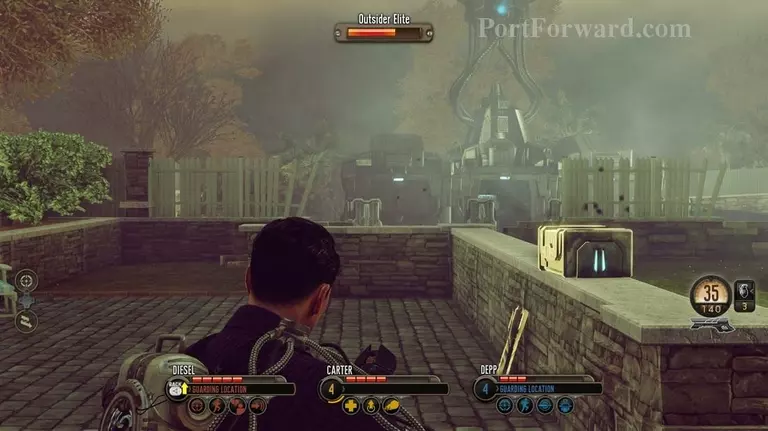
Remember to keep stock of your ammo and then go ahead forward and stay left to get into cover.
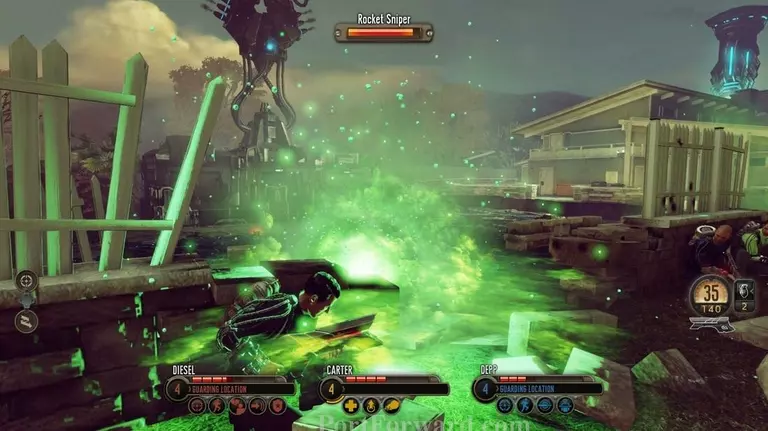
At the end of the way is a enemy camp with a sniper so watch out for that.
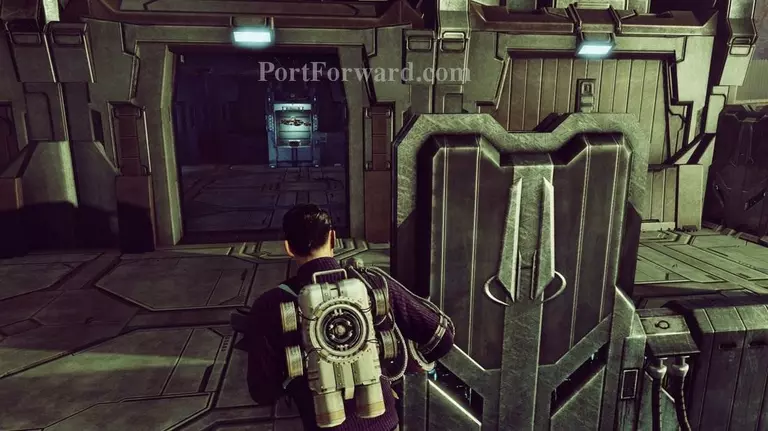
When the coast is clear, and you restock your ammo, head into the camp.
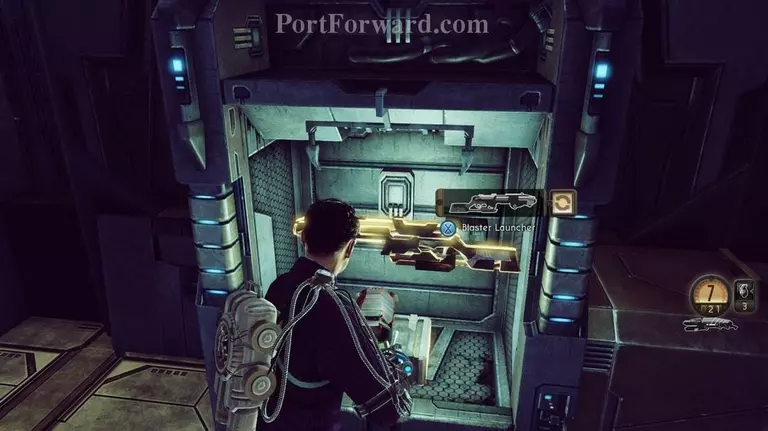
On the alien weapon rack inside is a new weapon you can pick up to add to your armory.
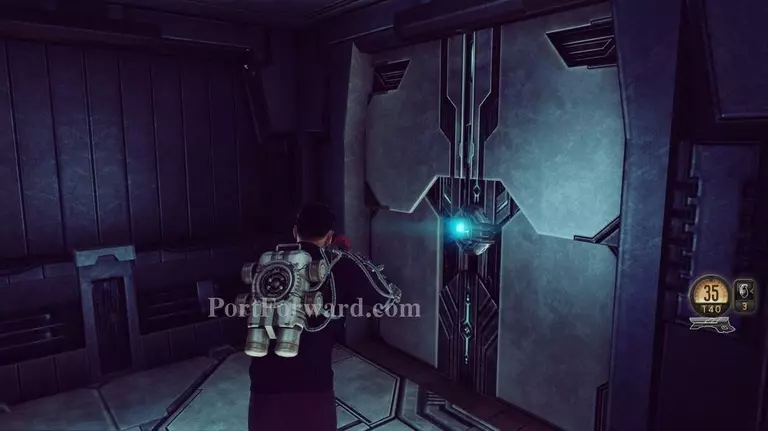
Once you have that head through the door on the left.
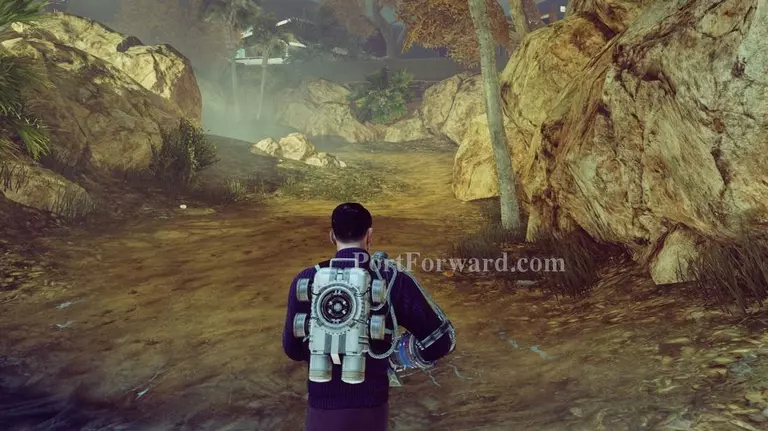
Then go forward down the path.
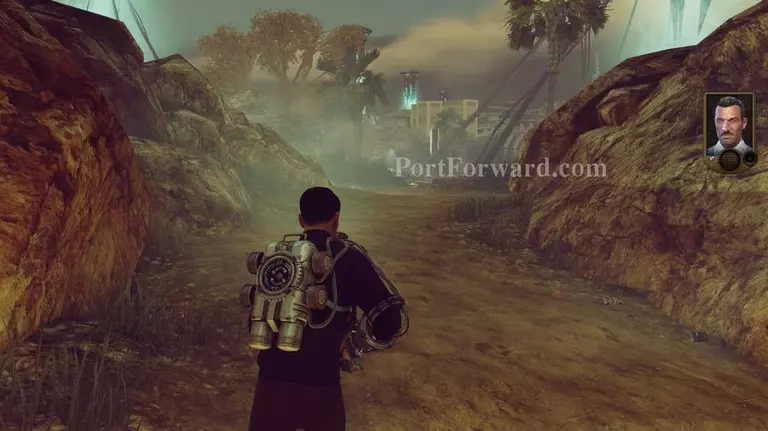
Head to the left further down the dirt path.
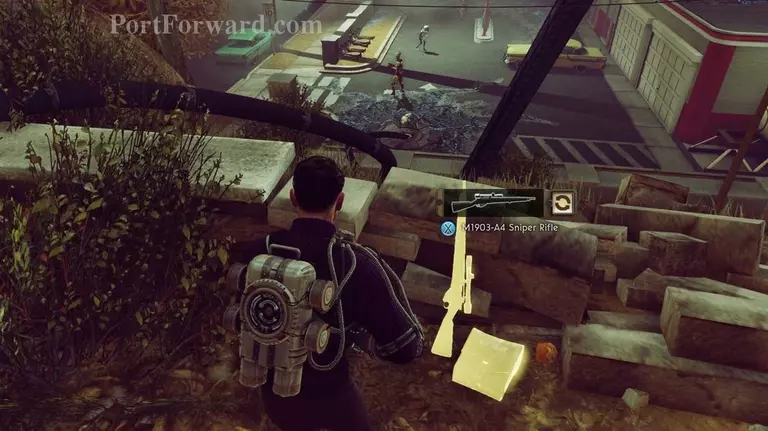
At the end of the way you'll get to a good sniping spot. You can setup you're squad to attack enemies below, or shoot them youself.
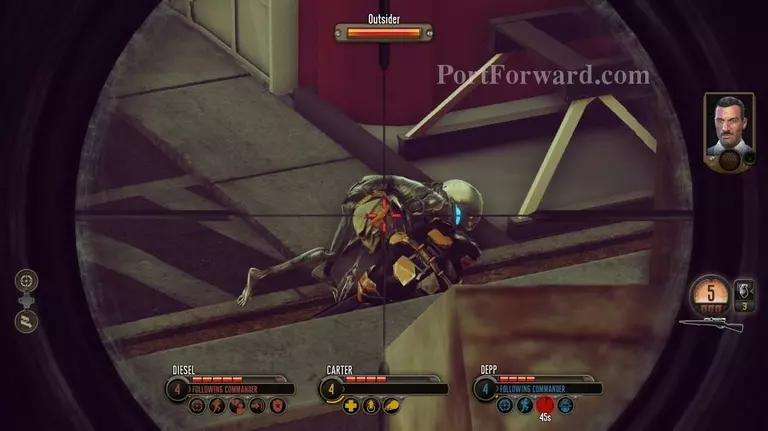
While taking out the enemies here a large explosive will go off which is your distraction cue.
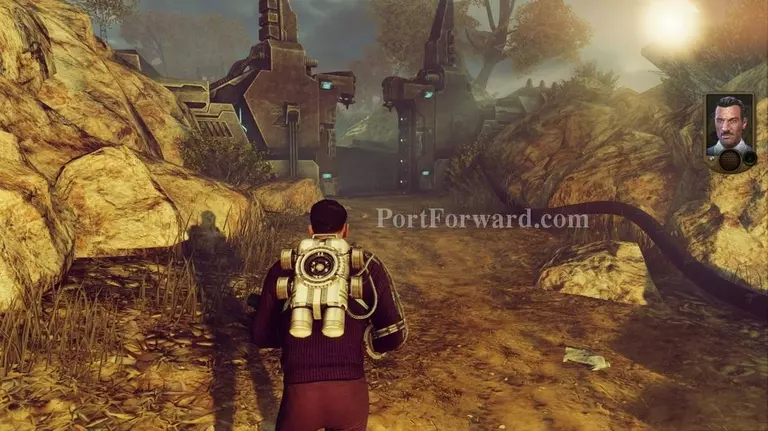
Turn around and head to the right.
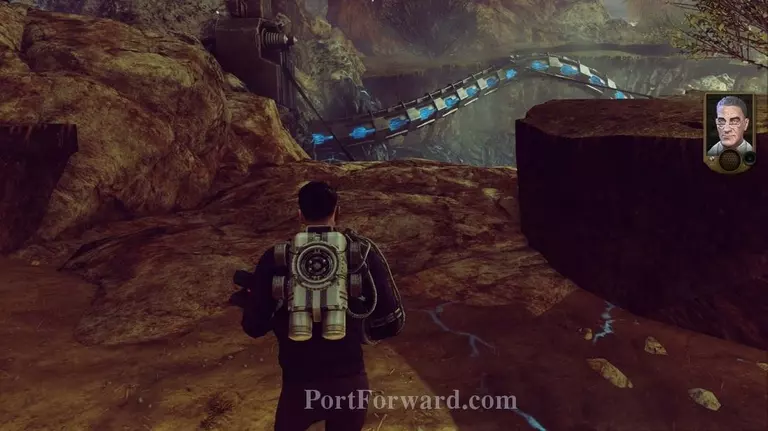
Go through the door and continue down the path to the right.
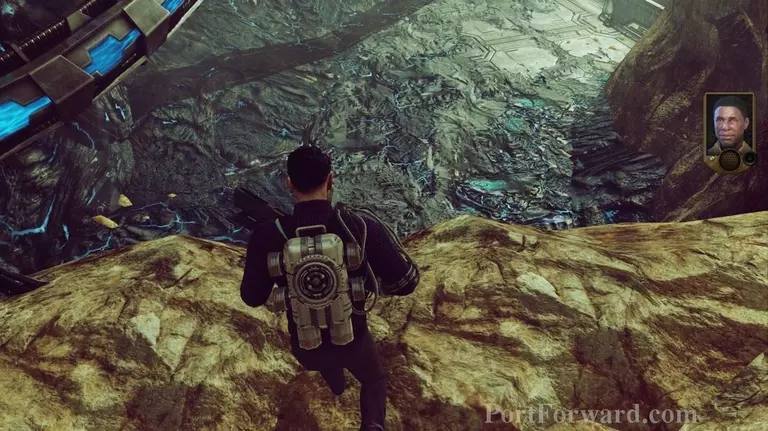
Jump down into the pit.
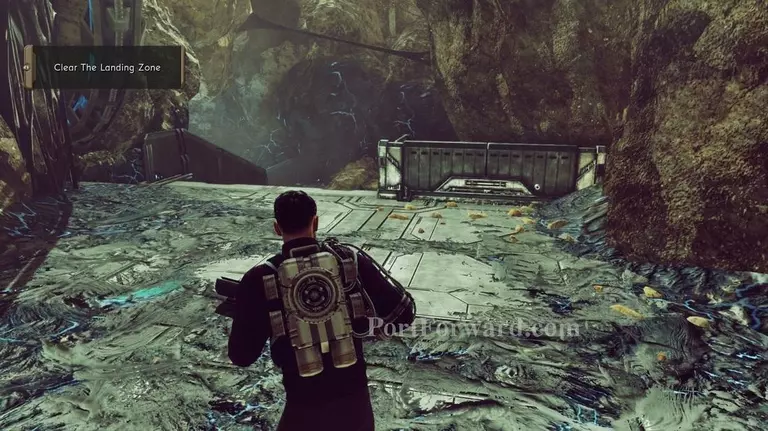
Head ahead and go down the stairs.
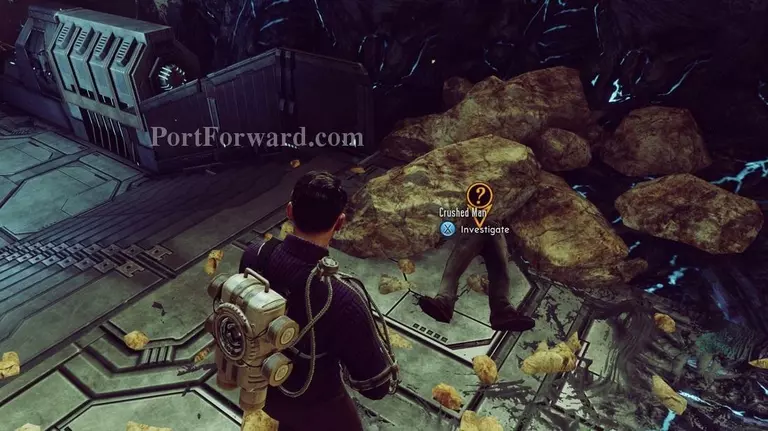
At the bottom is another examination point you can look at.
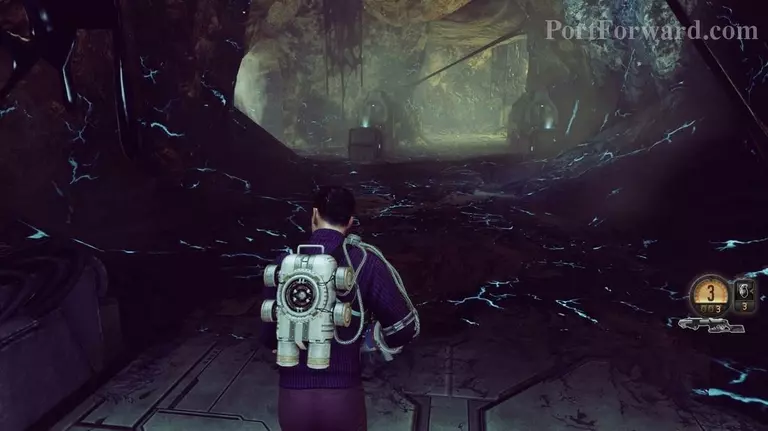
Then continue down the stairs on the left and into the alien cave.
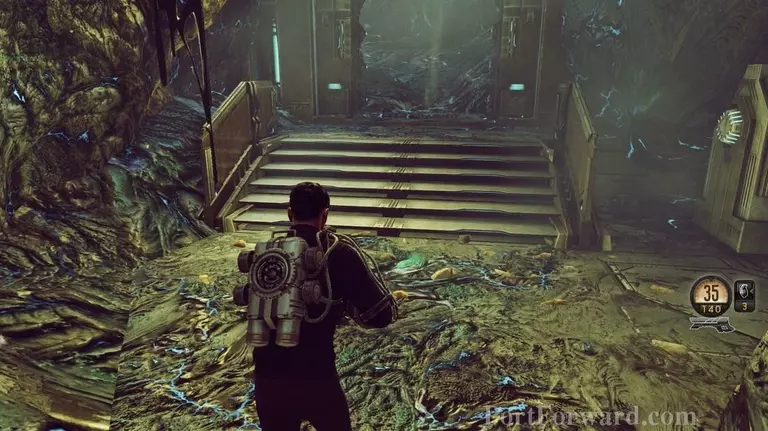
Head forward into the cave and then go to the right into the door at the back.
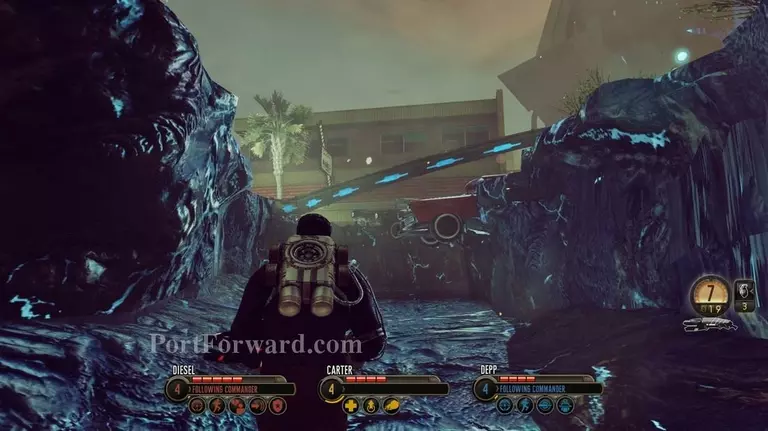
This leads out into a large trench. Continue forward.
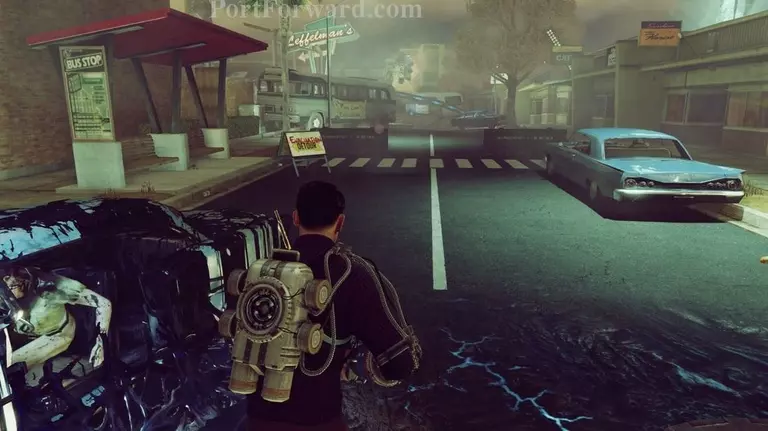
You'll come out the other side on the street again. Just ahead is the grocery mart.
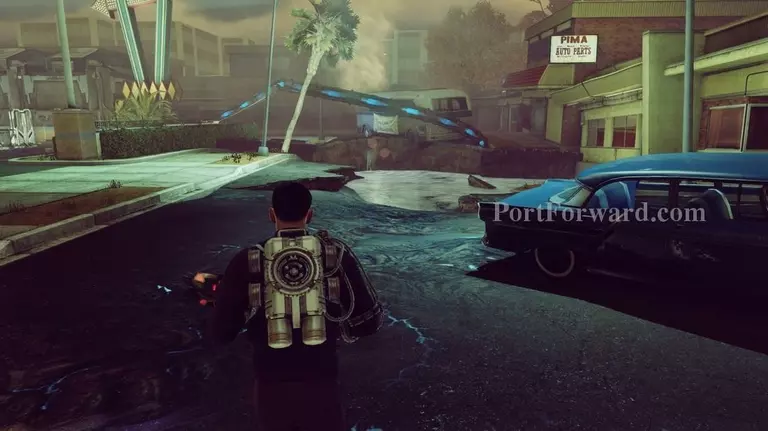
Keep going forward and turn to the left by the bus.
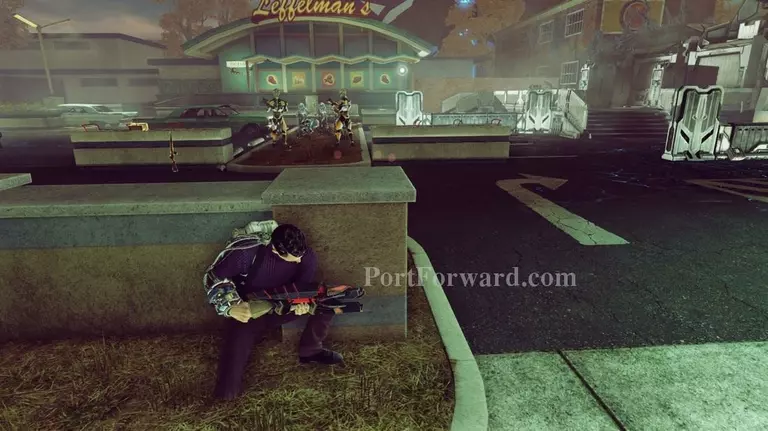
Get into cover as there will be more enemies here. You may be able to take out several crowded together here if you get a grenade in there.
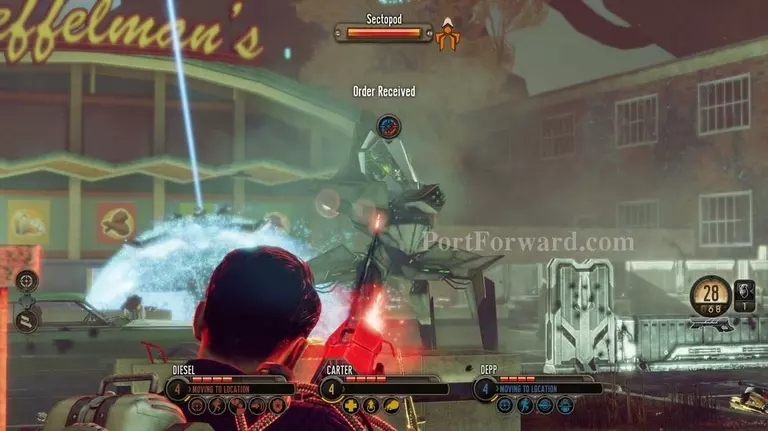
Watch out for the Sectopod that will drop in during the assault.
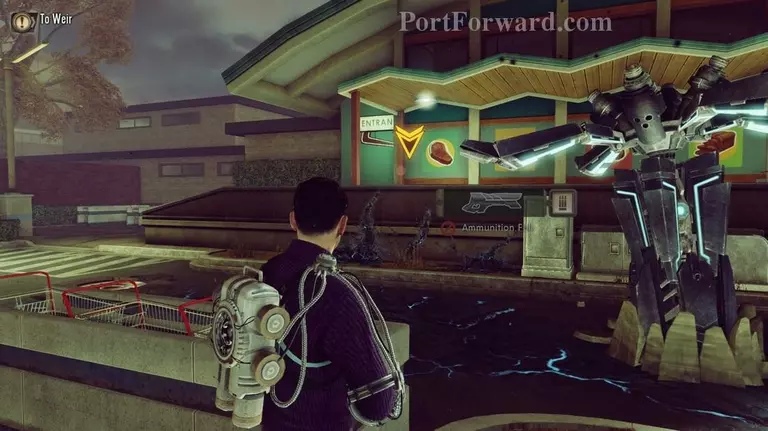
After taking out all the enemies head to the left side of the parking lot and up the stairs.
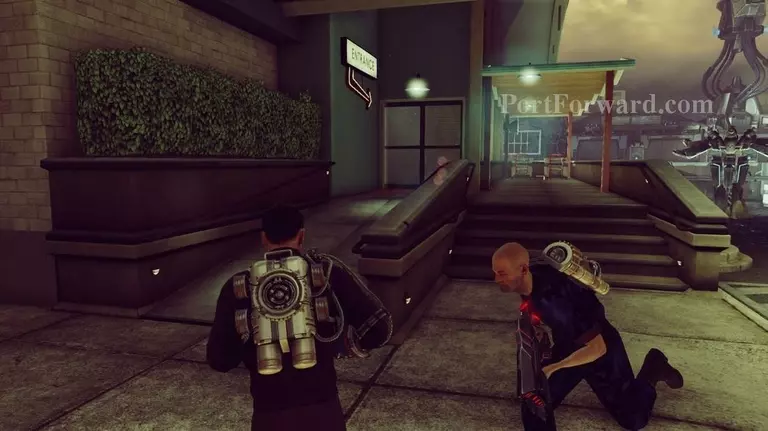
The entrance ramp is around the left side.
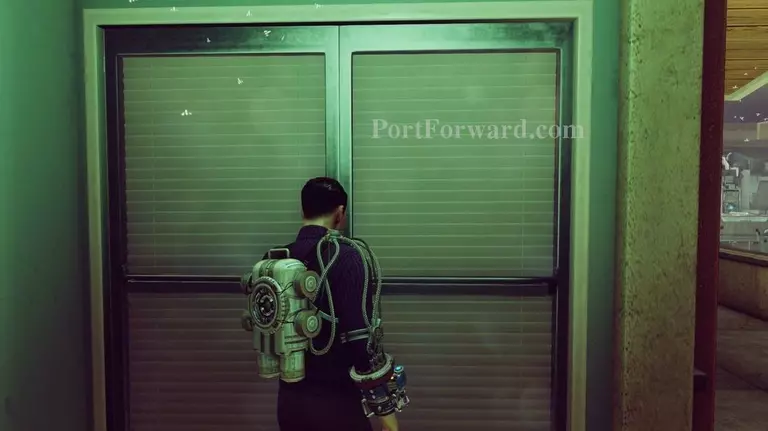
Head up the ramp and go inside.
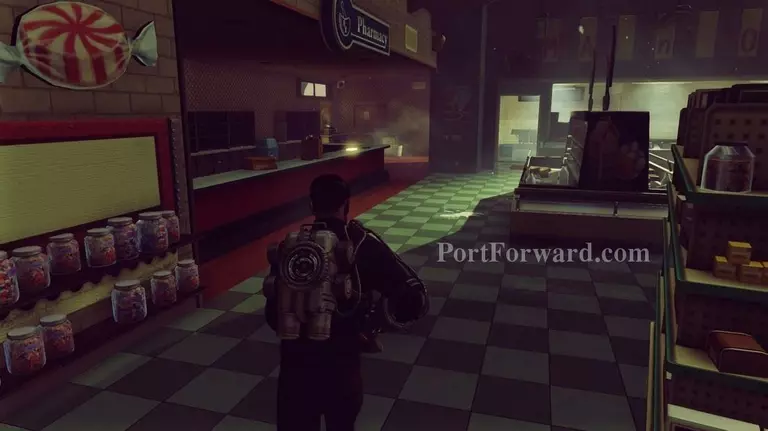
Stay to the left. Theres a note on the counter by the pharmacy.
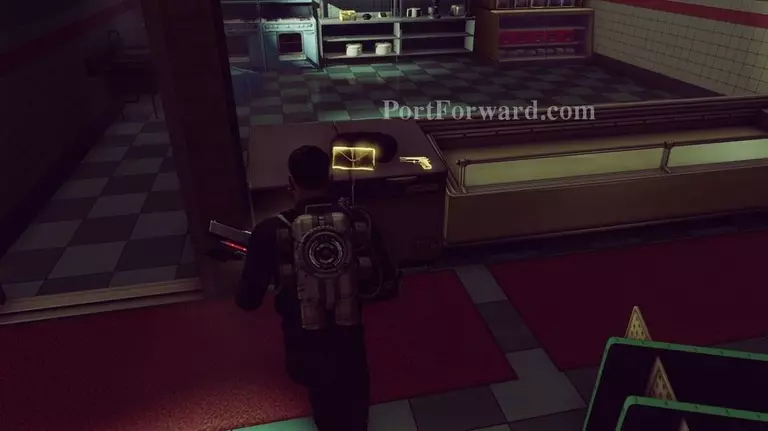
If you continue to follow the store around to the right there is another note on a counter by the bakery area. img(218247); After you read that turn to your left and go through the door there. img(218248); Then head into a door on the right and there will be a note on the desk on the right of the room. img(218249); After you read that head to the left and go through the door. img(218250); You'll come out on the back lot and Dr. Weir will be dropped off ahead. img(218251); Head up to him and talk for a little bit of dialogue. img(218252); To the right of Dr. Weir is another note on a little forklift. img(218253); After you read that head to the right. img(218254); Follow Dr. Weir inside through the warehouse. img(218255); You'll come out on a door at the end of the warehouse. img(218256); Kill the Silacoid that attacks at the end of the warehouse. img(218257); Then head through the door. img(218258); There's another examination spot on the door just inside. img(218259); Head to the left and read the note on the desk on the left side of the room. img(218260); Then head back out and go into the other room across the way. img(218261); Head down the stairs and jump into the room ahead. img(218262); Go around to the back side of the staircase. img(218263); There's another backpack schematic you can pick up here. img(218264); Then turn to your right and go towards the resupply crate. You can use it if you need to before continuing. img(218265); There is a hole in the wall just past the resupply crate you'll need to go through. img(218266); Jump down into the cave ahead. img(218267); You come up on another cliff that leads down. Jump down again. img(218268); You'll come to where DaSilva's agents made it to down here. You can use the examination point to have them talk about it a bit. img(218269); Then head forward and go down the stairs on the left. img(218270); At the end of the stairs is a computer that Dr. Weir uses to open the door. It will take him some time, though. img(218271); Take cover and kill the attacking Sectoids that come from the stairway. img(218272); Once that is cleared there will be an examination spot on the computer Dr Weir is using. img(218273); After examining that head forward through the door and jump down further into the alien facility! img(218274); You'll be in some place the aliens are using to ship sleepwalkers off somewhere. Go forward and head to the left. img(218275); Dr. Weir informs Carter that there's nothing you can do for these people. Head forward a little bit more. img(218276); The computer terminal on the left can be examined. img(218277); After you've examined that head through the door ahead. img(218278); Then go through the door on the right. img(218279); This leads into a hallway that circles around a power source. img(218280); Head down to the right. img(218281); At the end of the passage go into the door on the right side. img(218282); On the left side of this room, on an alien weapons crate, is another note you can read. img(218283); After you read that head to the right side of the room. img(218284); At the end of the room is a teleporter. When you're ready to move on use it. img(218285); You'll be transported to a room that I assume is a teleportation bay. img(218286); To the left of the teleporter is another backpack schematic you can pick up. It's sitting on some boxes. img(218287); Go through the door on the bottom left side of the room. img(218288); Then head through the door at the end of the hallway on the left. img(218289); Use the control switch on the other side of the door to activate the force floor bridge. img(218290); Head across the bridge and through the door on the other side. img(218291); Go through the door and keep heading forward. img(218292); You're also going through this door at the end of the hallway. img(218293); From inside here head to the left. img(218294); Round the boxes to the left where there is a switch. img(218295); Hit the switch on the other side of the alien crates to activate another bridge. img(218296); Go around and up to the right and then through the door on the other side of the bridge. img(218297); Head through the hallway and then go to the left. img(218298); Head through the door all the way at the end of the hallway. img(218299); Head to the left in the red hallway. img(218300); Then go through the door on the right. img(218301); Head forward all the way towards the side by the back wall and then go to the right. img(218302); Head up the stairs on the left. img(218303); Quickly head into cover as there will be enemies inside here. img(218304); As you take out enemies keep heading to the left and in cover to get a good flanking position. img(218305); There will be a lot of enemies here so if you position yourself on the opposite side of your squad you can get kills more effectively. img(218306); There will be a Muton to contend with here as well, so be careful. img(218307); Once you've killed all those aliens head into the door on the back left side of the room. img(218308); Head to the right from this hallway. img(218309); Then go into the door at the end. img(218310); Use the next switch to get across another bridge. img(218311); Go to the left and head down the stairs. Use the switch at the bottom to go across another bridge on the right. img(218312); If you head to the right of this area the Transponder will come out so you can pick it up. img(218313); When you pick it up the alarms will go off. img(218314); You'll then be communicated with by Axis. img(218315); Head forward across the bridge and through the door. In this hall head to the right but be careful as there will be enemies on the stairwell ahead. img(218316); Get into cover and kill any enemies in the way. img(218317); Head up the stairs, through the door, and up the stairs on the right. img(218318); At the top of the stairs head to the left. img(218319); Get into cover at the end of the hall as there will be more enemies in a room ahead. img(218320); After clearing out the room head up the stairs in the back and use the teleporter. img(218321); In the room you teleport to head down the stairs on the right of the teleporter. img(218322); Then head through the hall way ahead. img(218323); Head to the right and continue through the corridor down the stairs ahead. img(218324); Ahead of the stairway is another resupply you can use to restock ammo and auto save your game. img(218325); After you do that head through the door on the right. img(218326); You will be introduced to a Titan in this room. img(218327); The annoying thing about this fight is the Titan will destroy anything in it's beam. Make sure to get to cover or it will kill you very quickly. img(218328); As long as you maintain cover on the opposite side of the Titan you should be fine. img(218329); The Titan it will destroy your cover when it shoots but not hit you- well, not hit as hard anyway. img(218330); Whenever you have a clear shot attack the Titan as much as you can. Make sure you also have your squad shooting it. img(218331); As long as you keep moving into a different cover and shooting the Titan every chance you get eventually it will go down. img(218332); Head to the center of the room and wait for your evac.
More The Bureau: XCOM Declassified Walkthroughs
This The Bureau: XCOM Declassified walkthrough is divided into 17 total pages.


