Sonic the Hedgehog 4: Episode 1 Walkthrough Lost Labyrinth Zone Act 2: World of Darkness

September 12, 2016 (Last Updated: ) | Reading Time: 5 minutes

This Sonic the Hedgehog 4: Episode 1 walkthrough is divided into 17 total pages.

You can jump to nearby pages of the game using the links above.

Lost Labyrinth Zone Act 2: World of Darkness

Sonic the Hedgehog 4: Episode 1 Walkthrough - Sonic the-Hedgehog-4-Episode-1 170

This is the level where most will get a time out death for the first time but that is later on in the level. Here you see that the level is pitch black except for a fire torch lighting the way for you.

Sonic the Hedgehog 4: Episode 1 Walkthrough - Sonic the-Hedgehog-4-Episode-1 171

Here you want to spin dash the Burrobots because they are sneakier in the dark.

Sonic the Hedgehog 4: Episode 1 Walkthrough - Sonic the-Hedgehog-4-Episode-1 172

See this pod here, you want to light that up with your torch so you can brighten up the place.

Sonic the Hedgehog 4: Episode 1 Walkthrough - Sonic the-Hedgehog-4-Episode-1 173

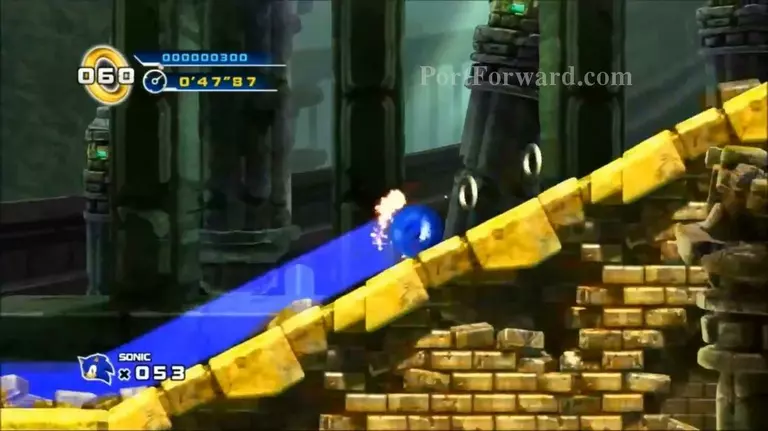
Now you can get better visuals of where you are going. This is the first zone where you are eligible to become Super Sonic if you managed to get all seven emeralds in one shot. With Super Sonic, his golden aura will automatically light up the area completely.

Sonic the Hedgehog 4: Episode 1 Walkthrough - Sonic the-Hedgehog-4-Episode-1 174

However, I want to be thorough so you won't see any Super Sonic footage. Even with him, the torch is still necessary to light up pods to activate some platforms such as this one needed to reach the spring.

Sonic the Hedgehog 4: Episode 1 Walkthrough - Sonic the-Hedgehog-4-Episode-1 175

You'll go up a few boosts here and there.

Sonic the Hedgehog 4: Episode 1 Walkthrough - Sonic the-Hedgehog-4-Episode-1 176

but the main focus of the level is lighting those fuses to blow away blocks that are in your path. Don't get hit by the explosions though.

Sonic the Hedgehog 4: Episode 1 Walkthrough - Sonic the-Hedgehog-4-Episode-1 177

Jump and light this pod to make this platform form underneath you for you to land on.

Sonic the Hedgehog 4: Episode 1 Walkthrough - Sonic the-Hedgehog-4-Episode-1 178

Light this fuse and stay away from the explosion.

Sonic the Hedgehog 4: Episode 1 Walkthrough - Sonic the-Hedgehog-4-Episode-1 179

When you are riding in a minecart, the exclamation point reminds you to jump but it's not needed here. Just stay put.

Sonic the Hedgehog 4: Episode 1 Walkthrough - Sonic the-Hedgehog-4-Episode-1 180

When you crash (like you are supposed to), you will be launched to the next segment of the zone.

Sonic the Hedgehog 4: Episode 1 Walkthrough - Sonic the-Hedgehog-4-Episode-1 181

Those Burrobots are trying to gang up on you. Keep revving up your Spin Dash and kill them by letting them touch you.

Sonic the Hedgehog 4: Episode 1 Walkthrough - Sonic the-Hedgehog-4-Episode-1 182

Along the way you'll be launched through several pods to light up.

Sonic the Hedgehog 4: Episode 1 Walkthrough - Sonic the-Hedgehog-4-Episode-1 183

Defeat this Bubbles and get on the platform.

Sonic the Hedgehog 4: Episode 1 Walkthrough - Sonic the-Hedgehog-4-Episode-1 184

Get this Shield for protection in case it's necessary.

Sonic the Hedgehog 4: Episode 1 Walkthrough - Sonic the-Hedgehog-4-Episode-1 185

Light these two pods for a lift up.

Sonic the Hedgehog 4: Episode 1 Walkthrough - Sonic the-Hedgehog-4-Episode-1 186

These buttons are necessary to clear away blocking surfaces and sometime create surfaces. Also remember to the light the fuse to the left.

Sonic the Hedgehog 4: Episode 1 Walkthrough - Sonic the-Hedgehog-4-Episode-1 187

The button revealed a floor for you to reach the next fuse.

Sonic the Hedgehog 4: Episode 1 Walkthrough - Sonic the-Hedgehog-4-Episode-1 188

This is the part that will time out most players. The trick here is to light the first one, then the fourth one, then the third. Use those platforms to make it through. Lighting the second one will block you in.

Sonic the Hedgehog 4: Episode 1 Walkthrough - Sonic the-Hedgehog-4-Episode-1 189

As you can see, when the first pod runs out, it's walls will retract first and unblock you.

Sonic the Hedgehog 4: Episode 1 Walkthrough - Sonic the-Hedgehog-4-Episode-1 190

Boost through these Burrobots to deal with them faster.

Sonic the Hedgehog 4: Episode 1 Walkthrough - Sonic the-Hedgehog-4-Episode-1 191

Light this torch to make two platforms appear.

Sonic the Hedgehog 4: Episode 1 Walkthrough - Sonic the-Hedgehog-4-Episode-1 192

Run along the upside down curve to reach this fuse and gangway.

Sonic the Hedgehog 4: Episode 1 Walkthrough - Sonic the-Hedgehog-4-Episode-1 193

The fuse you want to light is this top one.

Sonic the Hedgehog 4: Episode 1 Walkthrough - Sonic the-Hedgehog-4-Episode-1 194

Light this fuse and time your jump to avoid the blast.

Sonic the Hedgehog 4: Episode 1 Walkthrough - Sonic the-Hedgehog-4-Episode-1 195

Time for another minecart ride.

Sonic the Hedgehog 4: Episode 1 Walkthrough - Sonic the-Hedgehog-4-Episode-1 196

Remember to jump when you see these signs or you will plunge to your death.

Sonic the Hedgehog 4: Episode 1 Walkthrough - Sonic the-Hedgehog-4-Episode-1 197

After two rides, you will finish this level.

More Sonic the Hedgehog 4: Episode 1 Walkthroughs

This Sonic the Hedgehog 4: Episode 1 walkthrough is divided into 17 total pages.

More From Portforward