This The Elder Scrolls IV: Oblivion walkthrough is divided into 8 total pages.
You can jump to nearby pages of the game using the links above.
Mythic Dawn's Lair
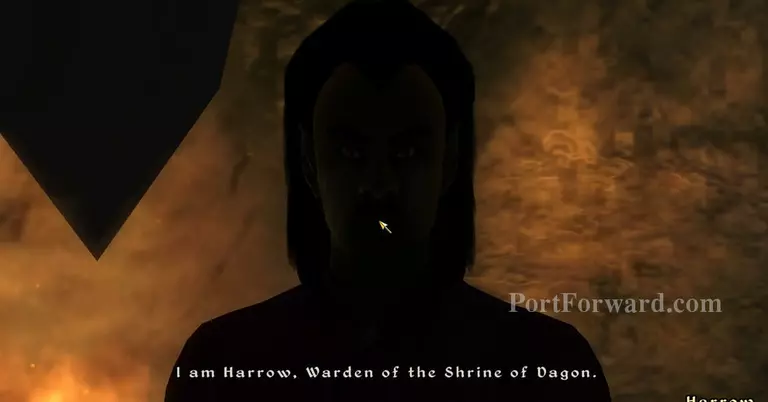
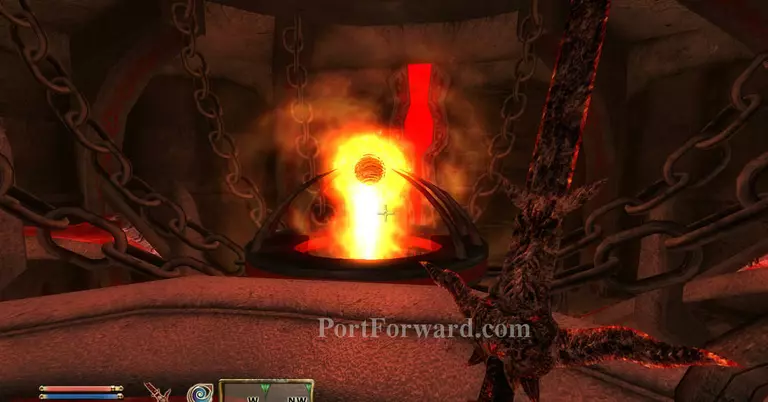
Once at the Caverns, you can either surrender your items and do this stealthily or go in the hard-way. Giving them your items will make it a pain in the ass to get your items back, but you can easily sneak up to Wanker Camoran and take his items.
Go up to Wanker Camoran and take the book on his table. Careful, you'll start a fight, but even if you don't do anything he'll just run into a portal anyway.

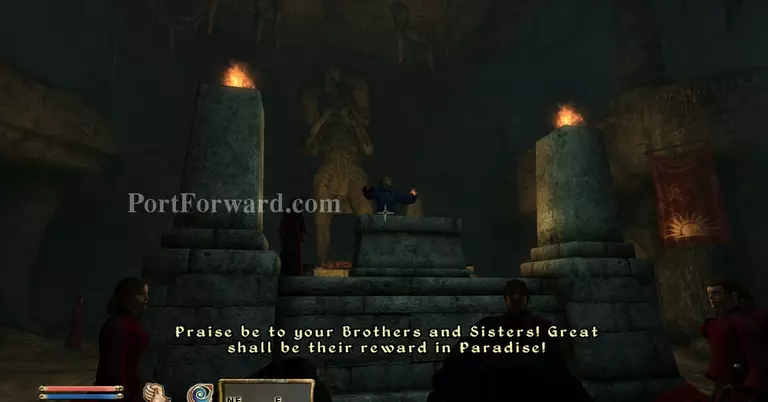
Once you take the book by any means, the entire place will become hostile and Camoran will disappear. Kill EVERYBODY!
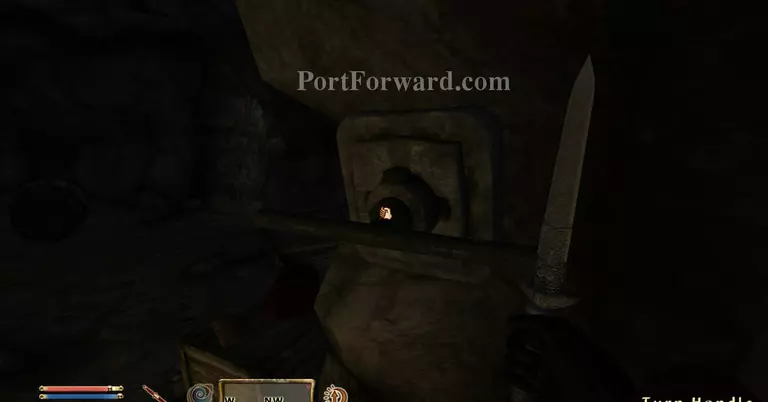
Slicing through the entire place, open up the handle to open the rock door to get the heck out of there with Camoran's book.
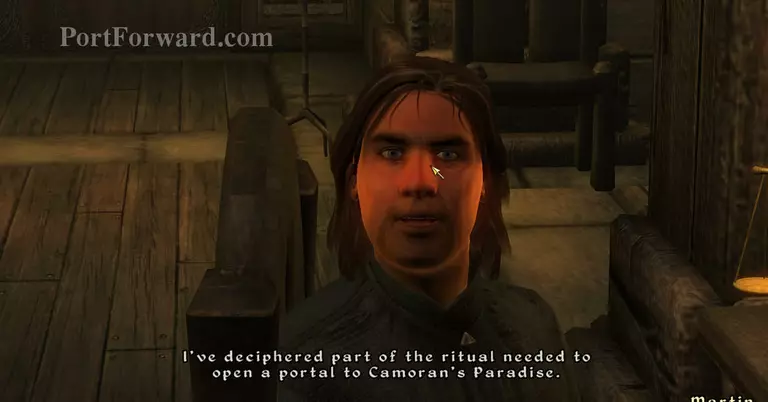
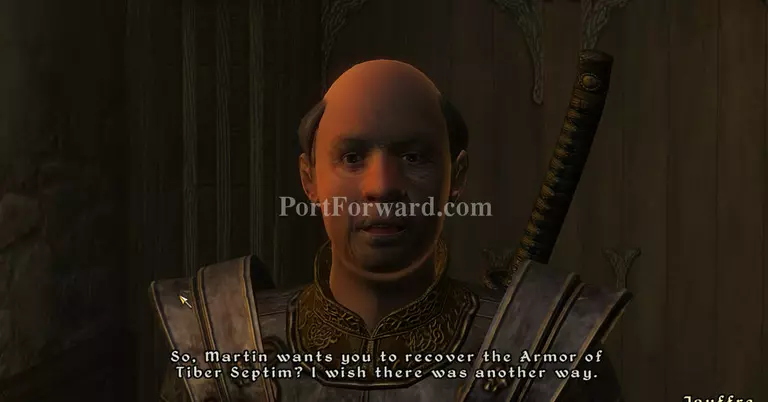
Head back to the Temple afterwards and speak to Martin.
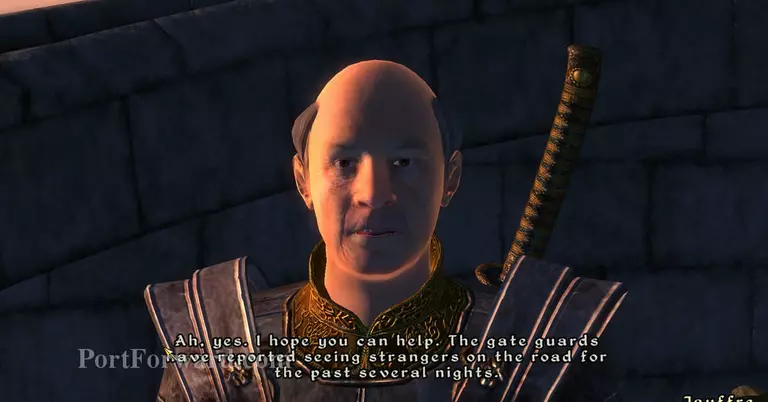
Martin will then decipher the book for a bit and tell you to help Jauffre. Jauffre will tell you to hide at a runestone among the way to Bruma at dusk to kill a spy. Take the spy's keys from the corpse and kill another woman in the basement of her home in Bruma.
Once that side-quest is done, head back to Martin. This time, he'll ask for a special item. You can get a Daedric Artifact from a huge list of side-quests. One easy-way to get past is by getting the Skeleton Key artifact.
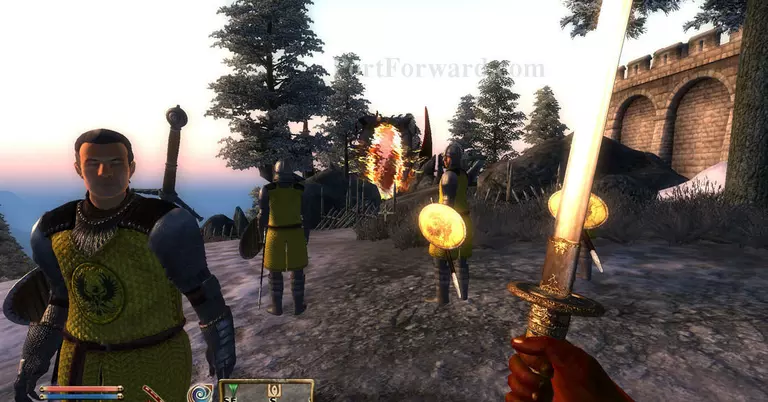
Whichever Artifact you gave to him, it'll be destroyed forever, and a gate will open outside Bruma. Use the same tactics you used in front of Kvatch to close this gate. This time, you'll have Bruma's entire militia with you helping you out. It'll be a breeze.
Take the Sigil Stone to end this gate and bring the men home.
Heading back to Martin, he'll ask you to get another artifact from some dungeon somewhere in a place far, far away.
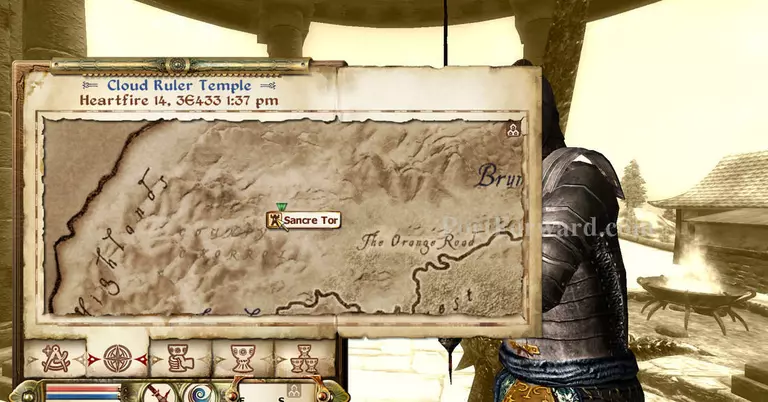
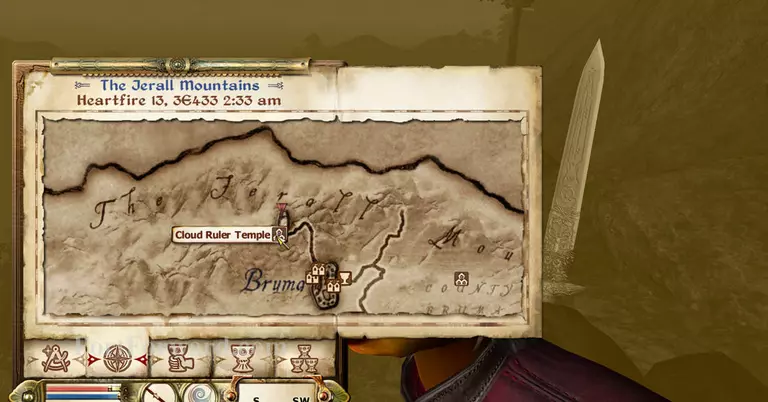
He'll tell you to head some place where you can't fast-travel to West of Bruma. Walk, or buy a horse.
More The Elder Scrolls IV: Oblivion Walkthroughs
This The Elder Scrolls IV: Oblivion walkthrough is divided into 8 total pages.